


It’s the ne plus ultra of artisan bread.
The gold medalist (whoops, make that King Arthurist) of chewy loaves.
The Holey Grail.
I’m speaking, of course, of ciabatta, that light-as-air, hole-riddled loaf beloved of rustic-loaf bakers everywhere. (“Rustic” describing the loaves, of course; although perhaps some of the bakers as well.)
Here at King Arthur Flour, “How do I get those big, irregular holes in my bread?” is one of the most common questions we get on our baker’s hotline (open days/evenings, (855) 371-2253; call us.) And, while there are numerous paths to that destination, the most reliable I’ve found is a very slack (wet) dough, one that’s challenging to work with because it’s so sticky and oozy and elastic. But one that, ultimately, yields a rich harvest of holes. And flavor.
I’ve made ciabatta a lot, and it’s definitely a “practice makes perfect” scenario.
Eventually, you learn just how slack the dough can be without being SO slack that it spreads, rather than rises. At last, you figure out just how long you can let the shaped loaves rise before they collapse. In other words, this bread is not without its challenges.
But by following the directions and the pictures below, you’ve got a really good shot at success. And even if you don’t get a loaf with HUGE holes, it’ll still be delightfully chewy and richly flavored.
So here we go: let’s take the Ciabatta Challenge.
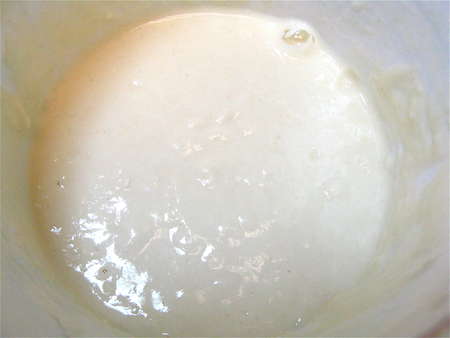
First, make the overnight starter. For simple breads, breads made with flour, water, yeast, and salt, an overnight starter gives the yeast a nice, long window in which to perform its magic—which is not only raising the bread, but giving it marvelous flavor. As yeast grows, it gives off alcohol and organic acids, both of which are flavor enhancers. Thus, the longer yeast grows, the more flavorful your bread will be.

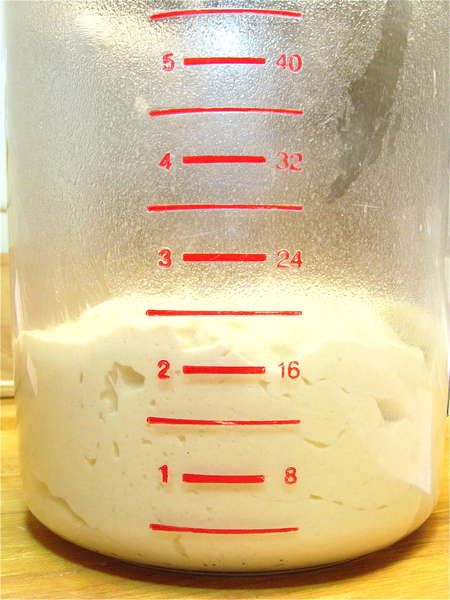
Here it is the next day, nice and bubbly. This starter has had about a 15-hour rise at room temperature.
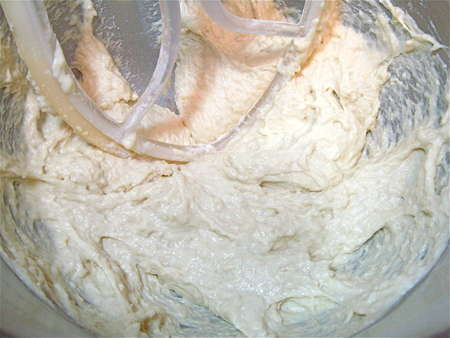
Mix the starter with the remaining dough ingredients.
Knead till smooth; it'll be silky-smooth. This dough is so soft, it really can't be kneaded by hand; it needs a mixer or bread machine. Or food processor, I imagine, though I haven't tried that method with this dough.
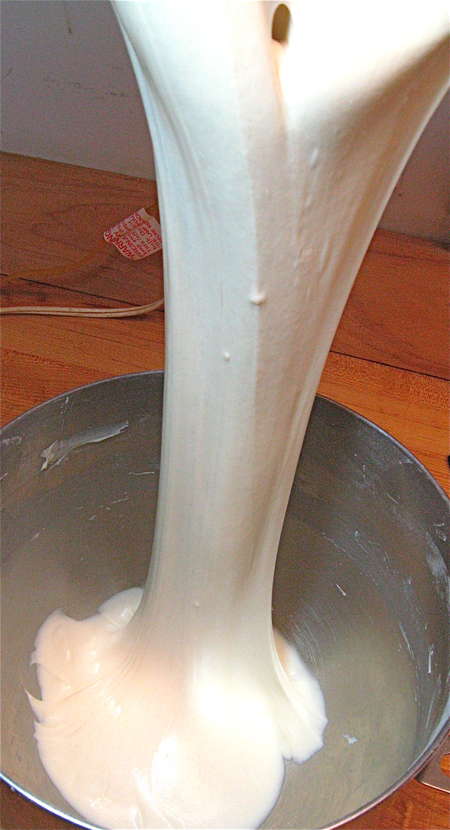
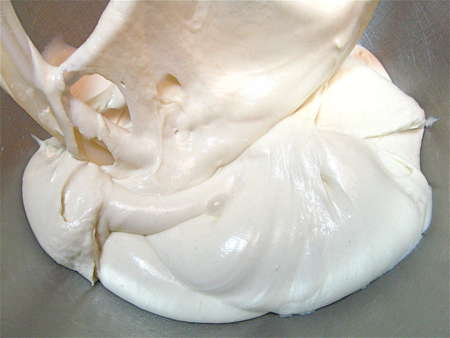
Talk about elastic... You go, gluten!
Now you're going to let the dough rise for about an hour, deflate it, and let it rise again. This midstream deflation redistributes the yeast a bit, and offloads much of the CO2, making it easier for the yeast to grow.
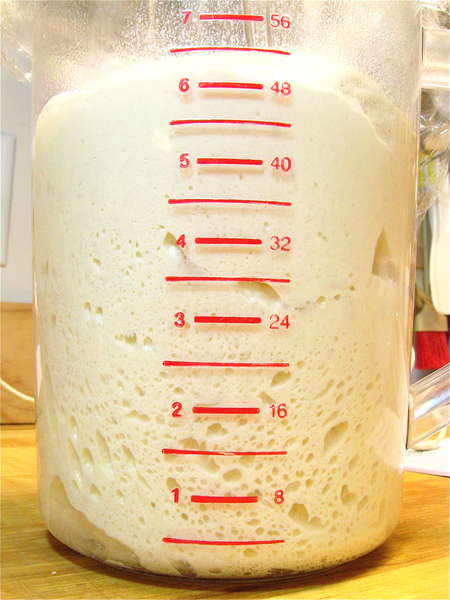
So here we are after 2 hours; despite deflating it after an hour, it's risen to great heights.
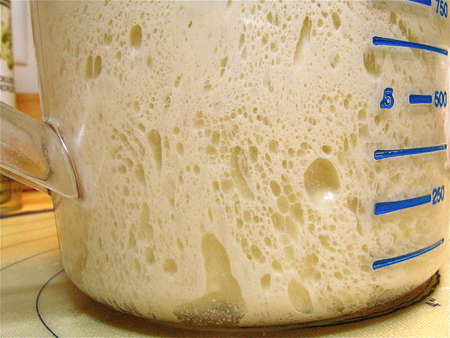
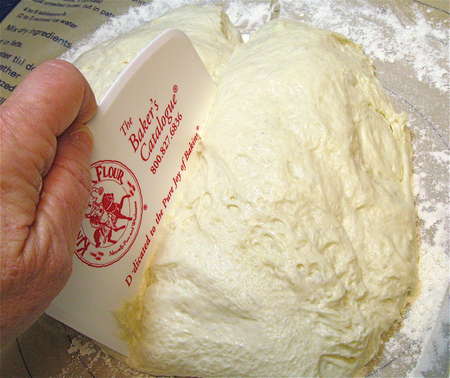
Look at those nice bubbles! I love to use an 8-cup clear measuring cup for dough rising. You get such a nice view of everything that's happening.
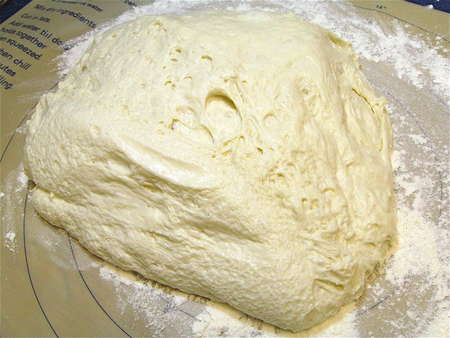
Next, turn the dough out onto a lightly greased or floured work surface. No need to punch it down; I don't believe in violence when it comes to yeast dough. It'll gently deflate itself a bit as you handle it.
Cut the dough in half.
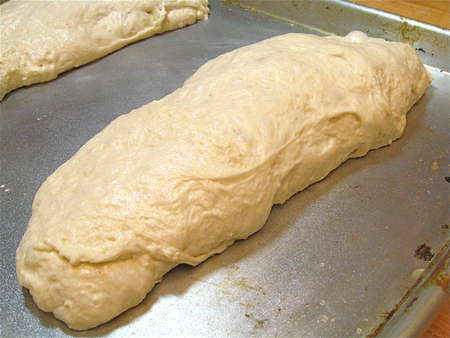
Pull/stretch it gently to make two logs, each about 10” x 4”. Place them on a lightly greased baking sheet.
Cover, and let them rise for about 45 minutes, till they're definitely showing some puff.
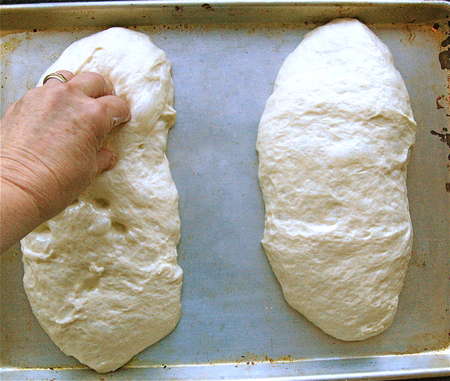
Dimple gently but firmly with your oiled or wet fingers. They'll deflate a bit; that's OK.
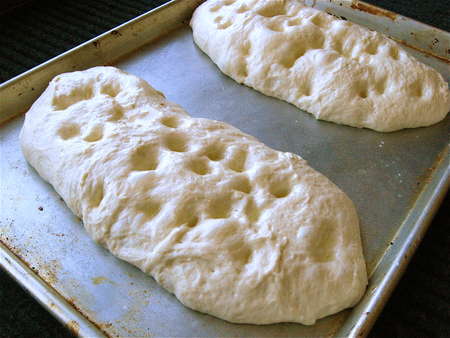
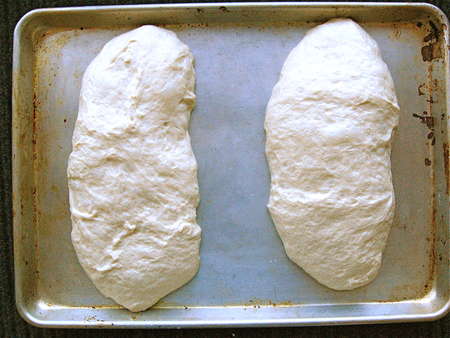
They should look about like this.
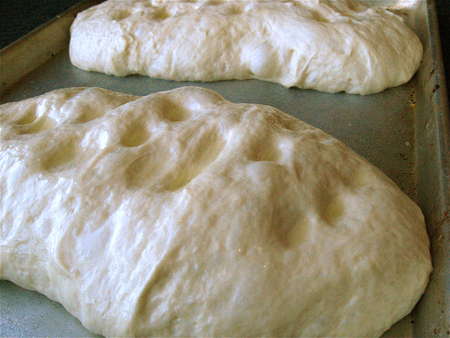
And after they've finished rising, they'll look like this. The dimples will have filled in somewhat, but will still be apparent.
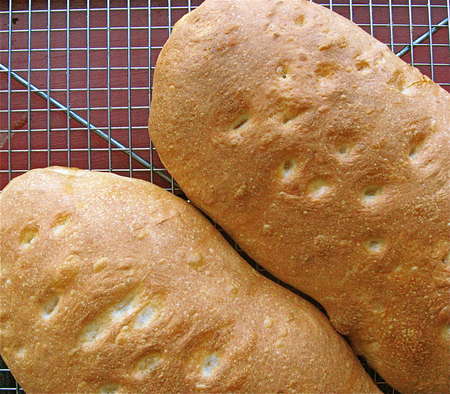
Spritz with water, and bake till golden brown. For extra crispness, cool right on the rack in the turned-off oven; prop the oven door open with a folded-over potholder.
Next up: garlic bread. But not that squishy, pallid version made with garlic salt (ewwwww) and dried parsley. No, THIS gourmet garlic bread, made on your own homemade ciabatta, features butter, olive oil, fresh garlic, coarsely grated Parmesan, and a fresh parsley garnish.
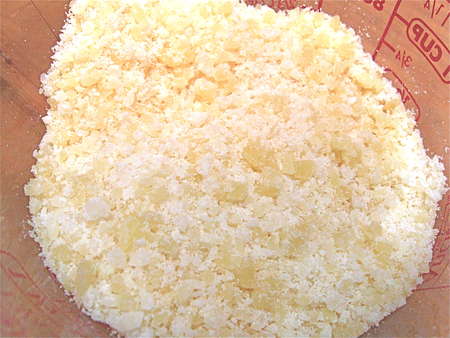
Freshly grated Parmesan is key. PLEASE don't use that stuff in the can. You need cheese that's moist and nubbly in texture, not dry and sawdust-y.
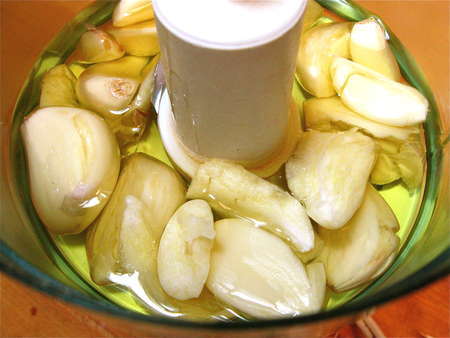
Next, fresh garlic cloves and olive oil...
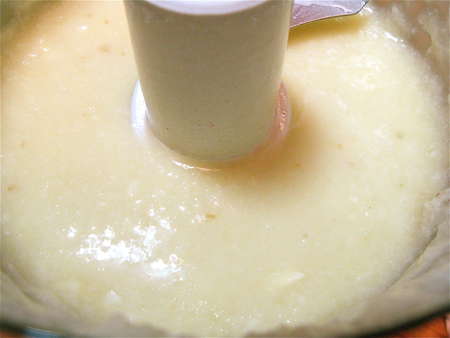
...emulsified in a mini food processor or blender. Stir in melted butter and a pinch of salt...
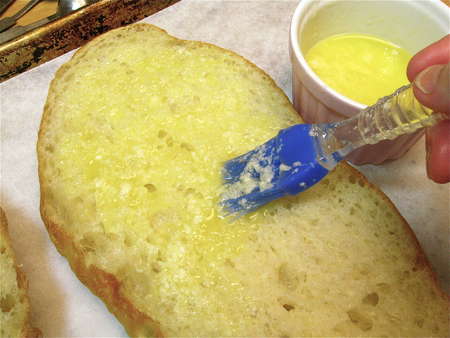
...then brush on the ciabatta, which you've cut in half to make two big top-and-bottom pieces.
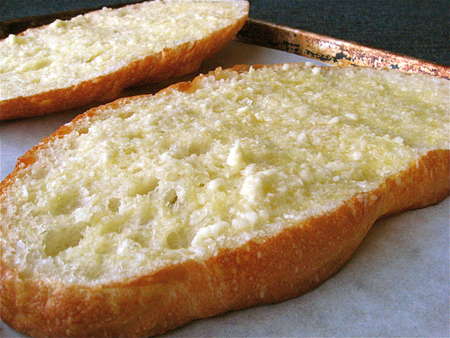
Here it is, ready to go into the oven. No cheese yet.
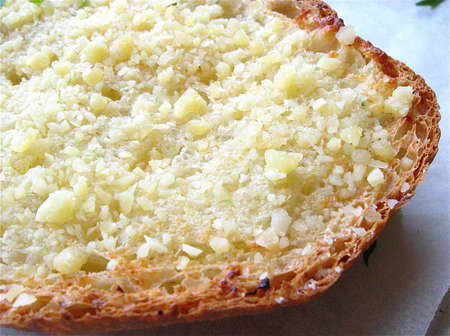
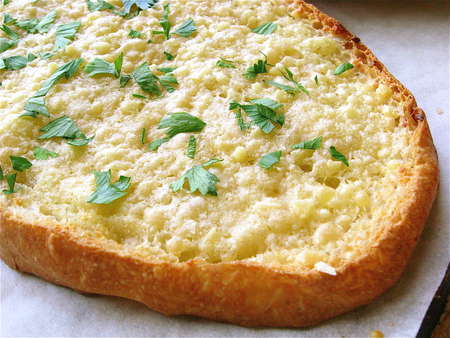
And here it is baked (notice the brown edges), and topped with Parmesan. The hot bread will soften the Parmesan just a bit.
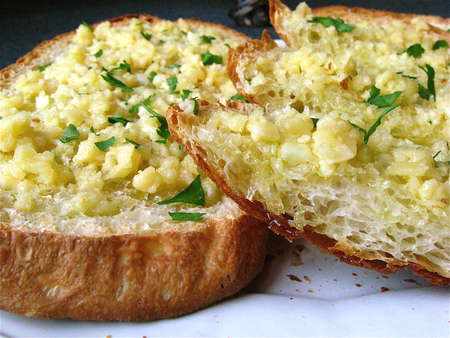
Sprinkle with freshly snipped parsley, if desired.
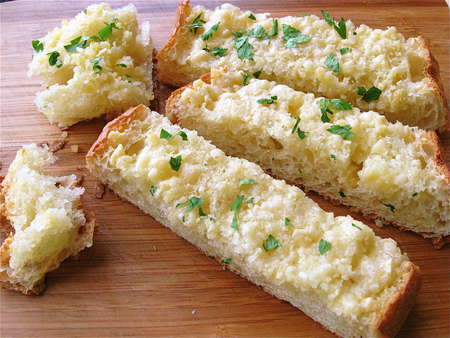
And serve to great acclamation by garlic lovers everywhere.
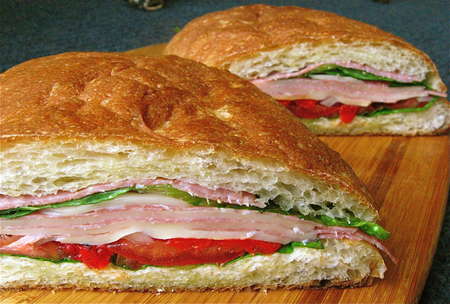
Be still my heart! This is Italian pan bagna, literally “bathed bread.” Doesn't it look good? A “true” pan bagna is made with tuna and hard-boiled eggs, but I've substituted some of my favorite sub (hoagie, grinder, hero...) fillings here.
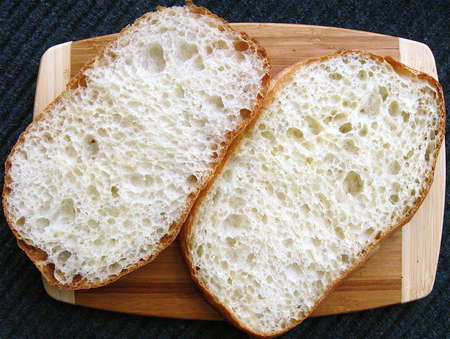
Cut the ciabatta in half around its circumference, as befits a mega-sandwich.
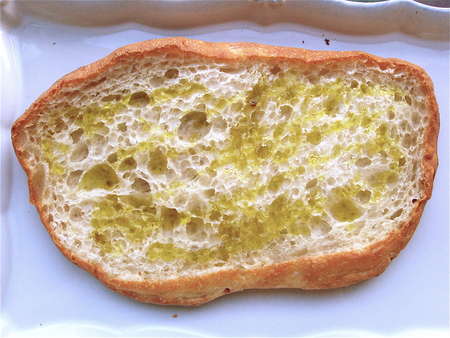
Drizzle or brush both halves with olive oil.
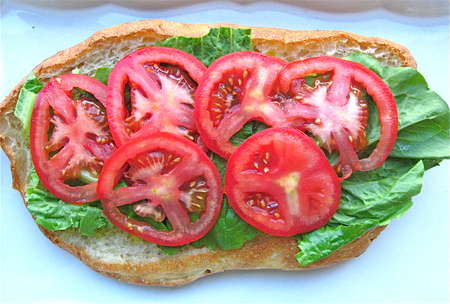
I like to start with a layer of lettuce, as it shields the bread from juicier ingredients, preventing it from becoming soggy.
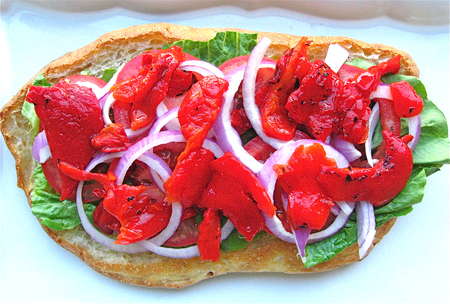
Tomatoes, red onions, roasted red peppers...
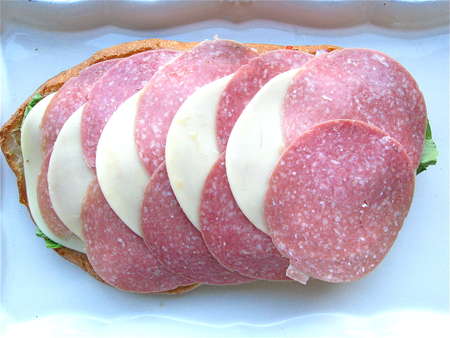
Provolone and salami...
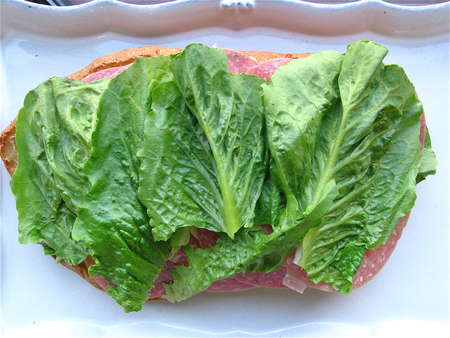
More lettuce, to enclose the juicy stuff from the top...
And here it is, not QUITE ready to eat.
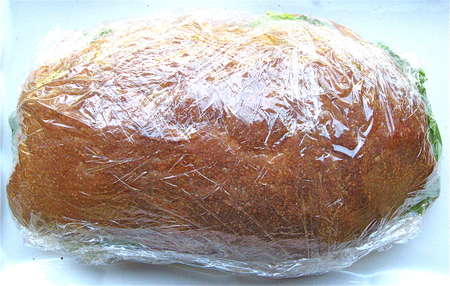
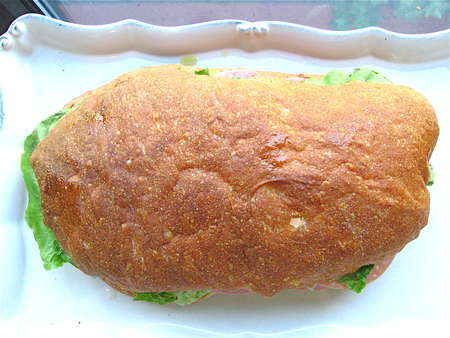
Wrap the pan bagna in plastic wrap, then in aluminum foil.
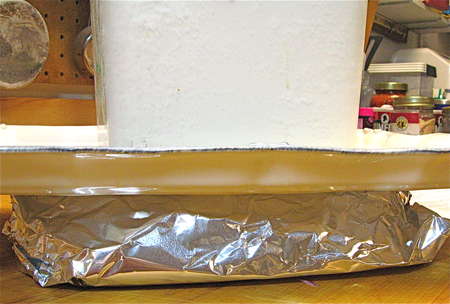
Finally, weigh it down with something heavy for a few hours. Here I'm using a baking sheet topped with my flour bucket. This weighing down compresses the sandwich and its filling, melding everything together nicely.
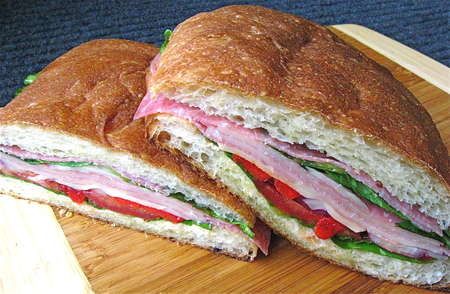
Unwrap, slice, and serve. Enjoy!
Read, review, and rate (please!) our recipe for Ciabatta Three Ways, including bread, garlic bread, and pan bagna.
