


November 8, 2006 is a day that will live in culinary history. It’s the day The New York Times introduced millions of readers to no-knead bread.
No-knead breads (a.k.a. casserole breads) have actually been around for decades, since long before the Times’ Mark Bittman came out with his version (based on one from Sullivan Street Bakery’s Jim Lahey).
Remember cottage cheese dill bread, that ’60s standby? No-knead bread. English Muffin Toasting Bread, from the ’70s? No-knead. Sometimes it really is all in a name.
But the Times, with their vast reach—plus a recipe that produces chewy, artisan-style bread—re-popularized this yeast bread methodology. And since then, the no-knead craze has done nothing but gain steam (pun intended).
Prompted by the Times, we started fooling around with no-knead breads in the King Arthur test kitchen. And we’ve come up with a comprehensive array of recipes.
But there’s always room for more; we’ll be examining yet another no-knead method here in early June, and this one goes beyond crusty loaves to sticky buns and challah. So stay tuned; no-knead is still hot as a 450°F oven.
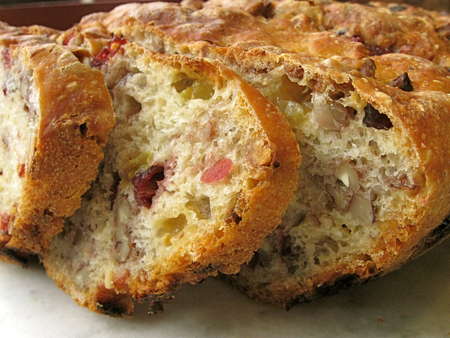
In the meantime, enjoy our No-Knead Harvest Bread. It’s packed with fruit and nuts, and especially dense and chewy—perfect for a schmear of cream cheese or (my favorite) softened Brie.
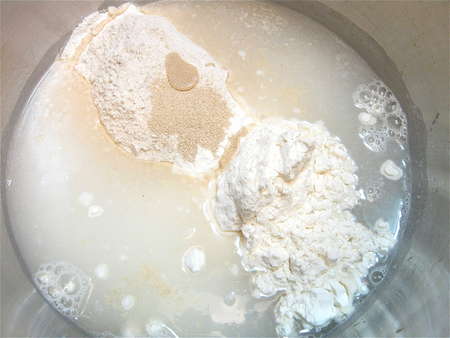
Quick, everybody, into the bowl! Bread flour, whole wheat flour, salt, instant yeast, and cool water. Can you use King Arthur all-purpose here? Absolutely. Will your bread rise as high? Not quite... for the highest rise, try bread flour. But don't let its absence in your cupboard prevent you from baking this tasty bread.
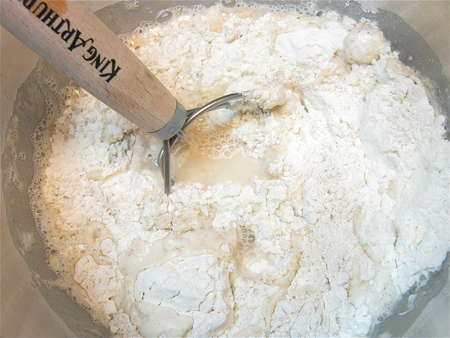
Mix it all up. Our dough whisk is the perfect tool for this wet, no-knead dough.
See the big loops? The dough doesn't get caught on the whisk, yet it mixes beautifully.

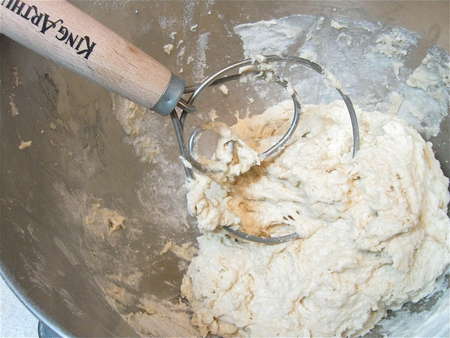
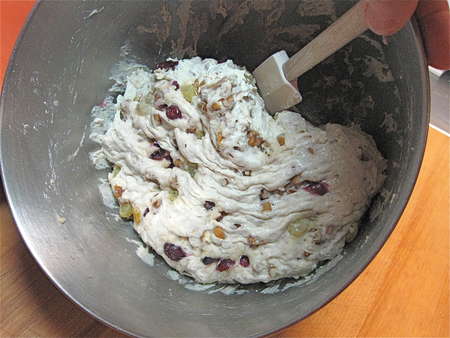
Once the flour and liquid are combined, mix in the fruit and nuts. I'm using golden raisins, cranberries, and pecans here.
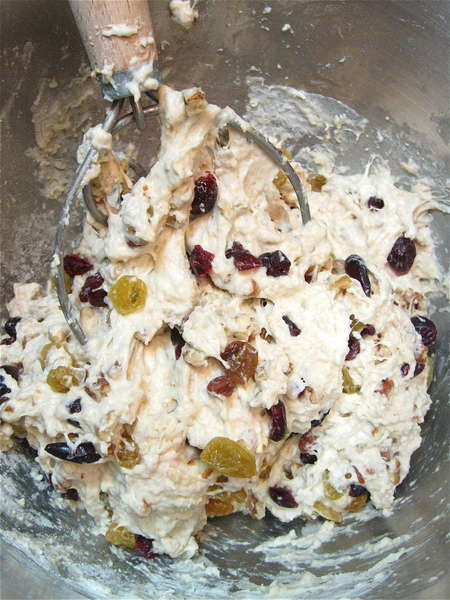
Again, the dough whisk does a super job. As would your hands... just wet them thoroughly to prevent too much stickiness.
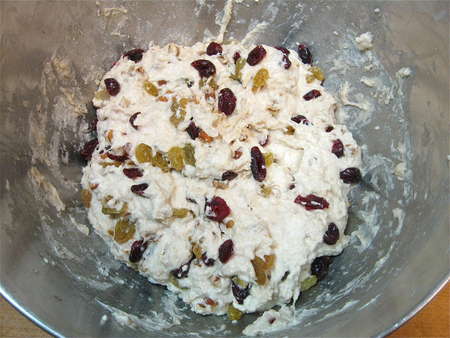
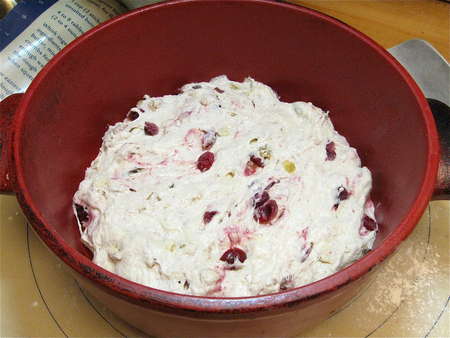
Scrape the dough into the center of the bowl, cover it, and let it rise for at least 8 hours, or overnight. This dough started its rise at 2:45 p.m. on a Thursday...
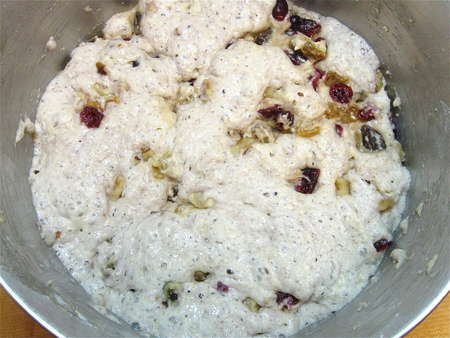
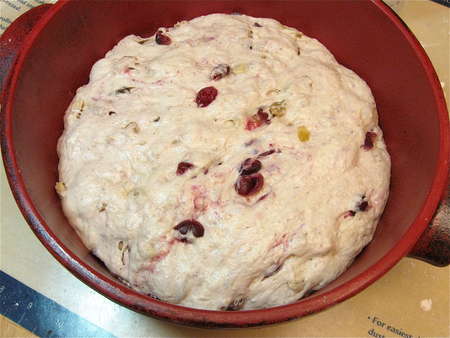
...and here it is at 7 a.m. Friday morning. Puffy, spongy, risen.
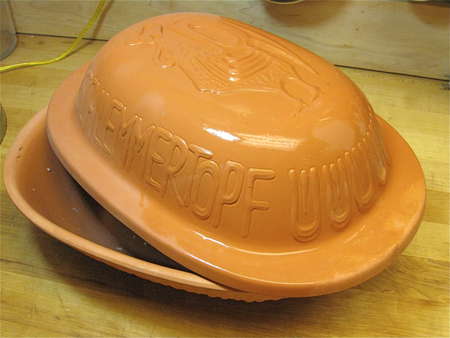
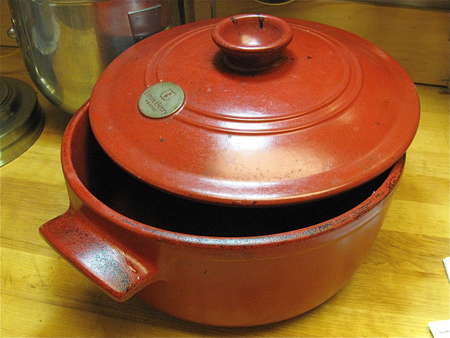
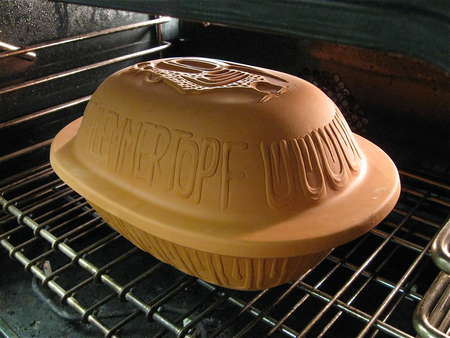
Next, select your pan. It needs to be something with a cover, like a Dutch oven or this German clay baker. You can see the cover looks wet; I'd soaked it, as that's what the manufacturer's directions call for. I made several subsequent loaves without soaking, and soaking does seem to add a bit of sheen to the crust, which makes sense: sheen comes from steam, steam comes from water, and there you have it—Bob's your uncle. A soaked lid adds a satiny crust.
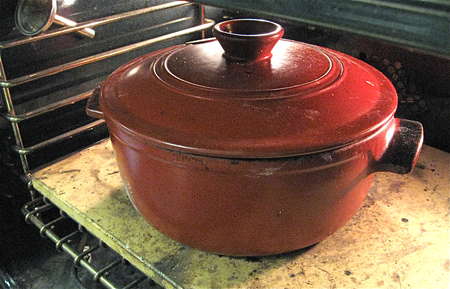
Or try a Dutch-oven shaped stoneware crock.
You can also fashion a cover out of foil for your favorite deep casserole dish.
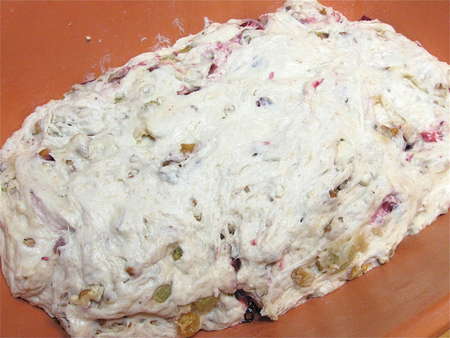
Gently stir down the dough...
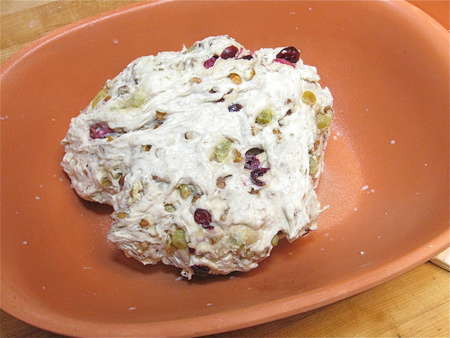
...and spoon it into the vessel of your choice.
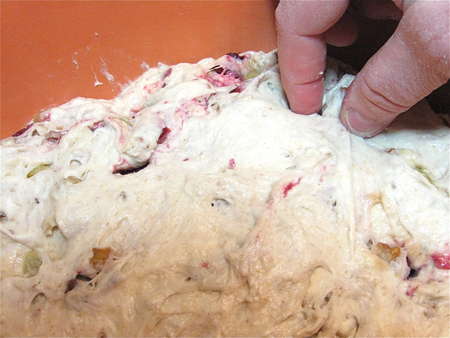
Wet your fingers, and gently press it to cover the bottom of the crock.
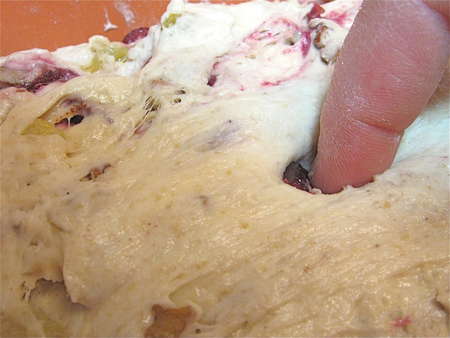
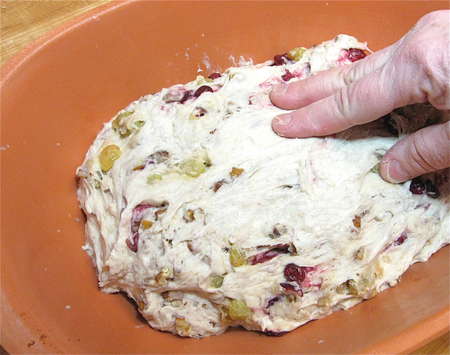
Take the time to poke any fruit down into the dough.
Any fruit sticking out on top will burn, so try to cover it all up, one way or another. Here I'm pinching dough over the top of a recalcitrant raisin.
Just do the best you can here.
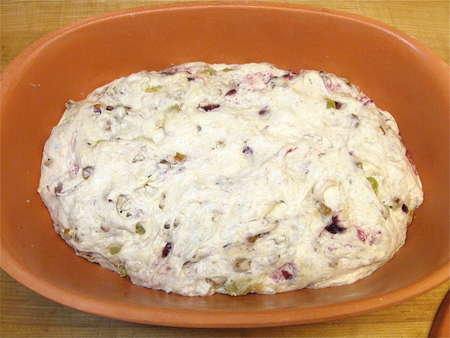
Ready to rise. Put the cover on the pan, and let the bread rest for 2 hours at room temperature. It'll expand, but don't expect a grand rise here. As I noted earlier, using high-gluten flour will produce the most robust rise; all-purpose flour, the smallest rise. All are fine; the AP flour loaf will simply be heavier/denser than the bread flour loaf, which will be heavier/denser than the high-gluten loaf.
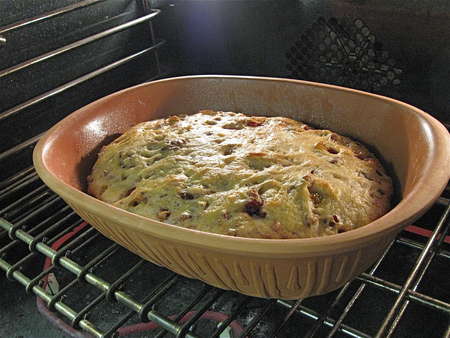
Cover the pan, and put the bread in a cold oven. Turn on the oven, with the temperature set to 450°F.
Here's the dough, made with all-purpose flour, before it's “risen.”
And here it is after 2 hours. Not a huge difference; more a matter of increased puffiness.
Into the cold over it goes.
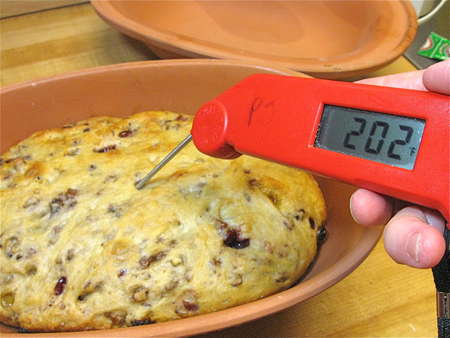
Forty-five minutes later, take the bread out, and remove the cover. take its interior temperature with an instant-read thermometer. A finished loaf will register 205°F at its center. As you can see, this one has a few degrees to go.
You might remember reading that a perfectly baked loaf of bread should be 190°F at the center. So what's up with this 205°F? Dense breads—this bread, a heavy rye, a 100% whole wheat country loaf—need to be baked to a higher temperature at the center, to avoid any gumminess.
Back into the oven it goes—without its cover. If it could use some browning, leave it uncovered. If it's brown enough, tent the pan with a sheet of foil. Why not simply replace the cover? Because you no longer want to trap any steam; at this point, it's better for the bread to dry out a bit.
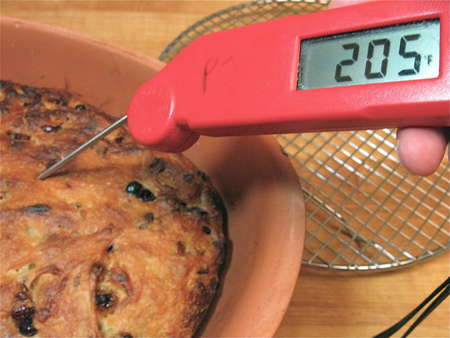
There we are: 205°F.
Here's another version. After 45 minutes in the oven, I liked how brown it was, and didn't really want it to brown further. So I tented this one with foil before baking for an additional 10 to 15 minutes, till its internal temperature was 205°F. It baked through without over-browning.
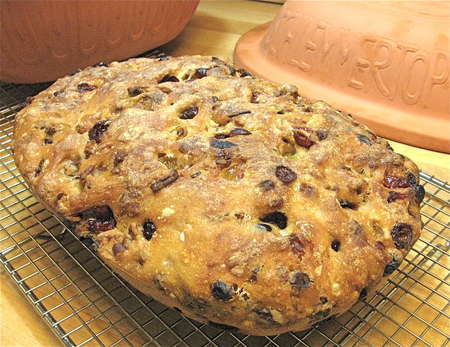
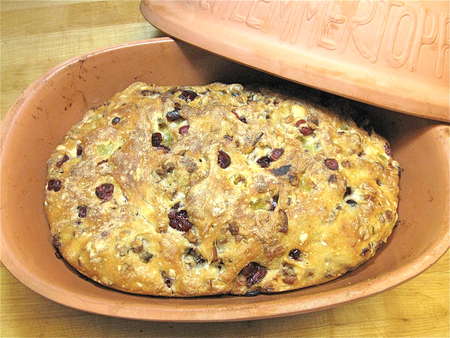
Take the bread out of the pan, and place it on a rack to cool.
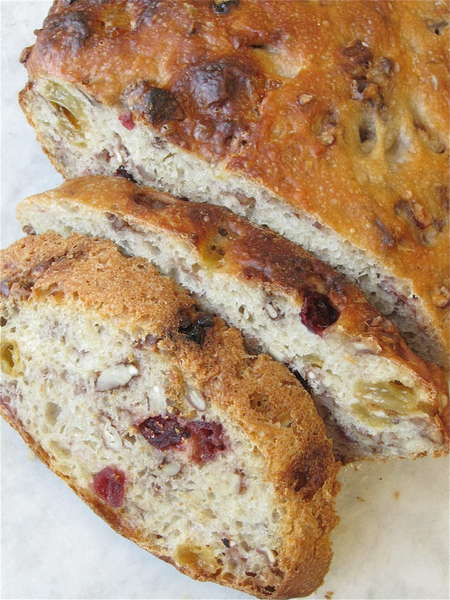
Slice when completely cool, and enjoy...
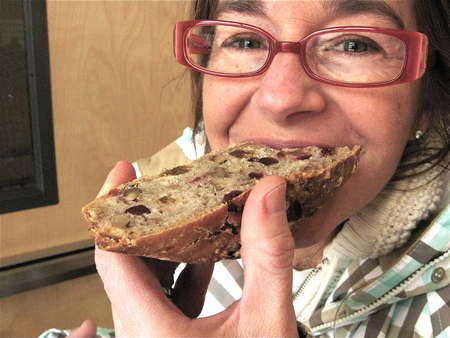
Just like Deb!
Read, rate, and review (please!) our recipe for No-Knead Harvest Bread.
