


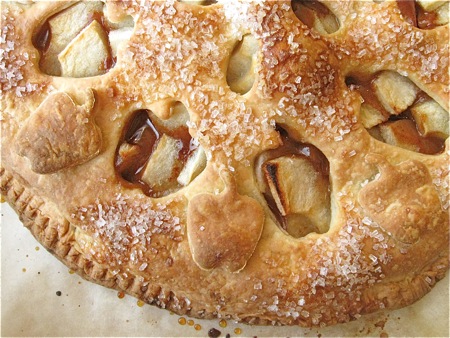
See this pie?
I made that pie. And I got the highest compliment on it from Halley, our King Arthur Web director.
Halley: Who made that pie in the kitchen?
Me: I did.
Halley: You're kidding! I thought Sue made it.
Me: Yeah, really...
Sue Gray, our test kitchen director, is Queen of the Visual Cuisine, a veritable master at preventive imagery disaster. Sue makes plain muffins cute, yeast bread flawless (no mean feat), pie perfect, and wedding cakes that look like - well, like they leapt out of the pages of a wedding planner's beauty book.
Most of our other test kitchen bakers (except me) can do lovely things to cookies and cake, using icing, pastry bags, tips, and all that other decorating detritus that drives me wild.
To me, a pastry decorating kit is like Barbie shoes: little bits and pieces rattling around on the counter and crunching underfoot. One tip is just like another - extraneous to life as I know it.
So when Halley assumed SUE had made that golden brown pie on the counter, the one with apple cutouts, pastry decorations, and an artful sprinkling of glittering sugar – it was a good assumption.
But in this single, probably never-to-be-repeated instance, erroneous.
I MADE THE GORGEOUS PIE. And, using one particular tool – all will be revealed below – you can, too.
Here's how–
OK, let's start with the star of this recipe: the crust.
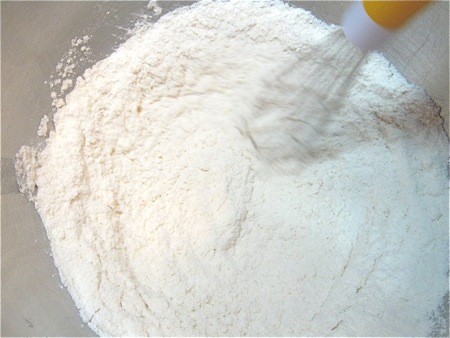
Place the following in a bowl, whisking to combine:
2 cups (241g) King Arthur Unbleached All-Purpose Flour
3/4 teaspoon salt
2 tablespoons (18g) buttermilk powder, optional
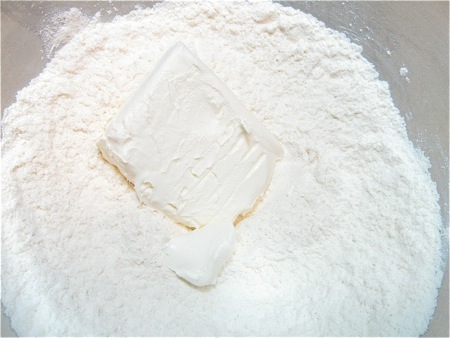
Add half an 8-ounce package (113g) cream cheese; low-fat is fine.
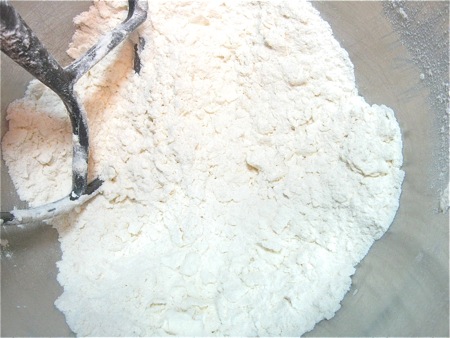
Mix till unevenly crumbly.
If you follow the recipe, you'll see that it calls for you to combine the first four ingredients (up through the cream cheese) all at once. That's fine, too. Choose whichever method you prefer.
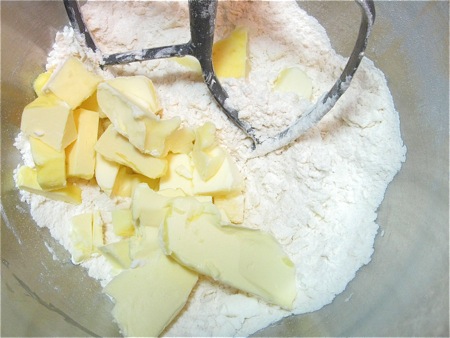
Cut 10 tablespoons (142g) cold butter into pieces and work it into the flour...
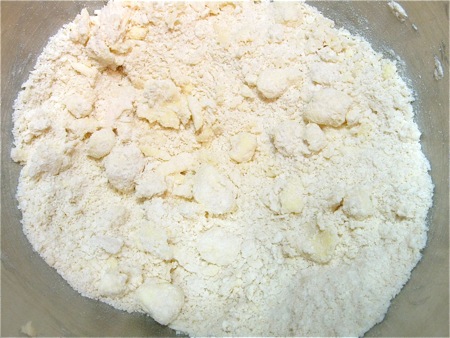
...leaving some visible pieces, like this.
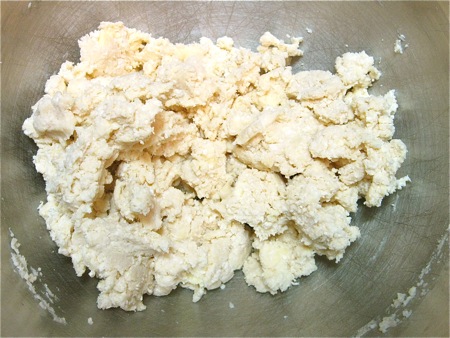
Sprinkle the dough with the cold water and toss.
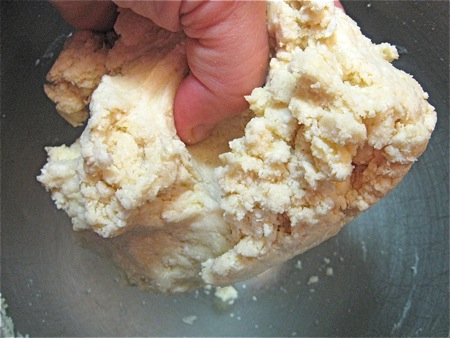
Squeeze the dough to determine if it holds together. If it's too dry, add water 1 tablespoon at a time, using just enough so the dough will hold together.
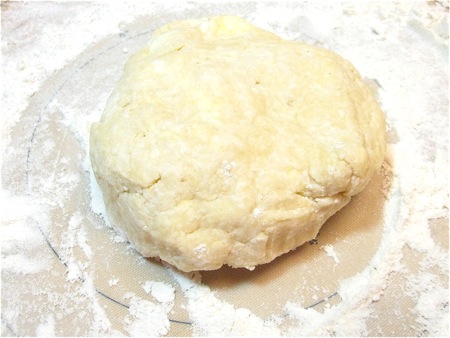
Place the dough onto a lightly floured work surface. Divide it in two pieces, one slightly larger than the other. If you have a scale, one piece should be about 9 ounces; the other about 10 ounces.
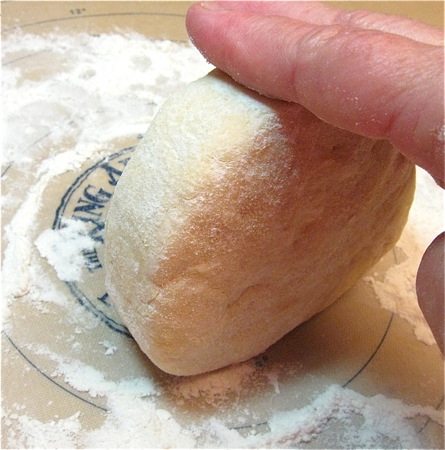
Flatten each piece of dough into a disk, and roll its edges till smooth. This will help keep the edges of the crust from becoming ragged as you roll.
Repeat with the remaining piece of dough. Wrap in plastic, and refrigerate for at least 30 minutes, or for up to a day.
When you're ready to make pie, preheat your oven to 425°F.
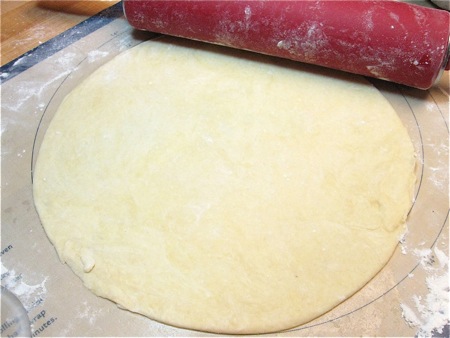
Remove the larger piece of dough from the fridge. If it's been chilling longer than 30 minutes, give it 10 to 15 minutes to warm up some. Roll it into a 13” circle, trimming the edges so it's perfectly round. Keep the trimmings; we'll use those later.
Now you're going to move the crust onto an ungreased 12” shallow pizza pan, or onto a parchment-lined baking sheet. The parchment is there to catch any spills; if you don't have parchment (and if you don't, you're missing a GREAT time-saver), simply place the crust on the bare baking sheet.
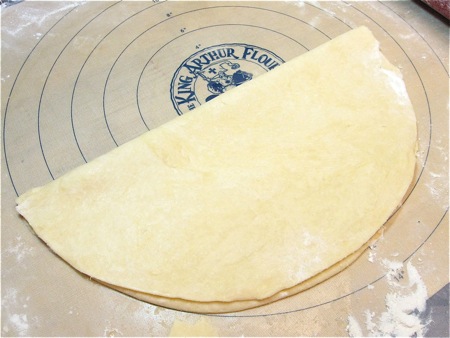
Fold the dough in half...
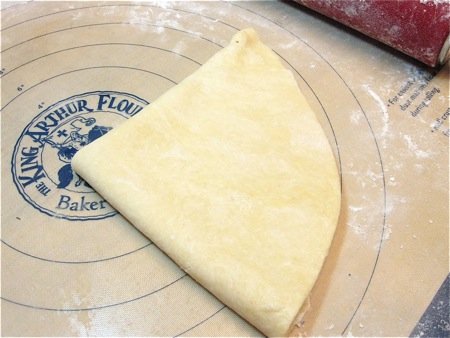
...then in half again.
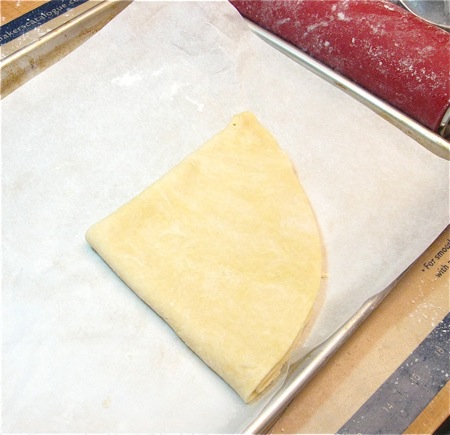
Pick it up, and put it on the baking sheet.
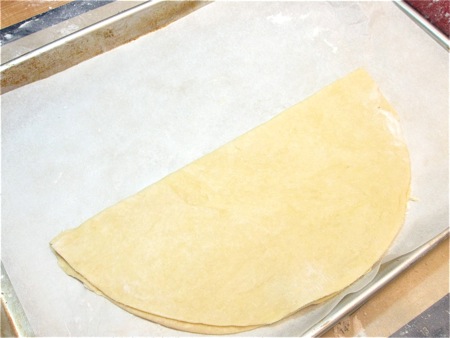
Unfold...
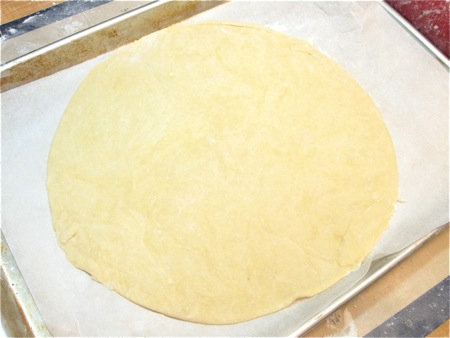
...into a circle.
Put the crust into the freezer while you prepare the filling. What, you thought our test kitchen was ORGANIZED?!
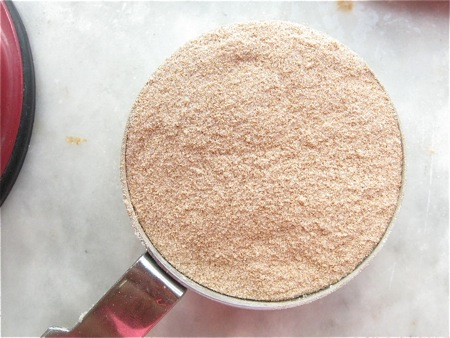
Ah, Baker's Cinnamon Filling, secret to many a tasty cinnamon roll, sticky bun... and “apple pizza.”
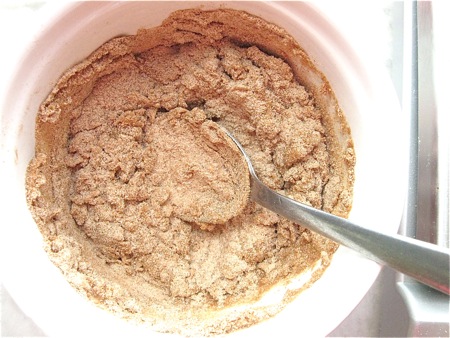
Place 1/2 cup (85g) Baker's Cinnamon Filling in a small bowl with 2 tablespoons cold water.
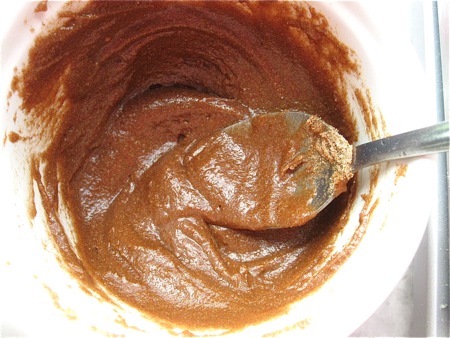
Stir till smooth.
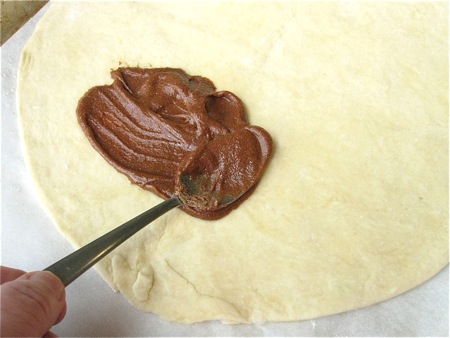
Remove the chilled crust from the freezer, and spread the filling on the crust.
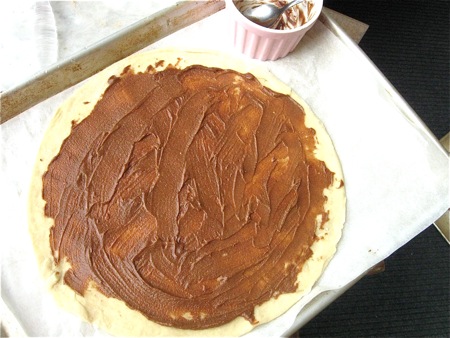
Like this.
Don't have any Baker's Cinnamon Filling? Too bad, you can't make this recipe.
JUST KIDDING! Sprinkle the crust with 1/2 cup granulated sugar mixed with 2 teaspoons ground cinnamon. DO NOT add any water.
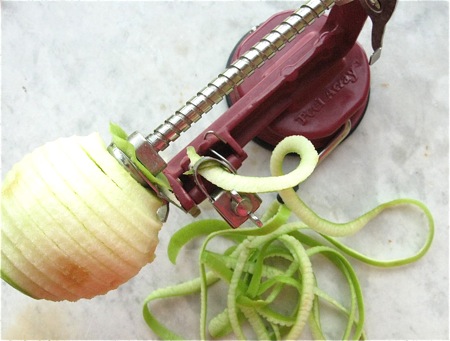
Now, prepare your apples. Our handy-dandy apple peeler/corer/slicer makes short work of this task.
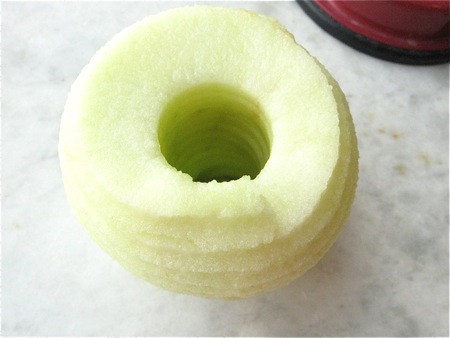
Peeled, cored, sliced...
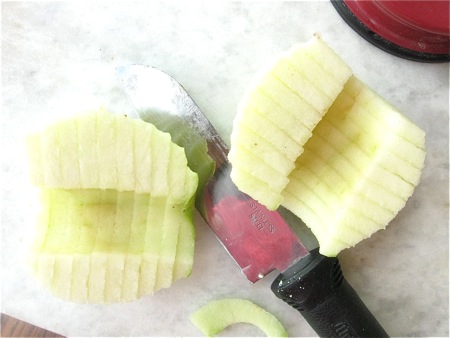
...and halved, in under 15 seconds.
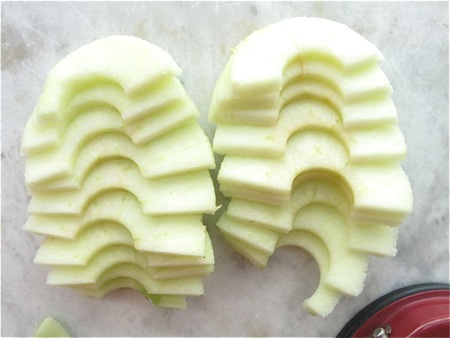
It doesn't get any easier!
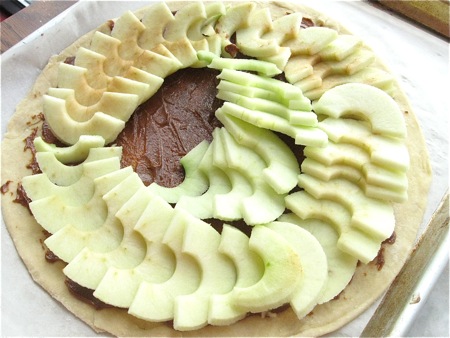
Lay the apple slices atop the crust.
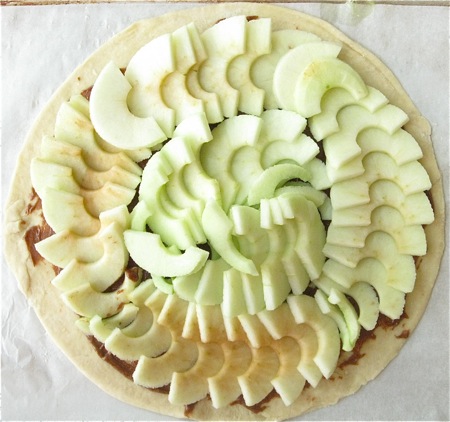
You can be fancy and place them in concentric circles. Or not.
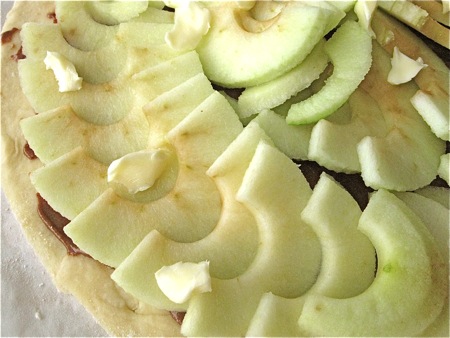
Sprinkle with 2 teaspoons lemon juice and a dash of salt, then scatter over the top 2 tablespoons (28g) butter, cut in bits.
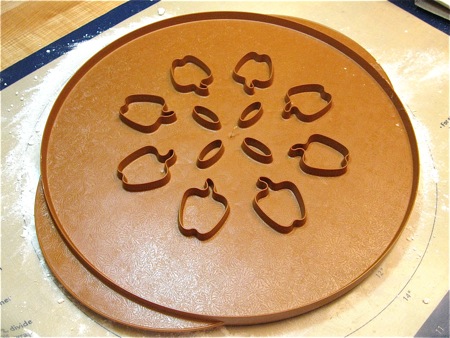
Watch out! Here comes the fancy part. You KNOW I don't do fancy. But this is actually pretty easy. We sell these double-sided pie toppers that cut designs in your top crust. Here's the apple side...
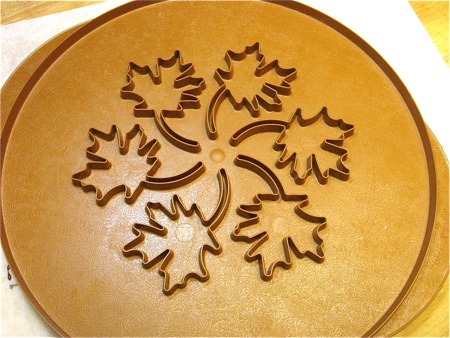
...and here are the leaves on the other side.
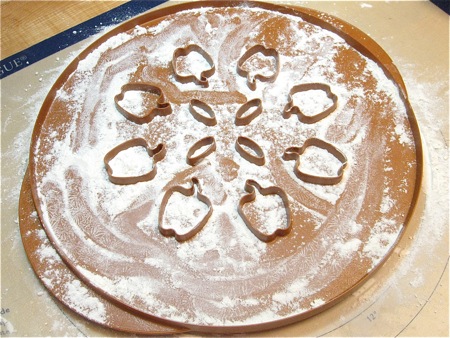
Obviously, I'm choosing the apple side for this pie. Sprinkle with flour...
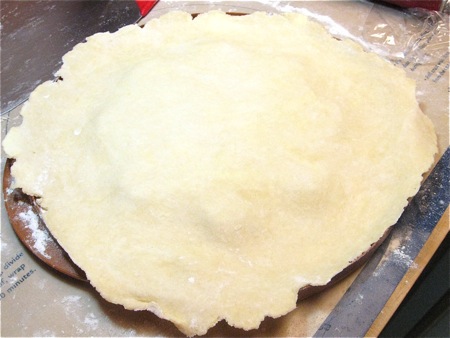
...and roll out your other pie crust, placing it over the topper.
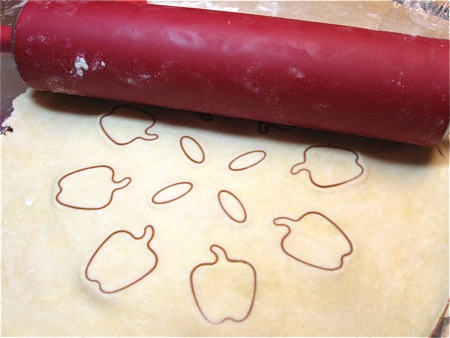
Roll a rolling pin over the crust, pressing down. See how it cuts out the apple designs?
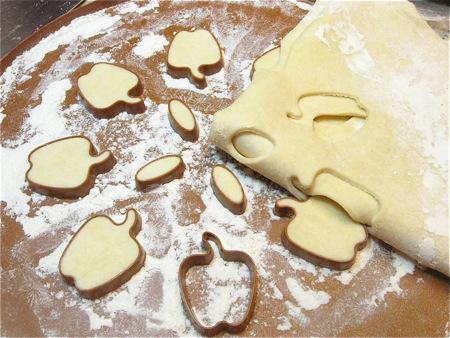
Peel off the crust...
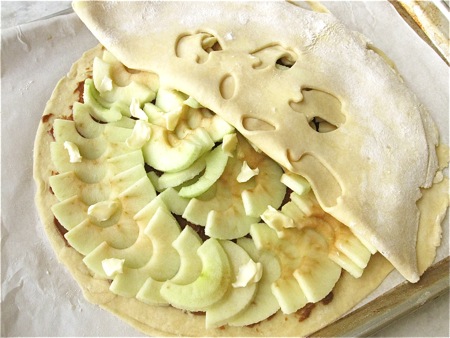
...and lay it over your apple-topped bottom crust.
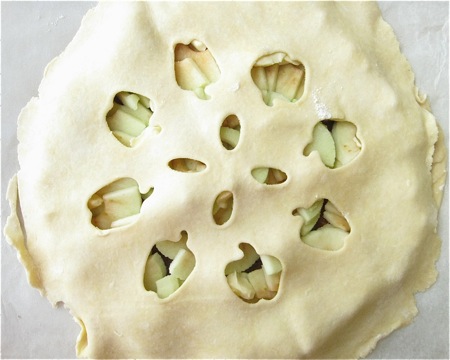
Like this.
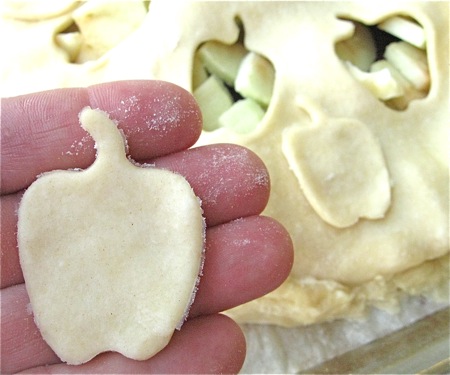
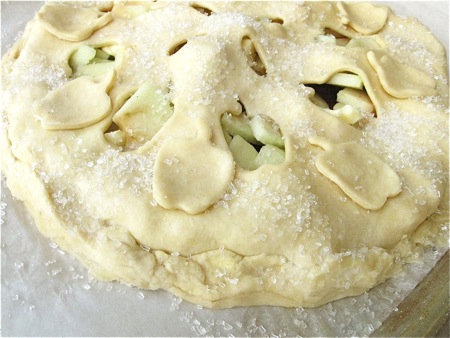
Now don't get rid of those apple cutouts; arrange them on the crust, to make a pretty design. (I can't believe I actually did this... SO not me.)

Brush the crust with milk...
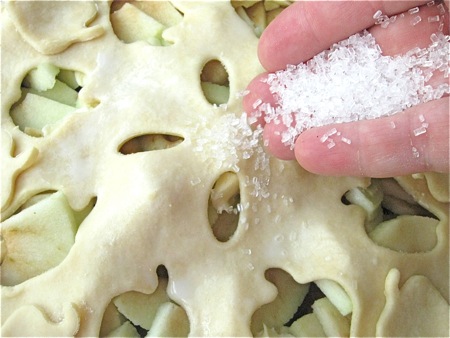
...and sprinkle with coarse sparkling sugar.
Be generous; you won't break the bank with this stuff.
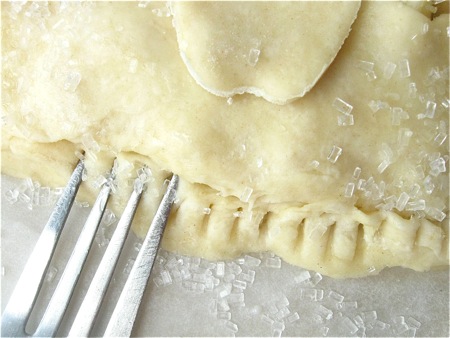
Bring the bottom crust up over the top crust, and press the edges together with the tines of a fork.
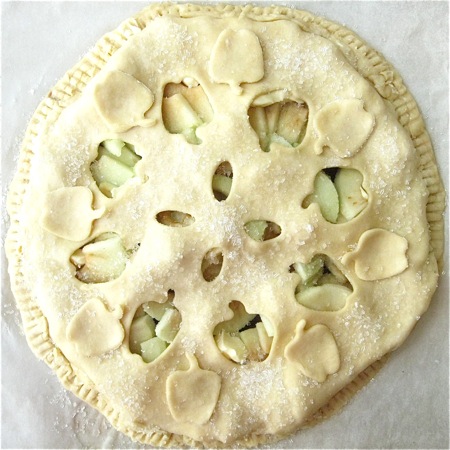
Slightly misshapen, but not bad, eh?
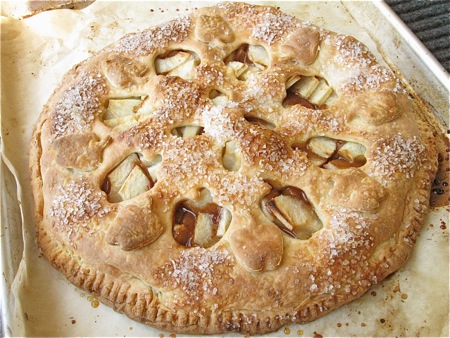
Bake the pie in the preheated 425°F oven for 15 minutes. Reduce the heat to 375°F, and continue to bake for an additional 25 to 35 minutes, till the crust is golden brown and the filling is bubbly. Remove the pie from the oven.
Let it cool for at least an hour before cutting. If you cut it immediately, the filling might ooze out.
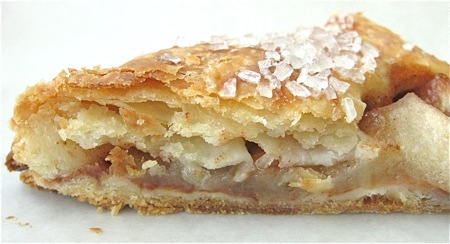
Look at that flaky crust!
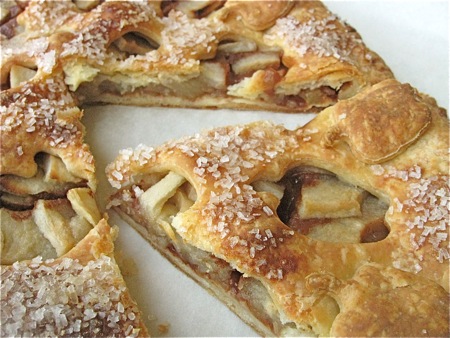
One more shot of my FANCY pie. Warm individual slices in the microwave for 15 to 20 seconds (if the pie has cooled completely), and top with vanilla ice cream. Be still, my heart!
Read, rate, and review (please!) our recipe for Crusty Apple Pie.
