


The holidays just wouldn't be the same without cookie decorating. In my house, we turn on music and make cocoa and popcorn (an often failed attempt to deter my kids from digging into all the sugar) to enjoy while we work.
And the kids work hard at their frosting-to-cookie ratio, giving new meaning to the phrase "flood the cookie." They layer the icing on like masons with mortar and stone and then, like starving Hansel and Gretel, gnaw through the inches of sugar. The cookie's gotta be in there somewhere??? Seriously, you could burn your tongue on all the red hots if you aren't careful. I mean, how many buttons does a gingerbread person need? These cookies could potentially kill Santa, if not at least be responsible for his late-night sugar crash!
But cookie decorating isn't just for kids, and I know a few colleagues who would agree with me. The art is an expression fit for all ages.
We need a gluten-free cookie to provide a canvas for our artwork! I find gingerbread cookies a challenge. It's rare to find the right flavor profile working cooperatively with the ideal texture. I prefer my gingerbread person not to snap when I bite into it, so I wanted something strong enough to hold the sugary accessorizing doom of my children that would still remain slightly bendy.
Join me now to make gluten-free gingerbread cookies. Shhhh, we'll hide some from the children to ensure they still taste like gingerbread even after they're decorated!
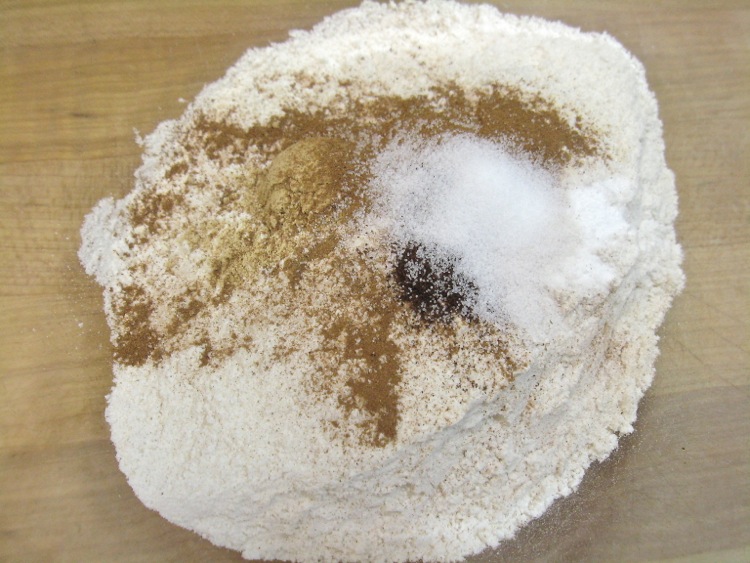
Combine the following ingredients in a bowl and set them aside:
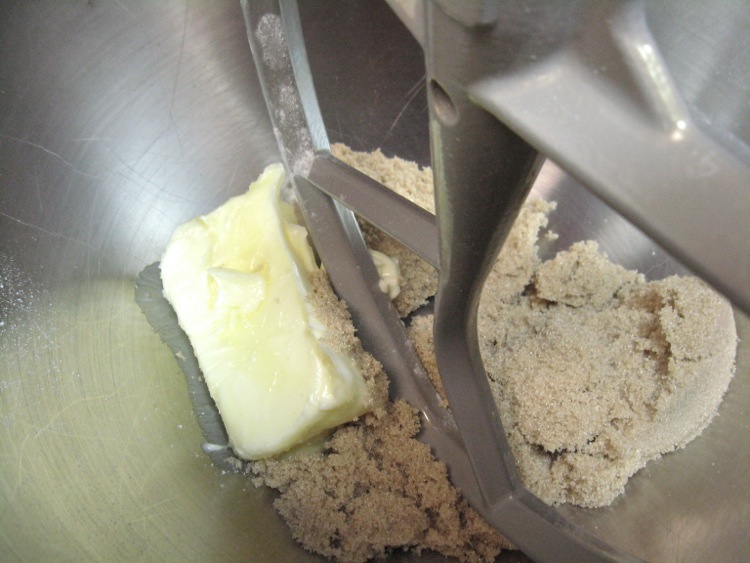
Beat 6 tablespoons (85g) softened butter and 1/2 cup (106g) brown sugar in the bowl of your stand mixer on medium speed.

Beat until the mixture is light and fluffy.
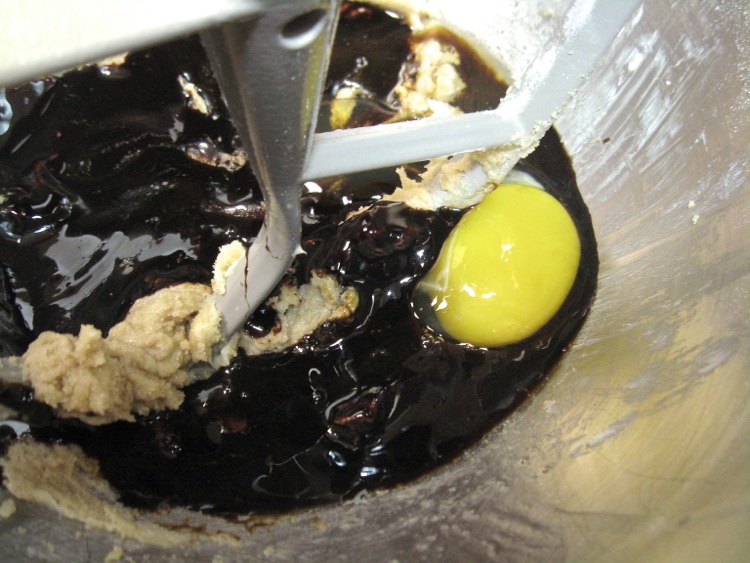
Add 1 large egg, 1/2 cup (170g) molasses and 1 teaspoon vanilla, and beat briefly on medium-low speed. You don't want to stir too much air into the cookies or they'll become puffy and lose their shape in the oven.
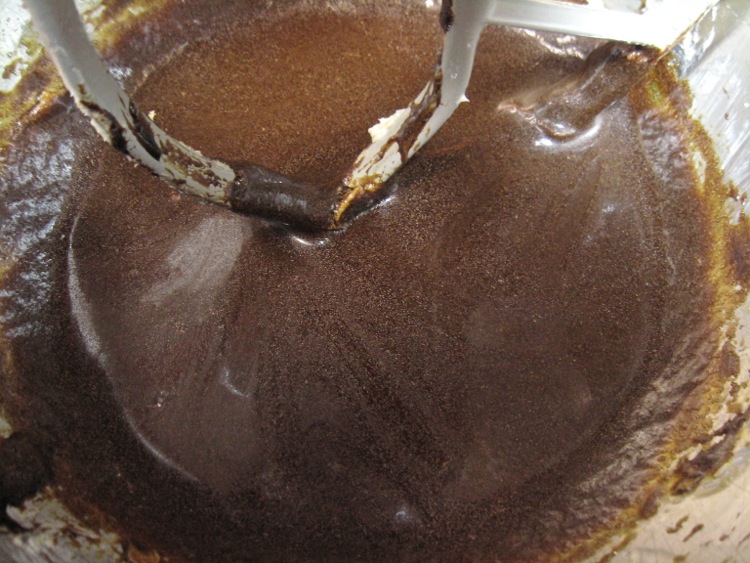
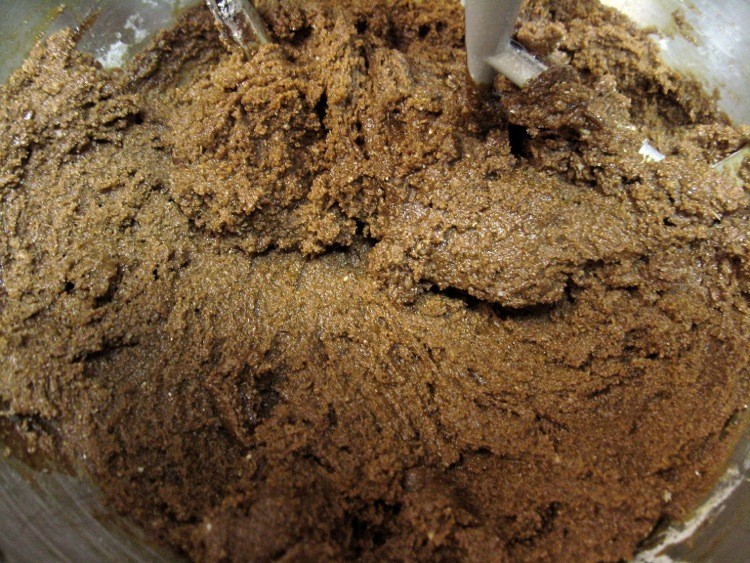
Your goal is for everything to be well blended.
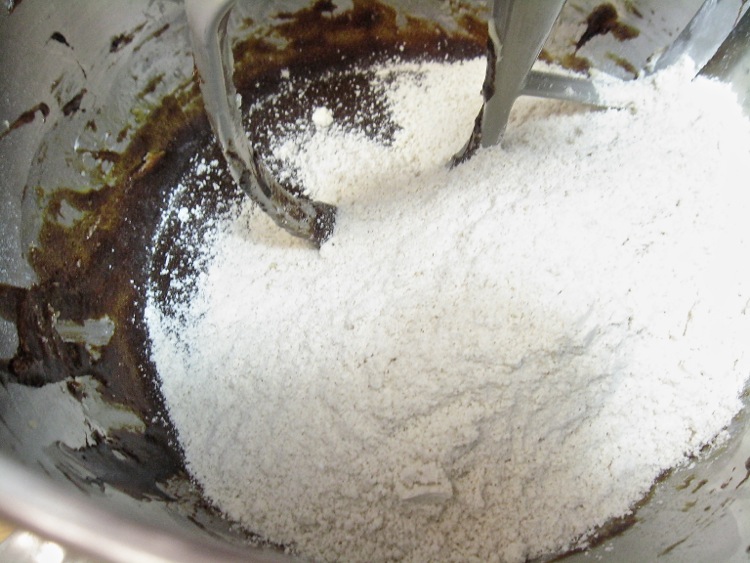
Add the dry ingredients all at once, and stir until just combined.
The dough will be quite soft at this point, but will firm up nicely once it's chilled. Divide the dough into two equal pieces and wrap them separately in plastic, then flatten each package into a disk for easier rolling. Chill for at least 2 hours, or overnight for best results.
When you're ready to roll and cut the dough, remove it from the refrigerator and preheat your oven to 350°F. Depending on how long the dough has chilled, you may need to let it sit at room temperature for a few minutes before working with it.
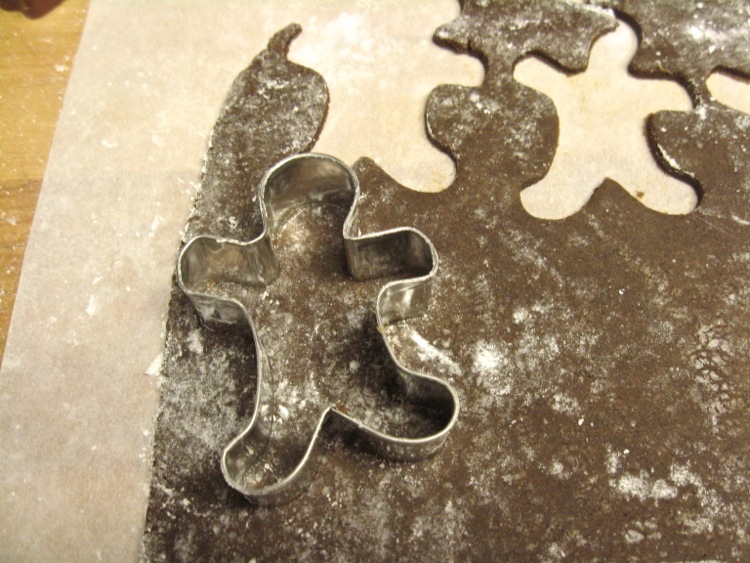
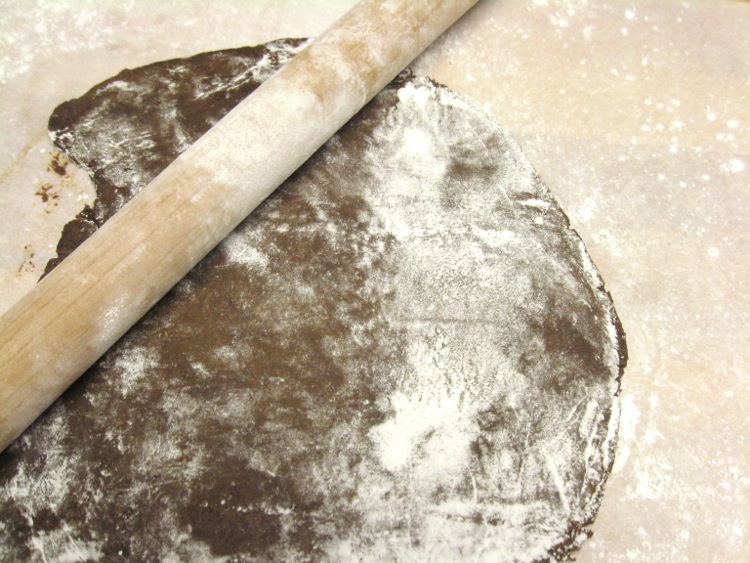
Roll the dough about 1/4" thick and use the cutters of your choice to make your shapes.
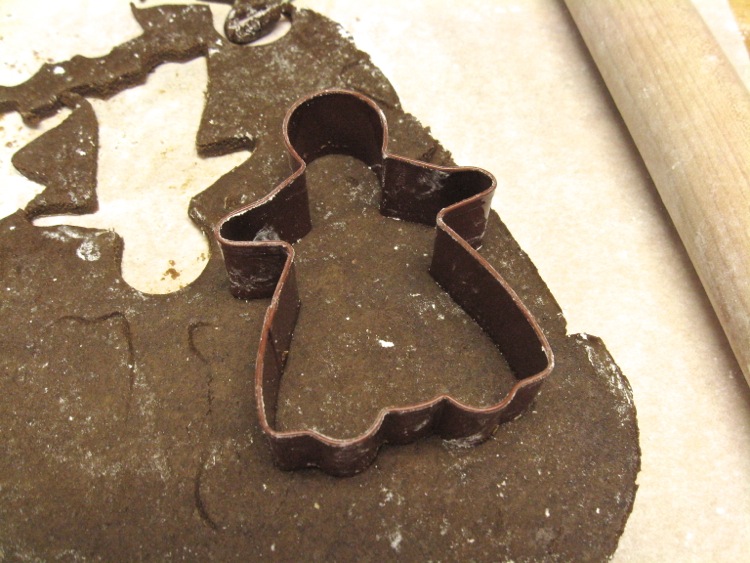
Make your cuts as close together as possible to use the dough efficiently and avoid excess re-rolling.
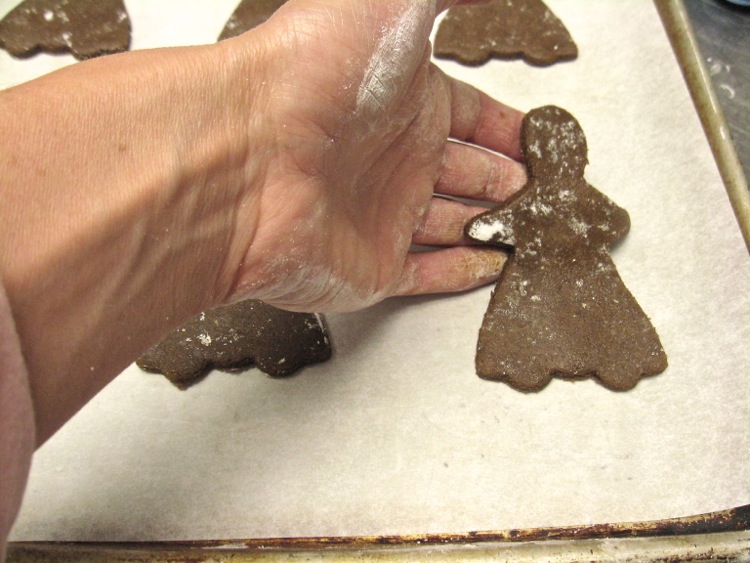
Place your cutouts on a parchment-lined baking sheet and chill them for about 10 to 15 minutes.
Bake the cookies for 10 to 12 minutes. They'll firm up on the edges, but should still be soft in the middle and remain partially so after cooling.
Cool completely before decorating.
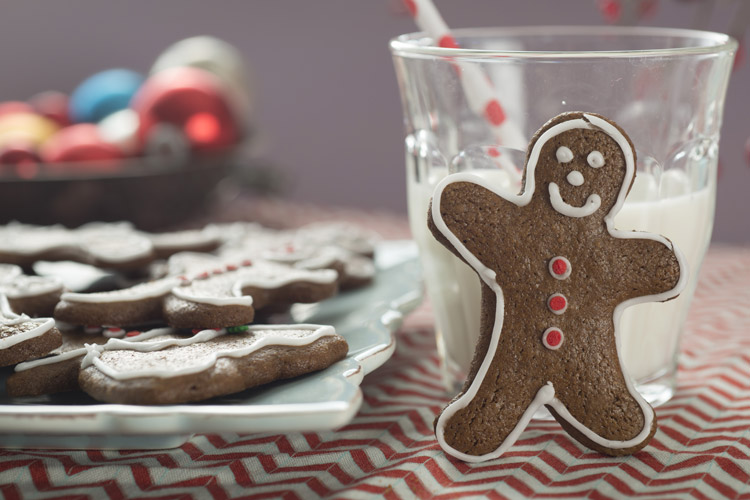
These sweet little treats, simply dressed, will be a delight to Santa and your GF friends! Make them a part of your gift-giving basket this season, but don't forget to keep some all to yourself.
Please read, bake, and review our recipe for Gluten-Free Gingerbread Cookies.