Ever baked a loaf of gluten-free sandwich bread, wrapped it up, and left it on the counter overnight only to wake up to find it hard as a rock? Yep, we’ve all been there!
But fear not; while it might seem like all of your hard work as gone to waste, there’s a use for that stale bread: croutons!
Before we dive into the recipe, though, I first want to share a few quick tips about storing gluten-free bread. Since I know you’d likely prefer to have fresh slices of sandwich bread to enjoy, here’s what we recommend for keeping your bread moist and tender.
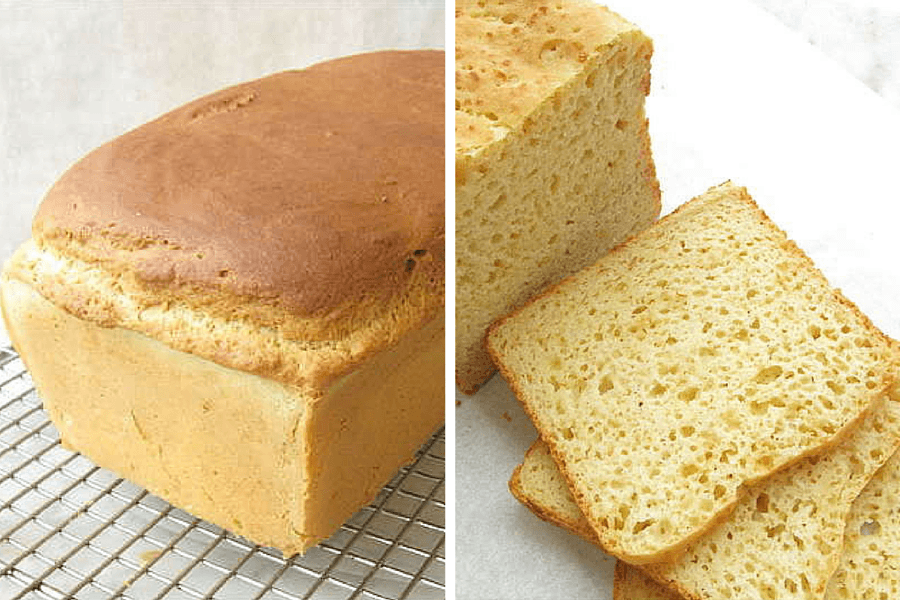
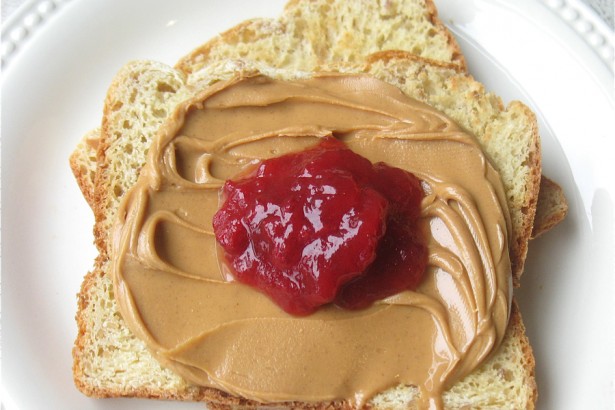
Gluten-free bread is always better when it’s fresh from the oven. Of course, you'll want to let it cool completely before slicing, but to get the most tender and moist bread slice, eat the entire loaf right away. This is a great option if you’ve got a lot of sandwiches to make or are hosting a dinner party, because you don’t really have to think about storage. But I know this isn’t possible for most scenarios, so read on for a few other options.
In order to keep as much moisture as possible in your bread, only slice what you need to and store the rest. This will help ensure the entire loaf doesn't dry out.
If you plan to eat your bread within a day or two, you should be safe if you wrap it loosely in foil and store it at room temperature (preferably in a breadbox). Do keep in mind though, the dependability of this method relies on how much moisture is in the air, which will change based your location (and even the time of year). While you might be able to get away with two or three days, we recommend this method to be used for one day.
If you’ve noticed that your bread is starting to dry out, rather than tossing it, give it a quick zap in the microwave or toast it. This should bring back some moisture and give you that perfect, tender crumb.
If you want your bread to remain as fresh as possible, we recommend that you freeze what you don’t plan on eating the first day. Once your bread has cooled completely, slice off the portion that you plan to eat immediately, and slice the remaining portion into sandwich size pieces (or whatever size your desire). Wrap those slices in freezer-safe wrap and place it in a sealable plastic bag. Thaw slices as needed in the toaster oven.
Now if all these methods fail and you still end up with a loaf of stale gluten-free bread, it’s time to make your croutons (or breadcrumbs)!
Making gluten-free croutons at home is super easy. They’re great on top of salads, or even just to munch on for a little snack while I’m sitting at my desk. The flavor options are endless, but I’m going to show you my go-to recipe today: Parmesan-Herb. They’re flavorful, but fairly basic in nature meaning they can really go with anything. I love tossing them into a Caesar salad!
All you’ll need to get started is 1 loaf of gluten-free sandwich bread (at least 1 day old).
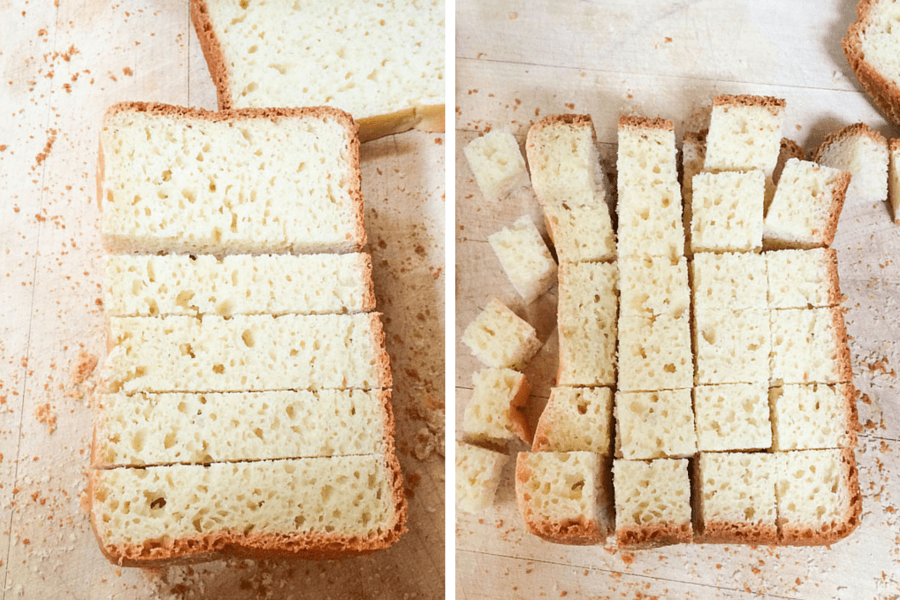
Begin by preheating your oven to 250ºF. If you haven’t already sliced your bread, slice it now then cut into cubes.
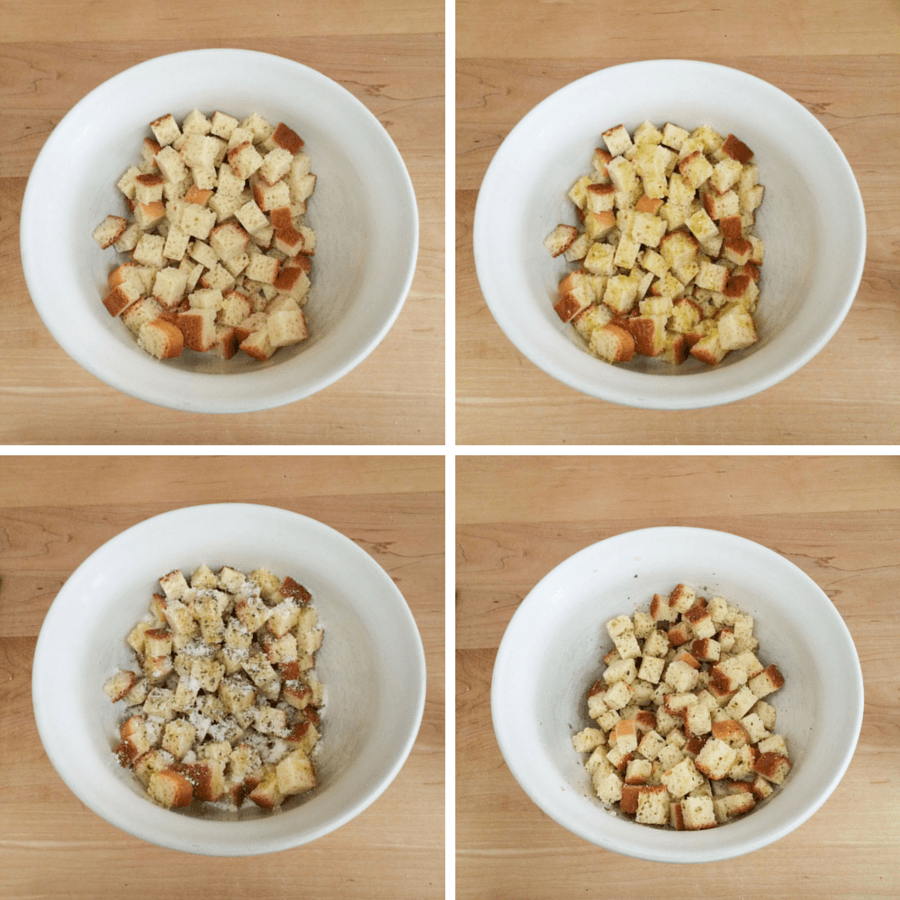
Transfer the cubes to a large mixing bowl where you will add in:
1/4 cup olive oil
1/2 cup parmesan cheese
2 tablespoons dried herbs of choice
1 teaspoon salt
1 teaspoon black pepper
Place the cubes on a baking sheet and roast on the center rack for 45 - 60 minutes, until the croutons are hard and crunchy. You can stir them around a few times during the baking process to ensure even browning.
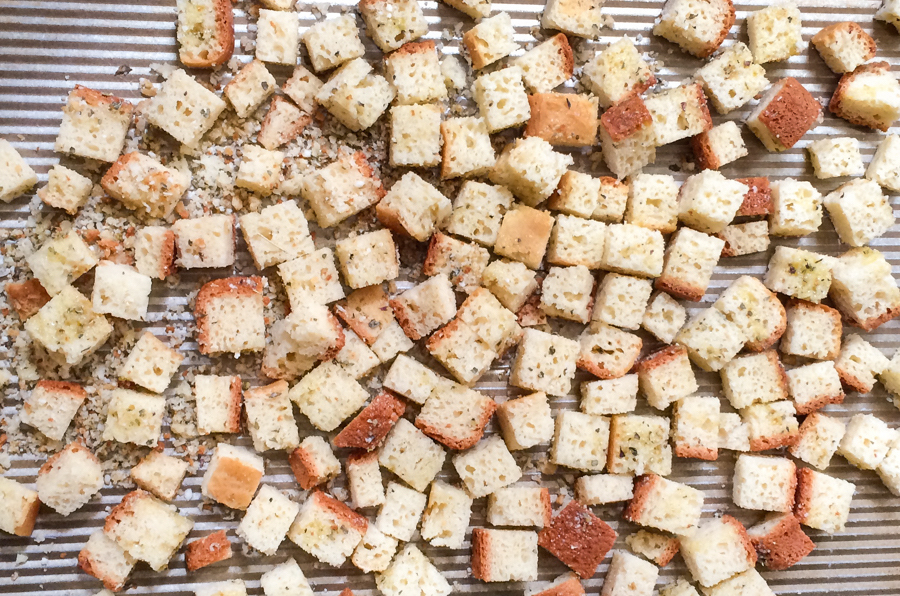
Remove the pan from the oven and let the croutons cool completely before storing or using. Keep in any leftover croutons in airtight container for 5 - 6 days.
And if you have too many croutons than you know what to do with, you can make breadcrumbs by adding half of your croutons to a food processor and pulsing until you get a sandy texture. Again, store these in an airtight container for 5 - 6 days (or freeze for up to 2 months).
Want to learn more about gluten-free baking? Read through our Gluten-Free Baking Guide, and leave any questions in the comments, below!