


Cake Styling
Light the candles and cue the singing!
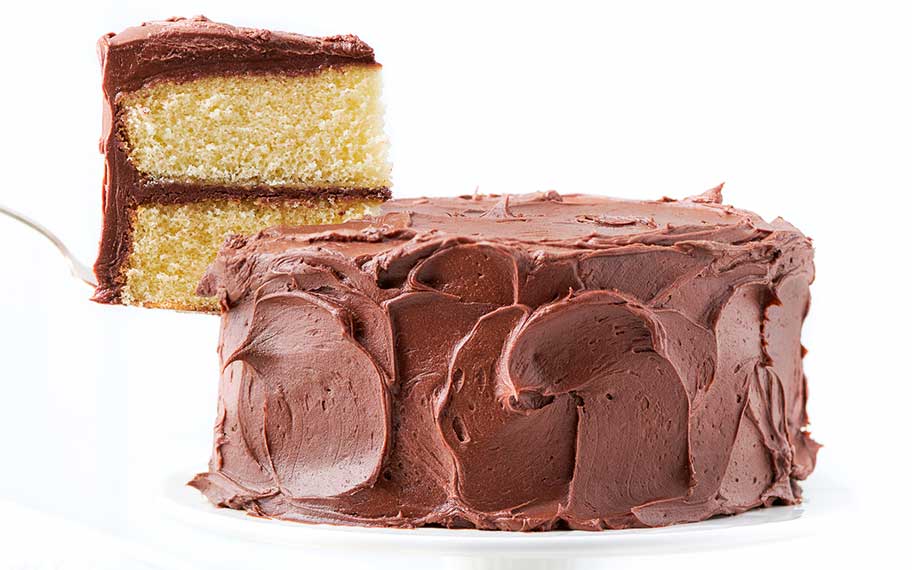
Our 2019 Recipe of the Year is our Classic Birthday Cake — and it's ready to party. We've spent months testing and tweaking to come up with the ultimate recipe for this beloved layer cake with its tender, moist, golden crumb and swathes of rich, mellow chocolate frosting.
Since this cake is delicious in any form, we're showing you here how to put your own spin on it with our favorite decorating methods, from fluffy swoops to bakery-worthy smooth edges. (Make it extra impressive by baking it in 8" pans instead of 9" pans for more height!) Our job was putting in the hours, research, and baking expertise to create the most excellent and foolproof recipe for bakers of all levels; your job is to bake, share, and celebrate!
Classic
- Generously frost the top and sides of the cake. Don't worry about making it look too neat.
- Hold an offset spatula, kitchen spreader, or butter knife at a low angle against the top of the cake, and make a swirling motion with your hand, pressing lightly against the frosting as you swirl to create swooping shapes.
- Repeat the swirling motion over the entire top and sides of the cake, rotating the cake as you go.
Smooth
- Place the filled, stacked layers on a rotating cake stand or serving plate that you can easily turn. Generously frost the top and sides of the cake.
- Holding a bench knife flat against the edge of the cake (so that it is just barely touching the cake) with the bottom resting on the base of the cake stand or plate, slowly rotate the cake 360°, scraping off a thin layer of frosting in front of the bench knife and leaving a smooth finish behind it.
- As you approach the end of the full rotation (coming back upon the part where you first placed the bench knife), keep rotating and gently remove the bench knife's pressure from the side of the cake.
- Once the edges are smooth, use an offset spatula to clear any excess frosting from the top and make sharp, 90° angles.
Waves
- Crumb coat the cake, and apply an even, finished layer of frosting to the top.
- Working from the top to the bottom, pipe 4 dots of frosting onto the sides of the cake. Be generous with the size of the dots; a dot that's too small won't create much of a wave. If you don't like the sizing or spacing of your first row, wipe it off and start again.
- Using an offset spatula, or the flat-ish handle of a fork or spoon, or the end of a butter knife, press into the middle of the piped dot (where the frosting left a point) and use a sweeping motion to spread it out to the right (or left if you are left handed).
- Pipe the next row of dots over the part of the frosting where the wave started to blend into the side of the cake. Repeat the sweeping motion on the second row of dots.
- Continue piping and sweeping each row until you make your way around the entire cake. Wipe your tool (offset, spoon/fork handle, knife tip) on the edge of a bowl to clean it off before each sweep; refill your pastry bag as needed. Finish the decor of the cake by piping a row of dots without sweeping.
Scallops
- Crumb coat the cake, and apply an even, finished layer of frosting to the top.
- With the remaining frosting, liberally cover the sides of the cake (it is not crucial for it to be completely smooth and flat).
- Using the back of a spoon or offset spatula, tilt the tip of it toward the cake at about a 45° angle. Using just the bottom 1/4 of the spoon gently and steadily pull through the frosting from the bottom of the cake wall to the top, releasing the pressure when you reach the top.
- Repeat the same motion around the cake's perimeter, slightly overlapping each consecutive scallop.
- Finally, with an offset spatula or butter knife, remove any excess frosting at the top of the cake to create a crisp edge.
Piped
- Frost the cake to create a smooth, finished look on the top and sides.
- Using a closed star tip (#844 works well), cover portions of the cake with rosettes. There will not be enough frosting to cover the entire cake, so plan to cover only about 1/3 of the cake with these flourishes.
- Using the same closed star tip, fill in some of the space between your roses with a single dot pulling away as you ease pressure to make a point to your star.
- Using another small piping bag with just the tip snipped off or a small round piping tip, fill in any remaining spaces with round dots using the same technique as the stars.
Sprinkles
- Frost the cake to create a smooth, finished look on the top and sides.
- Line a baking sheet pan with a piece of parchment and place the cake on the parchment.
- Transfer the sprinkles, nuts, or other garnishes to a small bowl for easiest handling.
- Holding the bottom of the cake (well-adhered to a cake board) in one hand over the parchment-lined sheet tray, tilt the bottom of the cake into a handful of sprinkles, drawing your hand upwards to distribute the sprinkles over the side. Rotate the cake and repeat the process until you've coated as much of the cake as desired. Alternatively, work with the cake resting on the parchment-lined sheet tray using hands to apply the sprinkles to the sides.
- When finished, wipe off any excess sprinkles from the cake board/serving plate, letting them fall onto the parchment paper. Use the parchment paper to easily transfer any remaining loose sprinkles back into their container.
Additional Resources
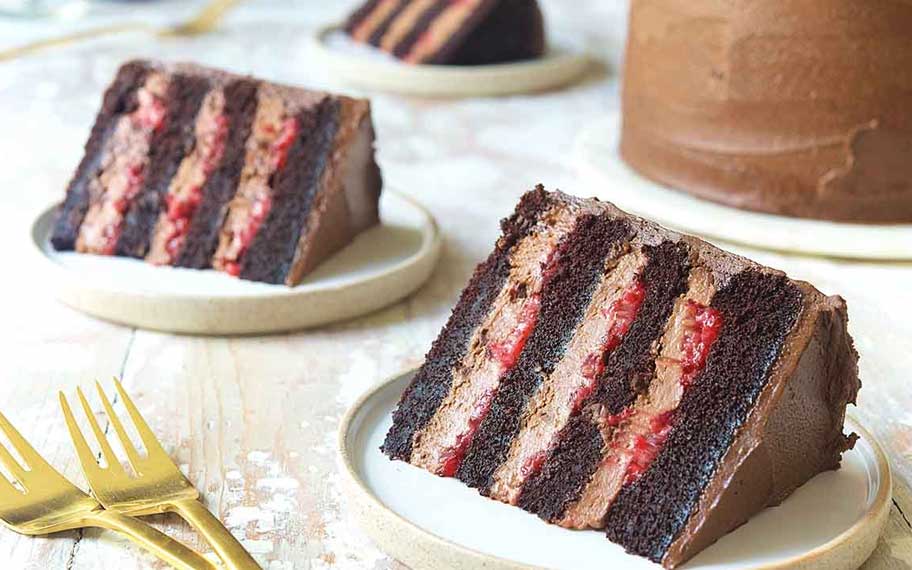
Best Birthday Cakes
There's something perfect for every taste in this collection of very special cakes.
Recipe of the Year Essentials
Here's everything you need to make the 2019 Recipe of the Year at home.


