Apple Pancakes with Boiled Cider Syrup

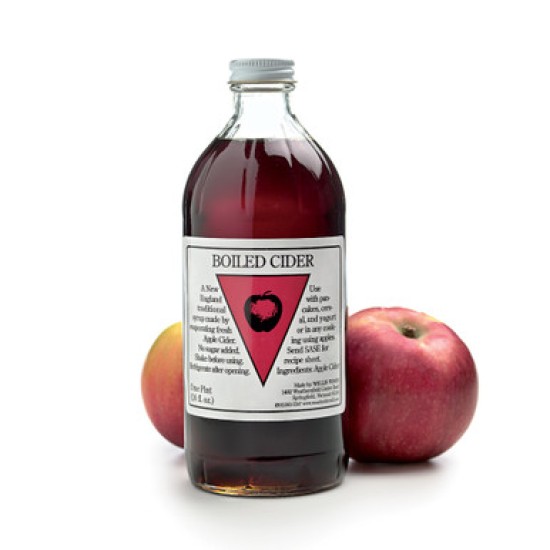
These pancakes are great any time of the year, but we particularly like them during the crisp autumn days just after the apple harvest. The boiled cider for the syrup is an old New England specialty; it's simply apple cider which has been boiled down to syrup consistency, somewhere between cider and jelly.

Prep
35 mins
Total
1 hr 5 mins
Yield
10 medium (4") pancakes
Apple Pancakes with Boiled Cider Syrup - select to zoom

Instructions

Prevent your screen from going dark as you follow along.
  1. To make the syrup: Combine the brown sugar, cornstarch and cinnamon in a heavy saucepan. Whisk to mix. Stir in the cider. Whisk until smooth.

  2. Cook over medium heat until mixture begins to boil, stirring occasionally. Immediately remove from the heat.

  3. Add the butter, stirring until it melts.

  4. Keep warm while pancakes cook.

  5. To make the pancakes: In a large bowl, combine the flour, baking powder, granulated sugar and salt. Whisk until combined. Add the apples and toss until well coated with flour.

  6. Combine milk, egg and oil. Mix well.

  7. Add the liquid ingredients to the dry ingredients. Stir just until the dry ingredients are moistened. Do not overmix; the batter should be lumpy.

  8. Preheat a well-seasoned or lightly greased griddle or skillet until water sizzles and "jumps" when splashed on the surface.

  9. Drop 1/4-cupfuls of batter onto hot griddle or skillet — a cookie or ice cream scoop is good for this.

  10. When bubbles break over the top and around the edges, turn and cook until lightly browned.

  11. Serve pancakes hot with the warm syrup.

Tips from our Bakers

  • If you prefer soft rather than crunchy apples in your pancakes, sauté the diced apples in some butter with a bit of sugar until they're softened but still hold their shape; think "al dente." If desired, sauté extra and use them as a garnish, as we've done in the photo above.