-
To make the dough: Pour the water into a large mixing bowl. Add the ripe starter to the water by ripping it into small pieces.
-
Add the flour and salt, and stir the ingredients (a dough scraper works well here) until the dough becomes shaggy.
-
Scrape the dough out of the bowl and smear the dough with the heel of your hand, so that all the flour hydrates and the starter begins to break down. This should only take 1 to 2 minutes. Make sure there are no remaining dry pockets of flour. Return the dough to the bowl. To use a stand mixer, simply mix 1 minute on lowest speed, scraping down the bowl to be sure all the flour is hydrated
-
Cover the bowl with plastic wrap and allow the dough to sit for 30 minutes.
-
Knead the dough by hand for 2 minutes (1 minute on speed 2 using a stand mixer), then place it in an oiled bowl and cover it with plastic wrap.
-
Let the dough rise for 1 hour at warm room temperature; 76°F is ideal. If your room is cooler, let it rise for 75 to 90 minutes.
-
Gently deflate the risen dough by folding it; please watch our video on how to deflate yeast dough for details. Place it folded side down in the bowl, and let it rise for another hour.
-
Fold the dough one more time, and let it rise for 90 minutes. The dough should feel light and airy. If it still feels stiff and cool, give it another fold and one more hour of rising time.
-
Turn the dough out of the bowl onto a lightly floured surface. Cut off 8 ounces (about 1 cup, lightly packed), round it up, and place it in a lightly oiled, covered container. Keep it in your refrigerator for up to a week; feed as directed in our Stiff Sourdough Starter recipe when you want to bake bread again. Don't want to maintain another starter in the fridge? Simply use all of the dough to make one large loaf or two smaller loaves. Baking times will be a bit longer or shorter, depending on the size of the loaves.
-
To preshape the loaf: Give the dough a light fold. Place the loaf fold side up on a floured surface, cover it with plastic wrap, and let it rest for 20 minutes.
-
To shape the loaf: Now you'll shape the dough into a large round. First, make sure your work surface is clean and free of flour. Cup your hands loosely on either side of the dough. Gently move the dough in a circular motion; think of how your hands move when making a U-turn in your car. The dough will stick just slightly to the work surface with each turn; this tackiness gradually helps shape it into a smooth round. Once you've shaped your round, let it sit on the table for a minute or two, seam-side down, to seal the bottom seam.
-
Place the loaf seam-side up in a floured brotform or in a bowl lined with a well-floured dishtowel or cloth napkin.
-
Refrigerate the loaf, covered with plastic wrap, overnight or for up to 24 hours. About 16 to 18 hours of refrigeration is ideal. Note: For a more mildly flavored sourdough, allow the shaped loaf to rise for 2 to 3 hours, then bake, skipping the refrigeration.
-
Preheat the oven to 450°F. To give loaves baked on a baking sheet or oven stone (rather than in a Dutch oven or covered baker) an extra-crispy crust, ready the oven for steam by placing a cast iron pan on the bottom rack.
-
If baking in a Dutch oven or other covered baker, gently turn the loaf into the prepared pot, replace the lid, and allow the loaf to rest at room temperature for at least 45 minutes before baking. Loaves baked on a stone or on a baking sheet can be loaded into the oven directly from the refrigerator.
-
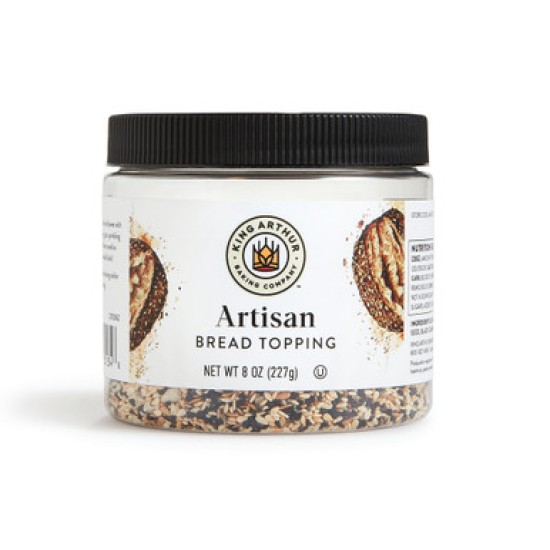
Just before baking, brush or spray the loaf with water, and sprinkle it with artisan bread topping or the seeds of your choice. Use a lame or a very sharp knife to score the bread several times across the top.
-
To bake bread in a Dutch oven or lidded baker: Bake the bread for 30 minutes. Remove the lid and continue to bake for 20 minutes, or until the loaf is a rich golden brown and sounds hollow when tapped on the bottom.
-
To bake bread on a baking sheet or stone: If you're adding steam, pour 1 cup boiling water into the hot cast iron pan. Bake the bread until it's a deep golden brown, approximately 40 to 45 minutes.
-
Remove the bread from the oven and allow it to cool on a rack before slicing.