-
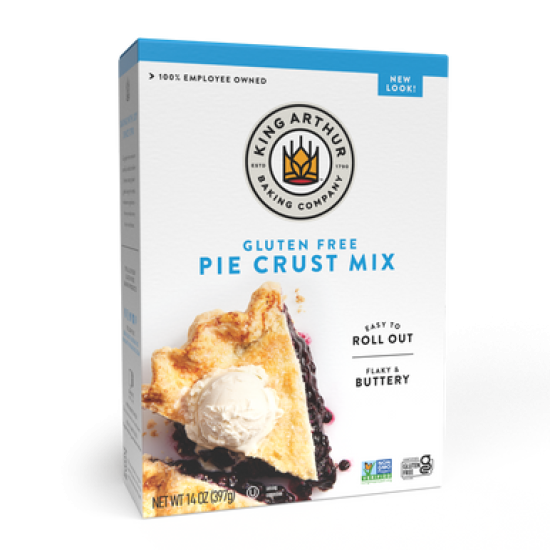
To prepare the crust: Preheat the oven to 375°F. Lightly grease a 9" pie pan.
-
Roll the pie dough into a 12" to 13" circle on a piece of plastic wrap, a silicone rolling mat, or in a pie bag that's been heavily sprinkled with gluten-free flour or flour blend. Invert the crust into the prepared pie pan, pressing it into the pan.
-
Line the bottom of the crust with pie weights. Or line with parchment, then add dry rice, or dried beans.
-
Bake the crust for 25 minutes. Remove the weights, and bake for an additional 10 to 15 minutes, until the crust is light golden brown; it's helpful to have a pie shield or some foil at the ready in case the edge of your crust begins to brown too quickly.
-
Remove the crust from the oven, and allow it to cool until you can touch it comfortably.
-
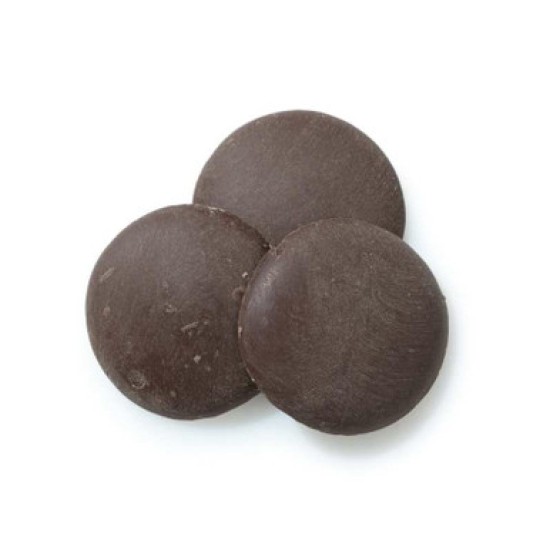
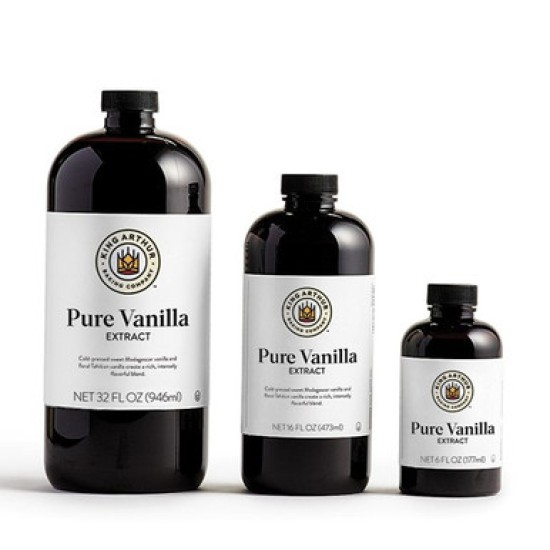
To make the filling: Place the butter, chocolate, and vanilla into a 2-quart bowl; set aside.
-
In a medium saucepan off the heat, whisk together the sugar, cornstarch, cocoa, and salt.
-
Whisk in 1/4 cup (57g) cold heavy cream until the mixture is smooth, with no lumps. Repeat with another 1/4 cup (57g) of the cream, then whisk in the egg yolks.
-
Over medium heat, gradually whisk in the remaining cream, and the milk.
-
Bring the mixture to a boil, whisking constantly as it thickens; boil for 1 minute.
-
Remove the pan from the heat and pour the mixture over the reserved chocolate and butter. Whisk until the chocolate is melted and the mixture is smooth.
-
Pour the filling through a strainer into a bowl, to remove any lumps.
-
Place plastic wrap or buttered parchment paper on the surface to prevent a skin from forming, and chill thoroughly.
-
To assemble the pie: Spoon the cooled filling into the cooled, baked pie crust. Level the top with the back of a spoon or an offset spatula.
-
Spoon or pipe whipped cream on top, if desired. Or top individual slices with whipped cream when serving.
-
Keep the pie chilled until ready to serve. For best slicing, refrigerate the pie overnight before serving.