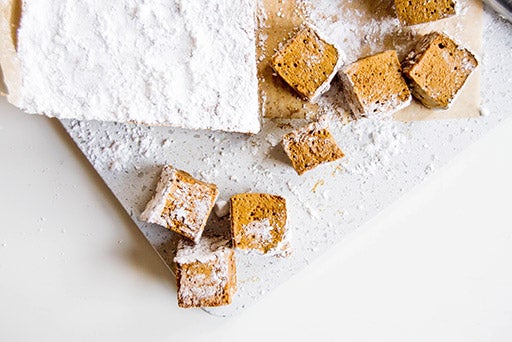
For gingerbread marshmallows: Instead of light corn syrup use dark corn syrup, which provides a more nuanced, caramel flavor closer to molasses. If you really love the rich, dark taste of molasses, you can replace half or even all of the corn syrup with molasses by volume. In addition, omit the vanilla and add 2 teaspoons ginger, 1 1/2 teaspoons cinnamon, and 1/2 teaspoon cloves (or 1 to 2 tablespoons Gingerbread Spice) to the stovetop syrup before cooking for a dose of wintry spice.
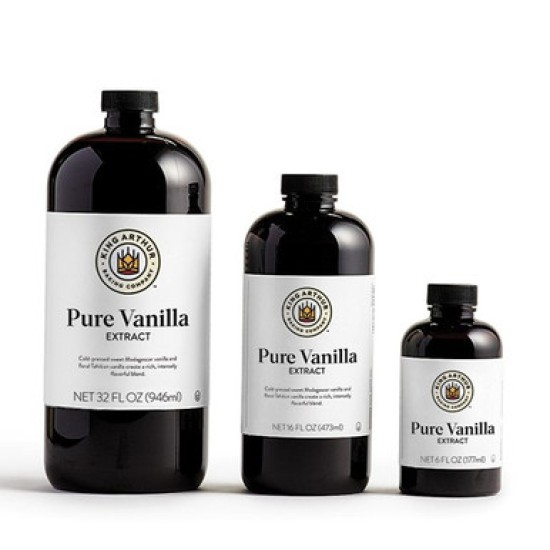
For eggnog marshmallows: Follow the recipe as written, adding 1 teaspoon nutmeg to the syrup mixture before cooking. If possible, use freshly grated nutmeg instead of ground; the flavor is much brighter, fresher, and more vibrant. Add 1/2 teaspoon rum extract in addition to the vanilla, if desired.
For chocolate-dipped marshmallows: Once marshmallows are cooled and cut, dip them in a bowl of melted chocolate and let rest for a few minutes to set. You can also sprinkle peppermint crunch, toasted nuts, or cacao nibs on the dipped chocolate section before it sets for some added flair. See our post on dipping chocolate for details on how to prepare.
Looking for even more flavors? Check out our recipes for Peppermint Crunch Marshmallows and Maple Marshmallows.