-
In a large mixing bowl, whisk together the flour, sugar, salt, and baking powder.
-
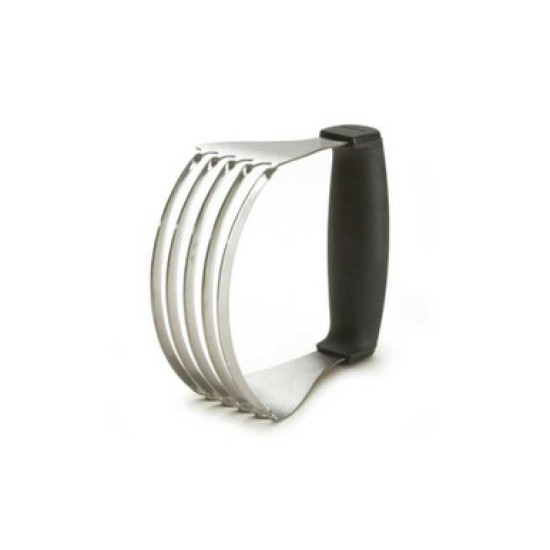
Work in the butter just until the mixture is unevenly crumbly; it's OK for some larger chunks of butter to remain unincorporated.
-
Stir in the fruit, chips, and/or nuts, if you're using them.
-
In a separate mixing bowl, whisk together the eggs, vanilla or other flavor, and half-and-half or milk. Add the liquid ingredients to the dry ingredients.
-
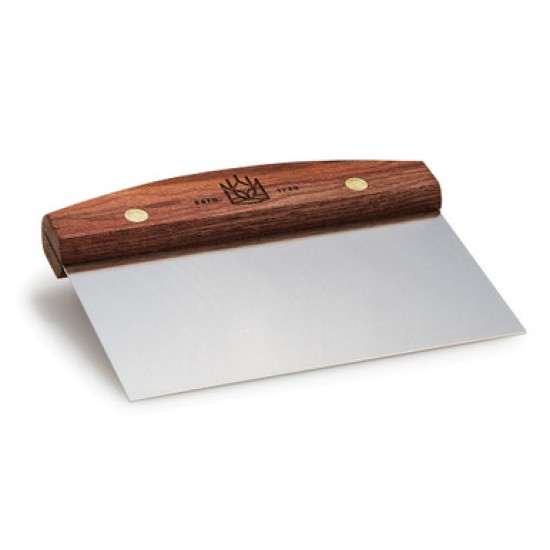
Using a bowl scraper or a large spoon, stir the dough ingredients until all is moistened and holds together.
-
Line a baking sheet with parchment; if you don't have parchment, just use it without greasing it. Sprinkle a bit of flour atop the parchment or pan.
-
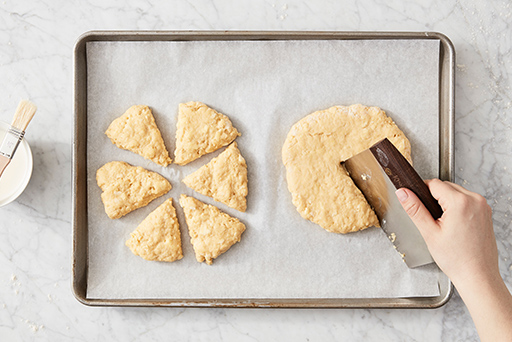
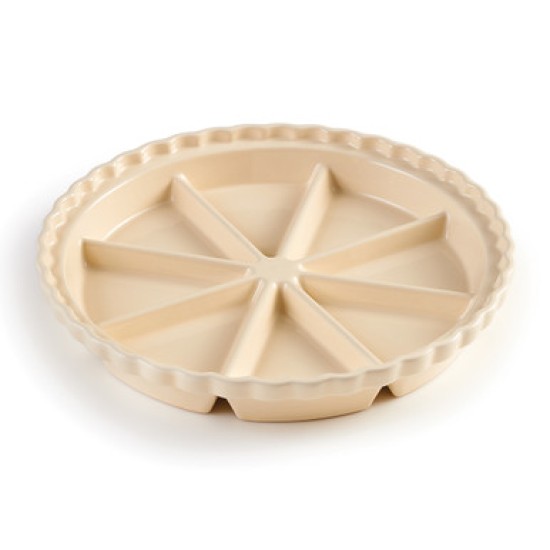
Scrape the dough onto the floured parchment or pan, and divide it in half. Round each half into a 5" circle (if you haven't incorporated any add-ins); or a 6" circle (if you've added fruit, nuts, etc.). The circles should be about 3/4" thick.
-
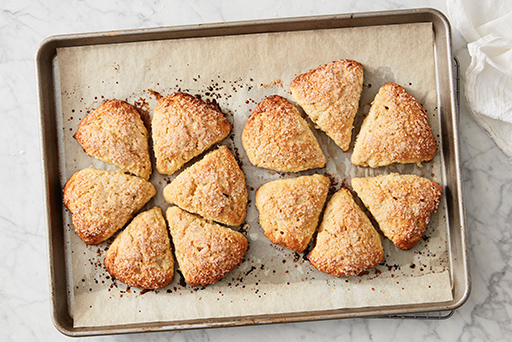
Using a knife or bench knife that you've run under cold water, slice each circle into 6 wedges.
-
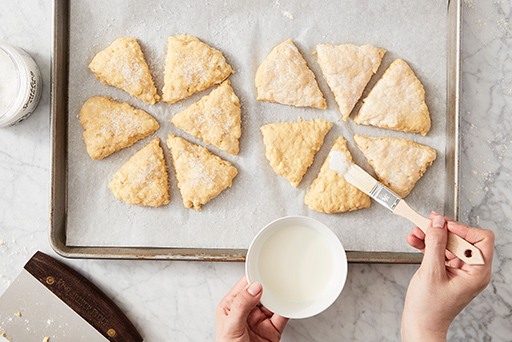
Brush each circle with milk, and sprinkle with coarse white sparkling sugar or cinnamon sugar.
-
Carefully pull the wedges away from the center to separate them just a bit; there should be about 1/2" space between them, at their outer edges.
-
For best texture and highest rise, place the pan of scones in the freezer for 30 minutes, uncovered. Chilling the scones relaxes the gluten in the flour, which makes the scones more tender and allows them to rise higher. It also chills the fat, which will make the scones a bit flakier. While the scones are chilling, preheat the oven to 425°F with a rack in the upper third.
-
Bake the scones in the upper part of your oven for 18 to 23 minutes, or until they're a light golden brown. When you pull one away from the others, it should look baked all the way through; the edge shouldn't look wet or unbaked.
-
Remove the scones from the oven, and cool briefly on the pan. Serve warm. They're delicious as is, but add butter and/or jam, if you like.
-
When the scones are completely cool, wrap them in plastic and store at room temperature for up to several days. To reheat room-temperature scones, place on a baking sheet, tent lightly with foil, and warm in a preheated 350°F oven for about 10 minutes.