-
Stir any liquid on top of your refrigerated starter back into it before measuring 1 cup (227g) into a large mixing bowl. Note: This is a good opportunity to feed the remainder of your starter, if necessary.
-
To make the dough: Weigh your flour; or measure it by gently spooning it into a cup, then sweeping off any excess. In your large mixing bowl or bowl of your stand mixer, combine the lesser amount of water, the flour, salt, yeast, and Pizza Dough Flavor with the sourdough starter.
-
Mix to combine, adding the remaining water 1 tablespoon at a time if the dough looks dry. Knead for about 7 minutes using a stand mixer with its dough hook, until the dough cleans the sides of the bowl.
-
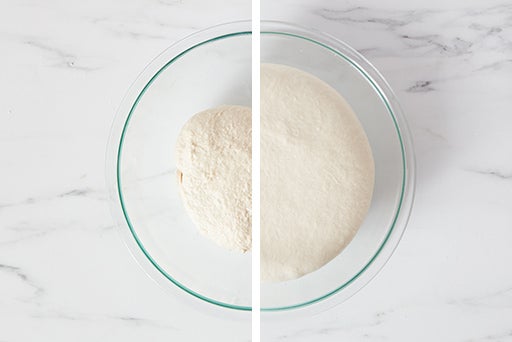
Place the dough in a lightly greased container, cover, and let rise until almost doubled in bulk. Depending on the vitality of your starter, this will take between 2 and 4 hours. For a faster rise, place the dough in a warm spot (or double the yeast).
-
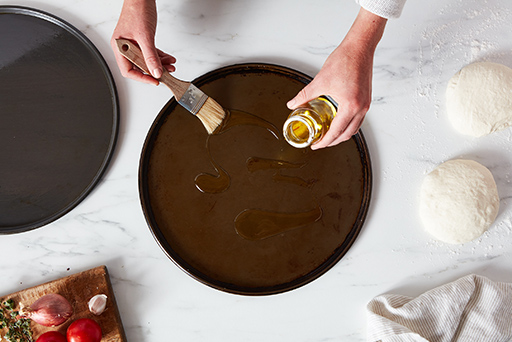
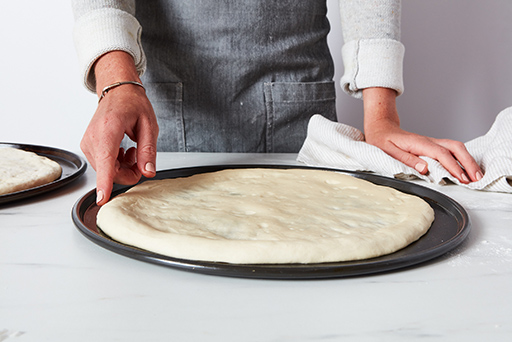
For two thin-crust pizzas: Divide the dough in half and shape each into a flattened disk. Drizzle two 12" round pizza pans with olive oil, and brush to coat the pan evenly.
-
Place the dough in the pans, cover, and let rest for 15 minutes. After this rest, gently press each piece of dough toward the edge of its pan. If it starts to shrink back, cover and let rest for 15 minutes before continuing.
-
For a thicker, large pizza: Oil a 14" round pizza pan or 18" x 13" half-sheet pan. Place the dough in the pan and press it out to the edges, again giving it a 15-minute rest before continuing if it starts to snap back.
-
Cover the pan(s) and let the dough rise until it's as thick as you like.
-
Toward the end of the rise, preheat your oven to 450°F.
-
Sauce and top each pizza as you like, but don't add cheese yet (this ensures a crispy crust). Bake thin-crust pizzas for 5 minutes before removing from the oven and adding cheese. For thick-crust pizza, bake for 10 minutes before removing from the oven and adding cheese. Return to the oven and bake for 5 to 7 minutes more, until the cheese is melted.
-
Remove the pizza from the oven and enjoy hot.
-
Storage information: Store leftover pizza, well wrapped, in the refrigerator for up to five days.