Chocolate and peanut butter have a truly symbiotic relationship: each brings out the best in the other. While Reese's Peanut Butter Cups have the corner on the combination in candyland, bakers can create a classic of their own. Our version is called Magic in the Middles. It was born when we were working on the Cookie Companion; one of our readers/customers plaintively asked us if we had a recipe for a cookie like this, and PJ went to town on the idea. She was extremely successful.
It’s simple: chocolate cookie dough surrounds a peanut butter center, and the whole is dredged in sugar before baking. In the oven, the cookie spreads out, and like magic, you end up with a peanut butter center between two wonderful chocolate layers
One of our former colleagues fell in love with and married a British lad, whose favorite culinary discovery in America was our beloved chocolate/peanut butter combination. I’ve made several “care package” batches of these for him since, including several dozen for their wedding. If he reads this I have no doubt I’ll get an email, wondering where the latest shipment is.
Ready to make some? Here goes.
First, whisk together the dry ingredients for the cookie. If the cocoa has lumps in it, it’s always a good idea to put it through a strainer first.

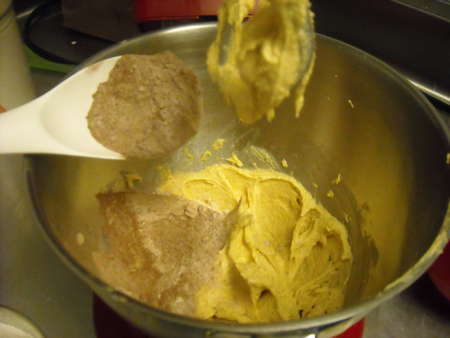
Next, cream the sugars with the butter and peanut butter.

Once they’re smooth (scrape at least once), add the vanilla and egg.

Scrape, then add the dry ingredients.
Here’s a funny thing. Sometimes recipes change on you over time. We tested this recipe repeatedly (and with great glee) several times before it went into the book. But in the many batches we’ve made since, we’ve found that every once in awhile, the chocolate dough cracks when they’re formed and baked, because it’s not QUITE moist enough. Depending on humidity, one’s personal measuring style, the variance in the size of the egg, and the protein in the flour, you may need to add one or two tablespoons of milk to the dough, or an extra egg yolk. If you double the recipe, definitely add an extra egg.
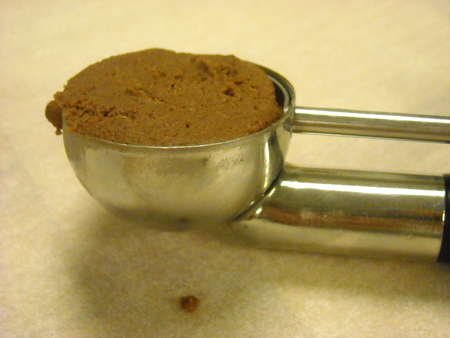
Now, to make the amount of outsides match the amount of filling to a "T", the best method we know is to use cookie scoops. The tablespoon scoop is just right for the chocolate dough, and the teaspoon scoop is perfect for the filling. Scoop the filling out into balls and roll them up; you can freeze them if you want them to be a little more rigid and easy to handle.
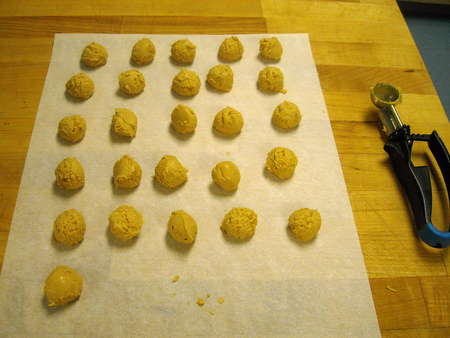
Now scoop the chocolate dough: don’t cheat (like I have) and heap the dough above the top of the scoop like you’re making an ice cream cone: you won’t have enough to make all 26 cookies if you do.
Keep the dough level, and your outsides will match your insides. Put the chocolate ball in your palm; press a deep dent in it with your thumb.

Now plop in the peanut butter ball.
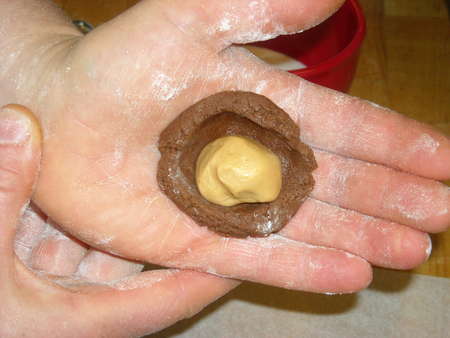
And pinch the edges together around it.

Roll between your hands to round it up.

Now give it a little sugar coating.

Put it on the cookie sheet, with a good 2” between the cookies.
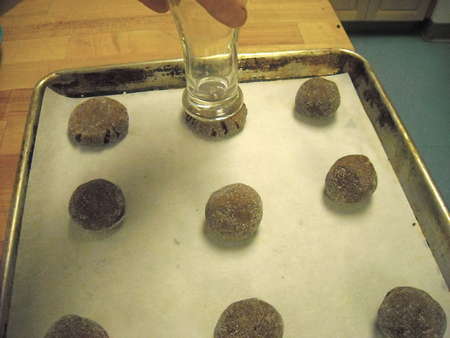
Once all the cookies are formed, use the bottom of a drinking glass to press them flat, about 1/2" thick.
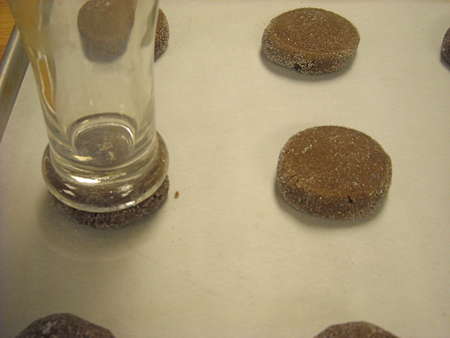
In the name of demonstrating the occasional cracking I was telling you about earlier, I made two versions of this dough, one as written in the book, and another with an extra egg yolk. In the photos above I'm using the original version. The dough handles well, but when I press it down, a couple of cracks form at the edges.
The version with an additional egg yolk was a bit trickier to form (a bit floppier in my hands), but when they got their light squishing, they looked like this:
No cracks, as you can see. The original version looked like this in the oven:
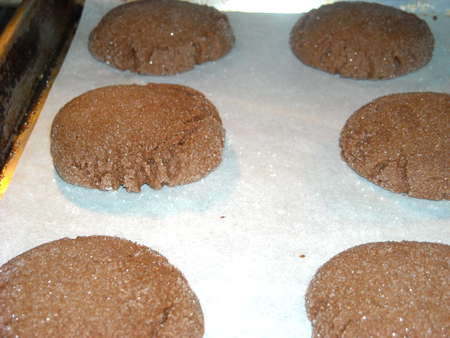
Some cracks, but nothing fatal. I can tell you that if the chocolate dough sits around for any length of time or is put in the refrigerator, it dries out more and the problem is exacerbated. But if you make and finish the cookies in one go, it's not an issue.
The wetter dough looked like this in the oven:
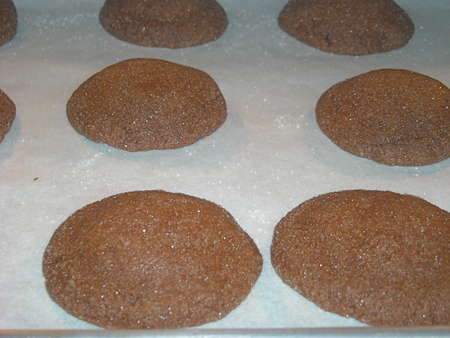
Time to bake: 7 to 9 minutes, until you can smell the chocolate and the cookies look set.
So it's up to you: easier to handle, no extra liquid. Ready for their beauty-queen closeup, add an extra yolk or a tablespoon or two of milk. Either way, you'll win friends and influence people with these cookies.
Cool on the pan for a few minutes before moving them to a rack to finish cooling. As if they’ll last that long…..
Read, rate, and comment (please!) on our Magic in the Middles recipe.
Pepperidge Farm Soft Baked Chocolate Chunk Cookies $3.39 (8 cookies) 42¢ each