


I love cheese crackers. LOVE LOVE LOVE cheese crackers. Cheez-Its, Cheese Nips, even Cheetos fall into that same delightful category of cheesy CRUNCH.
I love how the powdery cheese residue sticks to your fingers, so that of course you have to lick it off. I love that sharp/tangy/nutty taste that simply shouts CHEESE.
So, with all the yummy crunchy cheese snacks already on the market, why would I ever want to make my own?
Because I can. And for bakers, that’s reason enough.
I mean, why make your own bagels when you can get perfectly serviceable bagels—even great ones, in certain parts of the country—at your local store or deli? Why bother to make Faux-Reos, when “the real thing” is right there on your supermarket shelf?
C’mon, you know why. Because if you’re reading this, baking is an avocation, not something you’re forced into to avoid starvation. Oh, sure, providing your family with fresh-baked, oven-warm treats is a great side benefit of this passion you possess.
But truly, for us bakers it’s all about the journey, as much as the destination. We simply like to take an idea, visualize a tasty endpoint, and use our hands, heads (and hearts) to get there.
Shaping a bouncy round of dough into a boule, smoothing a log of biscotti dough, placing pepperoni on a pizza, the simple symmetry of crimping a pie crust… It’s just plain fun.
And that’s why I sometimes choose to make my own cheese crackers, rather than pick up a box of white cheddar Cheez-Its, tasty though they are.
These crackers involve a bit of fussing: rolling out dough, cutting it into squares, pricking with a fork. But the feeling when you pull them out of the oven is well worth it; and their taste is a reward unto itself.
Want to read the recipe before you follow along with these illustrated steps? Click here to see it online: Vermont Cheese Crackers.

Making crackers is exactly like making pie crust. You're simply adding leavening: in this case, both yeast and baking powder. Or baker's ammonia; this is a good place to try this old-fashioned precursor to baking powder, especially if you have some left over from your Christmas cookies.
Anyway, stir together the dry ingredients. If you're using baker's ammonia, save it out; you'll dissolve it in water a bit further along.
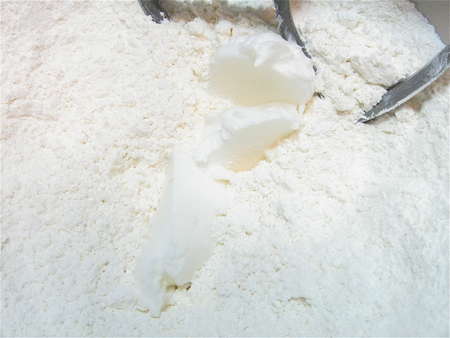
Add shortening...

...and mix till everything is unevenly crumbly.
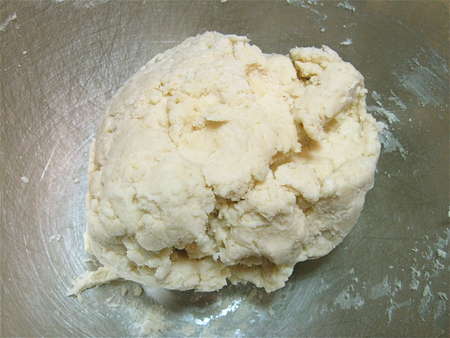
If you're using baker's ammonia, dissolve it in 1 tablespoon of the ice water called for in the recipe, and sprinkle it over the dry ingredients in the bowl. Either way, baker's ammonia or baking powder, drizzle in enough ice water, tossing and stirring, to make a cohesive dough.
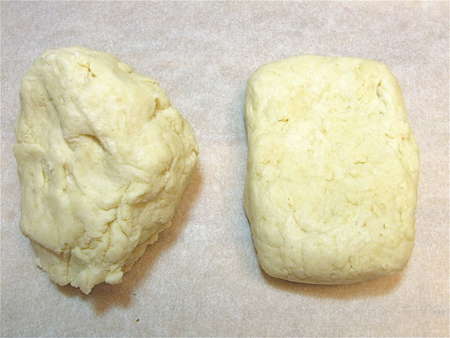
Divide the dough in half. Shape each half into a rectangular slab (pictured on the right); this cuts back a bit on raggedy edges as you roll. Wrap in plastic, and refrigerate for 30 to 60 minutes. Don't stretch the refrigeration time too much; the chemical leavening will gradually lose its punch.
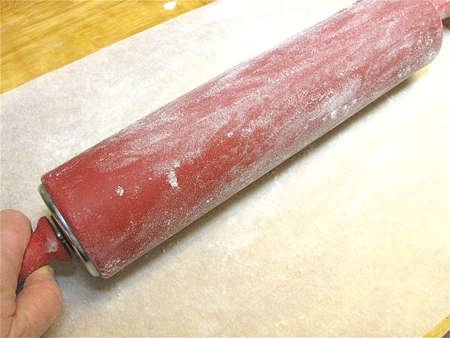
Lightly flour a piece of parchment, then roll your rolling pin over the parchment to coat the pin with flour.
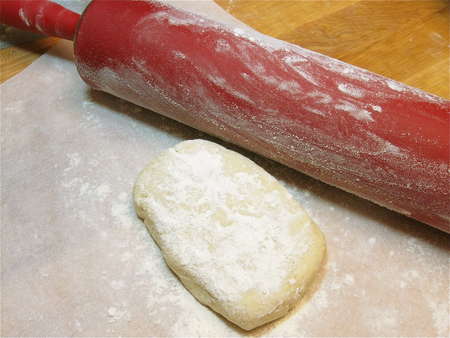
Remove one piece of dough from the fridge. Very lightly flour the top of the dough, and place it on the parchment. If you're not using reusable parchment... why not? It's one of the best investments you can make, for everything from keeping your cookie sheets clean, to ensuring that cakes come out of the pan in one piece, to baking crisp/crunchy artisan bread on a stone. But if you're not using parchment (and you'll see in a minute why it's particularly useful for these crackers), flour your work surface, or a silicone rolling mat.
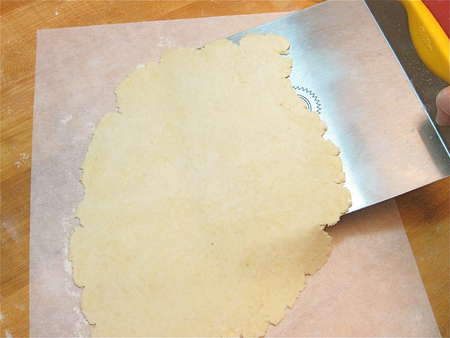
Roll the dough into a 1/16” to 1/8”-thick sheet, occasionally loosening it from the parchment with a giant spatula as you go. Thinner is better, but don't stress over this; I usually roll the dough to about 3/32”, truth be told, and I find that that thickness produces a really nice cracker. Thicker than 1/8”, your crackers will tend to be soft, not crisp.
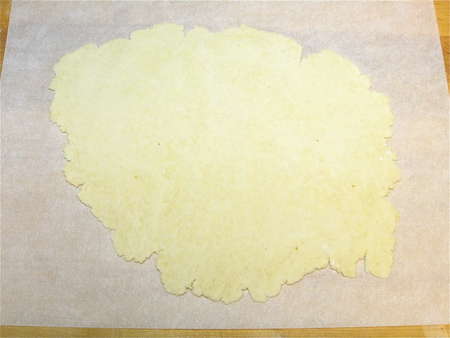
See? The raggedy edges aren't TOO bad.
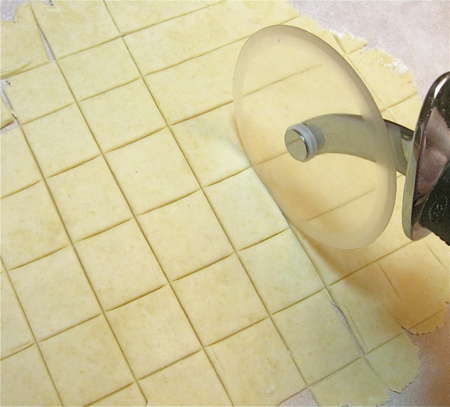
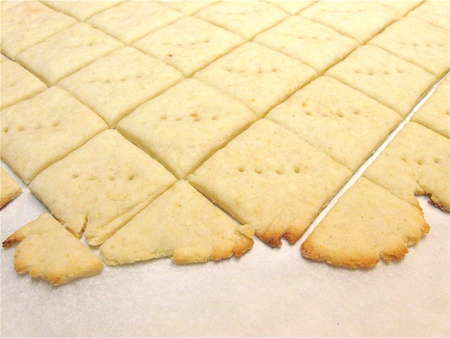
Cut the dough into 1 1/4” squares; a rolling pizza wheel works very well here. Note: If you're NOT working on parchment, DON'T cut the dough—yet.
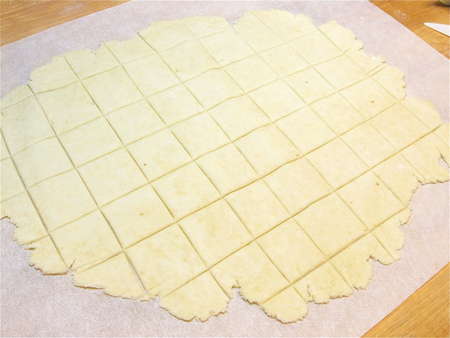
Here it is, cut in nice, even squares.
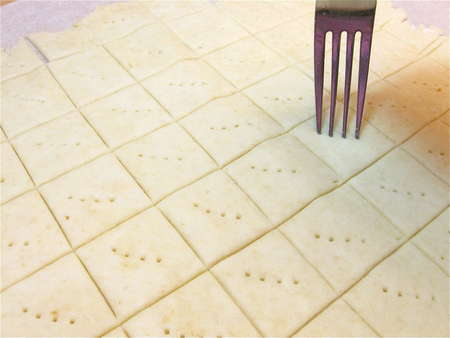
Prick each square with a fork; this is both for looks, and to keep the crackers from blowing up into little pillows as they bake.
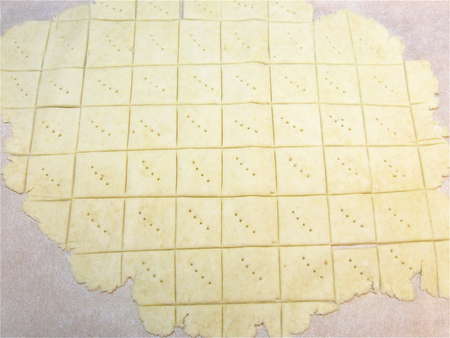
You can see the crackers taking shape, can't you?
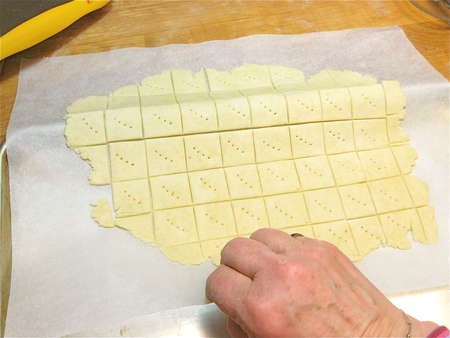
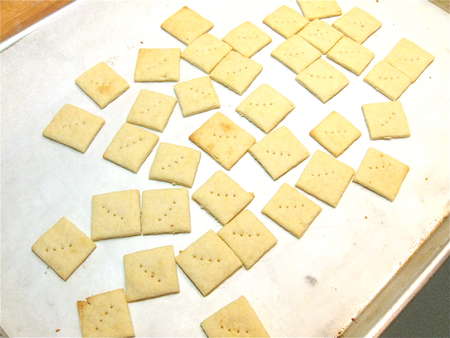
Here's where the parchment comes in SO handy: grab the edge, and gently slide it onto a baking sheet.
Now, if you haven't used parchment, carefully transfer the dough to a very lightly greased baking sheet. Unless you have a giant spatula, you'll probably need to fold it in quarters, or at least in half, to move it. Once it's on the baking sheet, cut and prick it as shown in the previous photos. It's more awkward to cut once the dough is on the pan... but that's one of the prices you pay for not using parchment!
Understand that you're working with just one piece of dough at this point; I find it easiest to bake just one sheet of crackers at a time. While the first sheet is baking, you can start to roll, cut, and prick the next batch.
Bake the crackers till the ones around the edge are starting to brown; this will take about 7 to 9 minutes, depending on whether you've used parchment (which provides a slightly slower, more gentle and even bake). Remove the pan from the oven, and transfer the browned crackers to a cooling rack (or another piece of parchment); they're done.
Quickly and gently separate the remaining crackers. Give the pan a couple of firm shakes first; they'll pull apart easily. Especially if you've used parchment. Hey, I'm not making this stuff up just to goad you into buying something—I've tested this both ways, and parchment definitely makes the entire process easier.

Continue baking until the crackers are very lightly browned around the edges...

...like this.
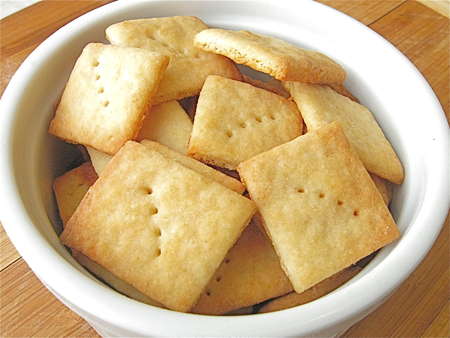
I've found these crackers are especially yummy with a bowl of homemade soup; any “cream of” soups are particularly good. I'm especially fond of our Creamy Tomato Soup, which my mom says makes canned tomato soup a poor second choice in comparison. And she's not just saying that because she's my mom—honest!

Finally, for “finger-lickin' good” crackers, shake in a bag with some extra cheese powder.
Read, review, and rate (please!) our recipe for Vermont Cheese Crackers.
