


Q. Where can you get great deli food, if you don't live in/near a city?
A. Nowhere. At least nowhere here in King Arthur's home in the Upper Valley of Vermont, that river bottomland where the Connecticut River divides Vermont from New Hampshire, about midway up the two states’ common border.
Sure, we have bagel shops. Even a newly opened spot called “New York Bagels and Café,” right there in the shopping plaza next to J.C. Penney and Kohl's and Sears.
But REAL deli?
Fuggedaboutit.
I mean, I was excited when I heard about NY Bagels. But one look at their menu dashed my hopes: BLT on white toast with mayo; chicken fingers, and minestrone soup didn't hit my hot button like, oh, chopped liver and half-sours and brisket and whitefish salad.
Not to be too hard on them – they do in fact offer corned beef, pastrami, and Russian dressing. And a nice selection of bagels. But a potato knish, or cissel rye? As I mentioned earlier:
Fuggedaboutit.
Our Web director, Halley, goes home to Cleveland when she wants real deli. Jim, our Web architect, goes to Philly. Me? I go to Boston.
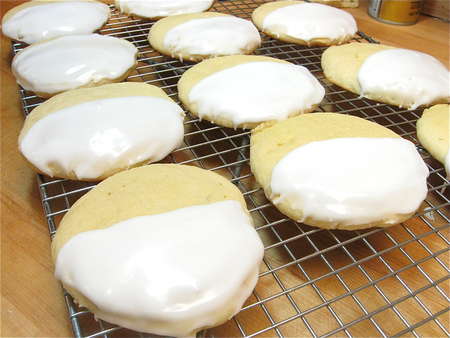
Or I bring the deli experience home to the Upper Valley by making Black and White Cookies, the NYC deli dessert of choice. I never saw Seinfeld (Yes! True! I never saw Seinfeld, OK?!), but apparently Jerry made these cookies semi-famous.
Not that they weren't already. I've been enjoying them since I was a kid growing up outside NYC. Where they were offered at every bakery AND every deli.
When I started baking these at home, I found the experience enlightening: most of the deli and bakery B & W's I've had over the years have been stale – the cookie dry, the icing hard.
Trust me; homemade Black and Whites are SO worth it.
Now, if only I had a recipe for cissel bread (hint, hint)...
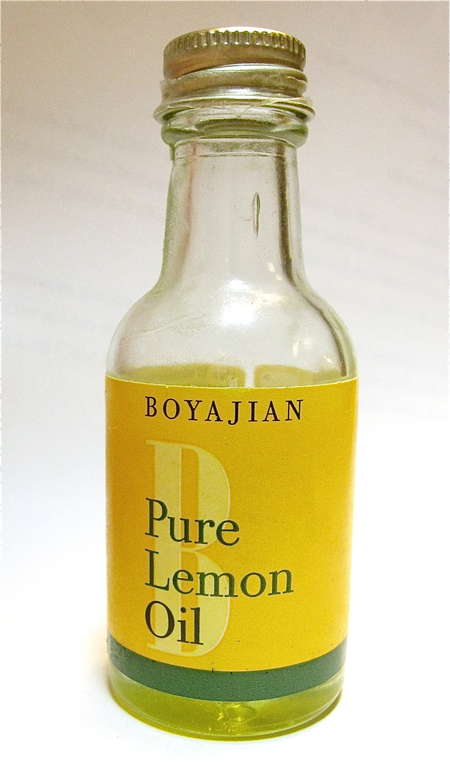
What's the secret ingredient in these cookies, the single most important thing for giving them that real NYC deli taste? Surprisingly – lemon. Lemon and chocolate? I know, it sounds odd, but the tiniest touch of lemon oil in the cookie batter adds a distinct flavor – one that most won't identify as lemon, but simply as “These taste JUST like the ones I remember from when I was a kid!”
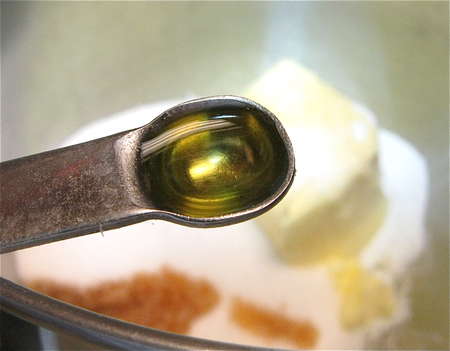
We'll use just 1/8 teaspoon lemon oil in this big batch of cookies. A set of odd size measuring spoons is a handy tool to have on hand when you need to accurately measure 1/8 teaspoon (or 2/3, or 1 1/2, or 2 teaspoons).
Start by preheating your oven to 400°F, and greasing (or lining with parchment) two large baking sheets.
Beat the following till smooth:

Add 3 large eggs, beating well after each addition.
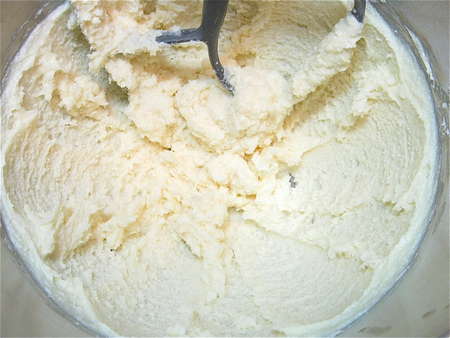
The batter will get nice and fluffy. Here it is after 1 egg...

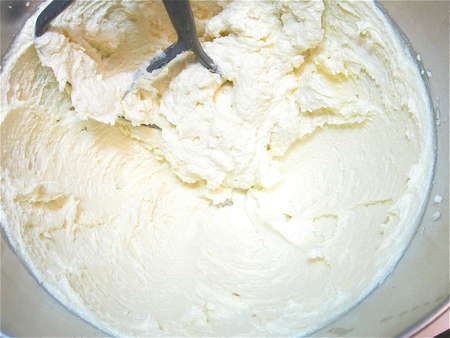
...and here it is after 3 eggs.

Add 4 1/2 cups (539g) King Arthur Unbleached All-Purpose Flour alternately with 1 cup (227g) milk, drizzling the milk in while the mixer is running. Doing it this way helps the batter maintain its volume.
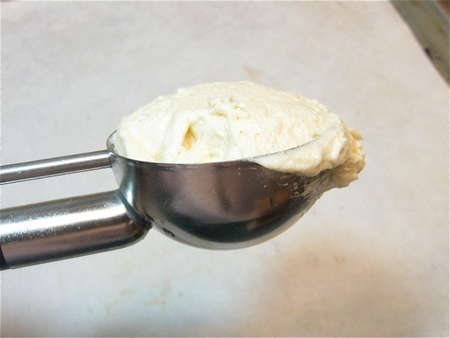
Scoop the batter in barely heaped 1/4-cupfuls onto the prepared baking sheets.
Like this. A muffin scoop is just the right size, and makes nice round balls (which will yield nice round cookies). Am I shilling for this muffin scoop? Has crass commercialism reared its ugly head here? You betcha. It's useful; it works; I like it.
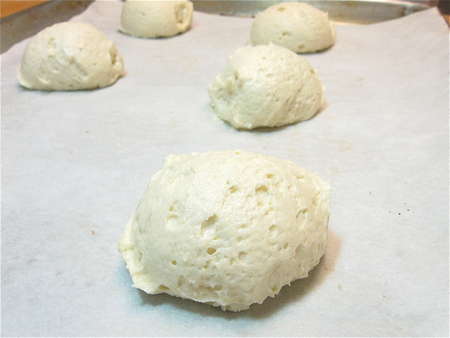
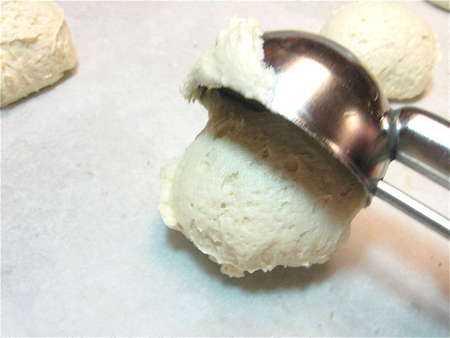
You can see the baking powder starting to work already. These cookies are light and cake-like.
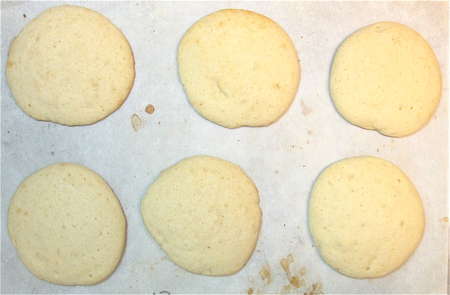
Leave plenty of room between the balls of dough. I like to put just six on a sheet, so they don't run into one another.
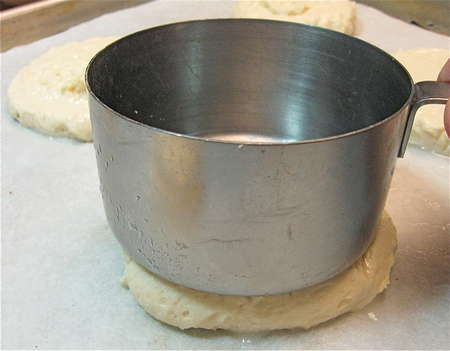
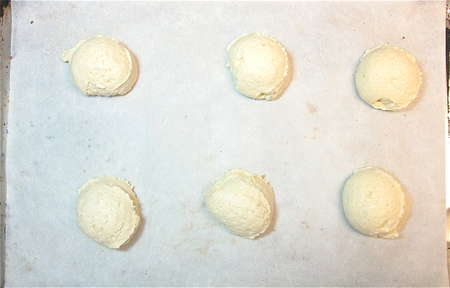
Use the flat bottom of a measuring cup, or other flat-bottom mug, glass, or cup (flat bottoms are surprisingly difficult to find), to flatten the dough balls to 3"-diameter circles. It helps to dip the bottom of the cup in water, to prevent sticking.
They don't have to be perfect, but these look pretty good – if I do say so myself!

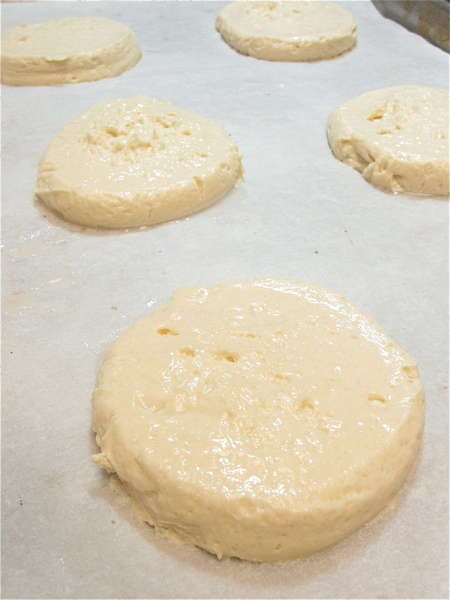
3” circles, about 2” to 2 1/2” apart – that's your goal.
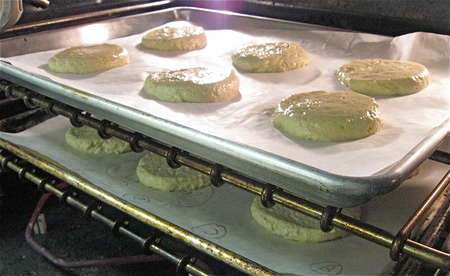
Bake two sheets of cookies at a time; you'll have to bake in batches, as the recipe makes 2 dozen cookies.
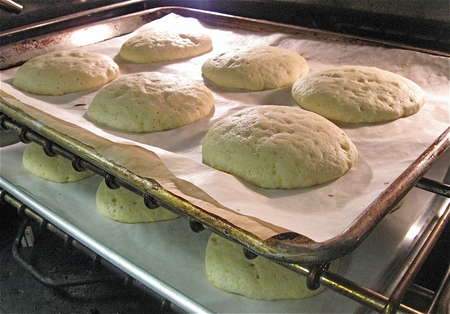
Did I mention these were light and puffy, more cake- than cookie-like?

Bake the cookies for 10 to 12 minutes, until they're set, and are perhaps a very light golden brown around the edges. If there's no sign of brown, that's OK. Cookies baked for 10 minutes will be quite moist. Cookies baked for 12 minutes will be drier, and more “authentic.” Bake for 11 minutes for an in-between cookie.
Not perfectly round; but neither did they spread into each other, so at least they were spaced right.

I experimented with not flattening the cookies before baking. The one on the left wasn't flattened; it was thicker than the one on the right. I suggest the extra step of flattening, for the best-looking cookies.
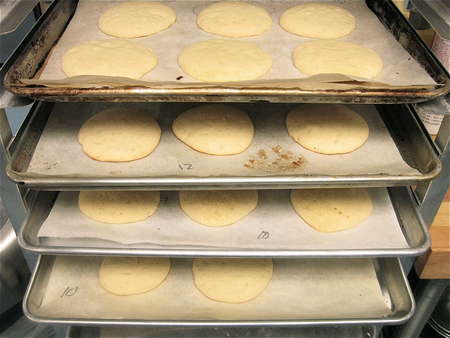
We're lucky to work in a kitchen with a rolling rack. Plenty of space for four pans of cookies to cool. You might see the numbers on the parchment – I was experimenting with baking times. Yes, we really do TEST in the test kitchen!

While the cookies are cooling, let's make the icing. First, vanilla – which means you won't have to wash the bowl between vanilla and chocolate. If you made chocolate first, you'd have to wash the bowl. Lazy (efficient?) bakers always take the easiest route!
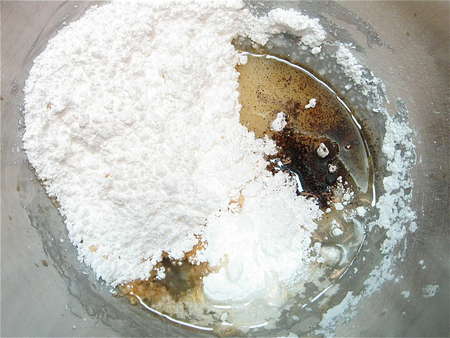
Mix the following till smooth:
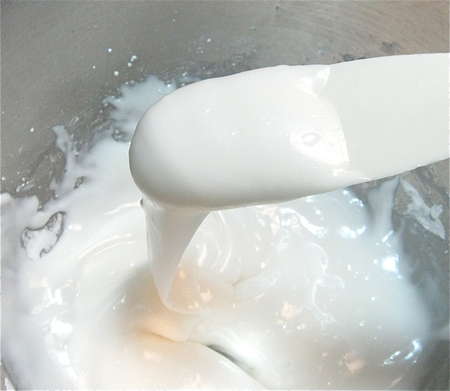
I didn't sift the confectioners' sugar, and have to admit, ended up with a few lumps. Next time I'll sift!

Spread icing on half of each cookie. My fellow test kitchen baker, Andrea, is giving me a hand here - literally! This was one of those times when I needed three hands – to hold the cookie, spread icing, and take the picture.
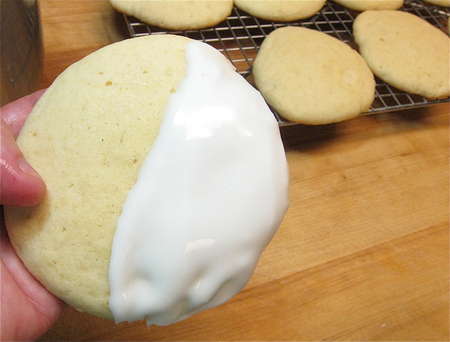
The icing should spread nicely. If it's too thick, add a tiny bit more hot water.
Let the cookies set for at least 30 minutes.
When the vanilla icing has set, make the chocolate icing.
Combine the following, stirring till smooth:

Next, put 3/4 cup semisweet or bittersweet chocolate (chips, or chunks), in a microwave-safe bowl.

Melt, stirring till smooth.
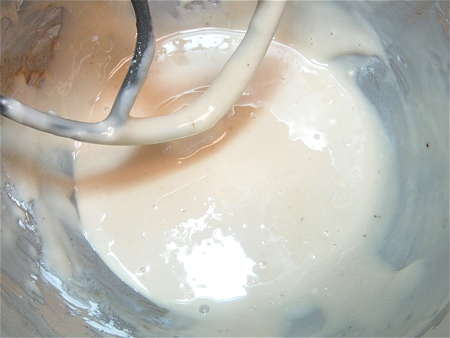
Here's your confectioners’ sugar mixture...
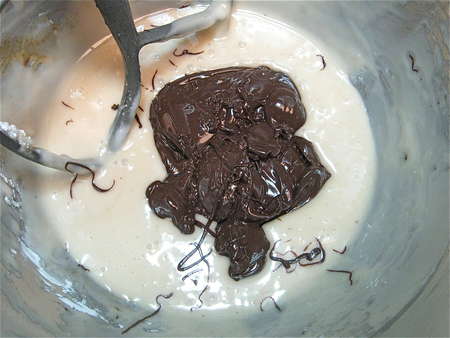
...and here it is with the chocolate added. PLOP.
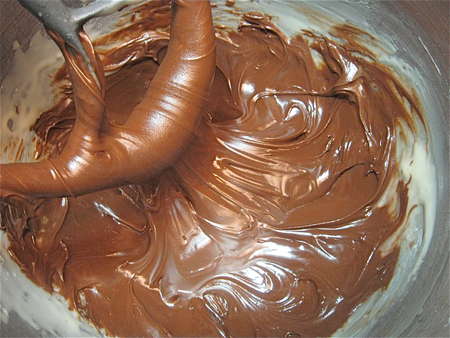
Beat till smooth. Now that is one gorgeous icing!
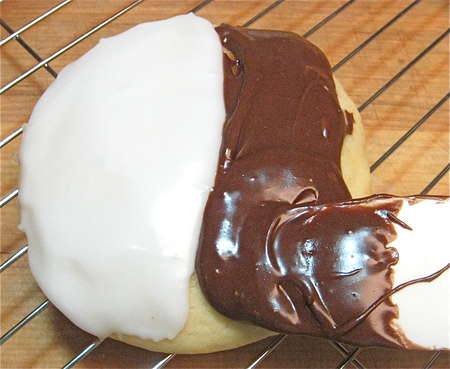
Spread the chocolate icing on the bare halves of the cookies. Be generous; you'll have plenty.
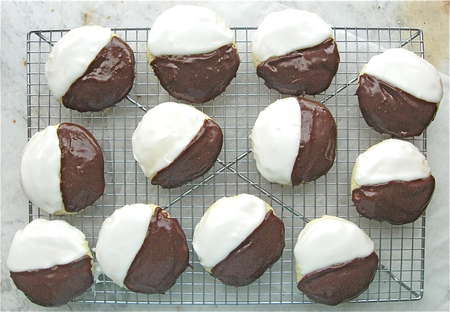
Place them back on the rack to set.
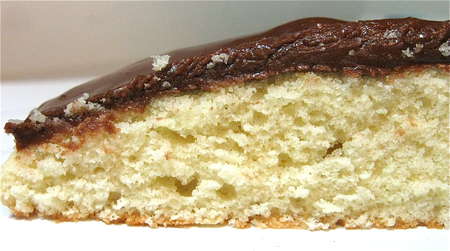
Here's a cross section. See what I mean by a cake-like cookie? I generally don't like this type of cookie, but it's absolutely perfect here.
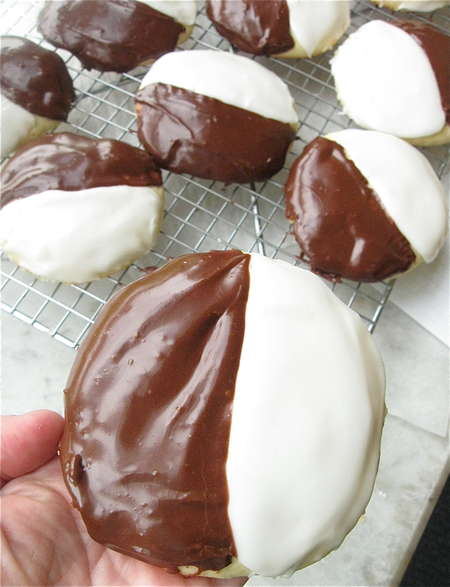
Oh yeah... 2 dozen big (4”), beautiful Black and Whites!
Jerry – eat your heart out!
Read, rate, and review (please!) our recipe for Black and White Cookies.
