Baking sheet readers know that I’m always on the hunt for interesting flavor combinations and good recipes from all sources. I scour old cookbooks, keep an ear to the ground among my chef buddies, and swap ideas with my readers and test kitchen/blogging cohort here at KAF.
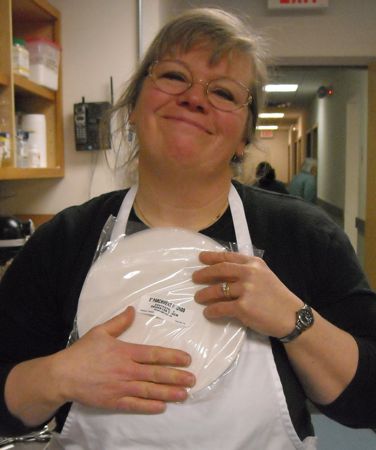
But I also have access to a rich vein of great recipes that’s kind of unique. King Arthur sponsors baking competitions at state and regional fairs all over the country, and one of the dividends of that sponsorship is the recipes that come our way. I’ll admit I’m a little partial to this entrant from the Minnesota State Fair, baked by Shirl Chouinard:
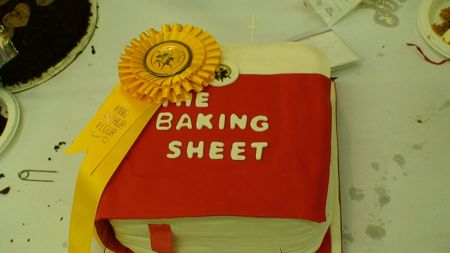
A lady after my own heart.
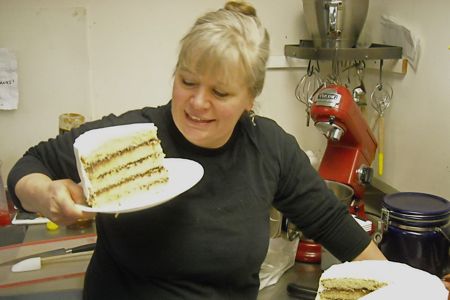
It has fallen to me to choose the best of the best cakes from 10 fairs where King Arthur sponsored the competition, and it’s been no easy task, I assure you.
The 2009 cake competition winners included 6 chocolate cakes, paired with flavors including cream cheese, coconut, caramel, coffee, cherries, peanut butter, and marionberry. There was a tropical carrot cake, a garden spice cake, one yellow cake with cream cheese filling and white chocolate, and a towering Italian Birthday Cake that took me all of a half day to make.
Now, I’m no shrinking violet when it comes to the full-fledged cake fling. As far as I’m concerned, sugar happens, baby. But I was more than a little nonplussed by the sheer size of some of these cakes. Suffice to say, Americans think big. When it comes to competition, we’ll go the extra mile and then some.
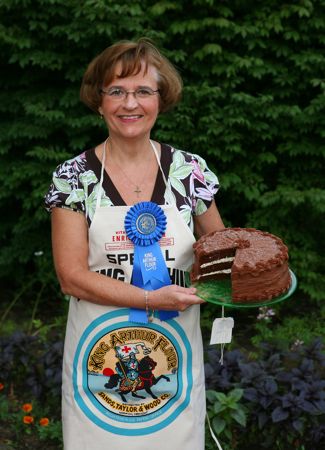
Only three of the 10 winning cakes limited themselves to two layers. The rest had at least three, and two went as high as five layers, including this behemoth of a cake that won the greater Jacksonville Fair in Florida last year. Five layers tall, two fillings, laced with rum syrup and covered with rum-flavored whipped cream. Hey, you’re competing, and who doesn’t want to stand out?
Care to guess how much it weighed? I walked it out to our receiving scale, because I was afraid it would give my scale in the kitchen a hernia.

That would be 10.4, uh, pounds. That's one big slice, when you get to it.
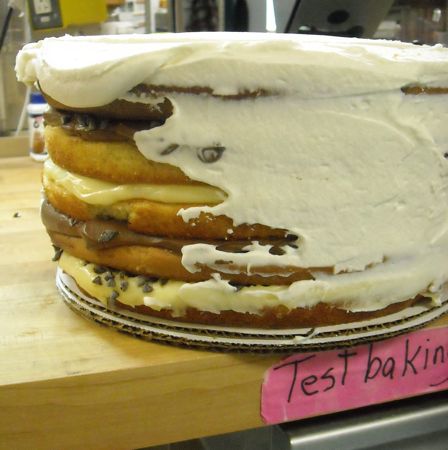
Now, I don’t have anything against spectacle, and there’s no doubt that all of the fair winners made spectacular cakes. There’s a lot of care and preparation when you decide to compete, and for a while I was stymied about picking a winner. But eventually I realized there were some things that should boost a cake's ratings as far as our readers are concerned.
It had to be a recipe that people could make themselves at home, without a lot of special equipment. It had to be one that tasted good and didn’t have too many flavors competing for dominance. It also had to work as a matter of kitchen science.
The Italian Birthday Cake, which was obviously designed to feed "tutta la famiglia," called for a whole lotta leavening along with all the love that went into the design: 2 tablespoons of baking powder PLUS 2 teaspoons baking soda. Since there wasn’t any acidic ingredient to react with the baking soda, that one became a disqualifier, because without it the cake’s flavor can be off. I also don’t know too many households that have 5 layer cake pans or the oven space to bake them all at once.
I finally settled on Jone Shumacher’s creation, winner of the ’09 Illinois State Fair, called “Tropical Fudgy Coconut Cream Cake.”
It’s made of three 9” layers of very moist chocolate cake, layered with coconut cream filling and finished with chocolate icing. Ready to bake one with me? Let’s go!
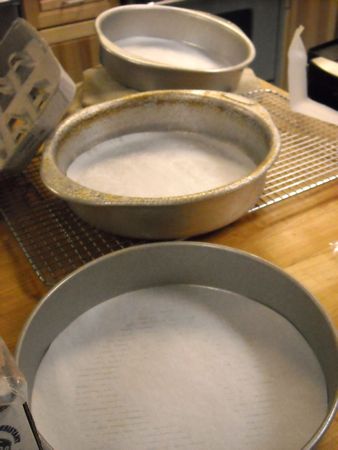
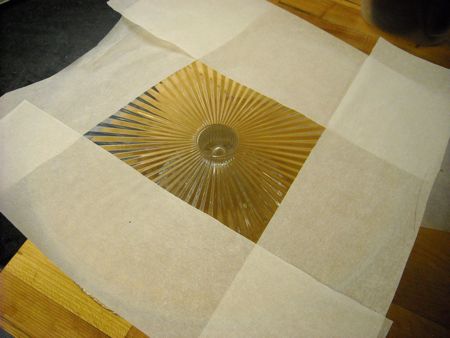
First things first. Preheat the oven (350°F) and set up your pans. We’ve often declared that parchment paper is your friend. For the cake baker, nothing comes close to the love we feel for precut parchment paper circles.
I sprayed the pans, lined them with these lovely things, and sprayed the papers again.
Here are the ingredients for the cake layers:
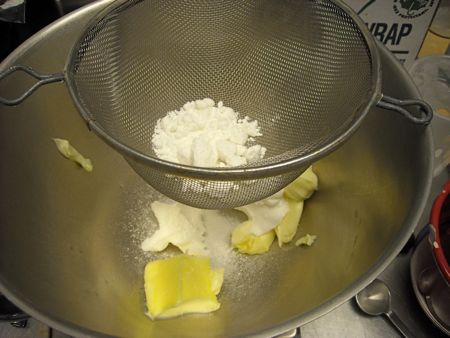
8 tablespoons (113g) unsalted butter, soft
2 cups (397g) granulated sugar
4 ounces unsweetened chocolate, melted and cooled (Jone’s recipe called for liquid unsweetened chocolate packets, which I didn’t have, so I’ve substituted here.)
4 large eggs
1 3/4 cups (206g) King Arthur Unbleached All-Purpose Flour
1 teaspoon baking soda
1/2 teaspoon salt
1 cup (241g) unsweetened coconut milk
1/2 cup (113g) buttermilk
1 teaspoon coconut flavor (Jone called for 2 teaspoons coconut extract, but our flavoring is pretty strong, so I cut it back to keep things in balance).
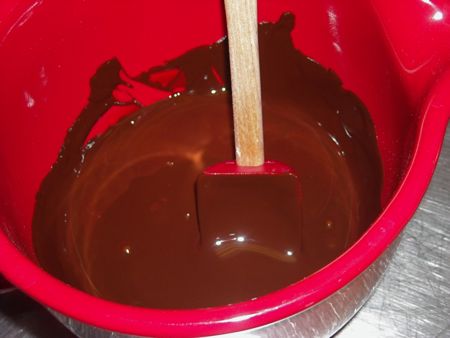
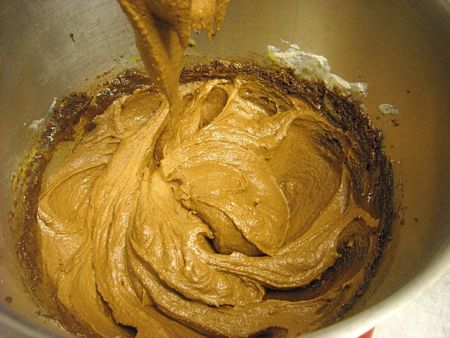
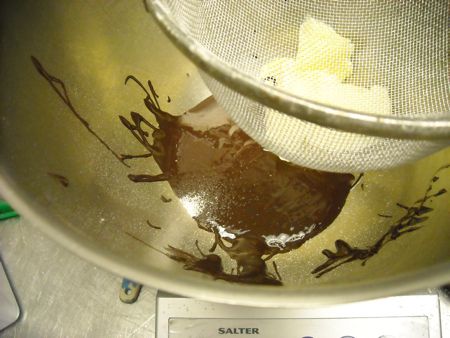
Heat the chocolate at low power in your microwave until it’s almost all melted; stir until smooth, and set it aside to cool. This is important, because you don’t want it melting your butter when you try to start creaming.
Once the chocolate is cool, put it in your mixer with the butter and sugar.

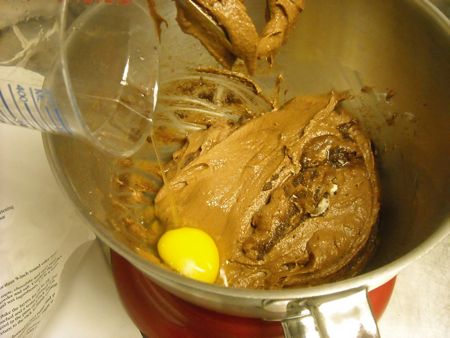
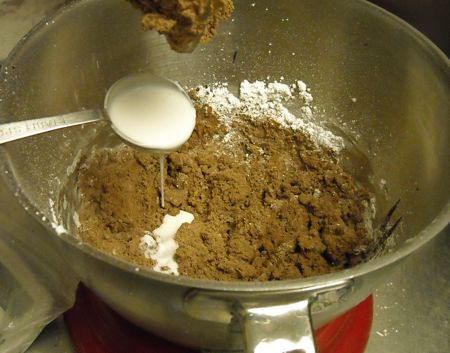
Mix until combined, then beat in the eggs, one at a time.
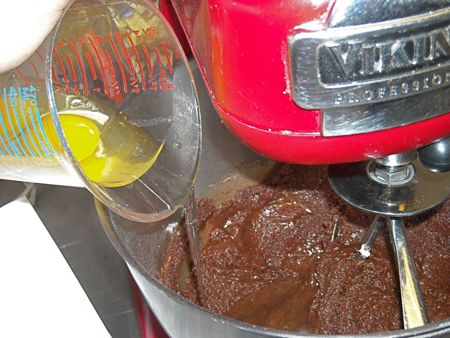
Three of the four eggs are in now, and we have a perfect example of why scraping a mixing bowl makes a difference. See all the unincorporated chocolate sticking to the side of the bowl?
Scrape, scrape. Sides and bottom, all the way across. Now for the last egg.
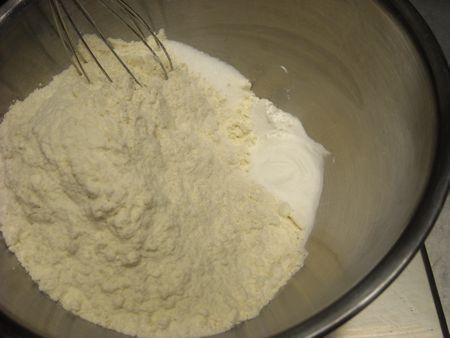
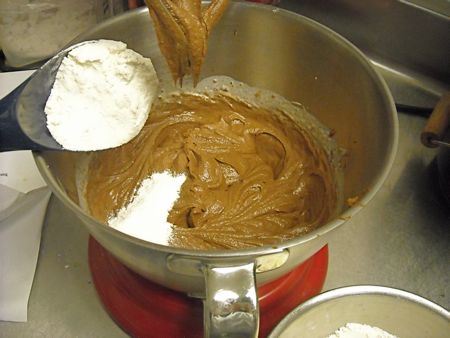
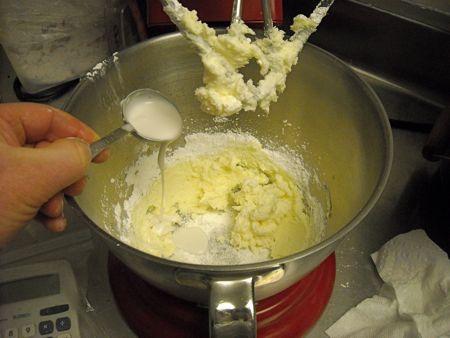
Beat until it's incorporated. Next, whisk together the dry ingredients.
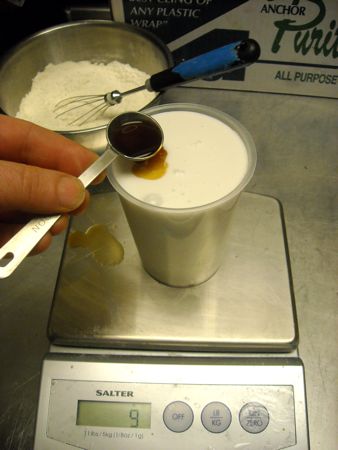
Combine the milks and flavorings.
Add these in thirds, alternating back and forth, until everything is in the bowl.
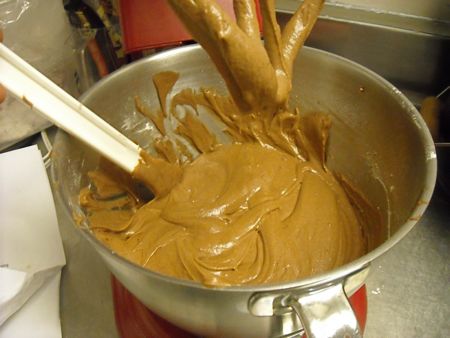
Scrape, scrape, mix for another minute. Here’s the batter, ready to go.
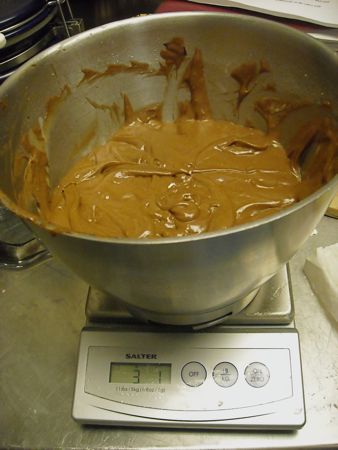
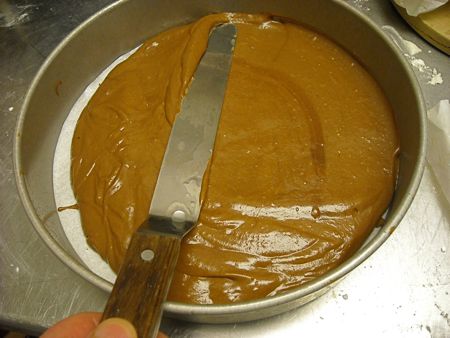
Next step? Get it into the pans so the layers are all the same size. Kitchen scale to the rescue. This batter weighs 3 pounds, 1 ounce. Easy enough.
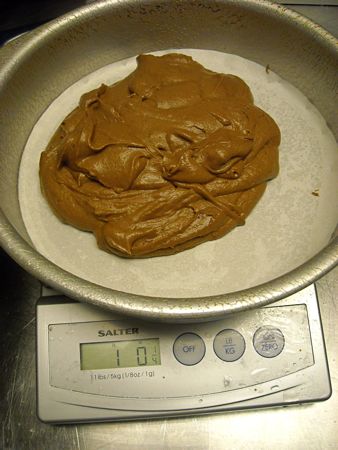
Put each pan on the scale and add batter until it weighs a pound and a smidgen. Repeat twice. The leftover ounce is pretty much used up by the traces in the bowl.
Smooth out the batter with an offset spatula.
The day I was baking these layers, Sue Gray and Andrea were baking all-out for the next round of catalogue photography. I’d given away one of my two ovens, but realized with a little creative thinking I could get all three layers baked at once.
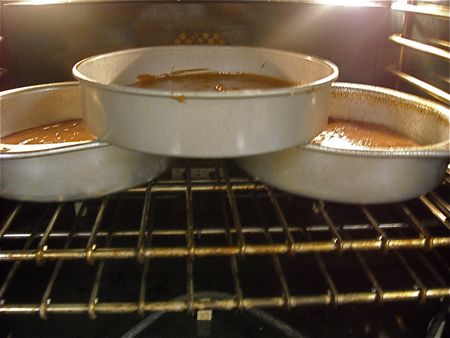
The batter in these pans was low enough (only 1/2" to 3/4” deep) so that even if it doubled in height it wouldn’t reach the top of the pan, so I figured I was safe. After 25 minutes the cakes started to pull from the edges of the pans. Ready to take out.

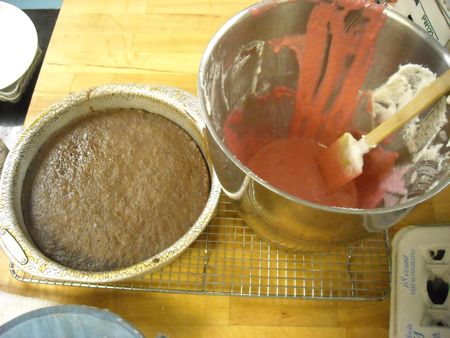
I cooled the pans on racks for 10 to 15 minutes (Andrea's working on Raspberry Macarons next door).
Before flipping them out of the pans to finish cooling. I flipped the layer onto a cake circle, then turned it back over to be right side up on the rack. Did I say I love parchment circles? This cake is so moist, it stuck a bit to the cake circle, providing a nice chef's tasting sample...
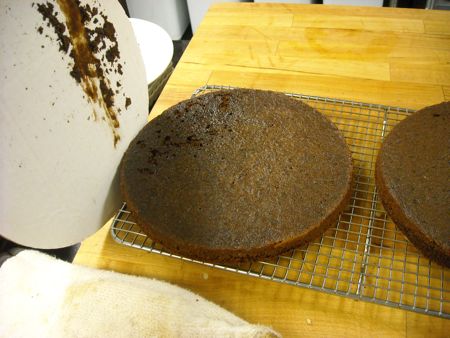
One of the best things you can do for yourself and any cake you want to assemble is to make sure the layers are cool before you start. Refrigerating or even freezing tender cake layers before you begin smearing thick pasty fillings and frostings on them is ALWAYS a good idea.

I tucked these into the freezer while I went to my Pilates class.
While the layers are cooling, let’s make the filling.
Filling ingredients:
2/3 cup (120g) butter-flavored shortening, or 5 1/3 tablespoons (71g) butter + 1/3 cup (60g) vegetable shortening, at room temperature (I used the combo option)
2 tablespoons (14g) coconut milk powder, optional
1 teaspoon strong coconut flavor
1 teaspoon vanilla extract
1/8 teaspoon salt (Jone didn’t call for any, but this is really sweet stuff and I thought it needed some)
2 cups (227g) confectioners’ sugar
1 tablespoon unsweetened coconut milk
1 1/2 cups (198g) marshmallow crème (I used Fluff)
I weighed the butter and shortening into my mixing bowl, then added the coconut milk powder (it tends to get lumpy because of the fat in it, so it’s always a good idea to push it through a strainer).
Mixed these guys up, added the flavorings, salt, and half the confectioners’ sugar. Next, the coconut milk, which is easy, since you have some left in the can.
After the rest of the sugar was mixed in, it was time to wrestle with the Fluff®. I can’t imagine measuring this stuff into a measuring cup in any event, even a greased one: it’s like an octopus (at least when it’s around me); it gets everywhere at once.
Scale to the rescue again, but if I didn’t have one, I’d have done this: the container says its total weight is 16 ounces. OK, so 7 ounces is a little less than half. That’ll do.
I managed to escape the Fluff measuring without getting it in my hair; a few traces on my watch constituted the total collateral damage.
Filling’s all set. Now for the frosting.
6 tablespoons (85g) soft unsalted butter
3 ounces unsweetened chocolate, melted and cooled
1/8 teaspoon salt
1 teaspoon vanilla extract
1/2 teaspoon coconut flavor
5 to 6 cups (567g to 680g) confectioners’ sugar, sifted
1/3 to 1/2 cup (2 3/4 to 4 1/4 ounces) unsweetened coconut milk
Cooled chocolate, butter, and salt go into the bowl. Next the flavorings and a cup of the confectioners’ sugar.
So far, so good. Scrape scrape. After 2 more cups of the sugar, things were looking a little ragged.
Time for the remaining coconut milk in the can to come to the rescue. After adding 4 tablespoons and mixing, things were looking good again.
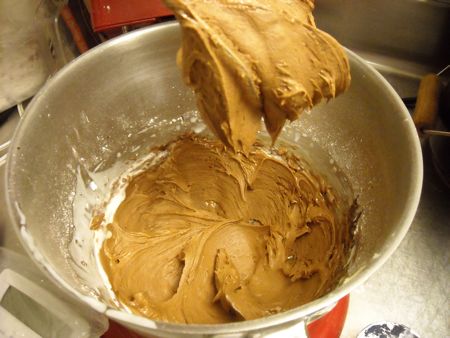
I finished the frosting, adding another 2 cups of sugar (if you plan to do a bunch of piping for decorations, add the 6th cup; otherwise you can get away with 5) and enough coconut milk to have a nice, spreadable consistency.
All the pieces/parts are ready, now for my favorite part: putting everything together.
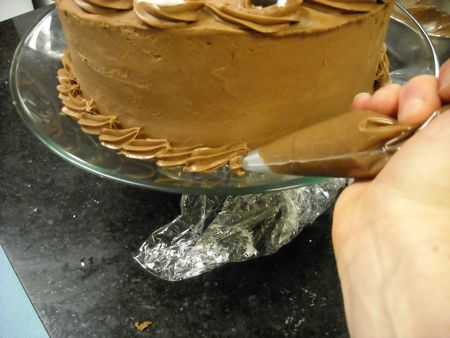
Since this cake is a showstopper, we need to put it on a plate worthy of its talents. I lined a cake plate with strips of parchment paper first.
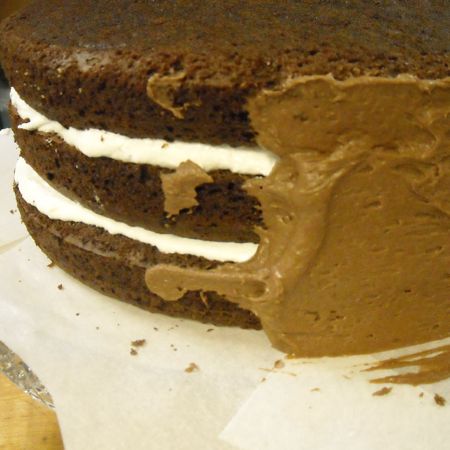
They’ll keep the plate clean as I frost the cake. Now, first layer goes down, bottom side up, and gets spread with half the filling.
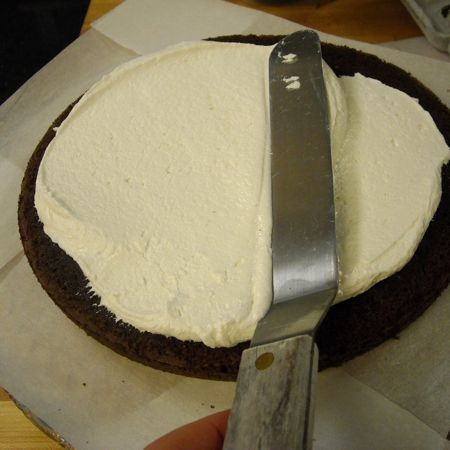
One more layer on top (don’t forget to peel off the paper!), and the rest of the filling. These layers are nice and firm, because they’re half-frozen. The filling goes on easily, without grabbing or tearing up the surface of the cake.
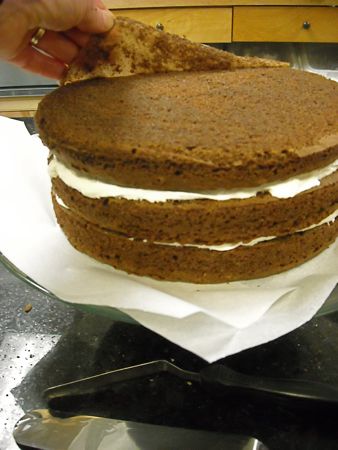
Top layer next, and then we crumb coat.
I’ve had a lot of people tell me they’re hopeless at frosting cakes. They say the layers slide off each other, crack down the center when they put them on the plate, the frosting gets hopelessly gooped up with crumbs, and the whole thing looks like yesterday’s pajamas on the floor.
That’s when I begin asking triage questions. Were the layers warm?
“Uhhh, yeah.”
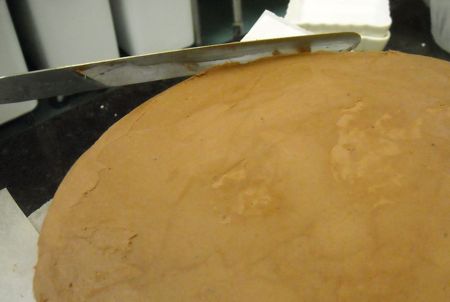
Did you trim the domes off the tops of the layers, and put them upside down on the plate?
“You mean I should do that?”
Did you do a crumb coat?
“A what?”
A crumb coat is a thin layer of frosting that’s meant to seal the outside of the cake, and fill in the gaps between the layers.
This is what the crumb coat looks like close up.
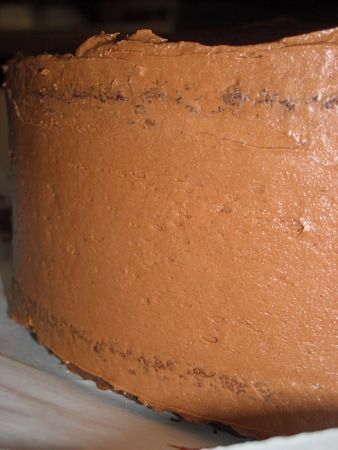
It’s OK if some of the edges of the layers shows through; think of this as the foundation layer; the dress coat finishes the look later. Now for a quick chill in the fridge to firm it up.

This step is to frosting a cake what scraping is to the layers inside. It takes an extra minute or so, but the dividend it pays in quality is huge.
The foundation is set up, and now I’m finishing the outside layer. To even the ridge you get on the top edge of the cake (it happens, while you’re smoothing out the sides), take a frosting spatula and pull it toward you from off the far edge of the cake across the top at a 45 degree angle.
Repeat this as you turn the cake all the way around. Now we’re ready to decorate.

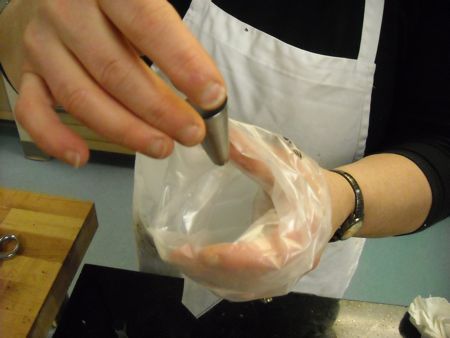
I’m going to pipe a few flounces with a small star tip (this one’s an Ateco 843). That means loading a disposable pastry bag. After tearing it off the roll, I slide my hands back and forth across the top to open it.

Cut across the bottom to make an opening (too small is better than too big; you can always cut this a second time if need be).
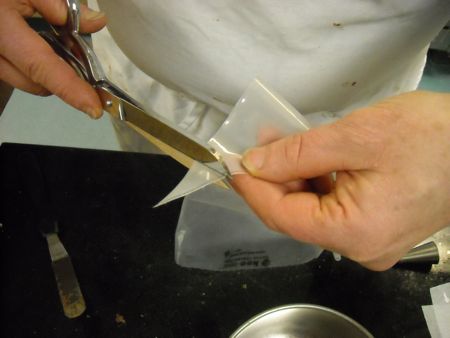
Drop in the tip.
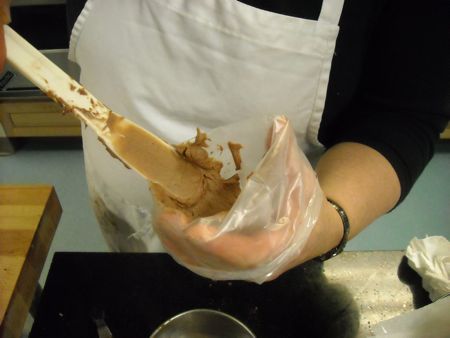
Fold the bag over your hand and fill (not more than halfway: most beginners put waaaay too much frosting in the bag and end up squeezing it all over their hands). Twist the back of the bag closed (or fold it over and secure it with a spring clip, which works great).
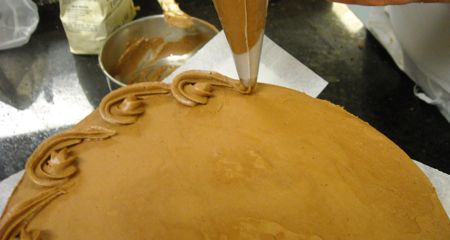
I decided to pipe curls with a little tail around the top edge of the cake. I’m holding the bag upright in my right hand, and stabilizing it with my left.
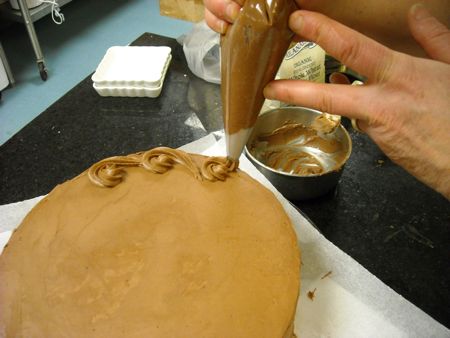
I make a tight circle, and ease the pressure off the bag as I come around and swing wide for the tail.
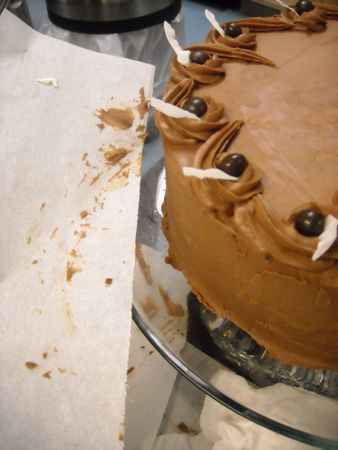
For “jewelry,” I reach for our dark chocolate pearls, and some longer pieces of our large flake coconut, to reflect the flavors inside the cake. The coconut pieces reminded me of the top feathers on a cockatiel; a nod to the cake's tropical title.
With a gentle tug (and an offset spatula held lightly against the bottom edge of the cake to keep it from walking away), the parchment paper comes out from underneath.
Last step? To “tie” the base of the cake to the plate with a few more squeezes of the piping bag.
And there she is, in all her glory, ready for her closeup. Jone Shumacher’s Tropical Fudgy Coconut Cream Cake. Take a bow, Jone!