


Ah, those three little words we long to hear...
No, not "I love you" – though the sentiment certainly applies to these ridiculously delicious cheese biscuits.
Try these three little words:
Flour. Cheese. Cream.
Which is all you need to make these tender, tasty little gems.
There's a cheese biscuit at the Red Lobster restaurants that gets rave reviews online – Cheddar Bay Biscuits, they're called. Checking out the array of cloned recipes, apparently "bay" refers to the lobsters' provenance, rather than the biscuits' seasoning: there's no bay leaf in these biscuits, simply Bisquick®, cheese, butter, and milk, with a little parsley and garlic on top.
I've never been to a Red Lobster – first, because I'm allergic to shellfish, which kinda cuts back on my menu options. And second, because there aren't any Red Lobsters even vaguely close to where I live. (Unless you count the red lobsters down at Joe's Lobster Mart on the ocean here in Sandwich, MA, about a mile from my house.)
So I can't compare these King Arthur biscuits to the Cheddar Bay version, though I doubt the Lobster's would outshine ours, taste- or texture-wise.
And remember, our cheese biscuits include just flour... and cheese... and cream.
Simple pleasures, indeed.
Let's start with the flour.
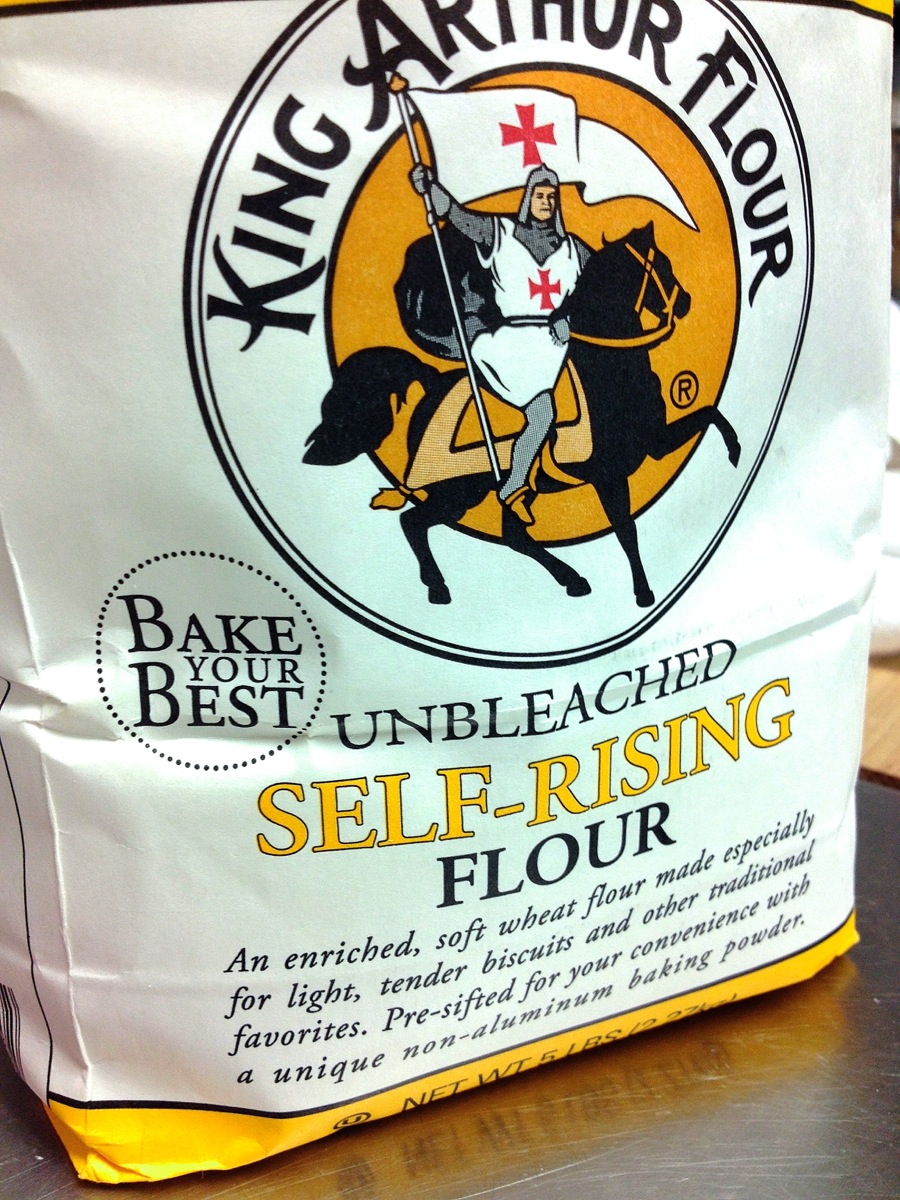
I've fallen in love with our Unbleached Self-Rising Flour. Long a key element in every Southern baker's pantry, it's a convenient way to make biscuits and muffins, pancakes and waffles, coffeecake and scones and cookies and cake. Oh, and baked doughnuts, my new best friend. In fact, anything leavened with baking powder is a good recipe candidate for this flour.
Lower-protein (read: less gluten) than all-purpose flour, Self-Rising includes both salt and baking powder. But not just any baking powder: the special non-aluminum baking powder we use doesn't lend any of that "tinny" flavor you sometimes get with regular baking powder.
I'd always thought, "Well, that's silly; it's SO easy just to add your own salt and baking powder." But then I started using the SR. And very quickly, I was hooked.
Yes, OK, I'm terminally L-A-Z-Y. But it's not just SR's convenience; it's the tender texture it lends to baked goods that demand it, tenderness only a lower-protein flour can offer.
All in all, this flour has a lot going for it.
Including a lot of you folks out there, who've discovered, as I have, how very convenient it is to leave both salt and baking powder in the cupboard, especially when you're in a hurry.
By the way, if your local supermarket carries King Arthur Flour, but doesn't yet carry our SR – make a request to the grocery manager. It's available to all grocery stores carrying our flours; they simply have to order it.
Next ingredient: cheese.
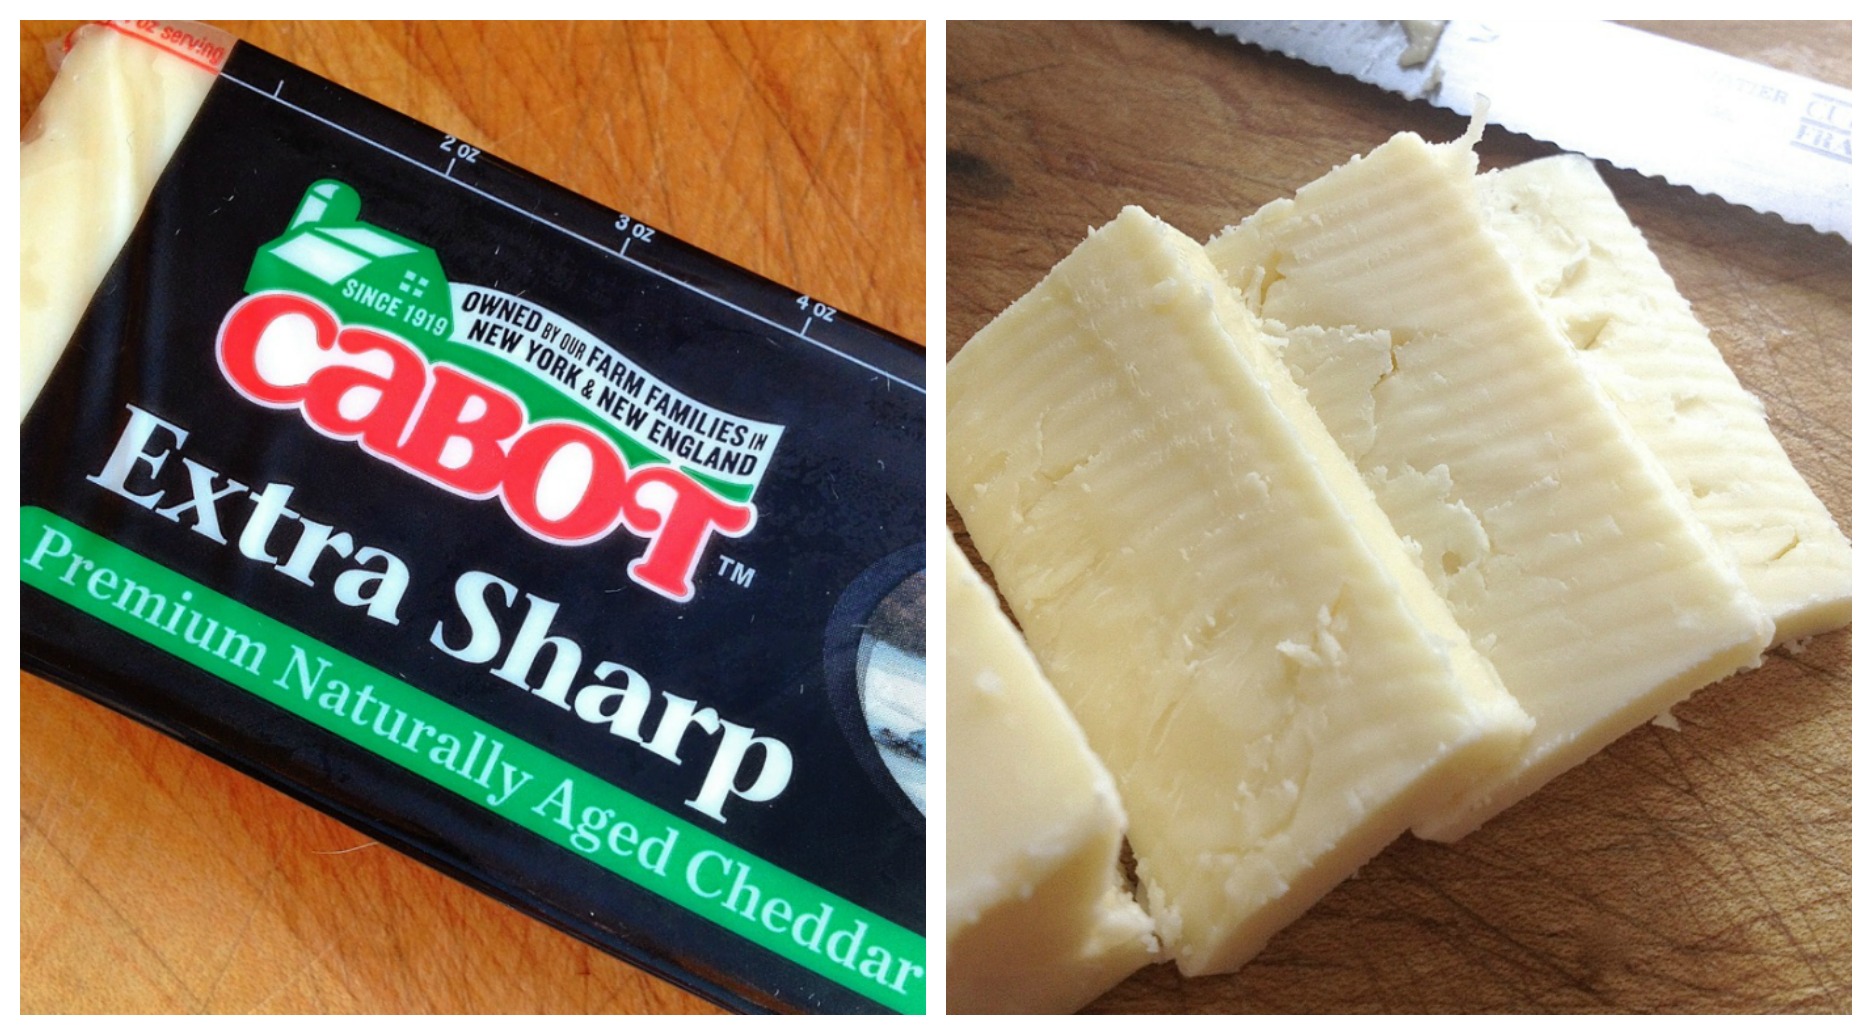
All of us here at King Arthur Flour love our neighbor up the road, Cabot Creamery – creator of some of the world's finest cheddars.
I'm partial to their extra-sharp cheddar, a cheese that's slightly crumbly yet still moist; and sharp enough to create that pleasant "I can feel this in my ears" tang.
One more ingredient – heavy cream – completes this happy trio.
Are you ready? Let's make biscuits.
Preheat your oven to 425°F, with a rack in the upper third.
Gather your ingredients:
2 cups (227g) King Arthur Unbleached Self-Rising Flour
4 ounces (113g) cheddar cheese, the sharper the better; we prefer Cabot extra-sharp
1 cup (227g) heavy cream
Don't have any self-rising flour on hand? Use 2 cups less 2 tablespoons all-purpose flour; and add 1 tablespoon baking powder, plus 1 teaspoon salt.
Can you make these biscuits with light cream, half & half, whole milk, reduced-fat milk, or skim milk? Absolutely; the lower down the fat scale you go, the less liquid you'll need to bring the dough together — and, of course, the less tender your biscuits will be.
For best cheese flavor, use a top-quality, extra-sharp cheddar. We like Cabot Extra Sharp or Seriously Sharp.
And finally, this recipe is easily scaled up or down, to make more or fewer biscuits. Just keep this formula in mind: equal parts flour and cream, by weight; and half as much cheese, again by weight.

To make the biscuits using a food processor: Cut the cheese into a few chunks. Place the cheese and flour into the work bowl of your food processor. Process until the mixture is smooth; the cheese will be very finely chopped. Add the cream, and pulse until the dough becomes cohesive.
To make the dough by hand: Grate or shred the cheese; you should have about 1 cup. Toss it together with the flour. Add the cream, stirring to make a cohesive dough.
Transfer the dough to a lightly floured work surface.

Pat the dough into a disc 3/4" to 1" thick; the thicker the disc, the taller the biscuits.
Use a 2" cutter (or the size of your choice) to cut rounds.
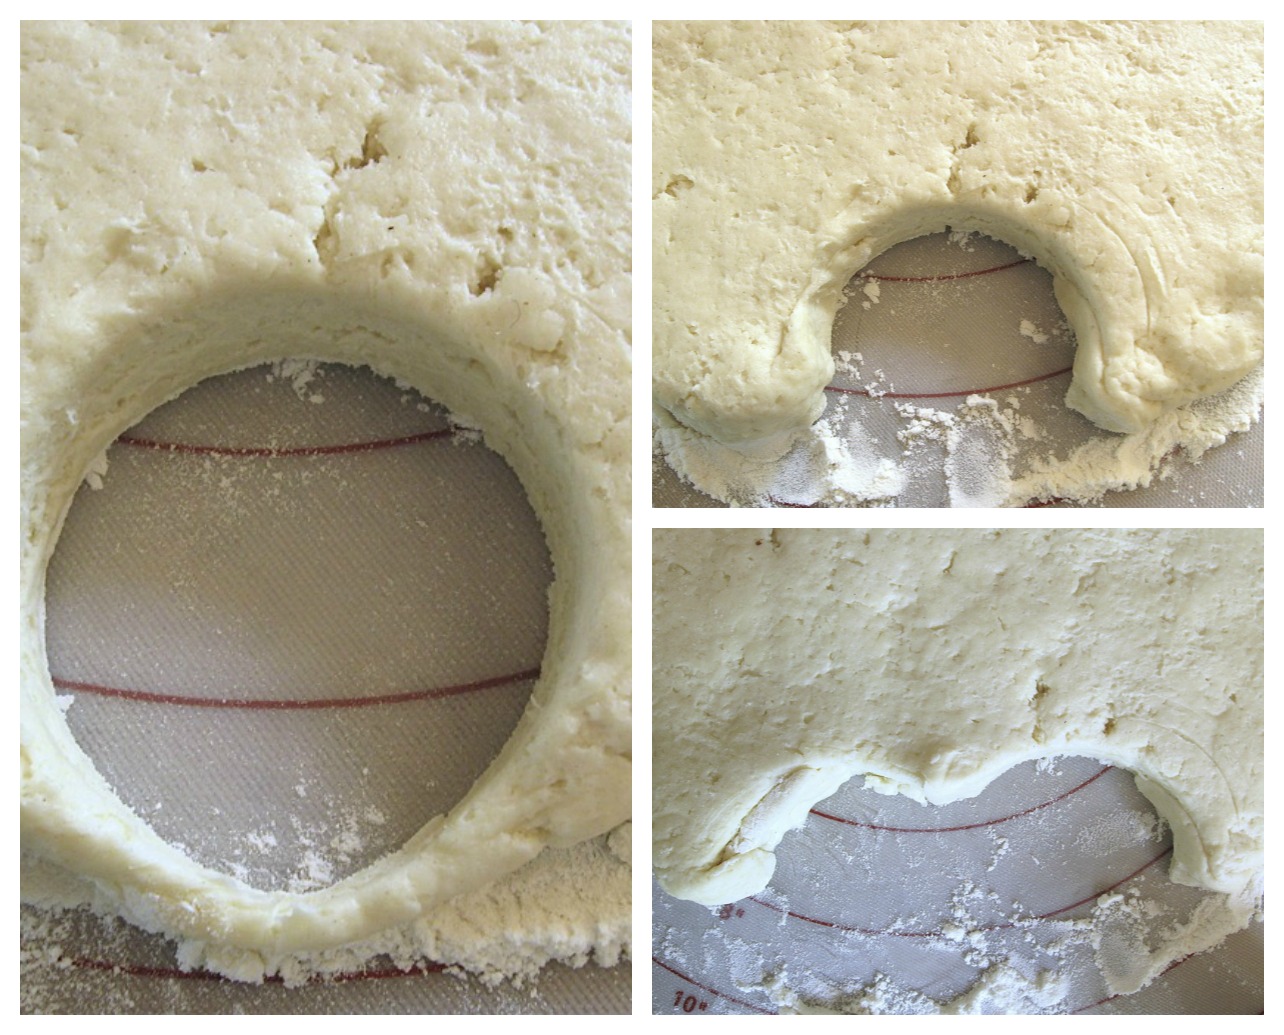
Now, what to do with the inevitable scraps? You know, those little bits and pieces of dough around the circles you've cut.
I really don't like jamming them together and re-rolling; the resulting biscuits are inevitably tougher than those cut from the original piece of dough.
So rather than commit those scraps to the scrap heap, try this: simply fold and pinch the dough bits back onto the larger piece of dough as you go. This means some of the biscuits have kind of lumpy edges, but at least they're tender.
Alternatively, gather the scraps without squashing them together, and freeze; after 2 or 3 biscuit bakes, you'll have enough scraps to top a fruit cobbler or stew. True, the scraps don't look as pretty as round biscuits; but they taste just as good.
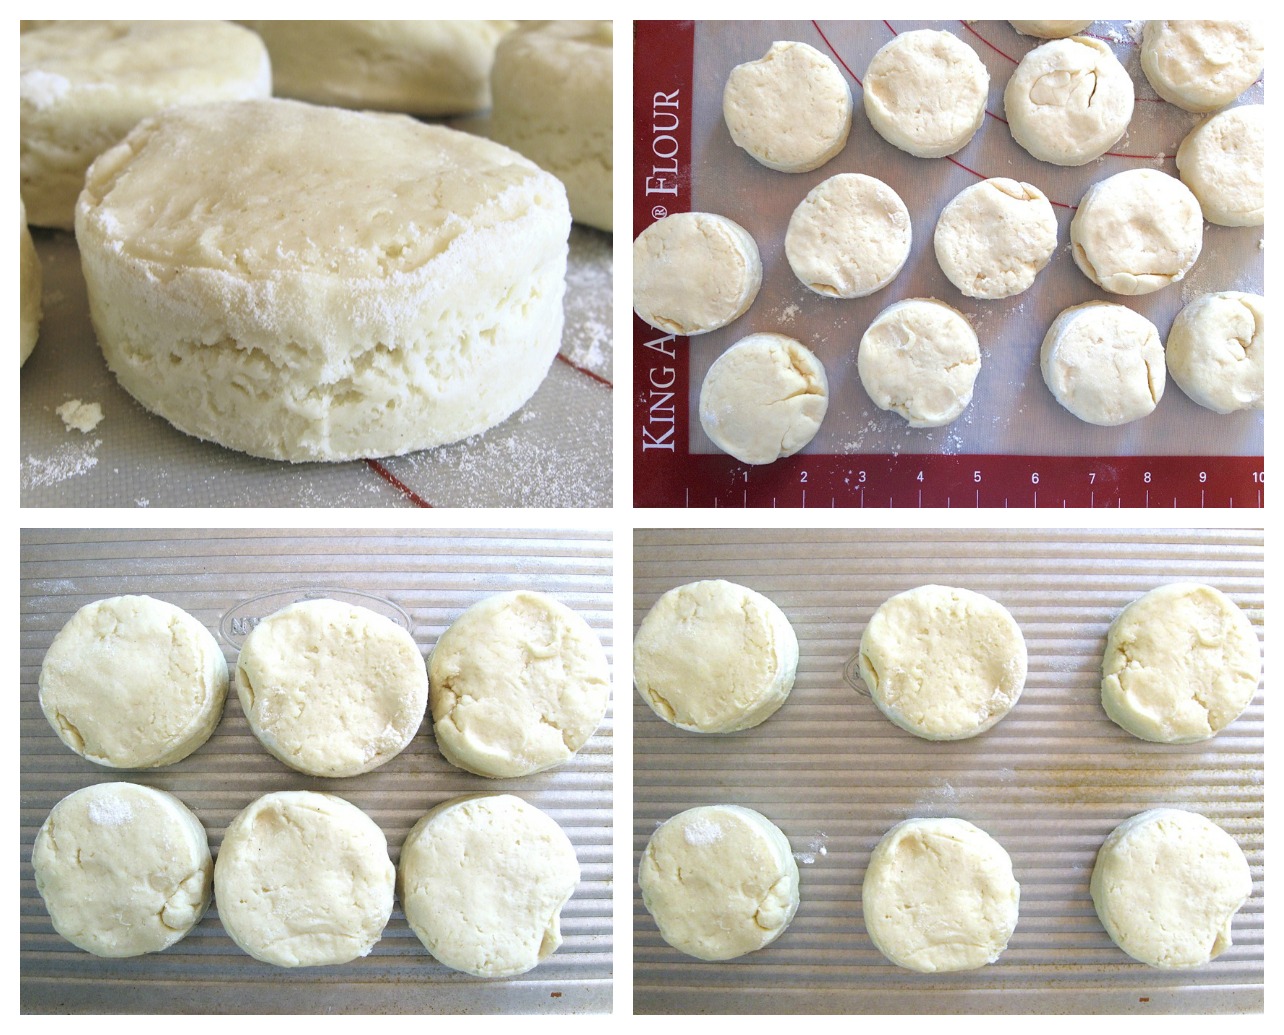
Place the biscuits on an ungreased or parchment-lined baking sheet.
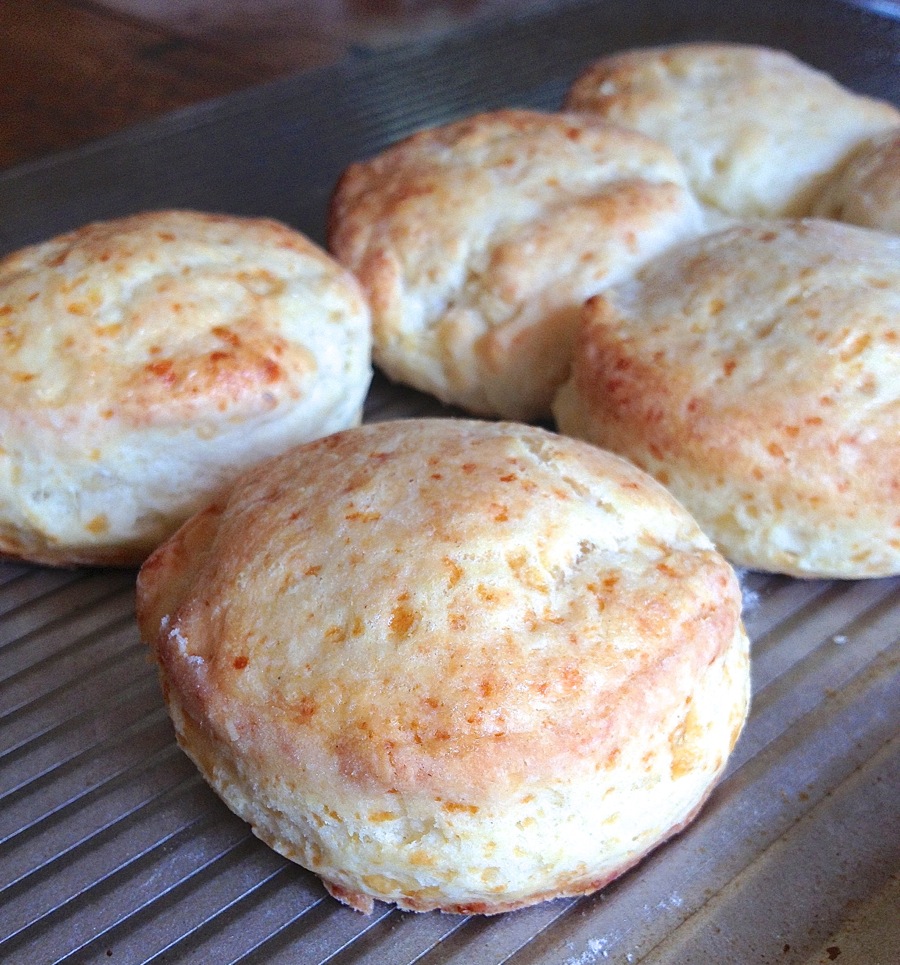
See the biscuit closeup above? It illustrates what a cleanly cut biscuit should look like. Cut biscuits with a sharp-sided biscuit cutter, they'll rise high; cut them with a drinking glass, you'll squash their sides and they'll rise unevenly and poorly. Just sayin'...
To make soft-sided biscuits, place the biscuits close together on the baking sheet; their sides should be nearly touching. For biscuits with a crisp crust, space them 1" apart.
Note: This is a great recipe to shape and freeze ahead for a later date. Place the shaped biscuits on a baking sheet, and freeze. Once they're frozen, transfer them to a plastic bag and replace in the freezer. Bake frozen biscuits (no need to thaw) in a preheated 425°F oven for about 25 minutes, until they're golden brown.
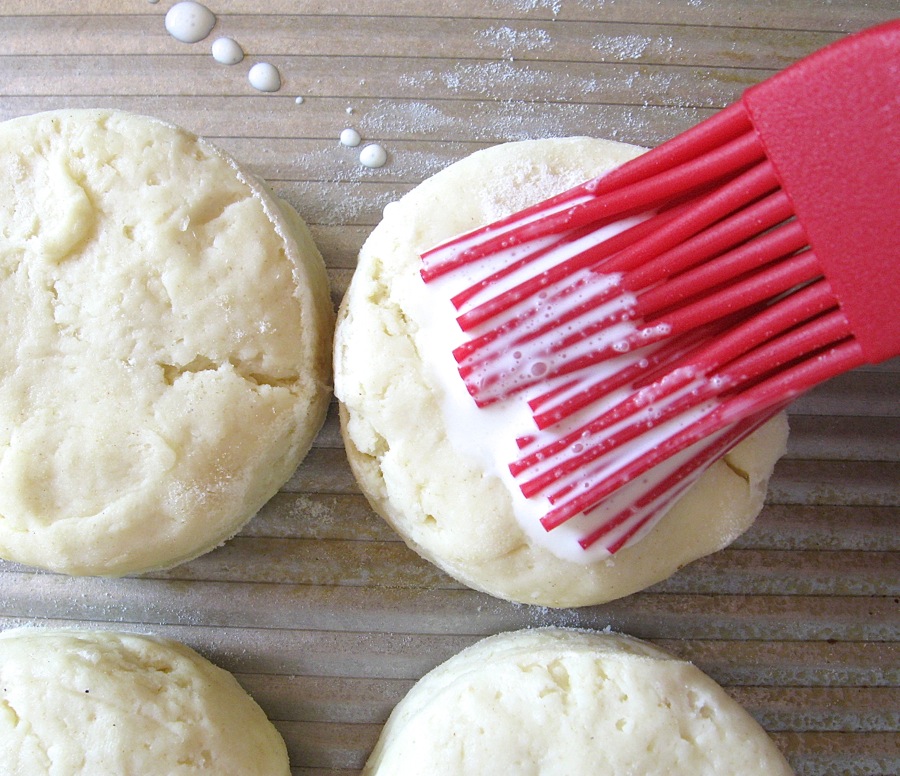
Brush the tops of the biscuits with cream or milk (or butter), if desired; this will help brown their crust.
Bake the biscuits for 15 to 18 minutes, until they're golden brown.
Remove them from the oven...

...and serve immediately.
Or not. The really nice thing about these biscuits is they're so rich, they stay tender even when cool.
If they're older than 24 hours, it's a good idea to drape them with foil, and reheat for about 10 minutes in a 350°F oven.
But baked, cooled, and served later the same day, they'll still be tender/crusty – unlike most biscuits, which tend to stiffen up pretty quickly once they cool down.
Hmmm, I was just thinking... Having planted 12 different heirloom tomato plants this past weekend, I'm betting a slice of just-picked, sun-warmed tomato is going to be spectacular on one of these biscuits, come August.
Until then, a pat of butter (or slice of ham) will do quite nicely.
Please bake, rate, and review our recipe for Savory Cheddar Cheese Biscuits.
