


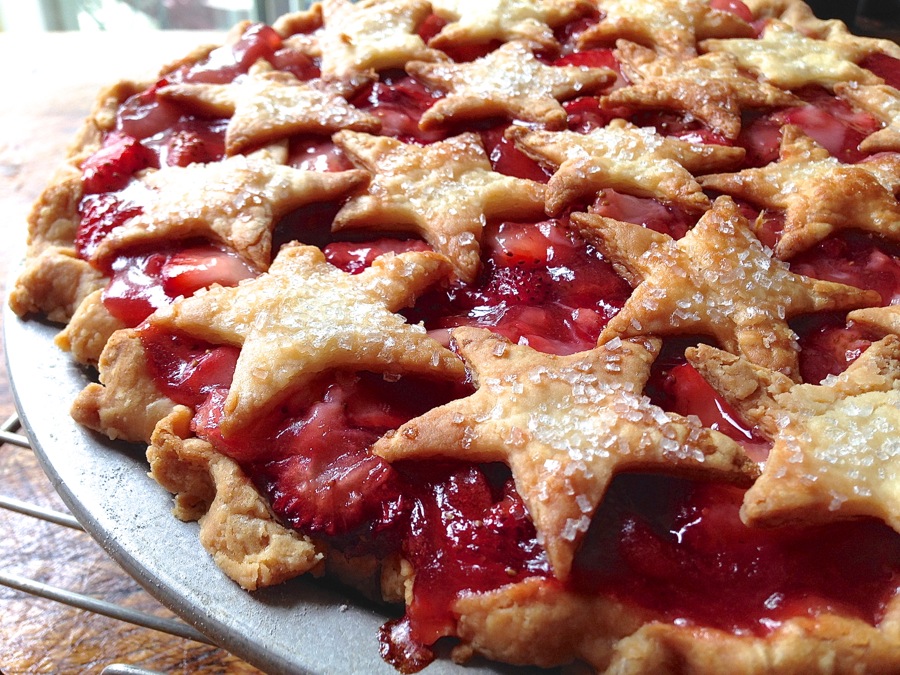
LOOK at this pie!
Fresh strawberries, lightly sweetened. A dash of lemon for bright flavor. Flaky, buttery pastry.
And an all-star top crust!
I've said it before, and no doubt I'll say it many, many times again – I'm no Martha Stewart.
When it comes to pretty – I'm pretty bad. My cookies are lumpy, not round. My scones oblong, not the perfectly buttoned-down wedges you see at English tea rooms.
The top crust of my yeast breads pucker. My pizza isn't round; it's Australia.
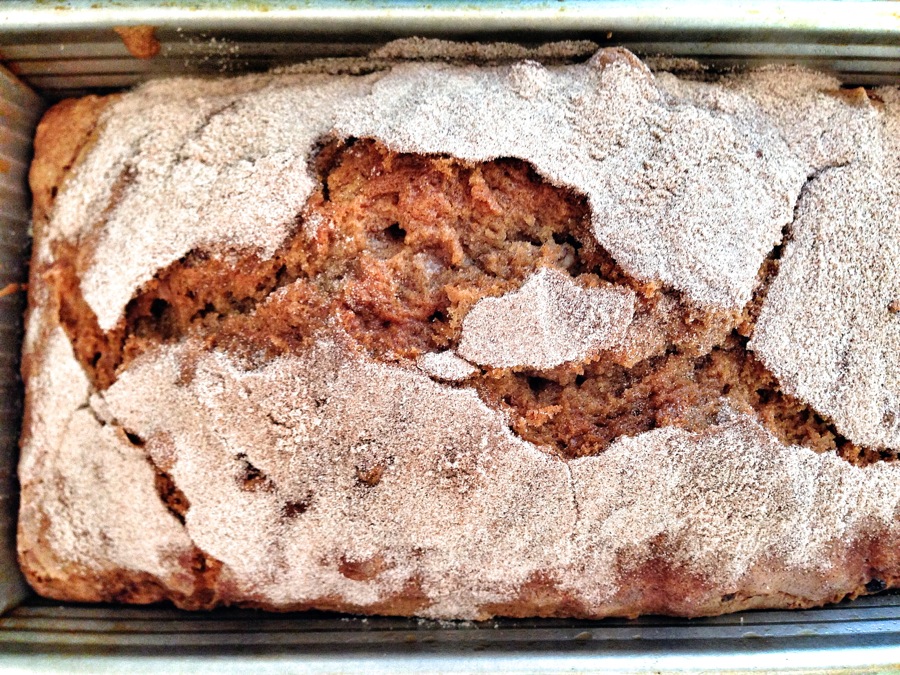
My banana bread? Majestic Mt. Vesuvius – post-Pompeii.
Birthday cakes? Don't even go there; when I finally get around to taking their sorry pictures, you'll find them on NAILED It! 20 Hilarious Pinterest Baking Fails.
So it was with great astonishment I pulled a strawberry pie out of the oven the other day, and pronounced it – dare I utter the words? – "pretty good looking."
NOT picture perfect, of course. And by that I mean, this pie would never in a million years show its face in our Baker's Catalogue, bastion of brilliantly beautiful baked goods.
But pour moi? Well, as I said, pretty astonishing.
Maybe part of my success with this pie is tied to my shortcomings: I have no fail-safe methods for producing handsome baked goods.
There was never a grandma lovingly holding my hand as I wove a lattice crust. No seasoned cake decorator standing at my elbow as I struggled with the pastry bag. So I'm willing to veer from a recipe and try anything.
For instance, the top crust of this pie made me think, "Hey, why don't I..."
We'll complete that thought shortly, but for now, let's start at the bottom. Or better, in the middle: with the filling.
Inspired by FRESH strawberries, I made a straight up strawberry pie. ’Tis the season. Here in New England, strawberries from California supplanted those from Florida a few weeks ago. My own strawberry plants have blossoms, but they're weeks from producing fruit. So for now, I'm harvesting strawberries from the produce section of the supermarket.
This technique will work with any fruit pie: Strawberry-Rhubarb Pie, in particular, would be fantastic.
OK, on to the crust. I'm making a Classic Double Pie Crust, using a combination of shortening and butter.
Why not an all-butter crust?
Read and learn.
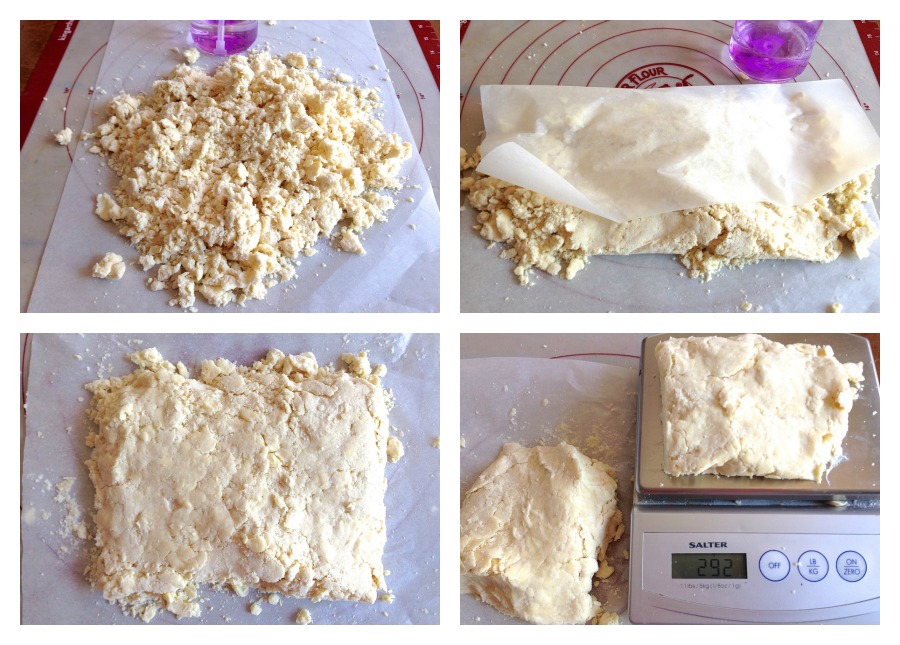
My fellow test baker Susan Reid showed me a cool way to make pastry, key to which is dumping the dry-ish flour/fat/water mixture onto a piece of parchment, misting it with a spray bottle, then using the parchment to fold it a few times. This creates lovely layers of fat and flour that translate to flaky crust – all without adding too much water, liquid being the enemy of flakiness.
You can find more information on this in the "tips" section of the recipe, as well as in the recipe's accompanying video.
Once you've put your crust together, divide it in half; a scale makes short and accurate work of this task. Flatten each half into a roundish disk, slip into a plastic or waxed paper bag, and refrigerate for 30 minutes.
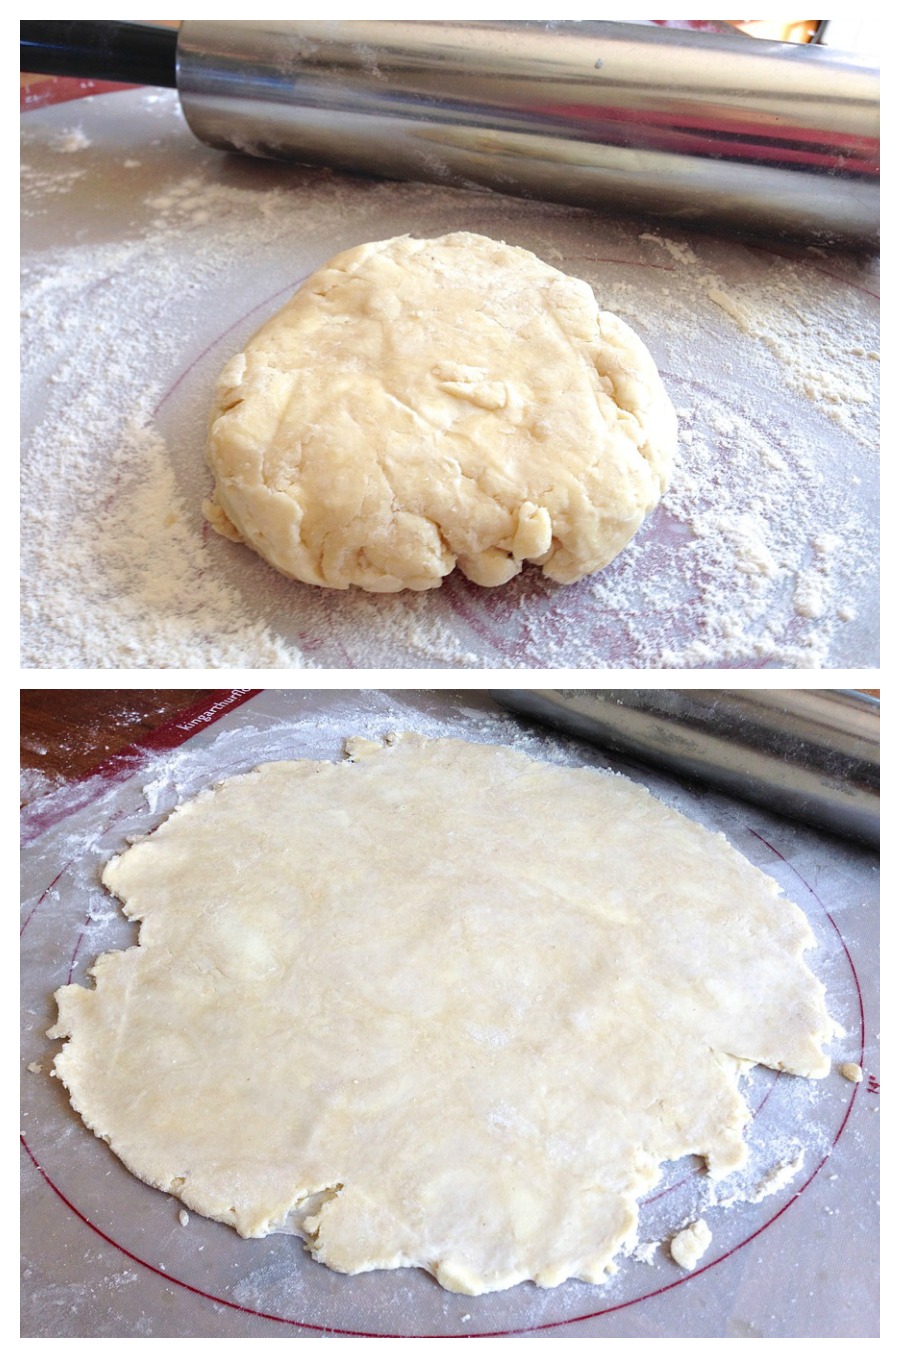
OK, the crust has been chilling in the fridge for 30 minutes; this both helps ensure flakiness, and makes it easier to roll.
I roll one of the two pieces into a round about 1/8" thick, and about 12" in diameter.
Here come the Martha Stewart part –

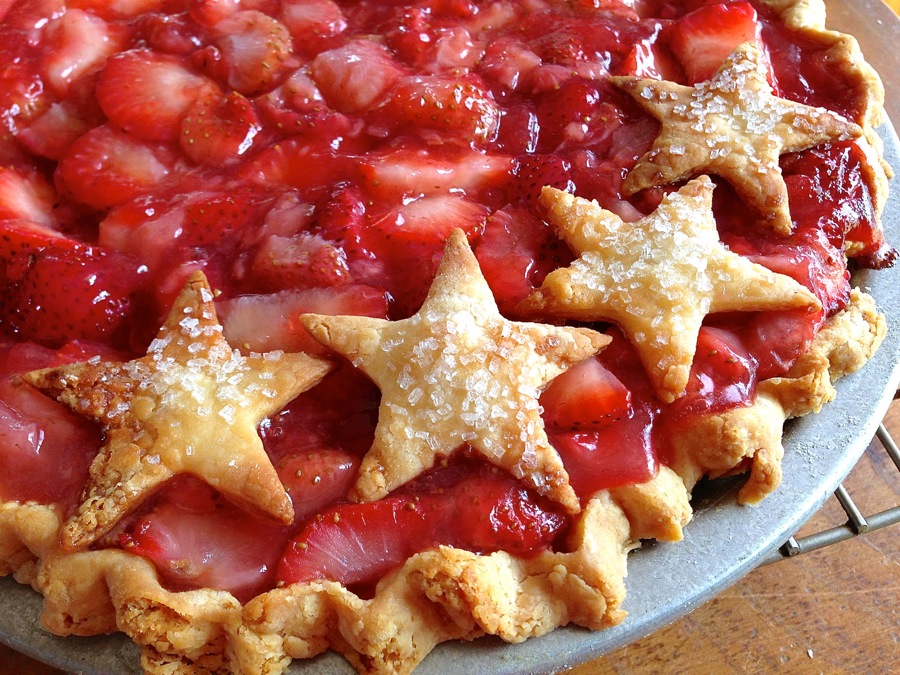
Instead of a plain top crust, I'm going to cover the filling with stars.
Which is why I've chosen a shortening/butter crust: all-butter stars, tasty as they are, tend to puff and sag, due to butter's low melting point. Shortening helps them keep their sharp shape.
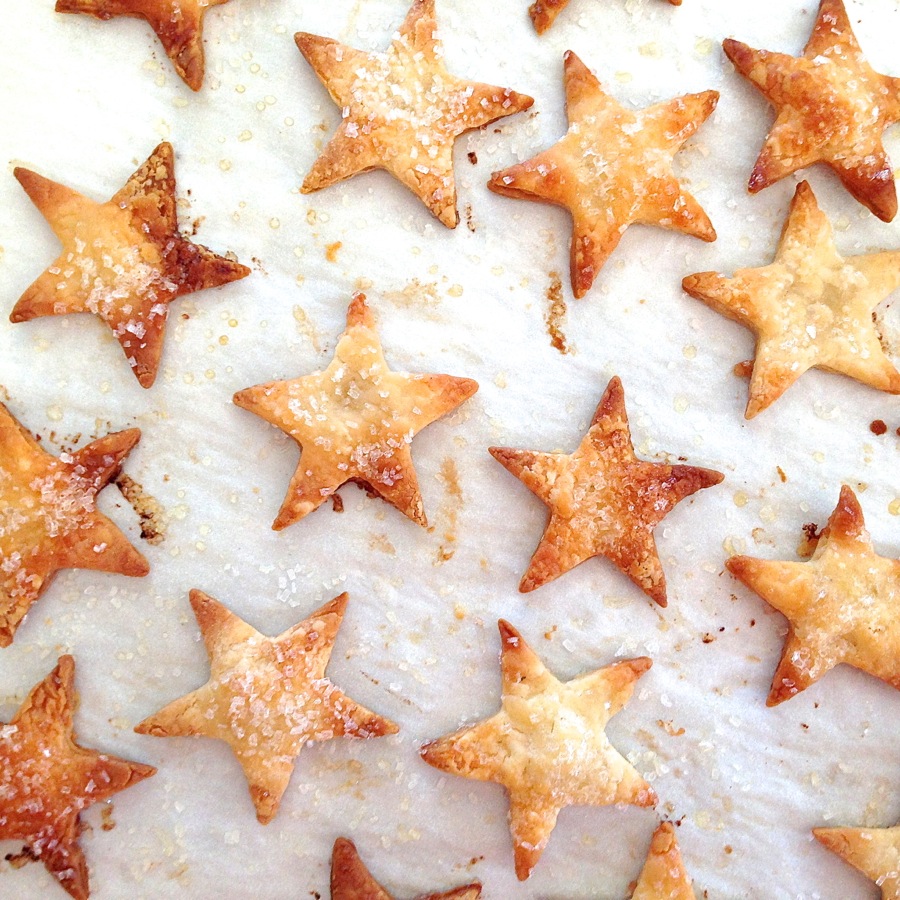
I get out my 2 1/2" star cutter, and cut as many stars as I can. I'll need about 19 or 20 stars; on my first pass, without re-rolling any of the scraps, I manage 28. So, no need to re-roll and cut the scraps.
OK, if you want to make every last bit of dough into a star, be my guest. I'd rather just lay the scraps on a baking sheet, sprinkle them with cinnamon-sugar, bake them alongside the stars, and enjoy them with coffee. Taste over appearance, that's my default.
I lay the stars on a parchment-lined baking sheet, spritz them with water, and sprinkle with sparkling sugar. The sugar adds both flavor and crunch.
Plus, in a certain light, the stars actually glitter... Hear that, Martha?

Hold on, now – why aren't the stars going on top of the pie?
Because I've never understood baking a cutout crust on top of the filling, where those cute little cutouts – stars, hearts, pumpkins, what have you – can easily become submerged in a sea of bubbling juice. When the filling cools and recedes, you're left with sticky-looking stars. Or muddied and mottled hearts.
Why not bake the cutouts first, then apply them once the pie's out of the oven?
"Because..."
Can't think of a good reason, right? "Because that's the right way to do it" doesn't count. Nor does "Because that's the way I always do it."
Cast off the bonds of convention! As Ralph Waldo Emerson memorably said, "A foolish consistency is the hobgoblin of little minds."
Next up: bottom crust and filling.
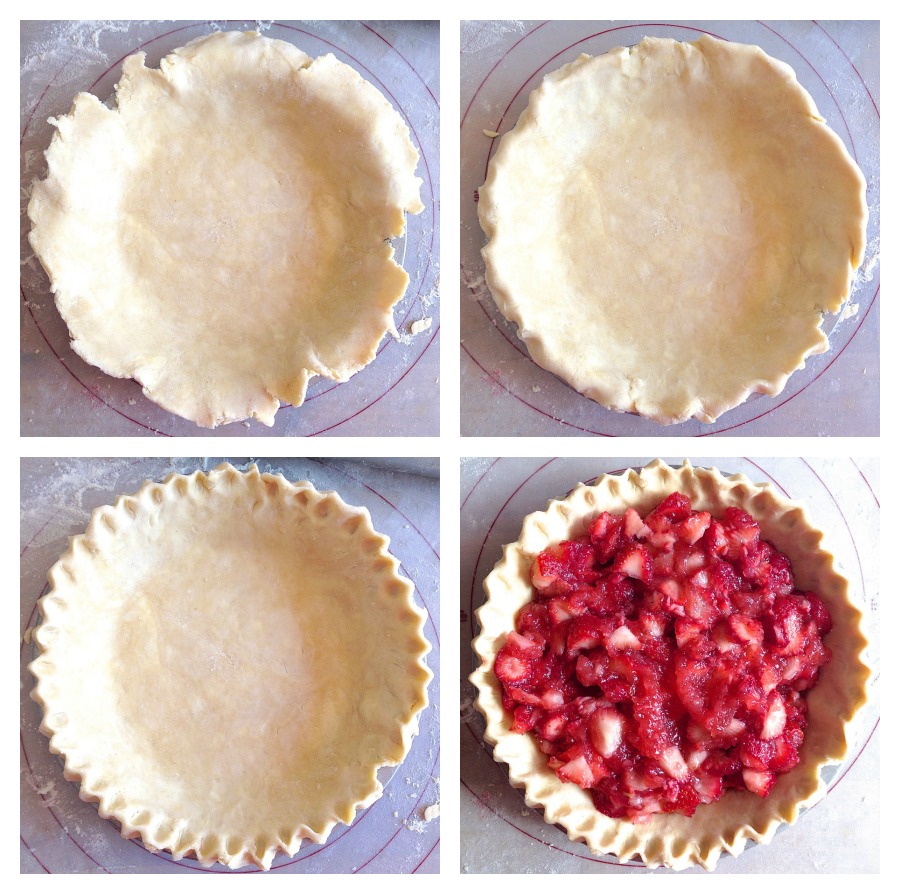
I roll the bottom crust int a 12" circle. Lay it in the pan, crimp the edges up (you want a tall, crimped edge, not the short kind where you use a fork to flatten the crust against the rim of the pan), and add the filling.
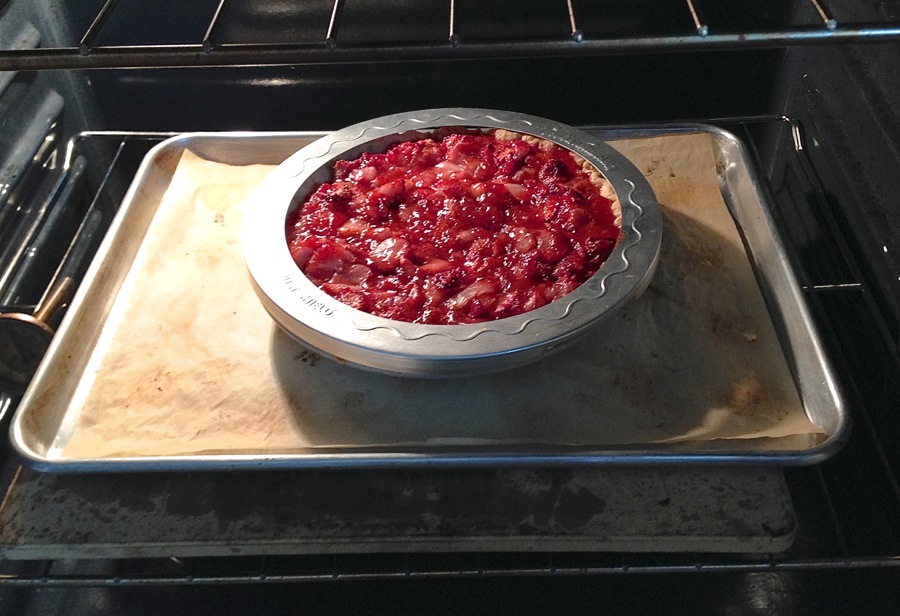
I bake the pie until it's done, adding a pie shield about 15 minutes before the pie's due to come out of the oven. This protects the crust from over-browning.
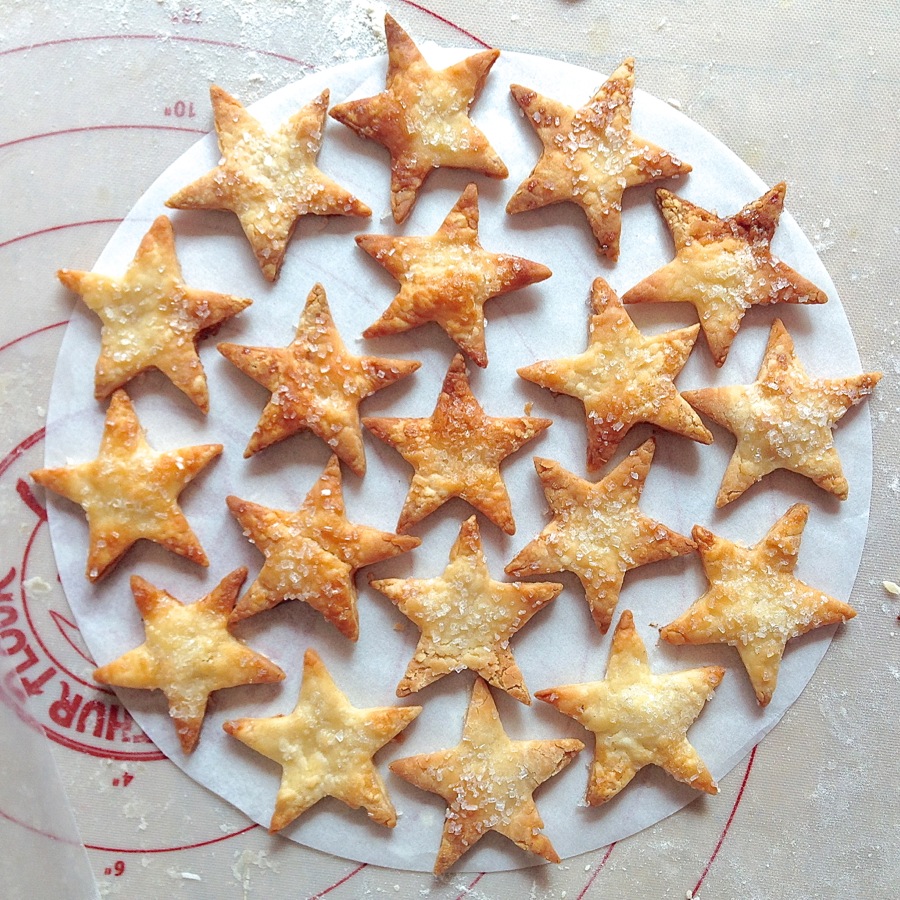
While the pie is baking, I take the time to arrange my baked stars on a 9" parchment round.
Why? Because I want them to look picture-perfect atop my pie. Once the pie's out of the oven, I won't have a lot of time for fussing and rearranging; I want the stars to settle into the filling a bit as it cools. The 9" parchment, which mimics the real estate on top of the pie, lets me work out any placement issues ahead of time.

I take the pie out of the oven, place it on a heatproof surface, and remove the shield.
Whoa, now what's she doing?! Stirring the filling?
Actually, I'm stirring something INTO the filling: more strawberries. I think fresh strawberries added to cooked filling add nice "bite" and flavor, so I add about 12 ounces hulled and coarsely chopped fresh berries to the simmering filling.
On go the stars. Doesn't that filling look nice with the fresh strawberries?
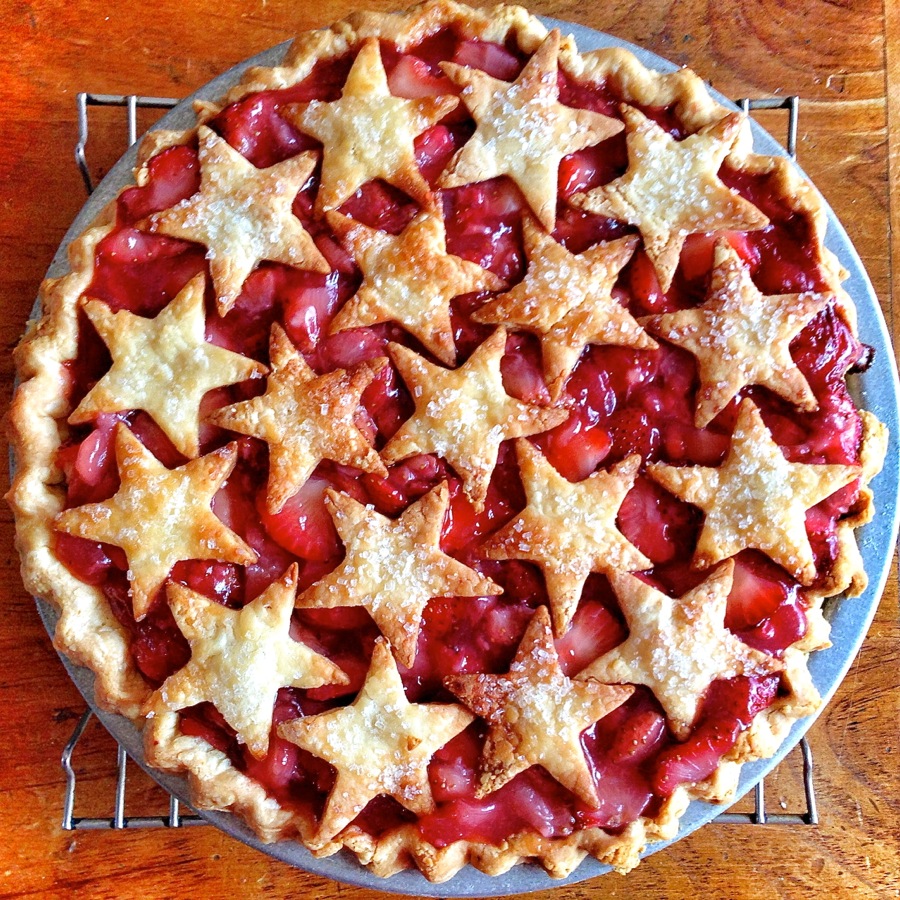
Success!
Well, kind of. The star placement didn't work out exactly as planned on the parchment. But the overall effect is nice, wouldn't you say?
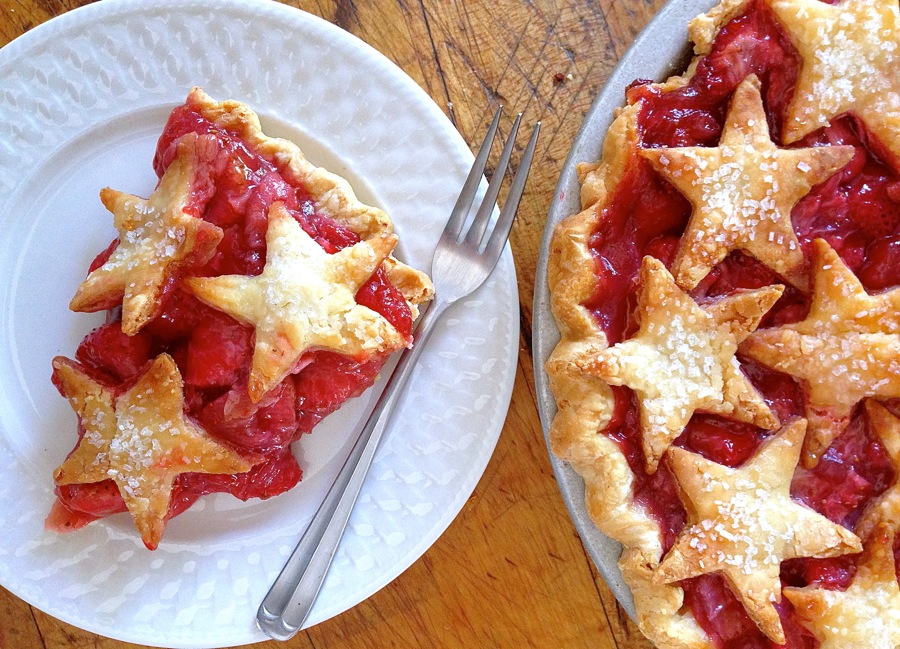
Now, difficult as this is, you HAVE to let the pie cool completely before digging in.
The alternative? Cut one slice. Note hot strawberry lava pooling on your plate. See pie turn into strawberry soup with floating stars. NOT pretty.
Several hours pass. At last! We come to the really important part –
How does the pie taste?
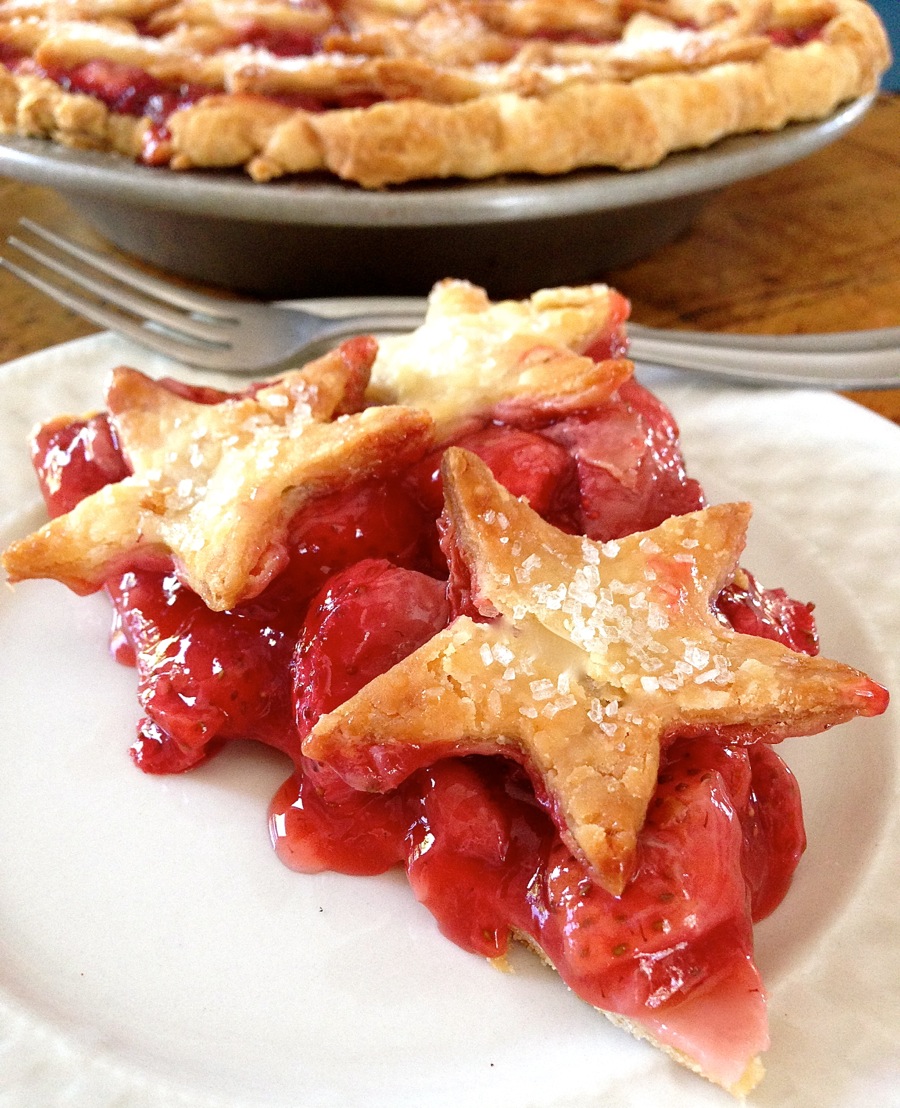
Super-duper!
And artful, right?
Just call me the artful codger!
Note: These techniques work well for all kinds of fruit pies. In particular, see Strawberry-Rhubarb Pie and Classic Double Pie Crust to get started.
