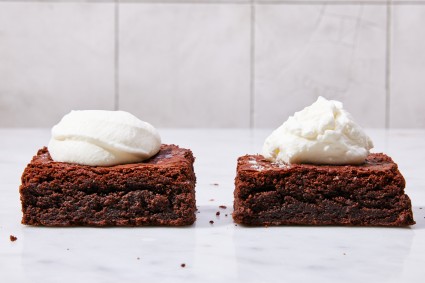
Light and airy as a cloud, there's nothing quite like a spoonful of freshly whipped cream. Once you learn how to whip cream, you'll never have to resort to that store-bought non-dairy who-knows-what topping again.
Whether you're topping berries fresh from the garden or a late-night slice of pie, homemade whipped cream makes every dessert special. Adding a touch of sugar or a drizzle of vanilla can gild the lily, but it's the cool creaminess and the billowy texture that really makes homemade cream shine.
We'll show you how to whip cream to soft, medium, and stiff peaks, plus our favorite method for making stabilized (read: longer-lasting) cream to use for fillings and spreads. We'll even show you what we do when things have gone a little overboard with the mixer and your cream becomes ... well, we'll get to that later.
Whipping cream is simply a matter of incorporating tiny air bubbles into a fatty liquid. On a scientific level, the fat molecules line themselves up around the air bubbles, making them stable. The bubbles then cling to each other, forming a thick foam. A thick, ambrosial, dreamy foam.
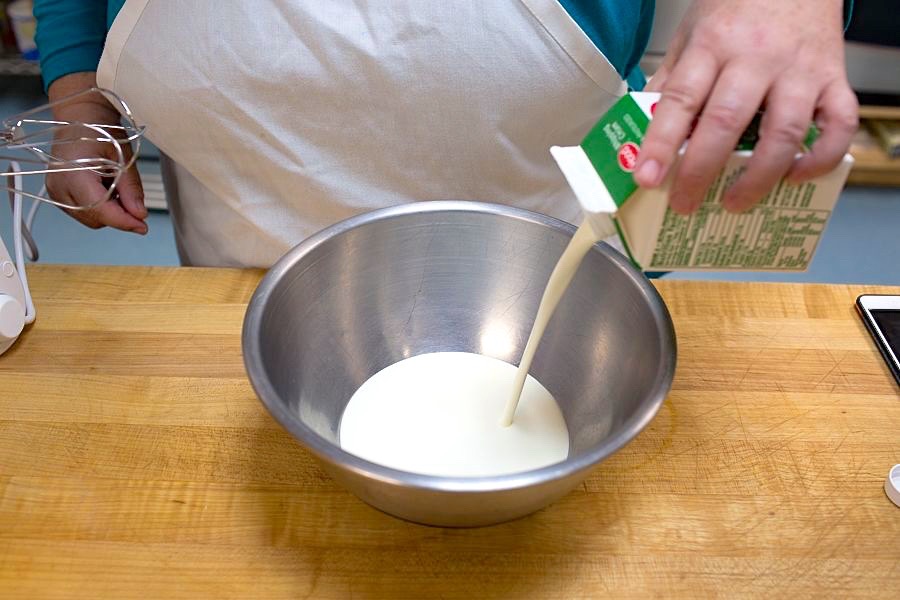
While 1%, 2%, and whole milk all have varying amounts of fat in them, for a sturdy foam you'll need whipping cream (30% to 35% fat) or heavy cream (36% minimum). Ultra-pasteurized dairy products will make a decent whipped cream, although the flavors are a little more "cooked" tasting. Standard pasteurized cream will whip up more easily and hold better peaks, so do use it if you can.

Because you're relying on the fat in the cream, you need to ensure it stays in a solid, albeit microscopically solid, state. Chilling your bowl, cream, and beaters beforehand means things will stay colder longer during the whipping process. Colder cream = loftier peaks.
Using a lower speed to begin your whipping will also be helpful. The cream won't warm too quickly and you'll build up smaller bubbles, for a more stable foam.
Just as it's best to go with the look of your dough rather than how long it's been in the bowl, you'll want to keep an eye on your cream as you go along. At first you'll have large bubbles on the surface that are pale and thin, but soon you'll see your whisk or beaters starting to leave trails in the bowl. This is a sign that the structure is starting to build and the cream is beginning to thicken up.
This is the time to add sugar, slowly, if you want sweetened whipped cream. Using a superfine castor sugar means it will incorporate more quickly and leave no grittiness. Confectioners' sugar is another easy to incorporate sugar, and the cornstarch it contains can add some stabilization. Vanilla and other flavorings can be gently stirred in at the end of whipping.
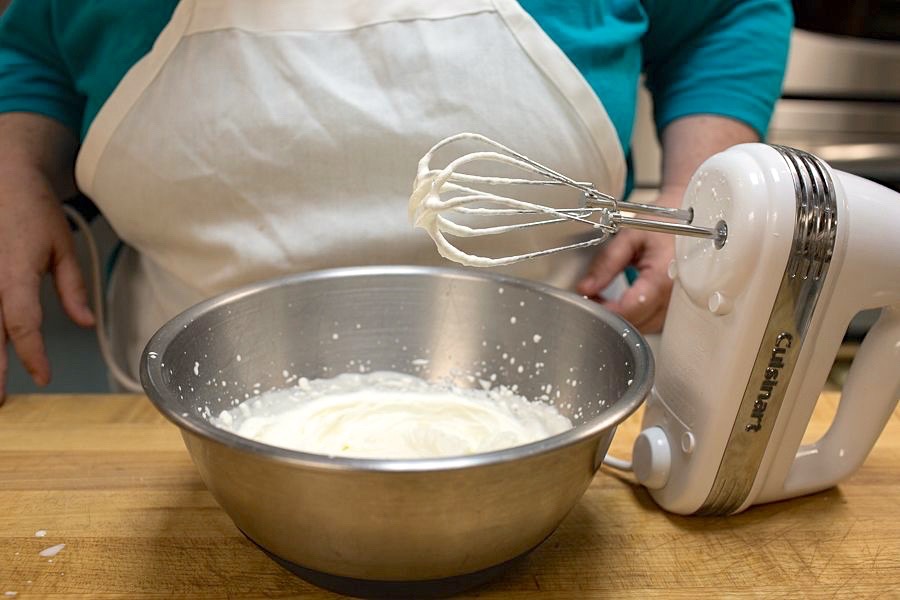
Once you hit this stage, you can increase the speed on your mixer to medium-high. While you could do high if you're in a big hurry (gimme pie now!), using medium-high speed will give you better control, and you won't over-beat your cream.
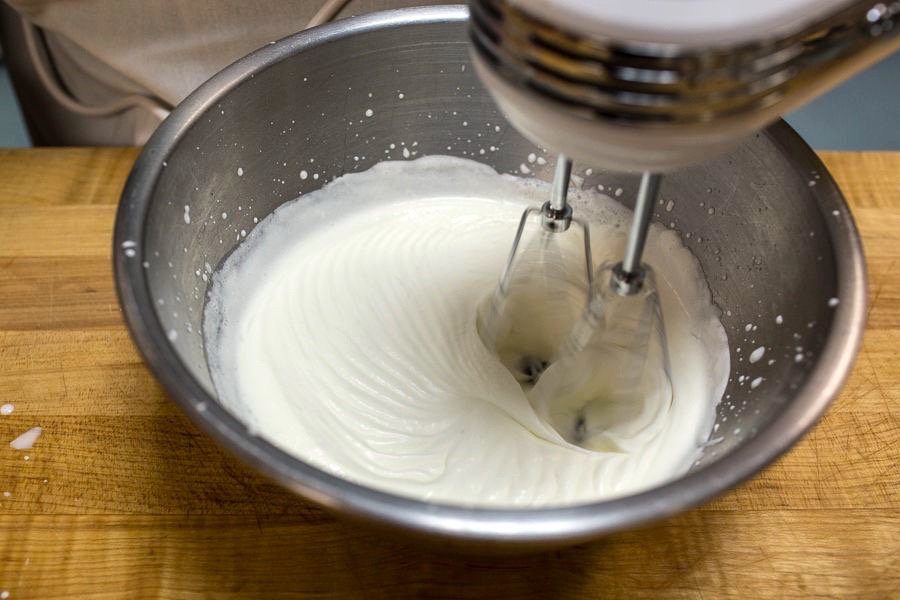
When your trails through the cream start to build up and overlap each other, you're at the soft peak stage. If you scoop up a spoonful of cream, it will be slightly less stiff than sour cream.
Soft peaks come and go rather quickly, with medium peaks hard on their heels.
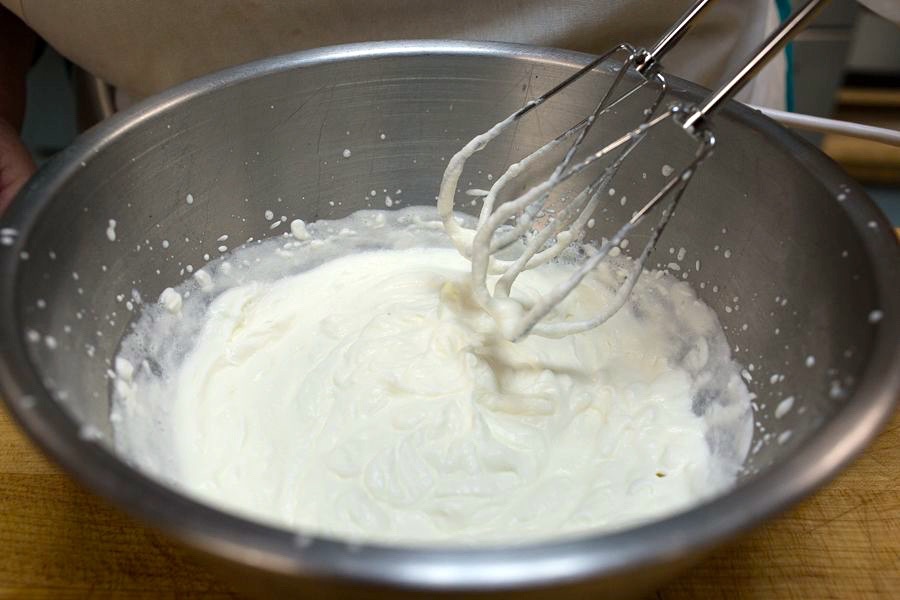
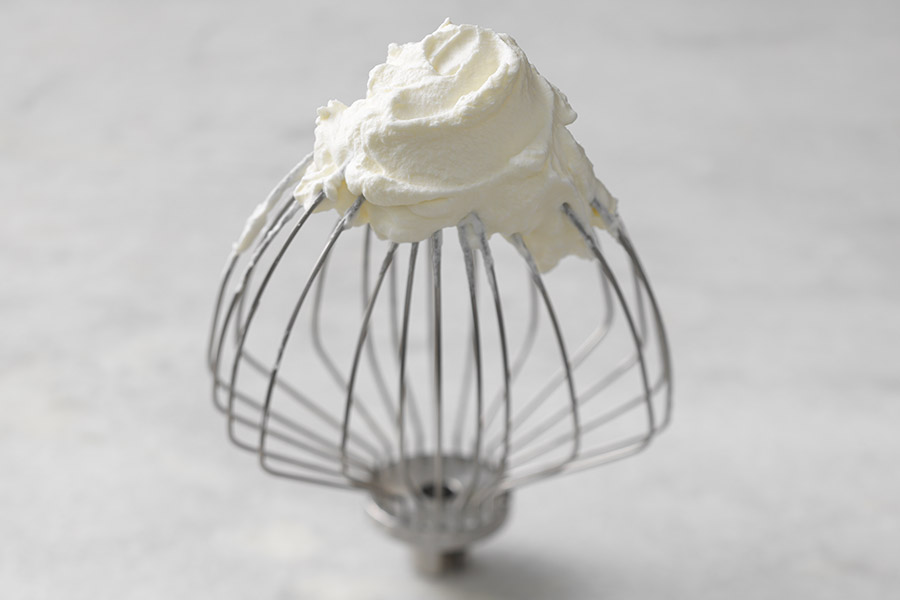
When many of us think of whipped cream, we're picturing it at the medium-peak stage. Beyond flowing soft mounds, but not yet stiff firm mountains, either. We want our dollop to have a pointy top, but a base that drapes around berries like a drift of snow.
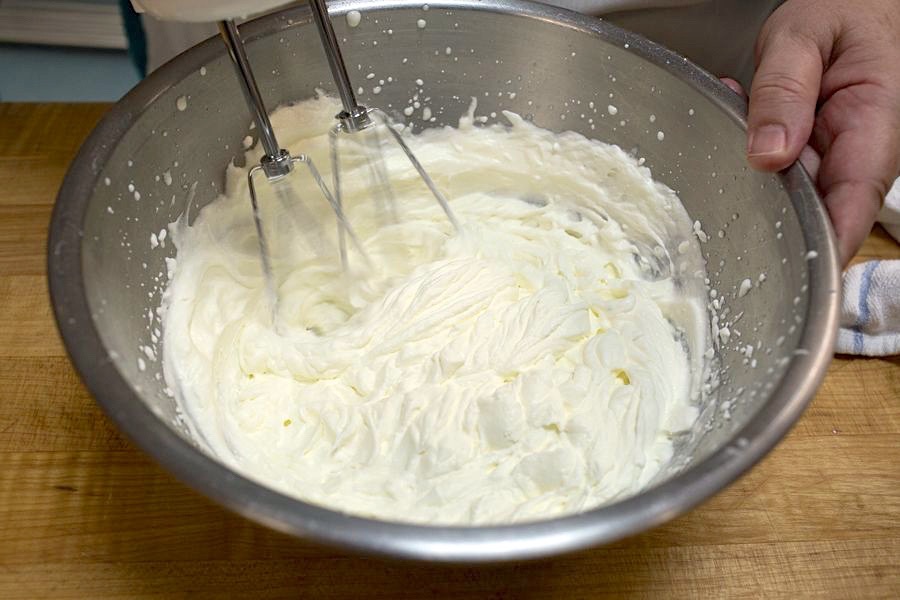
Drifts of snow you'll want to eat with a big, big spoon.
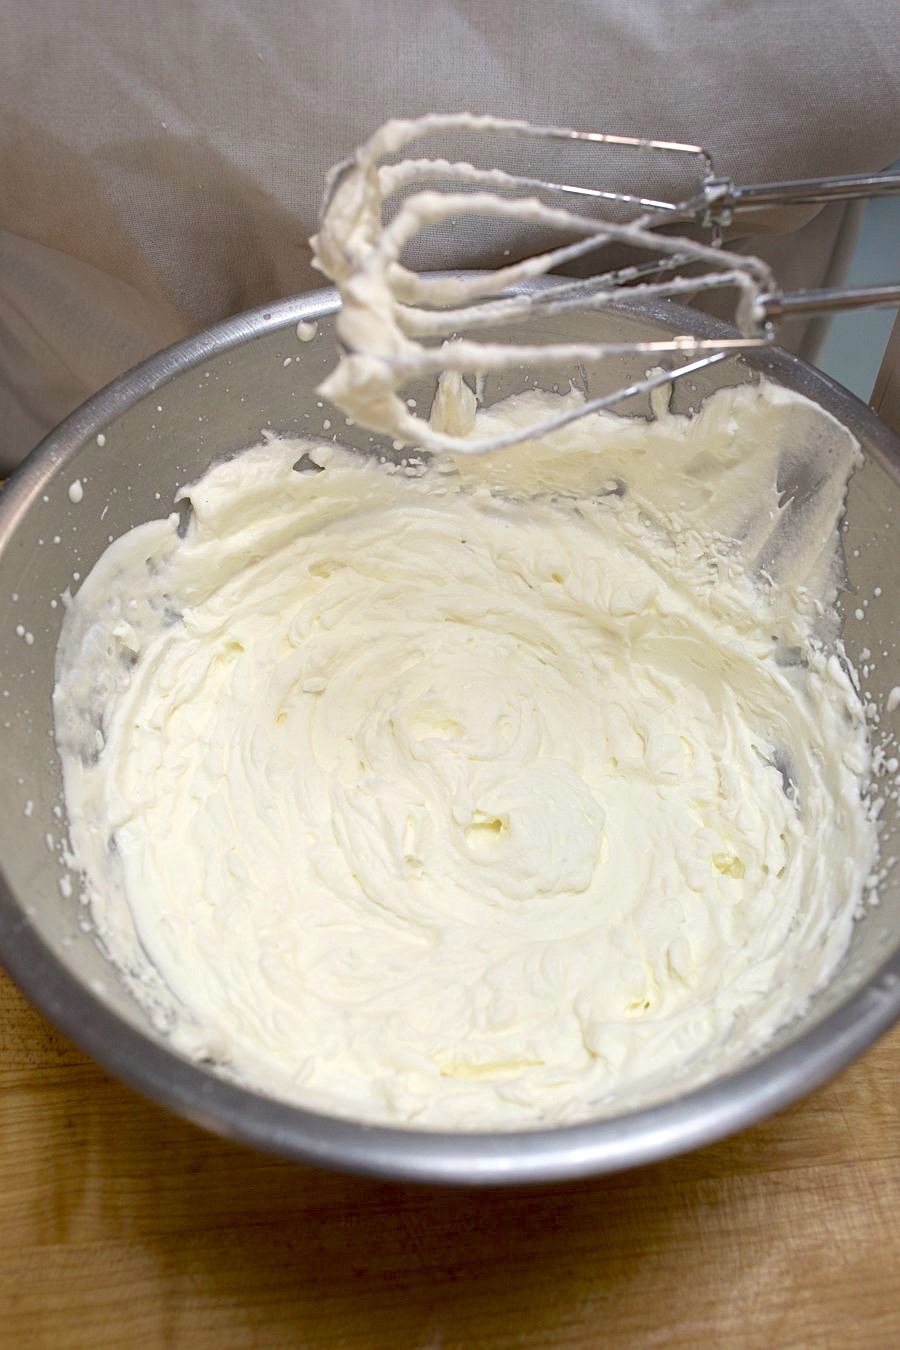
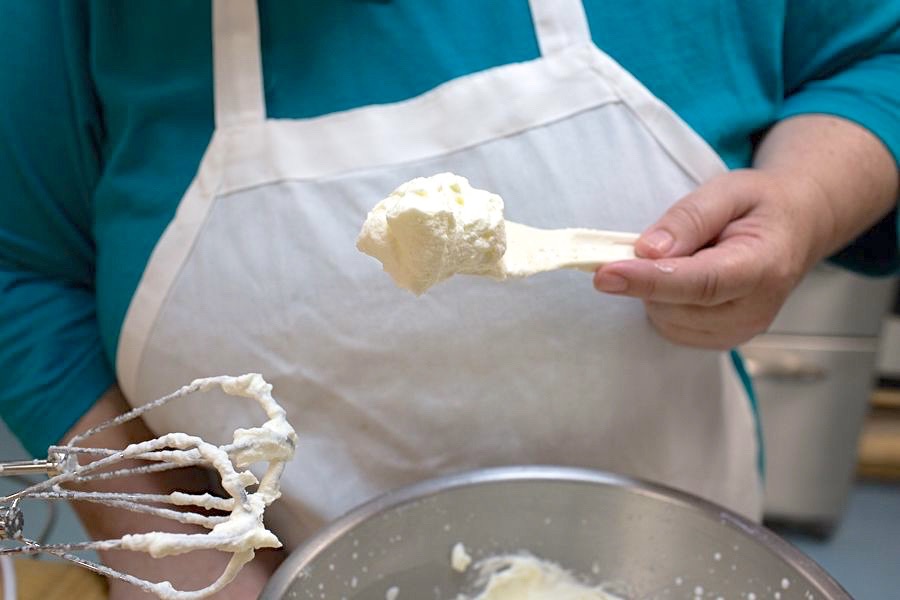
When a recipe calls for folding in cream, stiff peaks is often where you want to go. The cream will be thick and spreadable, almost like the icing for a cake. The volume will have just about doubled, and the cream will cling to the beaters.
Take care! Be sure to stop as soon as you've reached this stage, for ahead lies disaster.
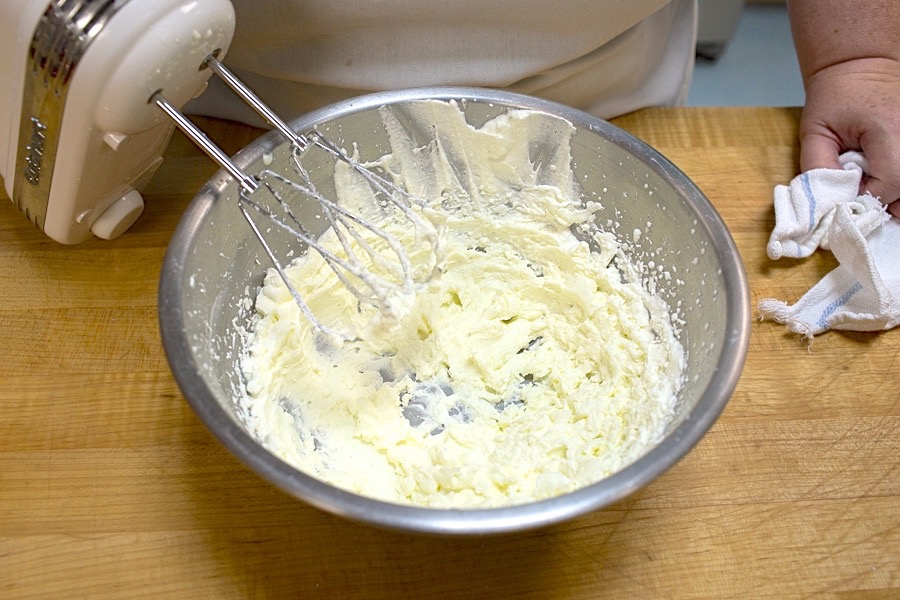
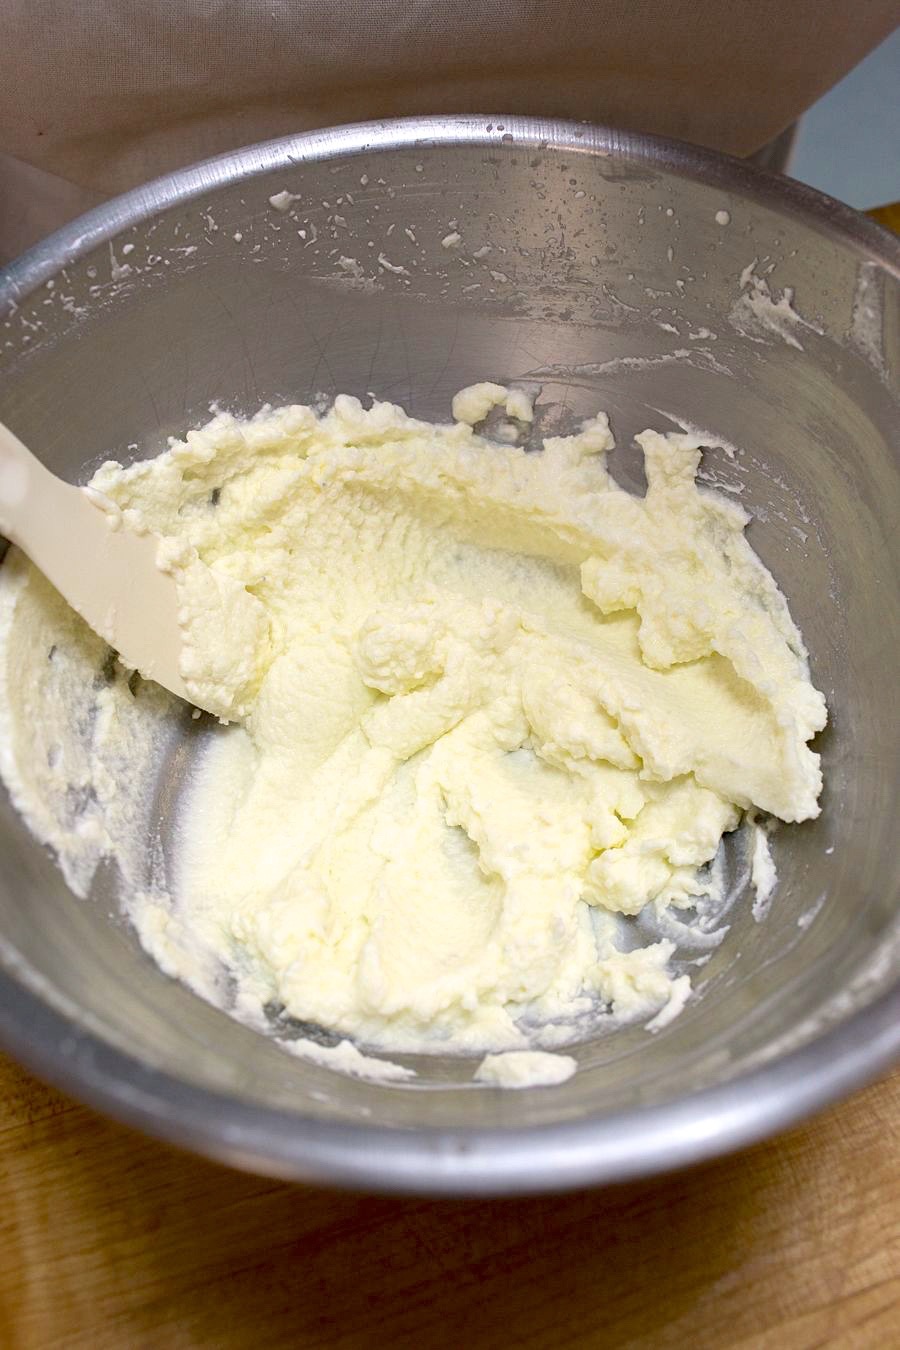
Take a look at the bowl above. See how there's an open spot in the middle, with much of the cream clinging to the sides of the bowl? This is a HUGE sign that you're headed for the land of no return for your cream. The fat has been so coagulated that the air is forced out and your lofty cream will begin to deflate.
If you catch this early, you may be able to salvage it by adding a few more tablespoons of cream and gently, by hand preferably, combining it with the thick cream to smooth it out some. You won't get back the same light cream you had, but all won't be lost.
With a heavy sigh you realize you've over-whipped your cream and it's turned to... butter. While it's not really going to be great on top of your berries, all's not lost. Toss in a pinch of salt, perhaps some lemon or orange zest, and you have a gourmet butter to spread on your next fresh-baked bread.
Why not save it in the fridge, too, and add some to your next sweet dough?
By adding a thickener, a starch, or additional fat, you can make whipped cream that stands up taller, spreads more like icing, and doesn't melt or weep as quickly.
The whipped cream you get in restaurants is often stabilized to help busy chefs turn out desserts ahead of time, or to assist with serving pillowy, creamy desserts in higher heat situations.
For home bakers, the advantage of stabilized cream is that you can make it ahead of time and stash it in the fridge until you are ready to serve, or top a pie that needs to travel to its final destination. As long as you keep it cool, your cream will last at least 24 hours without deflating.
We'll show you one of our favorite methods for stabilizing here, to start the discussion off.
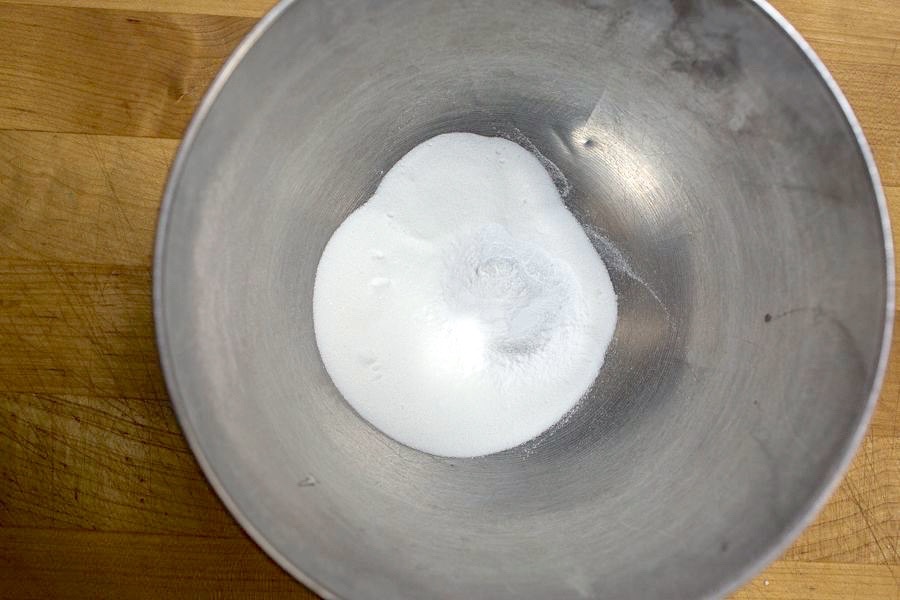
Instant Clearjel is a modified food starch made from corn that thickens instantly when it comes into contact with liquid. By mixing a small amount in with the sugar for your whipped cream, you can sweeten and strengthen the cream at the same time.
Here we've used 1/4 cup sugar plus 1 tablespoon Instant ClearJel with 2 cups heavy cream.
Following the same beating method, you can see that the cream is smooth and thick, holding up nicely on the spatula.
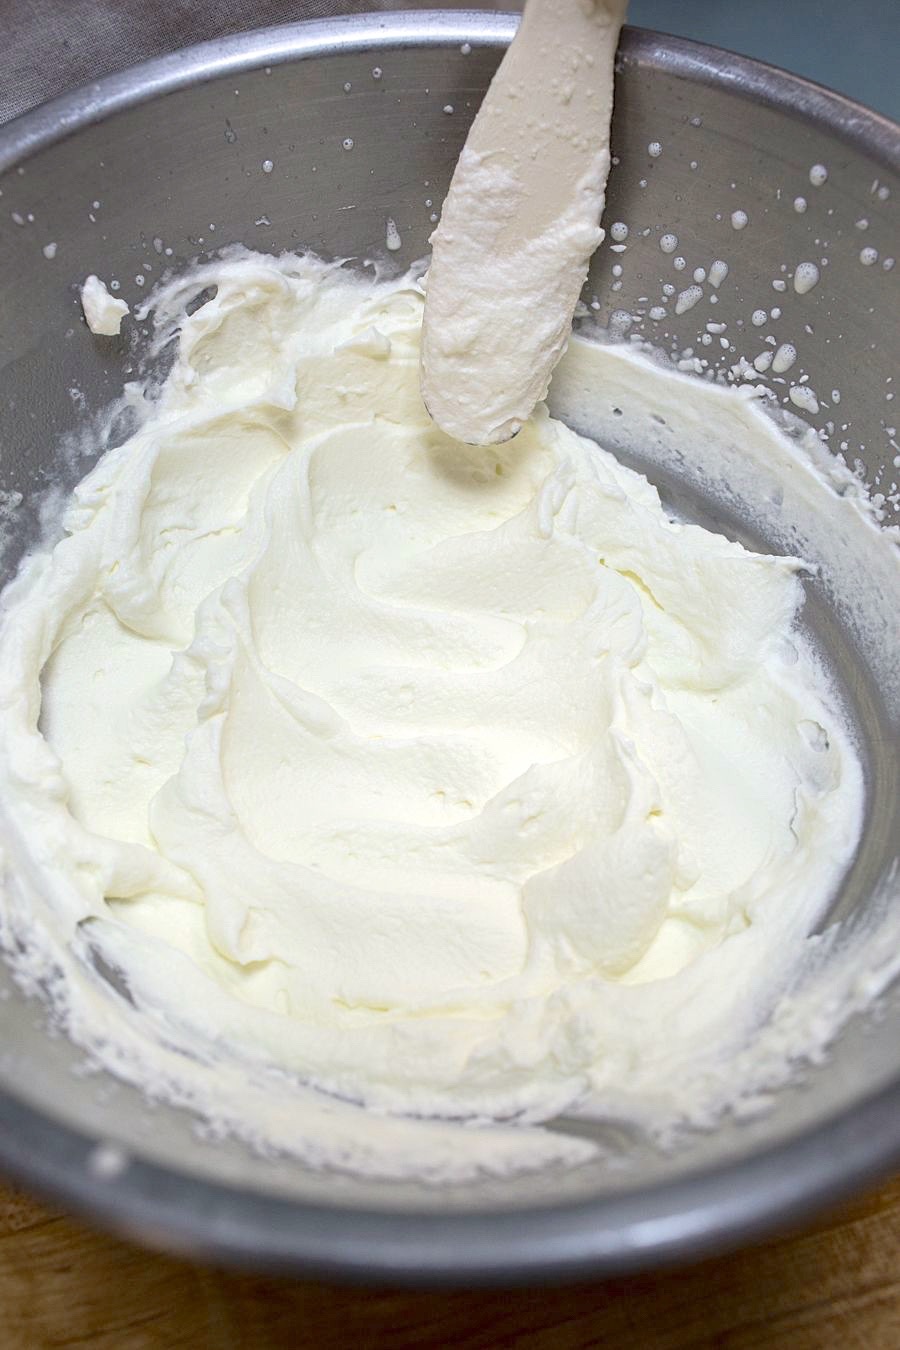
And a spatula drawn through the cream leaves distinct folds and curves. All in all, a great choice if you want your whipped cream to be more frosting-like than cloud-like. This stabilized whipped cream is excellent for piping atop pies and cakes as well.
We hope these tips will help you achieve the cream of your dreams. Delicate and satiny, soft and soothing.
We mentioned that there are several different ways to stabilize whipped cream. We hope you'll share your experiences and methods in the comments below. Have a real winner, a foolproof method? Please share! Come across a real flop? Save your fellow bakers from the same fate. The more we share, the more we grow as bakers.
Special thanks to Julia Reed for the photos illustrating this post.