


Let me say right up front: This flag cobbler is a PERFECT example of you, our King Arthur readers, inspiring me to heights I never dreamed I'd scale.
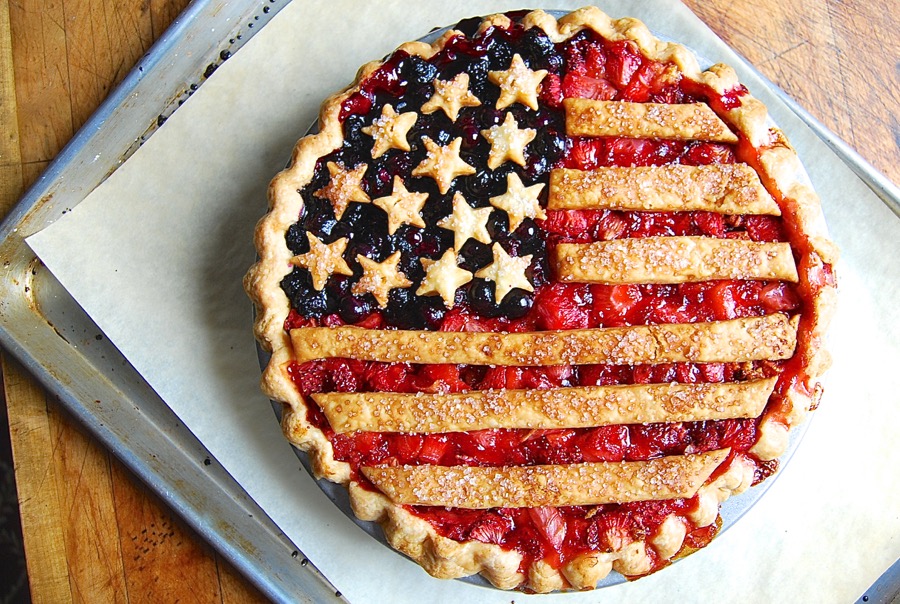
Last year at this time I made a flag-themed pie: "white" pastry stars and stripes over a background of blue(berries) and red strawberries. It was pretty darned stunning, especially for me: the self-professed lacker of the Martha Stewart gene, an otherwise capable baker who won't decorate a cookie, can't pipe icing, and would rather eat buckwheat groats than weave a lattice crust.
As a result of that post, reader marykayrose7 offered this: "I LOVE this PJ! I’m so happy I found it when I googled it. I’m going to try making it a cherry/blueberry cobbler for the 4th of July. I think the rectangular shape will make it look even more like a flag... Hope it turns out as pretty as yours. Thanks for posting."
A rectangular flag cobbler instead of a round flag pie? Genius!
It wasn't much of a "leap of creativity" to turn this round pie into a truly flag-shaped rectangular cobbler. But it was indeed a math challenge – beginning with the pastry crust.
How much crust would I need to line the bottom of a 9" x 13" pan, then cut six stripes and lots of little stars?
To Mr. McLeod, my 9th grade geometry teacher: wherever you are, thank you. Who knew all that pi-r-squared stuff would eventually come in handy? It took a calculator plus paper and pencil, but eventually I came up with the serendipitous answer: One double pie crust recipe is enough to make a 9" x 13" bottom crust, plus stars, plus stripes.
Want to do just the stars and stripes, and the heck with the bottom crust? Prepare a single pie crust recipe.
So, fast forward: you've made your crust, it's chilled, and you're ready to roll.
Divide the crust in half.
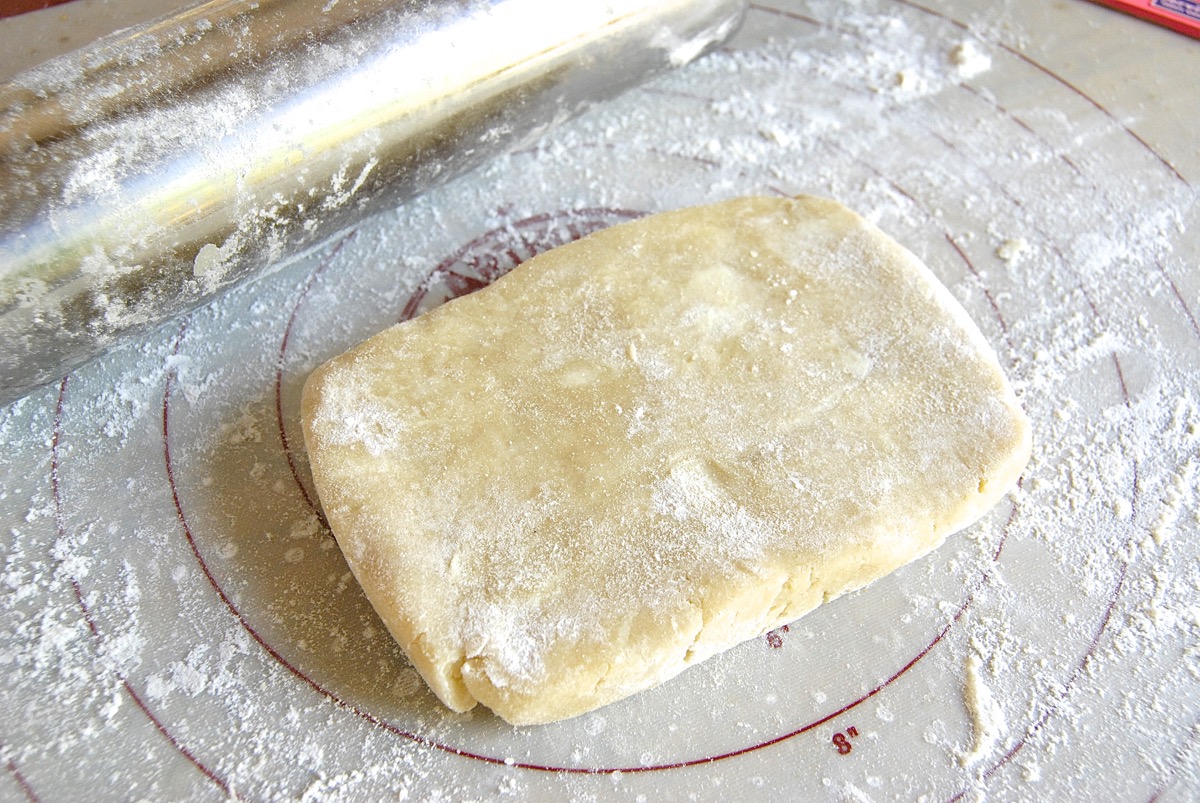
When I'm rolling out a rectangle, I find it helps to start with the crust already shaped into a rectangle.
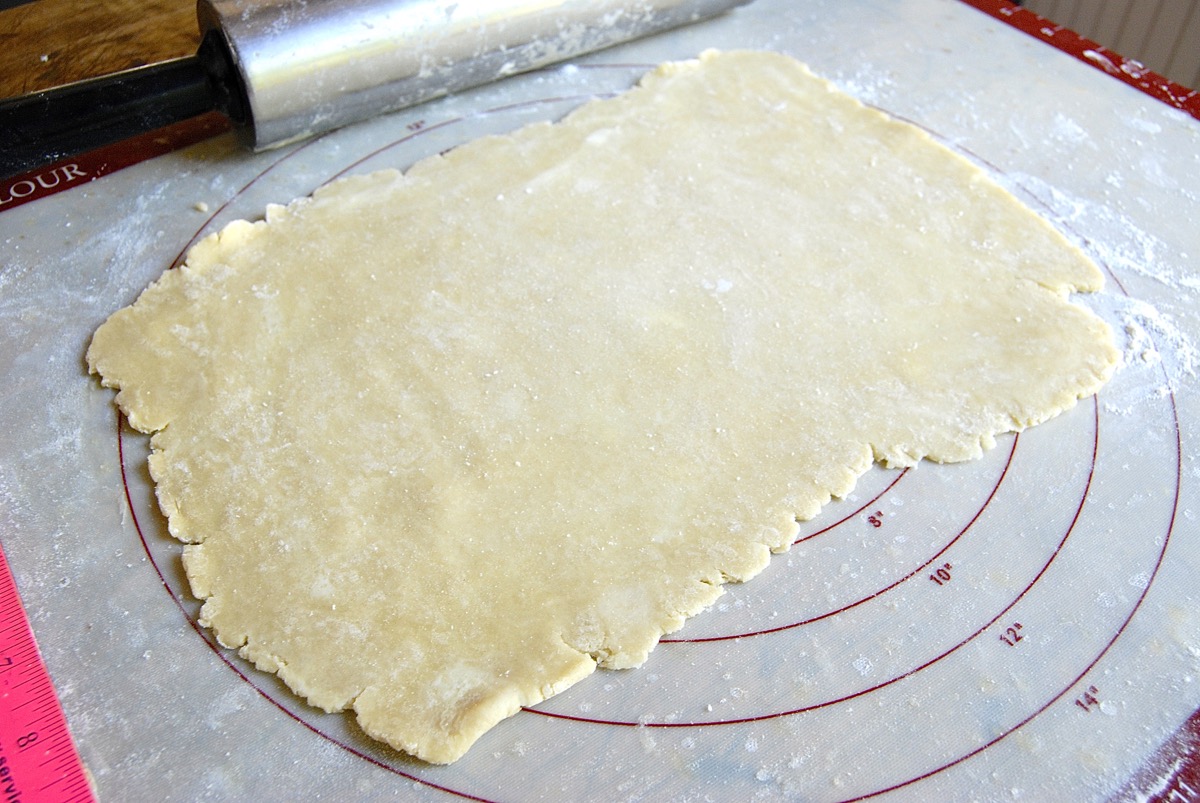
Roll it to a generous 9" x 13" rectangle. Don't worry about any ragged edges; they won't show.
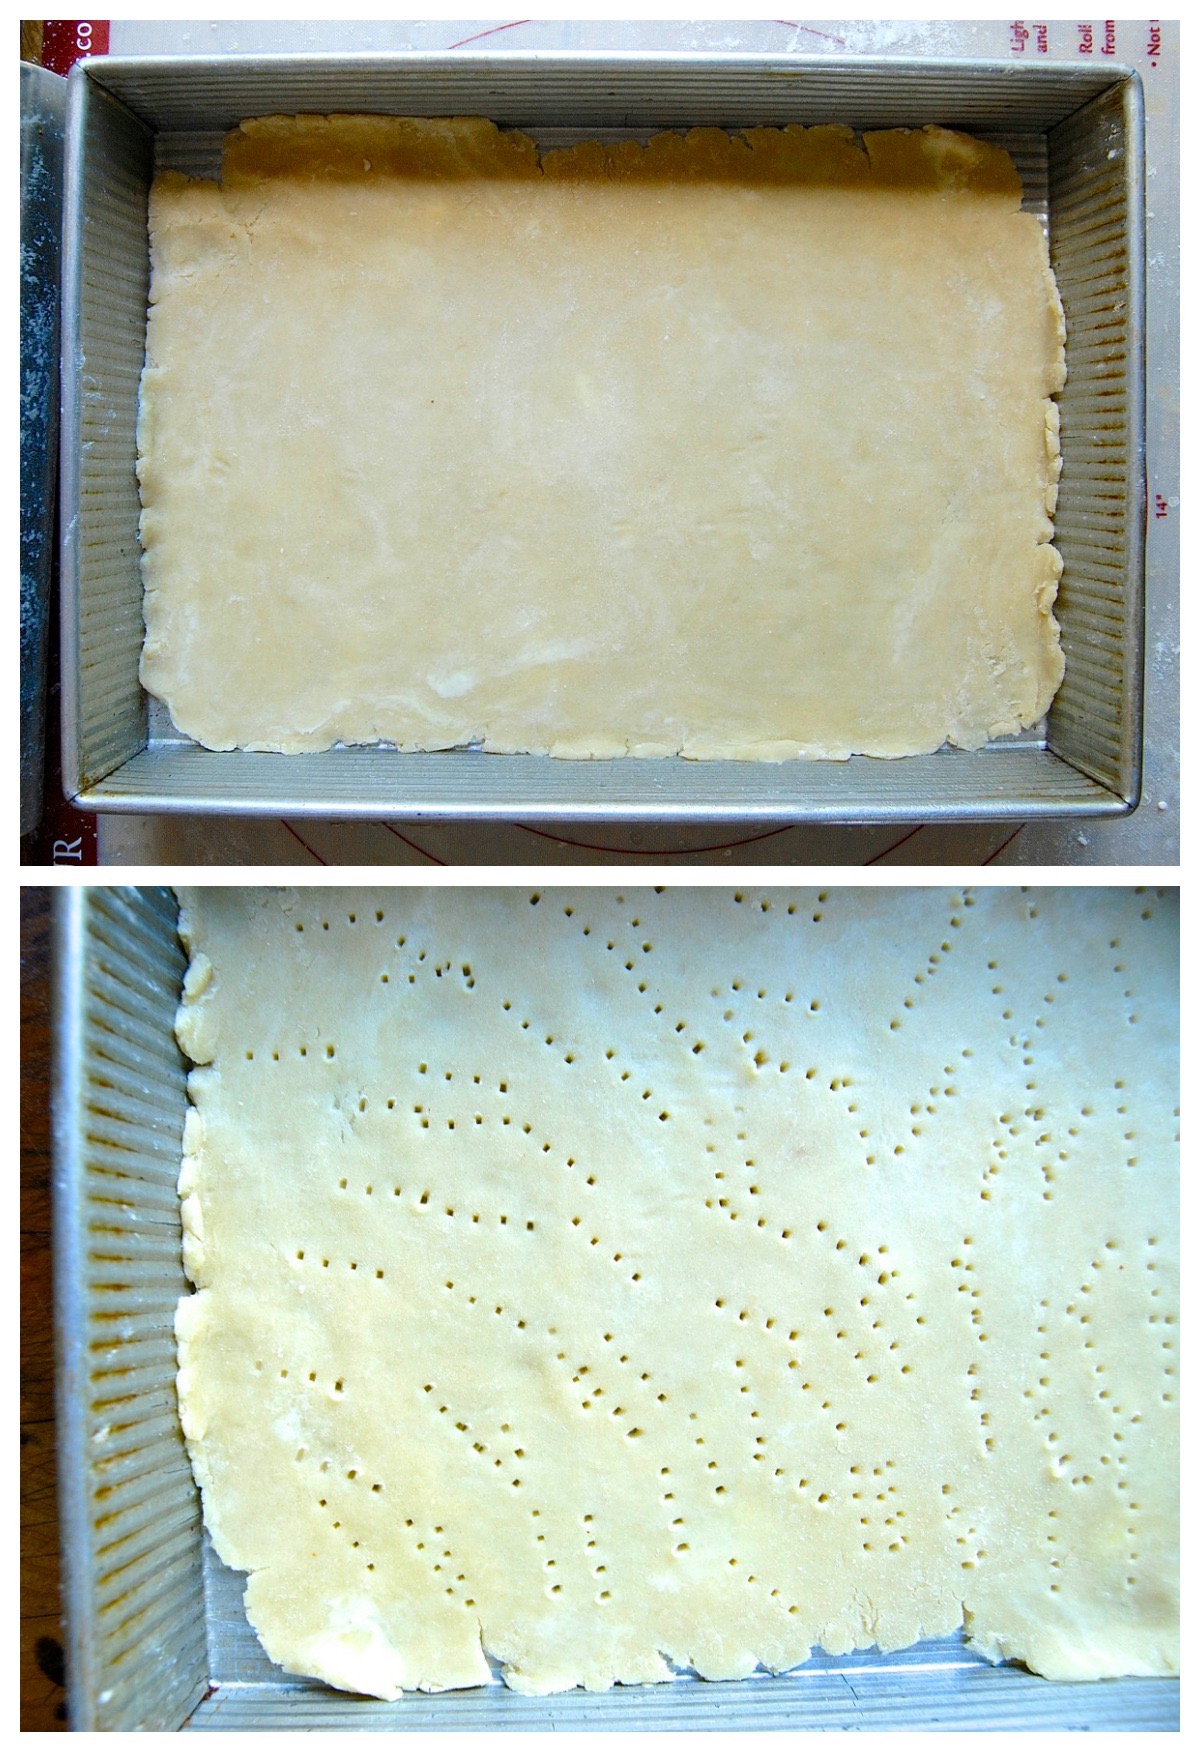
Place the crust in a 9" x 13" pan, and prick it all over with a fork. This will help keep it from puffing up too precipitously as it bakes.
But, won't the berries hold it down? Not initially: we're going to prebake the crust before adding the berries, then baking again.
Why? Because juicy berry pies tend to create soggy bottom crusts, and one good solution is to prebake the crust – which should keep it relatively crisp despite the bubbling berry juices it'll encounter later on.
Next: the stars and stripes.
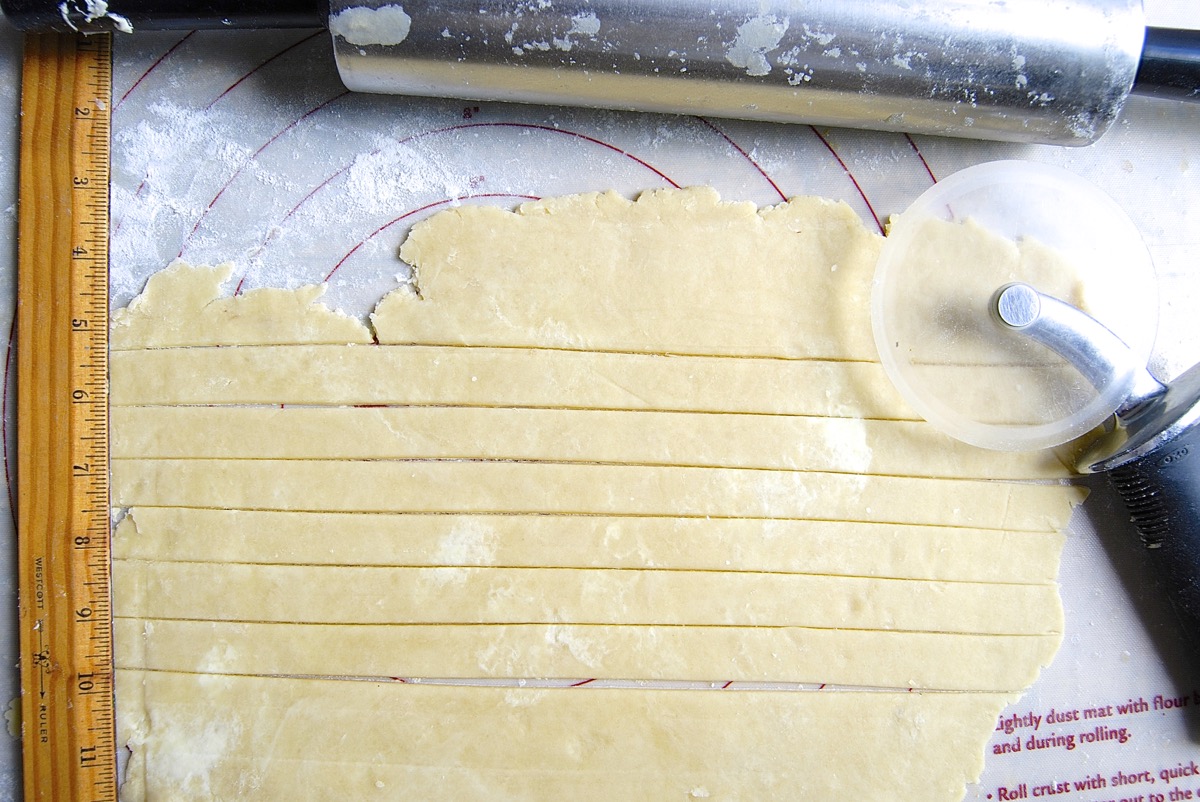
Roll the remaining piece of dough into a rough 6" x 13" rectangle. If you're struggling with ragged edges, just make sure you have a swath in the center that's at least 13" long; it's more important to get the dough 13" long than exactly 6" wide.
Cut a six or seven 3/4"-wide x 13"-long strips; these will be your flag's white stripes. (Cutting seven stripes instead of six gives you a back up, should one break.)
Use a star cookie cutter to cut small stars from the remainder of the dough.
Hey! You're not supposed to cut on a silicone rolling mat, right?
Do as I say, not as I do. I actually cut on mine – very, very carefully – using a plastic-blade rolling pizza wheel.

Use a star cookie cutter to cut small stars from the remainder of the dough. I used a 1 1/4" cutter, and got 28 stars.
I didn't bother re-rolling the dough scraps. Instead, I just did what Mom always did: spread them on a pan, sprinkle with cinnamon-sugar, and bake until brown and crisp. Baker's treat!
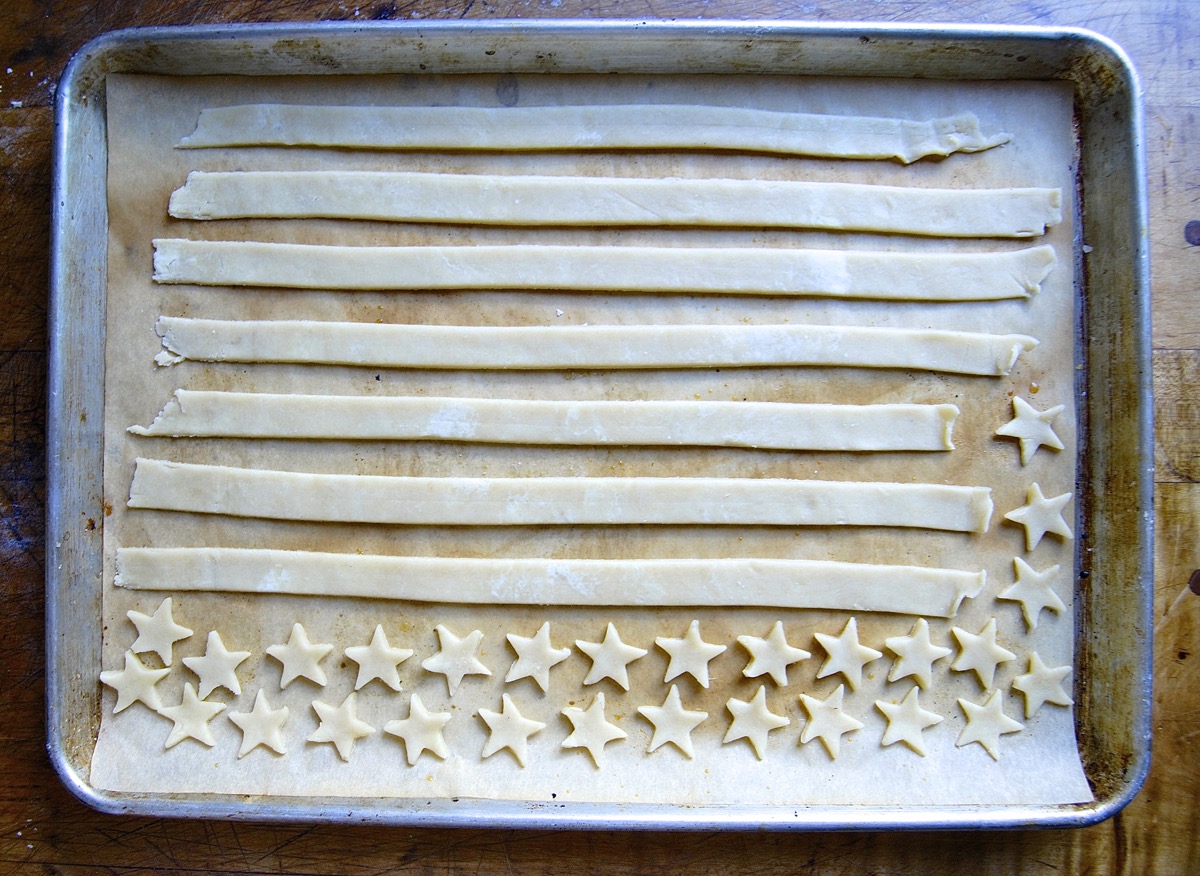
Place the stars and stripes on a baking sheet. Parchment makes everything easy to move around afterwards.

For sparkle and crunch, brush or spray the stars and stripes with water, and sprinkle with coarse white sparkling sugar.
Refrigerate for at least 30 minutes.
While the dough is chilling, preheat the oven to 425°F.
When the oven's come up to temperature, place the pan of stars and stripes on a lower rack, the bottom crust in its 13" x 9" pan on a middle or upper-middle rack.

Bake the stars for about 15 minutes; remove them from the pan with a spatula.
Continue to bake the stripes for several more minutes (about 18 minutes total), until they're set and barely browned. You want the stripes to be fully baked, but still fairly light-colored.
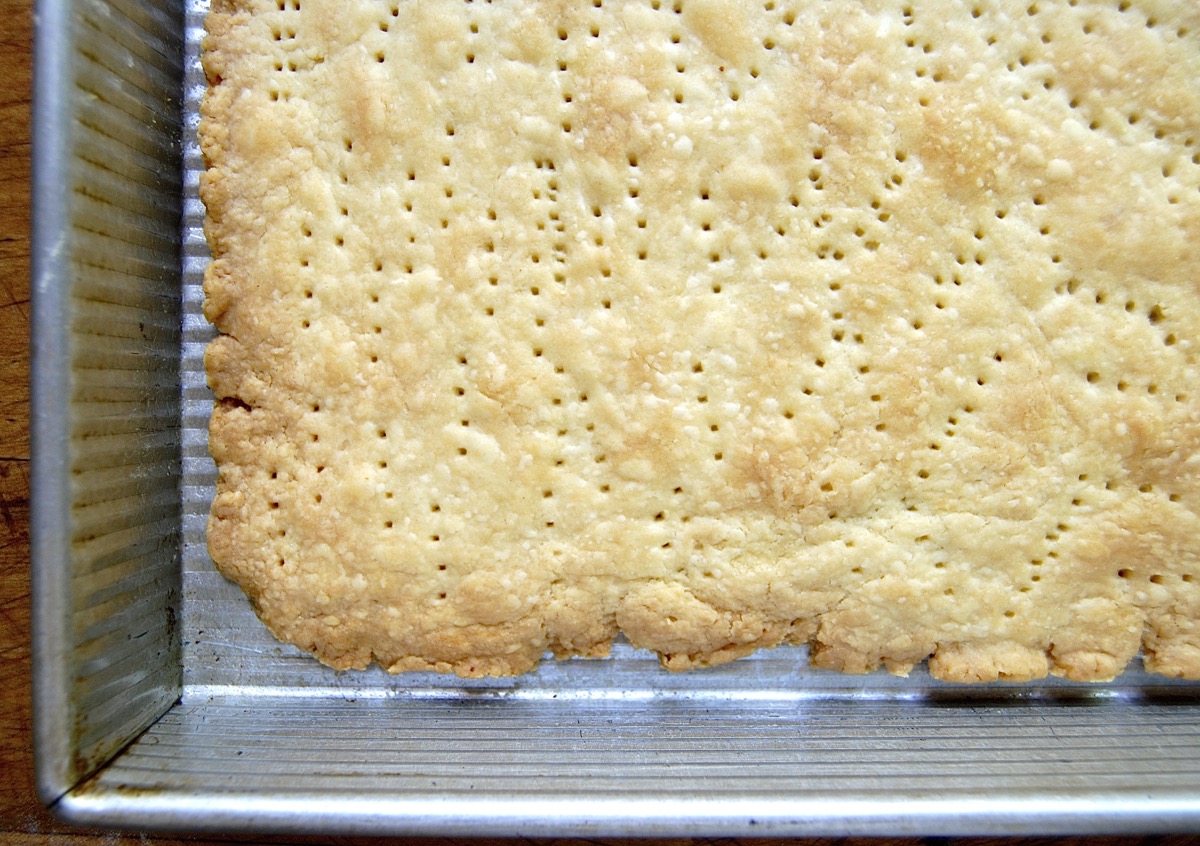
Bake the bottom crust until it's a light golden brown, about 30 minutes. Check it several times; if it's puffing up, deflate it with a fork or the sharp tip of a knife.
Reduce the oven temperature to 350°F.
Phew – the tough part's over! Now on to the filling.
Let's get that calculator out again. If the area of a 9" circle is about 64" (trust me on this, it is), and the area of a 9" x 13" pan is 117", and the pie pan is 1 1/2" deep while the 9" x 13" pan is 2" deep, then I should make... um... how about twice as much filling?
The flag pie calls for 3 cups of strawberries and 2 cups of blueberries – a total of 5 cups of fruit.
I think I'll go with 10 cups of berries: 8 cups of strawberries (2 quarts) and 2 cups of blueberries (1 pint): not because it's an exact solution, mathematically speaking, but because it's simple to buy 2 quarts of strawberries and a pint of blueberries.
Let's see what happens.
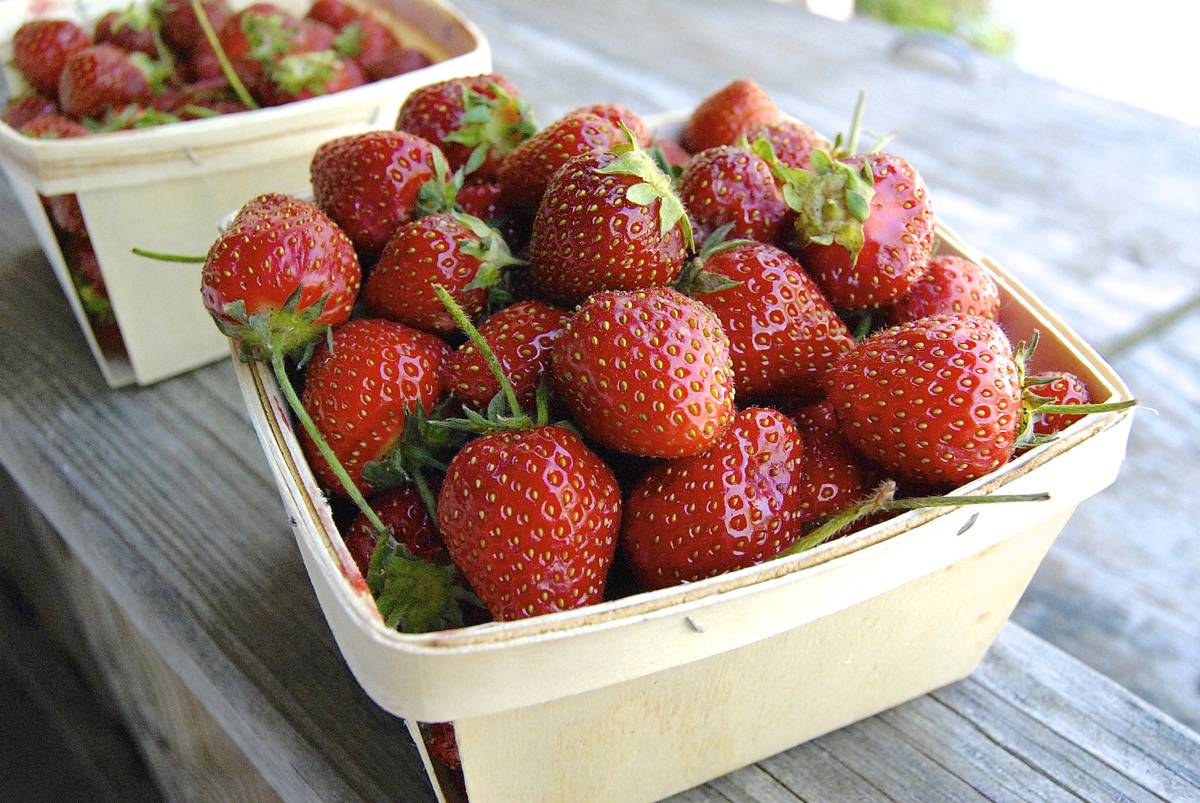
Look at these magnificent strawberries, would you? It's the height of strawberry season here in New England, and we're enjoying it. I bought these 2 quarts of berries at my local farm stand. For those of you buying at the supermarket, that translates to 2 1/2 pounds.
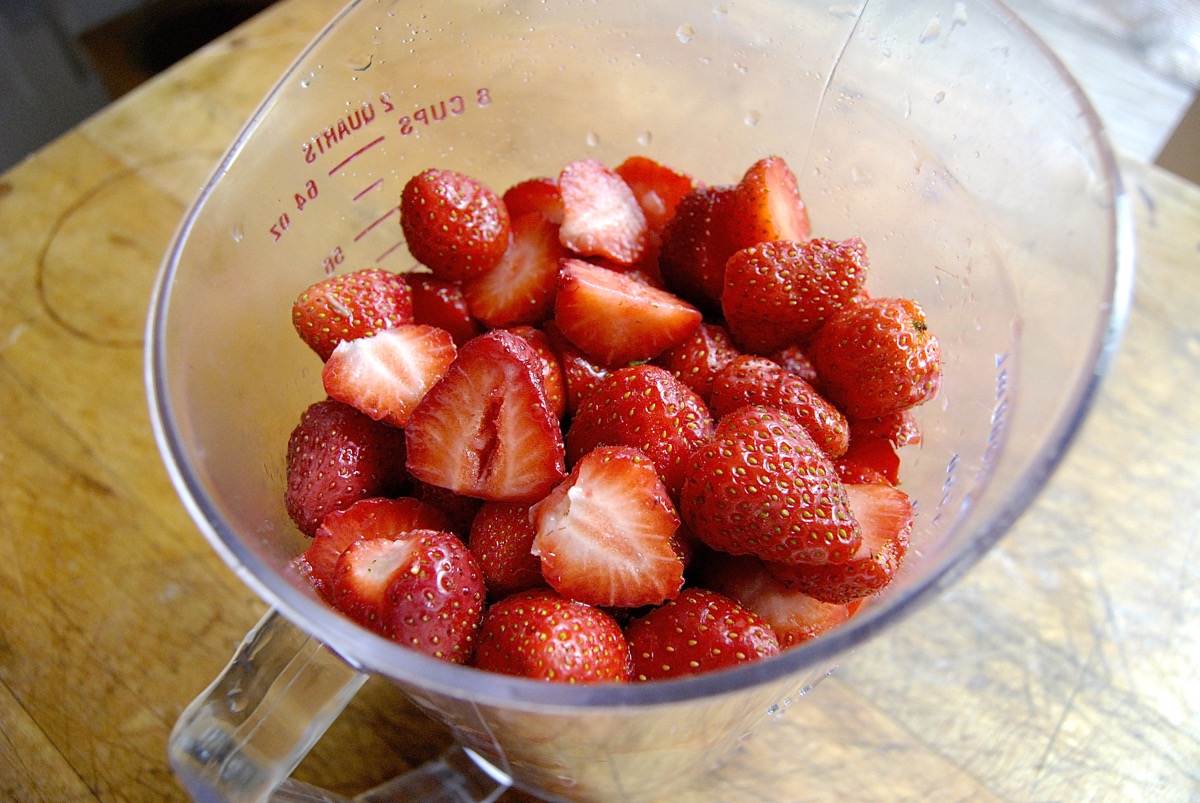
Wash and hull the berries, and cut them in half (or quarters, if extra-large) – you should get about 7 1/2 cups to 8 cups of berries.
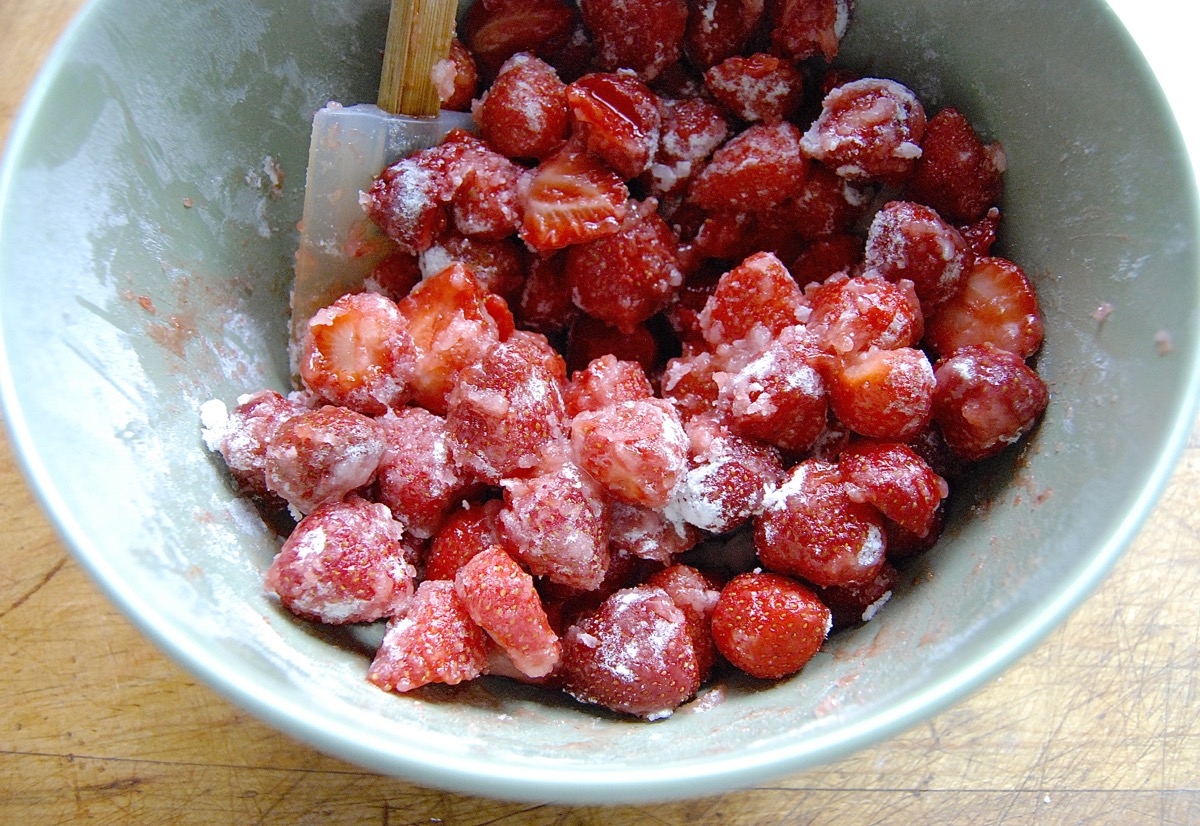
Toss the berries with 1/8 teaspoon salt, a tablespoon of lemon juice, 1/2 cup sugar, and 2/3 to 3/4 cup Pie Filling Enhancer, to thicken. The greater amount of thickener will give you stiff filling, one that doesn't ooze when you cut the cobbler; the lesser amount, softer filling.
No Pie Filling Enhancer? Substitute 1/4 cup Instant ClearJel (mixed with the sugar in the recipe); or 1/2 cup unbleached all-purpose flour.
You'll also need a pint of blueberries. Wash the berries, and mix them with 2 tablespoons sugar, 2 tablespoons Pie Filling Enhancer, and 1 1/2 teaspoons lemon juice.
Or use 2 teaspoons Instant ClearJel (mixed with the sugar); or 2 tablespoons unbleached all-purpose flour in place of the Pie Filling Enhancer.
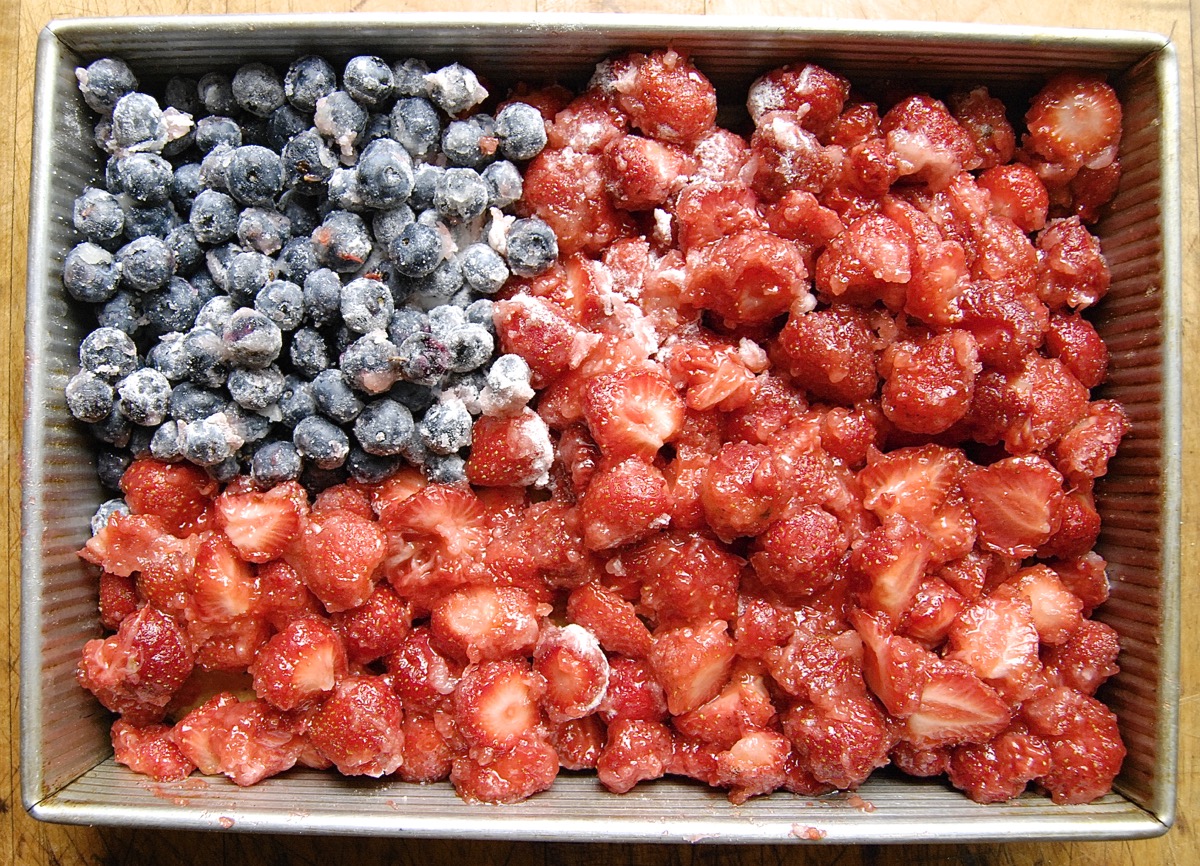
Spoon the strawberries onto the crust, using about 3/4 of the pan and leaving a rectangular space in the top left for the blueberries. Spoon the blueberries into the bare space.
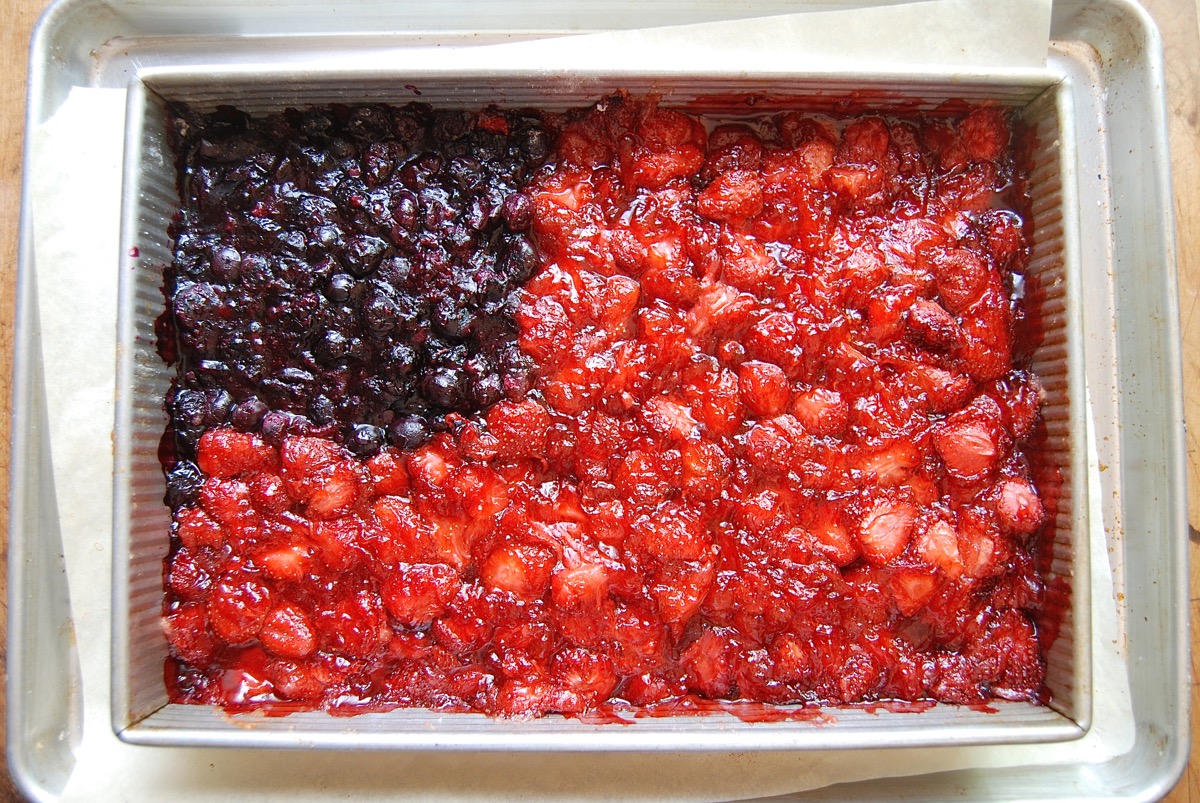
Bake the cobbler for 60 to 75 minutes, or until the fruit is bubbly. Gently mash and stir the berries after an hour, if they don't seem to be breaking down sufficiently.
Remove the cobbler from the oven.
Now for the final assembly –
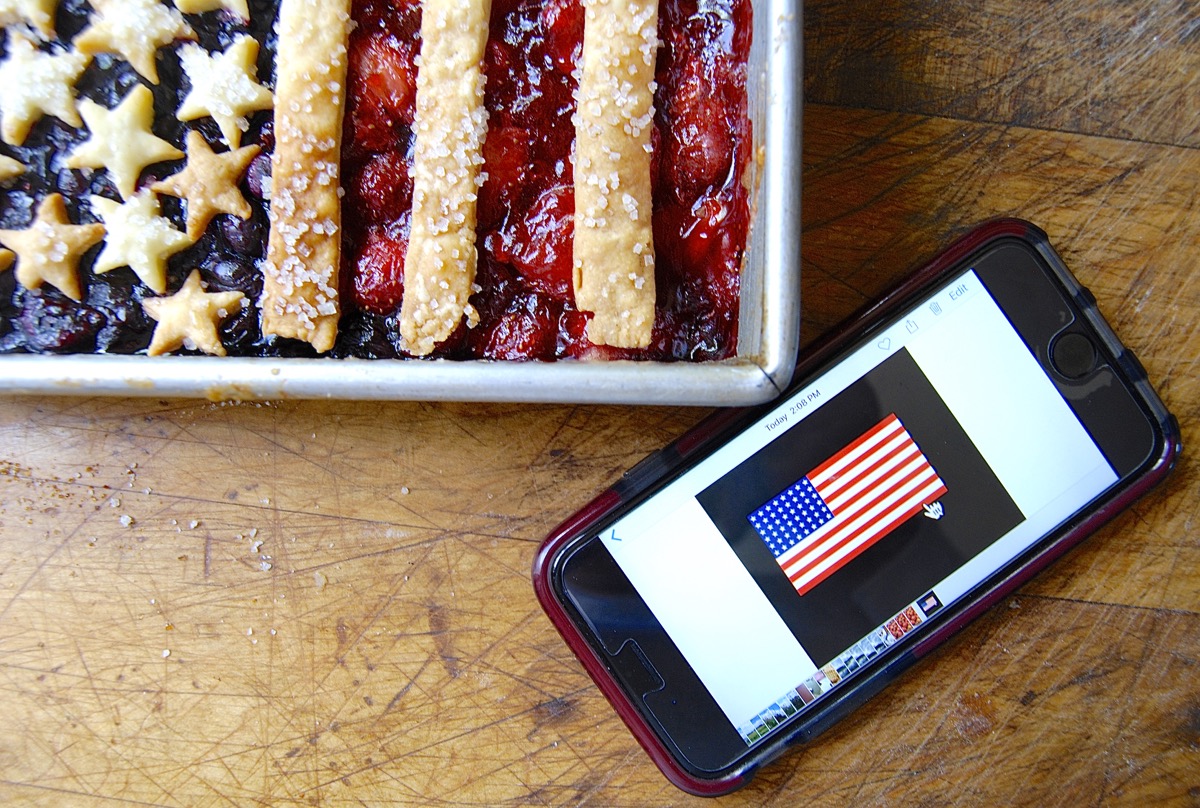
As much as I thought I knew what our flag looks like, I couldn't picture the exact order of the stripes. If you're like me and need help, grab yourself a visual to refer to as you lay the stripes, then the stars, atop the fruit.
Space three of the stripes over the bottom half of the filling. Space the other three over the top half, trimming them to end at the blueberries.
Finally, array as many stars as possible over the blueberries. Don't try to put them in straight lines (unless you do indeed have that Martha Stewart gene).
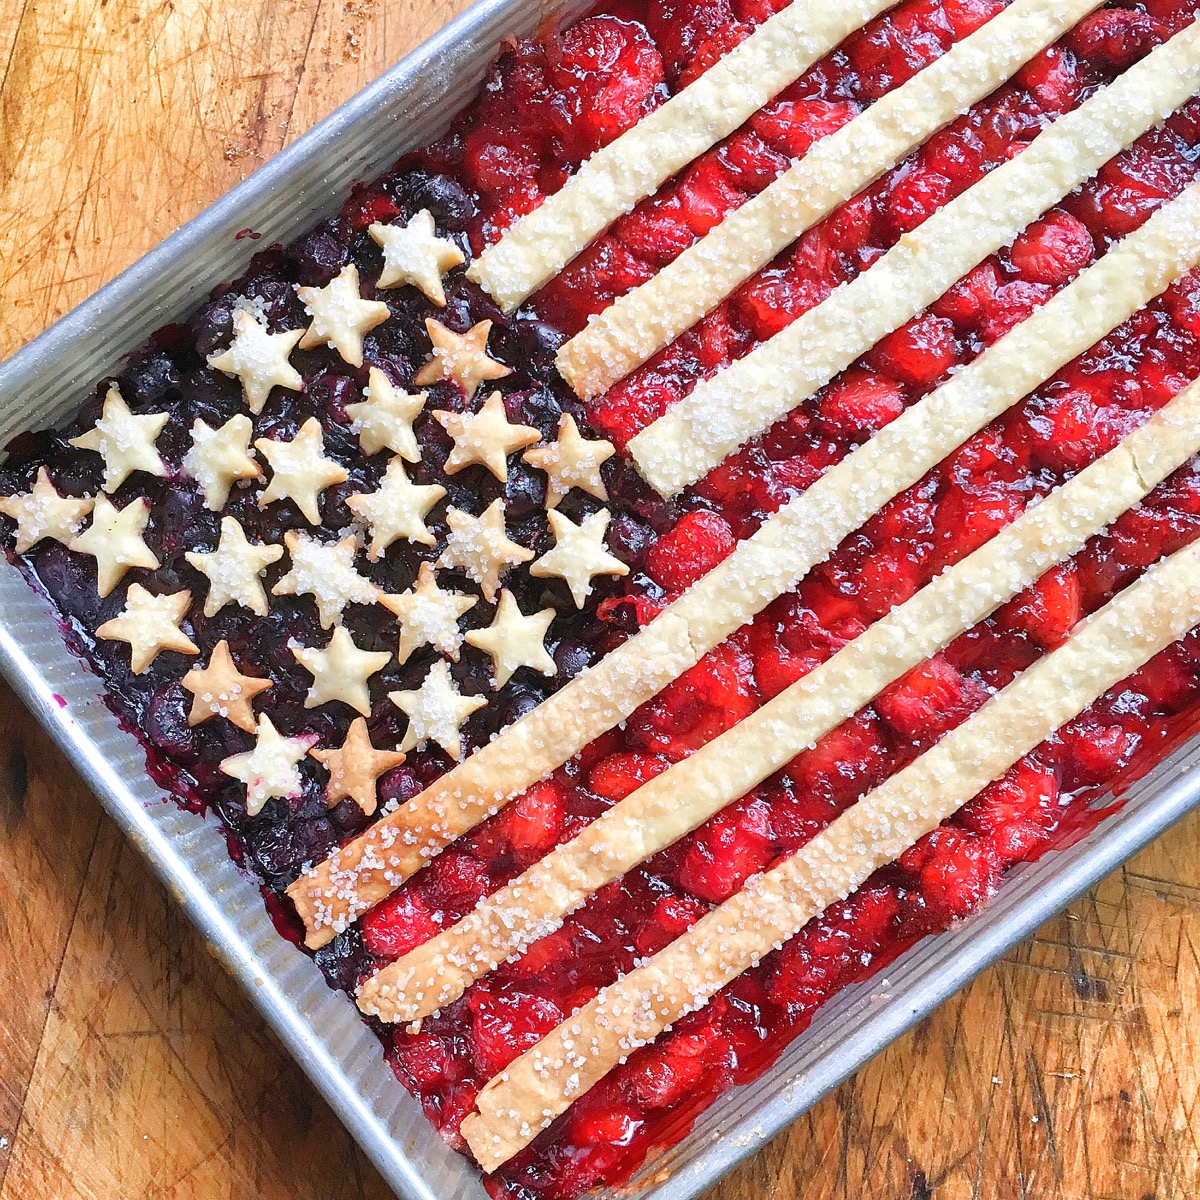
Well, if this doesn't just make you want to break into a chorus of "The Stars and Stripes Forever!" And it's really tasty – the bottom crust is crisp, the berries are (of course) delicious, and all in all I'd say this flag cobbler is a flag-waving success.
Except – a little bit of math I ignored came back to haunt me. The pie pan is 1/2" shallower than the 9" x 13" pan, plus the pie pan slopes and the rectangular pan doesn't. The result: The cobbler reaches only 1 1/4" high (including the stars and stripes) in this 2"-deep pan, making it seem a tad scanty.
Could you use more berries? Absolutely. You'll need to calculate how much to increase the berries, sugar, thickener, and lemon juice (X percent) to yield a cobbler that's maybe 1/2" taller, which would leave sufficient depth for the stars and stripes, plus a bit of wiggle room for berry bubble-over.
Let me know when you figure it out, OK?
Please bake, rate, and review our recipe for Fourth of July Flag Cobbler.
Note: Since writing this blog post, we've decided that pre-cooking the filling, then spooning it into the pan and topping with the baked stars and stripes is easier and more effective than baking the filling in the pan. You can still choose to bake the filling as shown above, but for directions on pre-cooking the filling, see the recipe.
