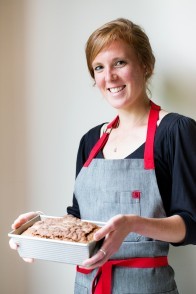
The best shortcuts not only save time but also produce superior results. And that’s exactly what baking with a parchment paper sling does: it makes tasks like transferring cakes, cooling quick breads, and removing bars a breeze. We’re no strangers to using parchment paper in pans, but this time-saving tip now has us head over heels for this stuff!
A parchment paper sling doesn’t just cover the bottom of the pan, it also goes up and over the sides, too. The overhanging edges serve as handy little tabs to easily and cleanly lift delicate baked goods out of the pan.
Imagine transferring your delicate lemon squares or still-warm fudgy brownies from their pans without worry. No need to laboriously pry hardened edges from the sides of the pan while fretting about the bottom sticking. Say goodbye to the plate-on-the-top, close-your-eyes and flip method of getting cakes out of the pan.
There are few limits to the kinds of recipes that can be made in a parchment paper sling. Any time you'd like to bake and serve something outside of its pan is a worthwhile opportunity to use a sling.
The exceptions are recipes that necessitate a round pan. (The curved edges make the parchment wrinkle, which gets tricky.) Instead stick to bars, sheet cakes, quick breads, and other treats typically baked in square or rectangular pans.
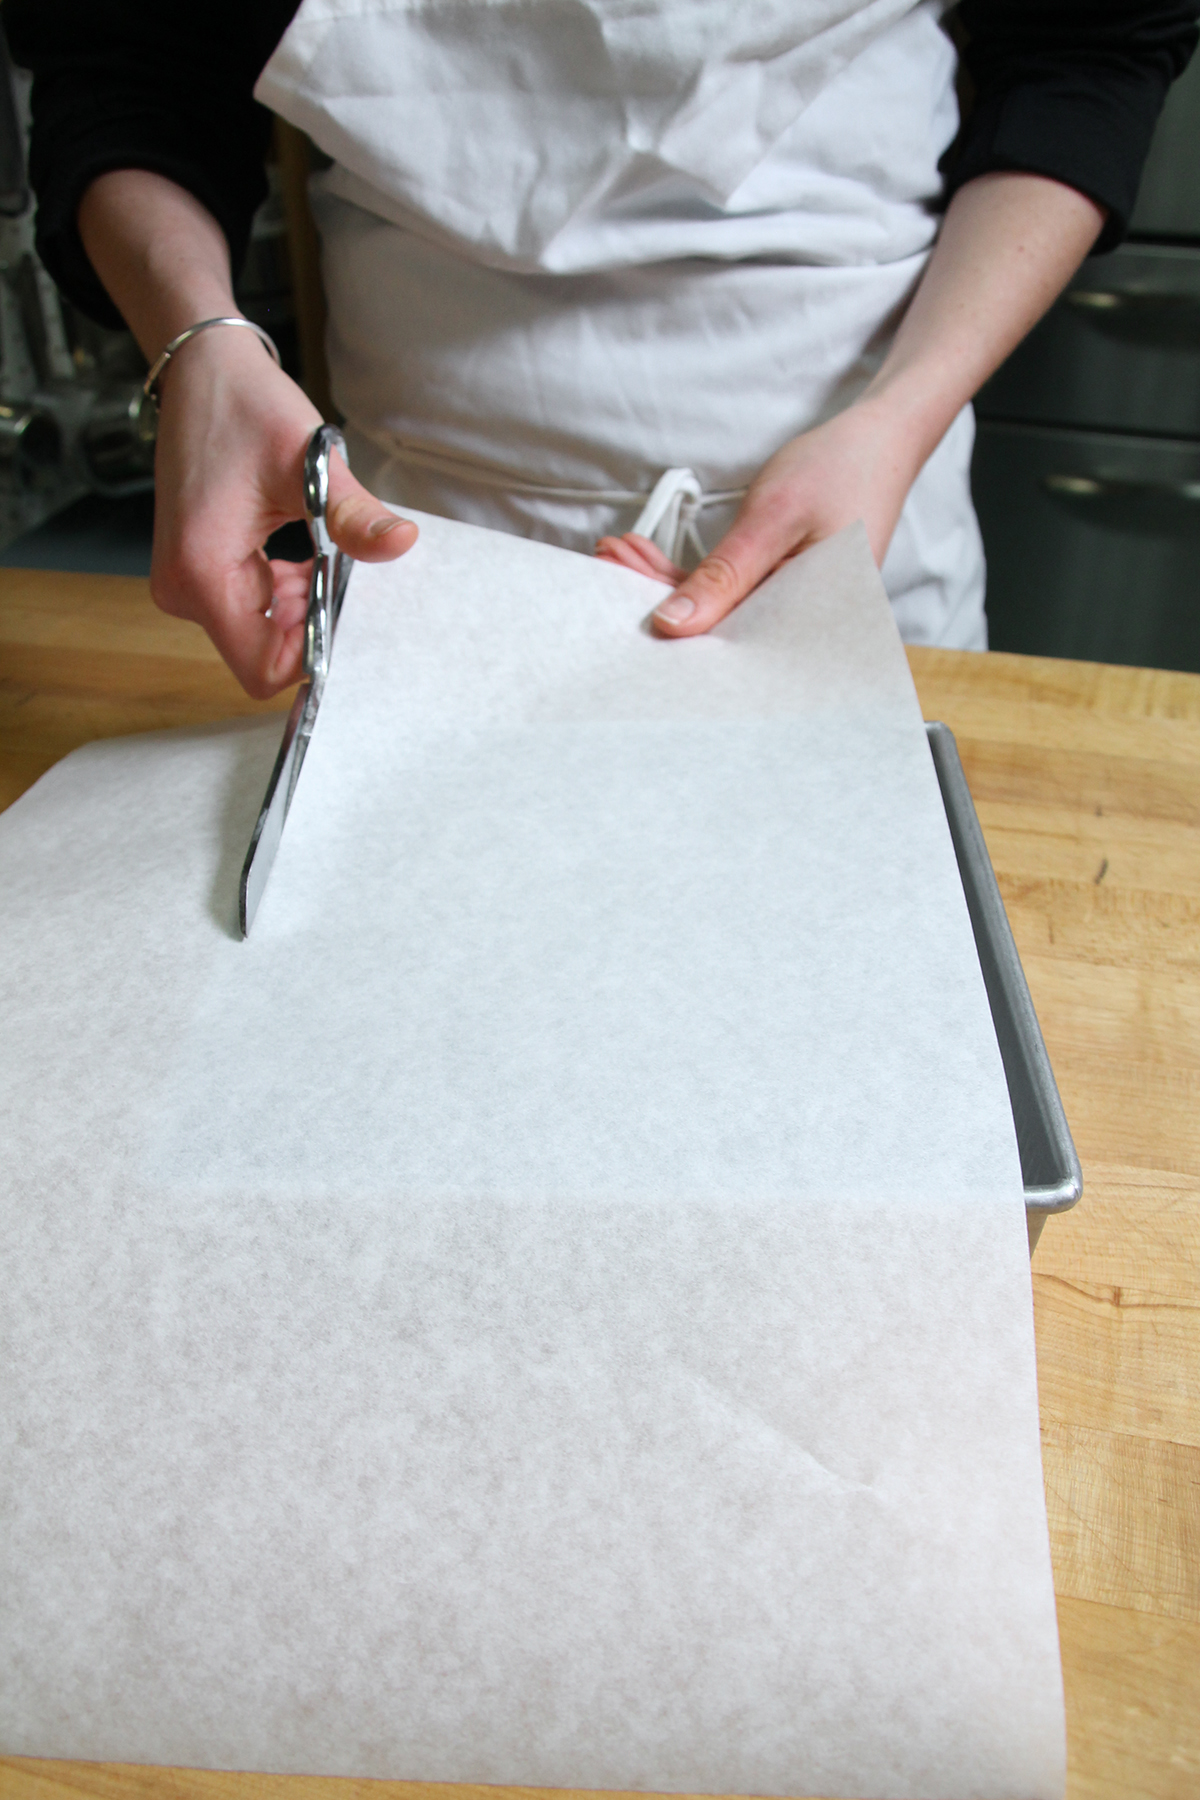
If you’re using a roll of parchment paper, start by cutting a piece that’s at least as wide as the pan in one direction and notably longer in the other. (An extra 8" to 10" is usually a safe bet.)
If you'd like to be precise, you can do some quick math to ensure you have just the right amount. Add the width or length of the bottom of the pan (depending on whether the handles will be on the short sides or long sides), plus two times the depth of the pan, plus 3". (This will allow for 1 1/2" overhang on each side.)
Example: For a 9" x 13" x 2" pan with handles on the 9" ends — 13" + (2 x 2") + 3" = 20"-long piece of parchment.
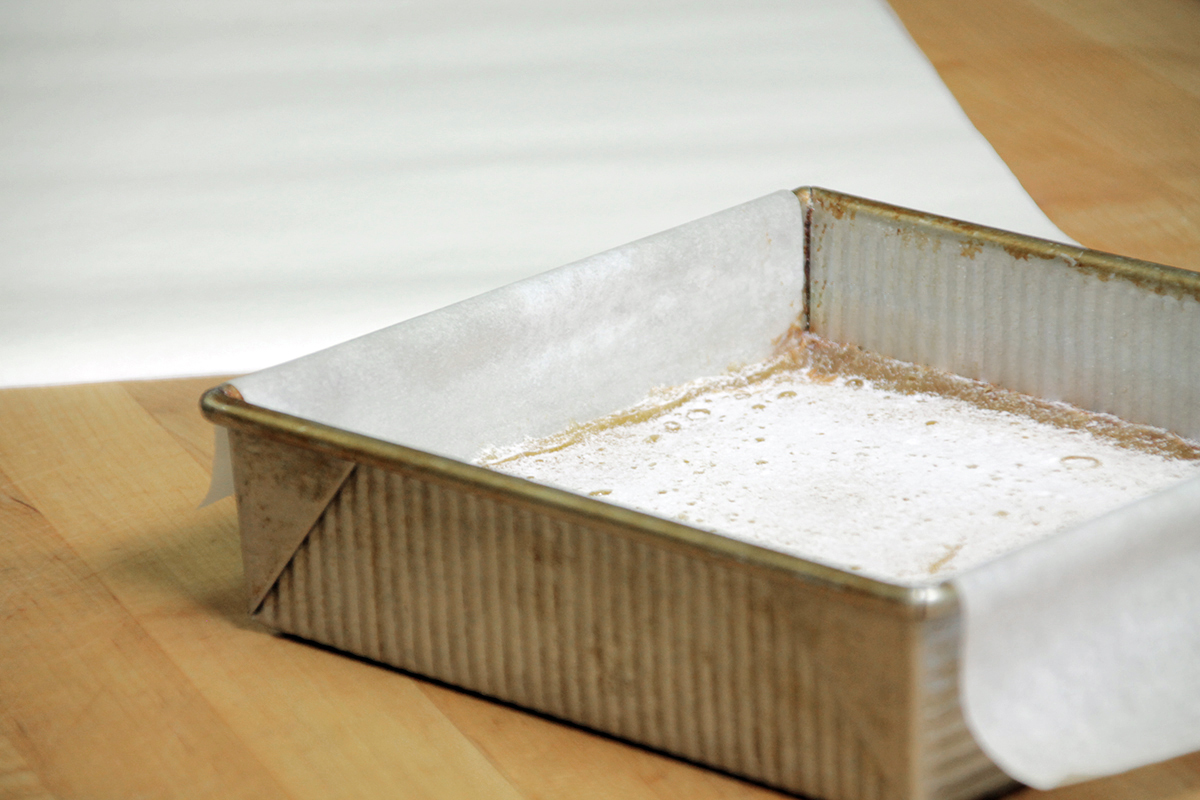
Now that you have your piece cut (or if you’re working with our parchment half sheets), lay the parchment in the pan. Trim any excess so it lies flat on the bottom of the pan, with the extra parchment hanging over on either end. It’s OK to trim it a little narrower than the pan — it doesn’t need to be a perfect fit to be effective.
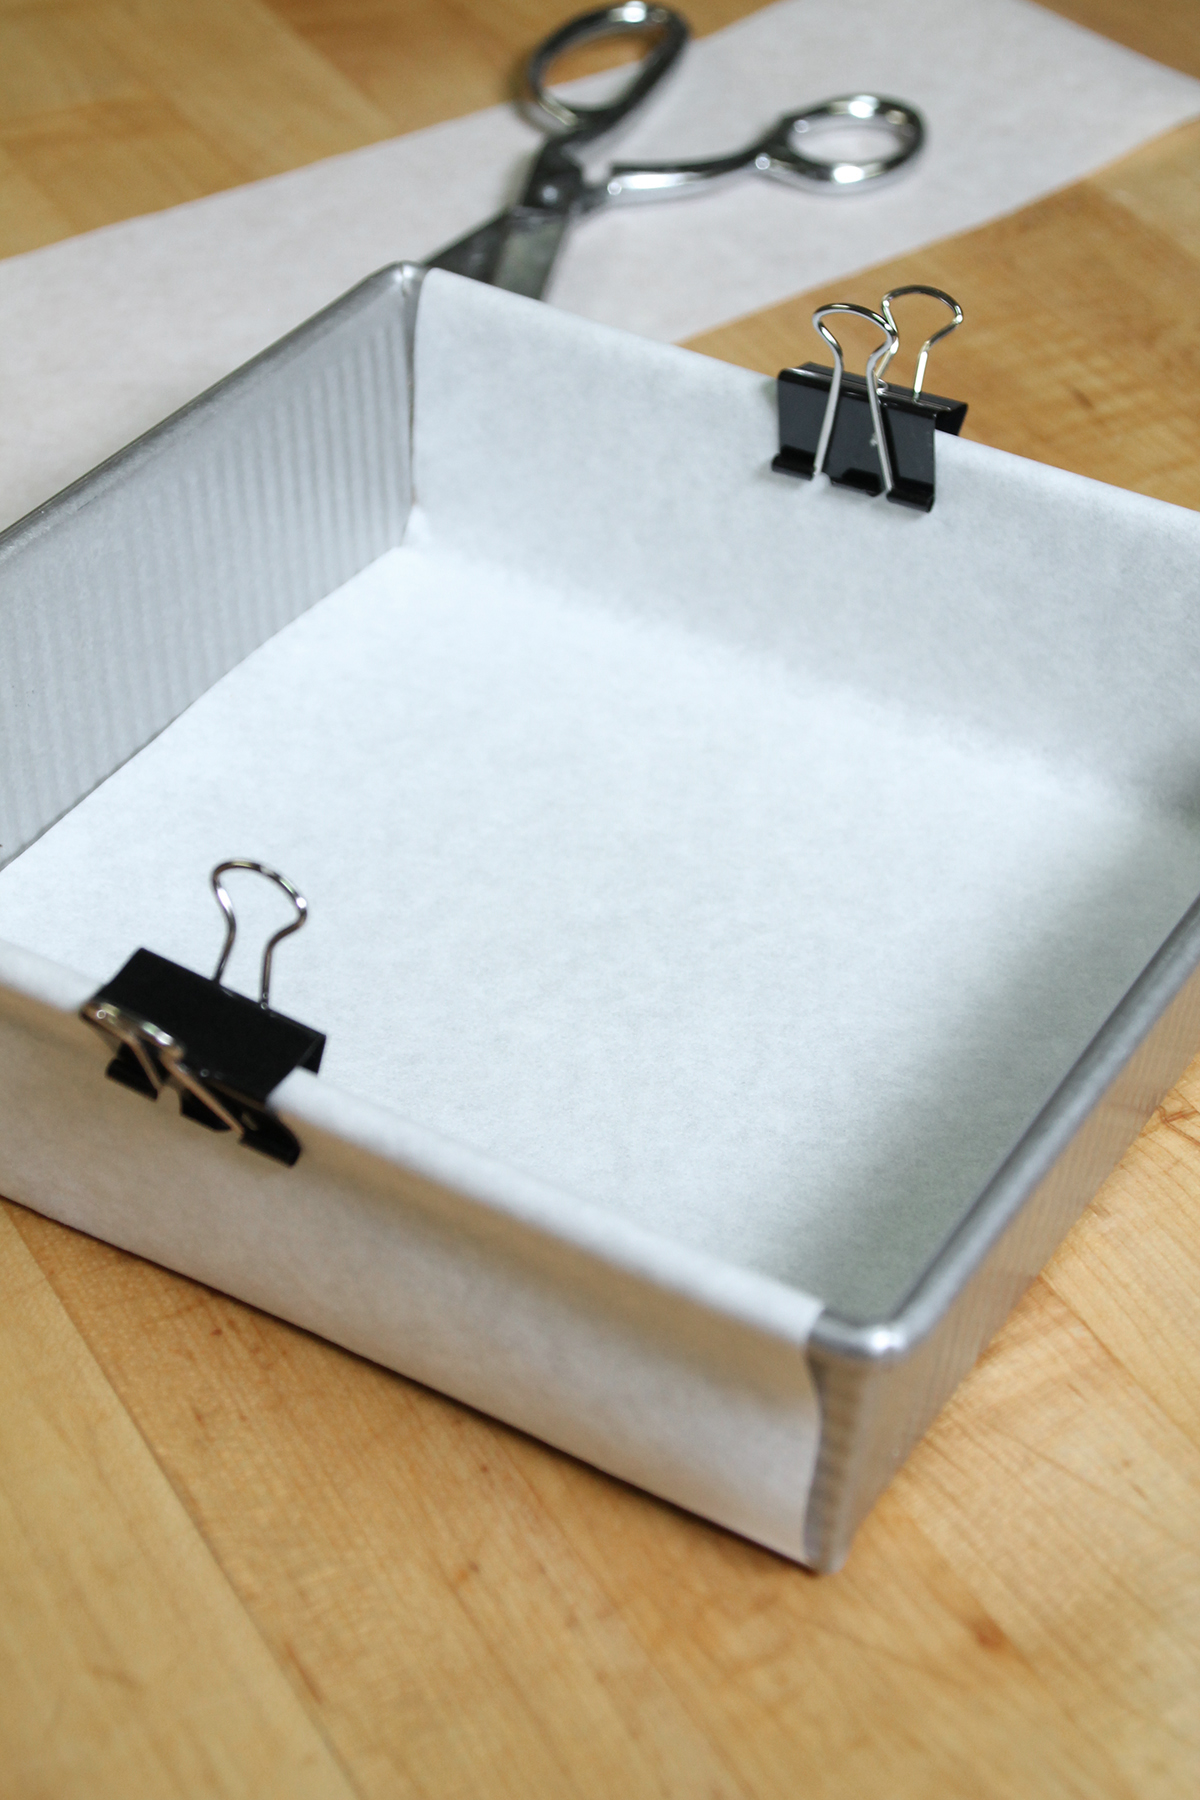
It’s a good idea to secure the parchment paper sling in place to prevent it from moving around when you add the batter. I like to use binder clips to attach the parchment to the edges of the pan. This will also keep the edges from folding into the batter during baking.

No clips? Not to worry — just be mindful (or recruit another pair of hands) when pouring your batter into the pan.
Trim the edges or “handles” of the sling so that there’s only about 1" to 2” of excess overhang on each end to prevent them from folding downward.
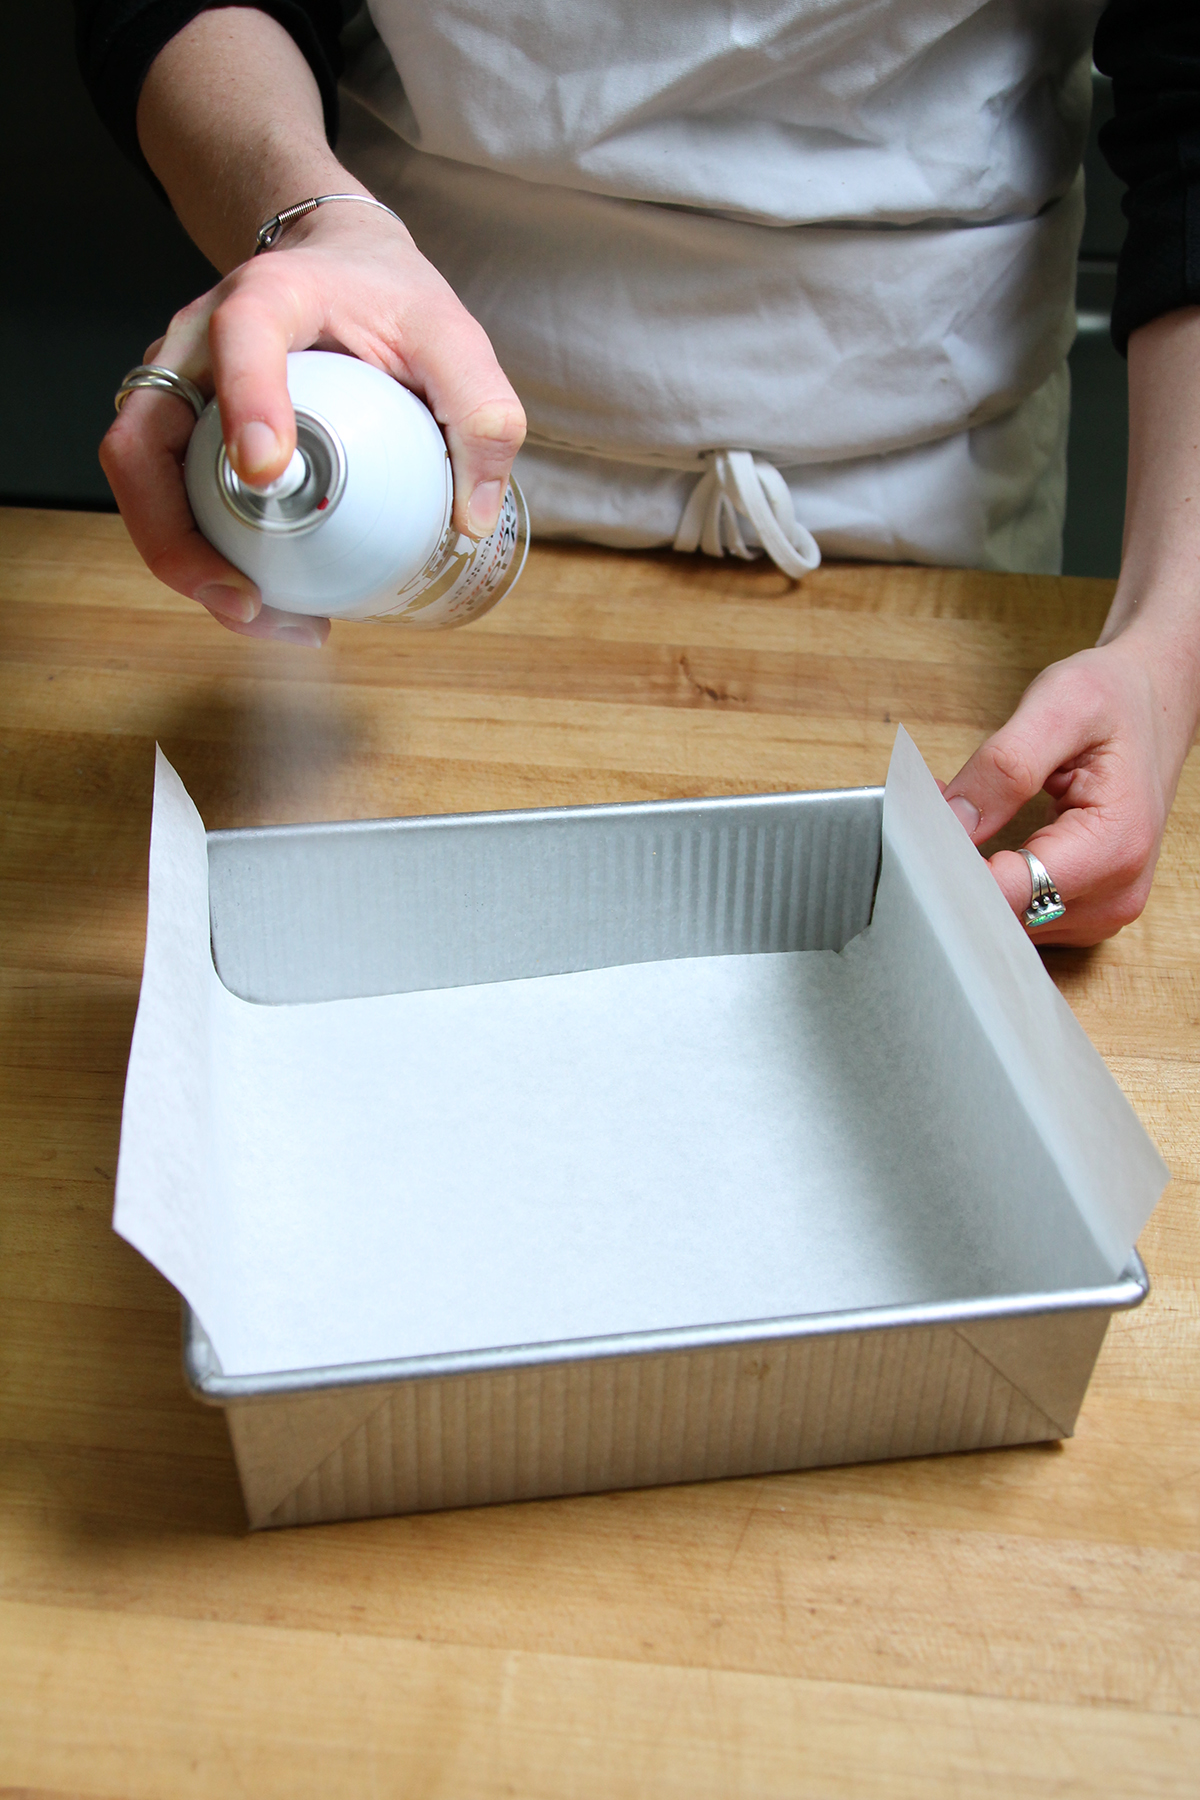
Our parchment paper is non-stick coated. Even so, it doesn’t hurt to give the parchment and exposed sides of the pan a light coating of grease.
I swear by Everbake Pan Spray, but use whatever non-stick spray you prefer to make your baked goods release easily.
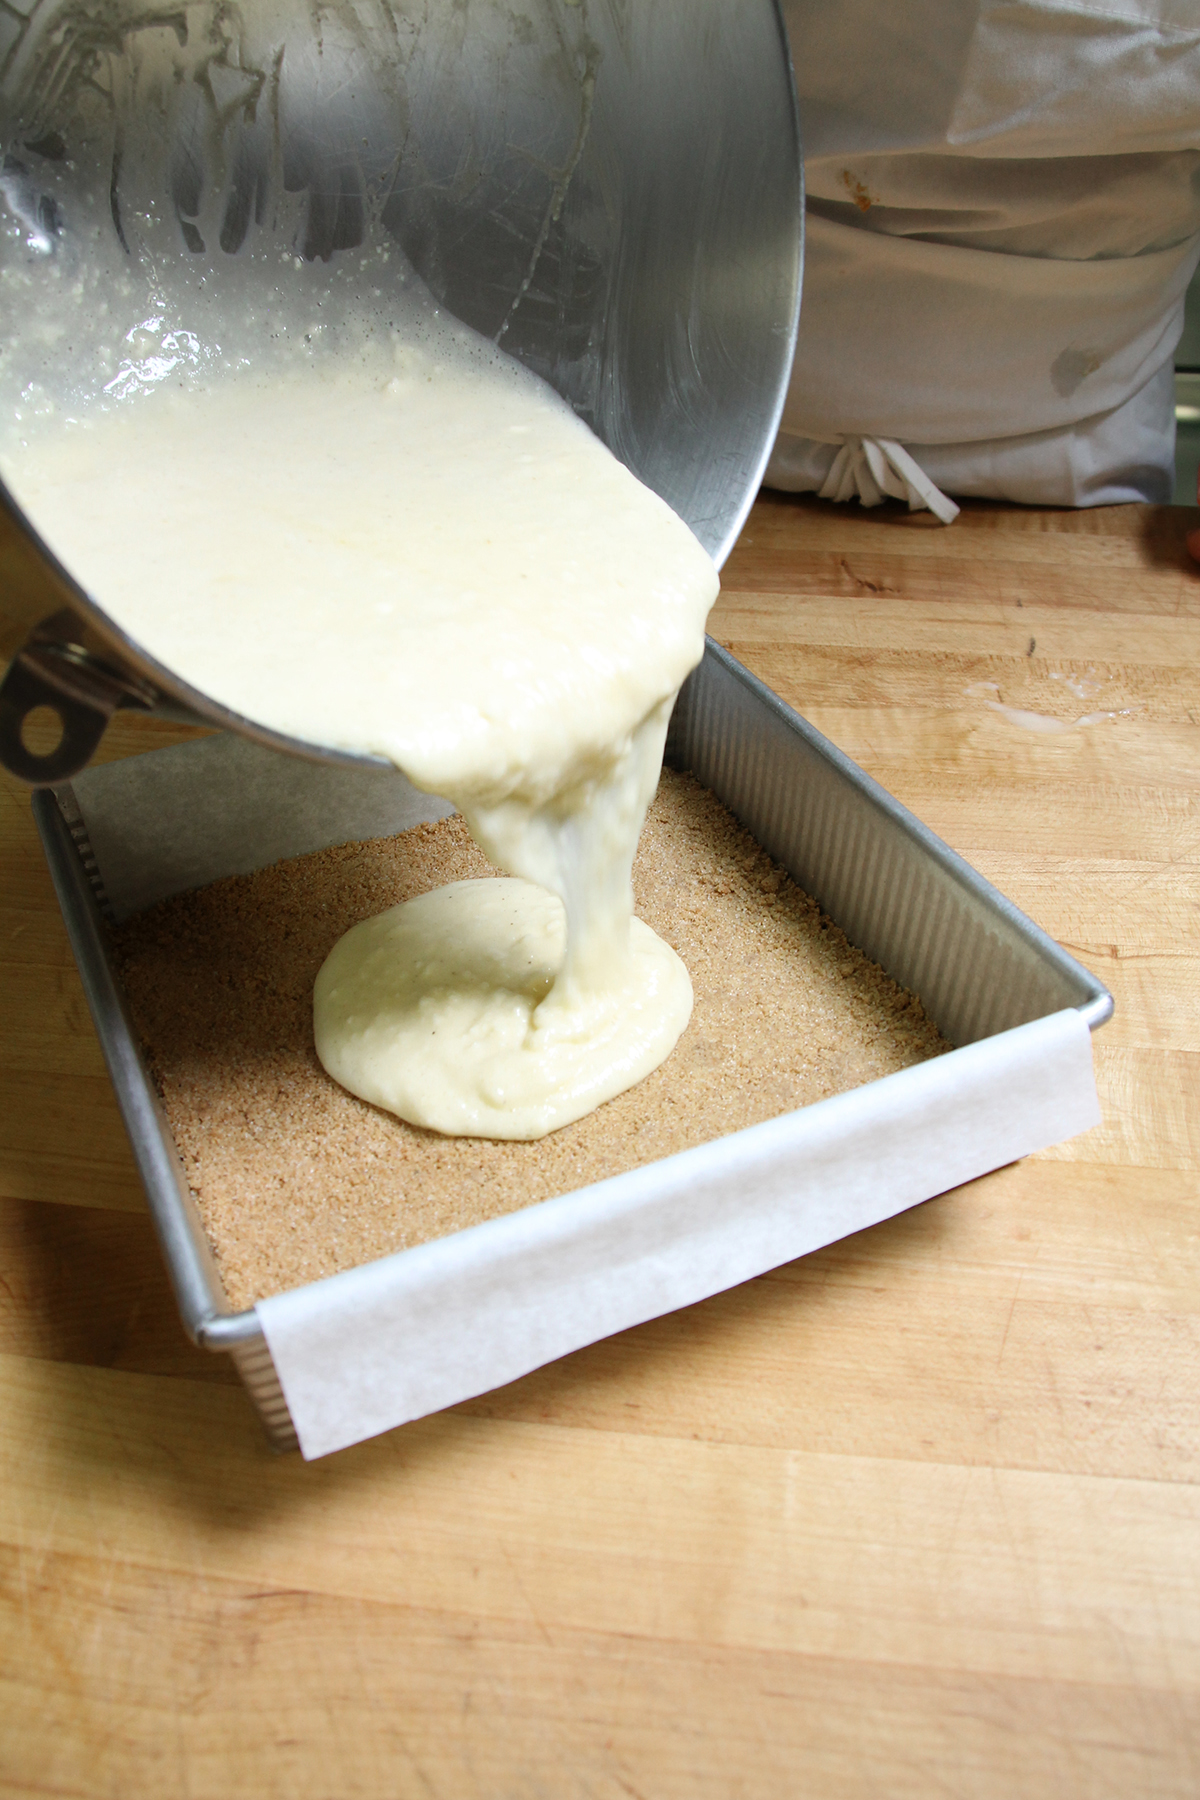
Once your pan is lined, add your batter (or crust, if making bars) to the pan and bake as directed in the recipe.
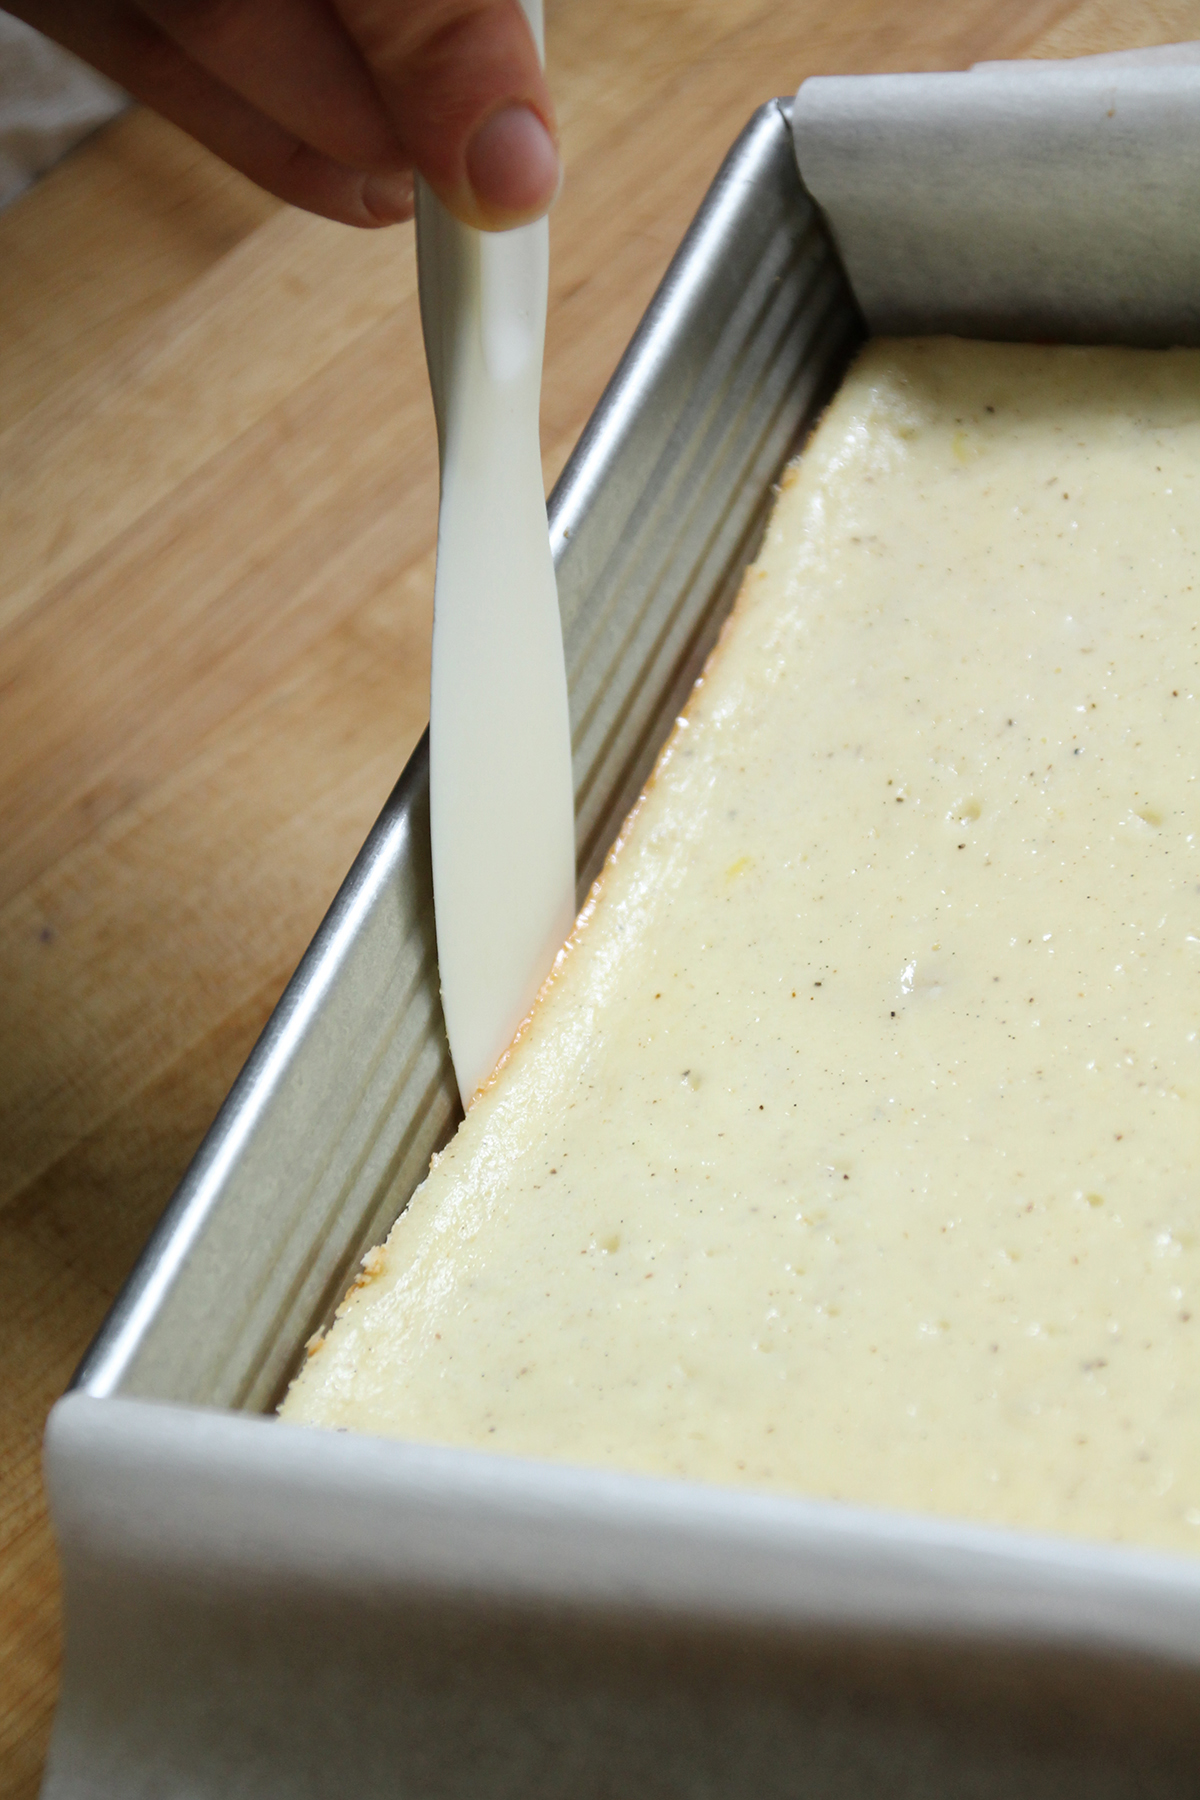
Once you’ve baked your recipe and it's cooled at least slightly, you’re ready to put the sling to use! You may want to use a knife or nylon spreader to loosen the edges not covered by parchment for extra release insurance.
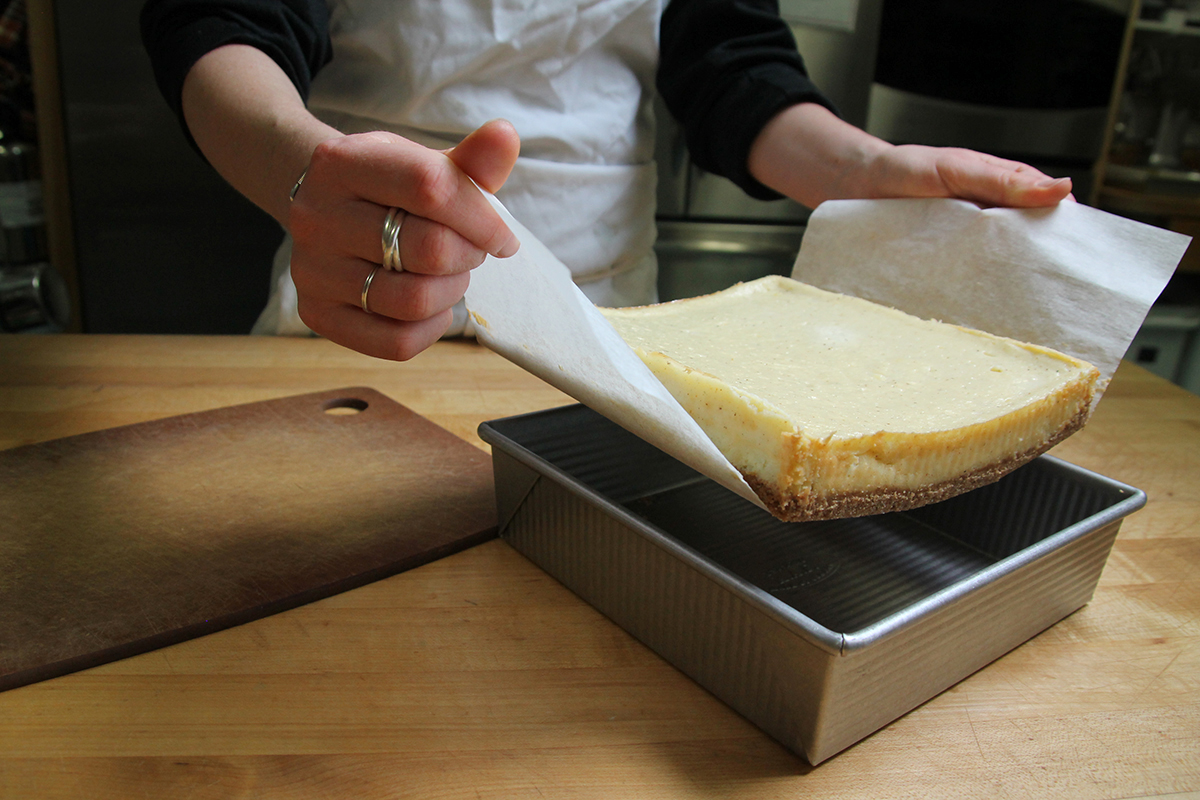
Gently pull on the overhanging edges to lift your perfectly baked treat out of the pan. Let it finish cooling on a rack, if necessary. It’s really that easy!

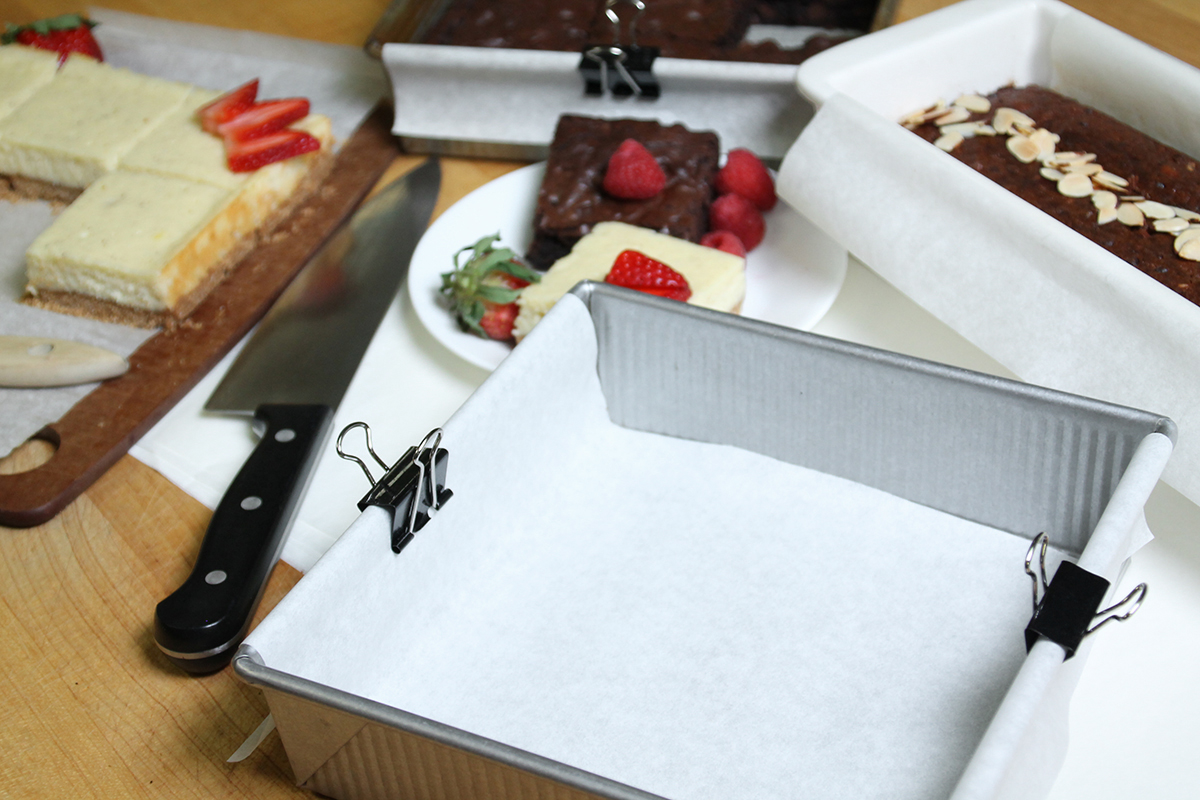
You’ll be able to easily move your freshly baked treats without a hitch, and they’ll also look immaculate. The edges will be crisp, and slices will be neater since you can cut them on a cutting board. Making precise slices is much easier when you're not worrying about scratching the bottom of your pan.
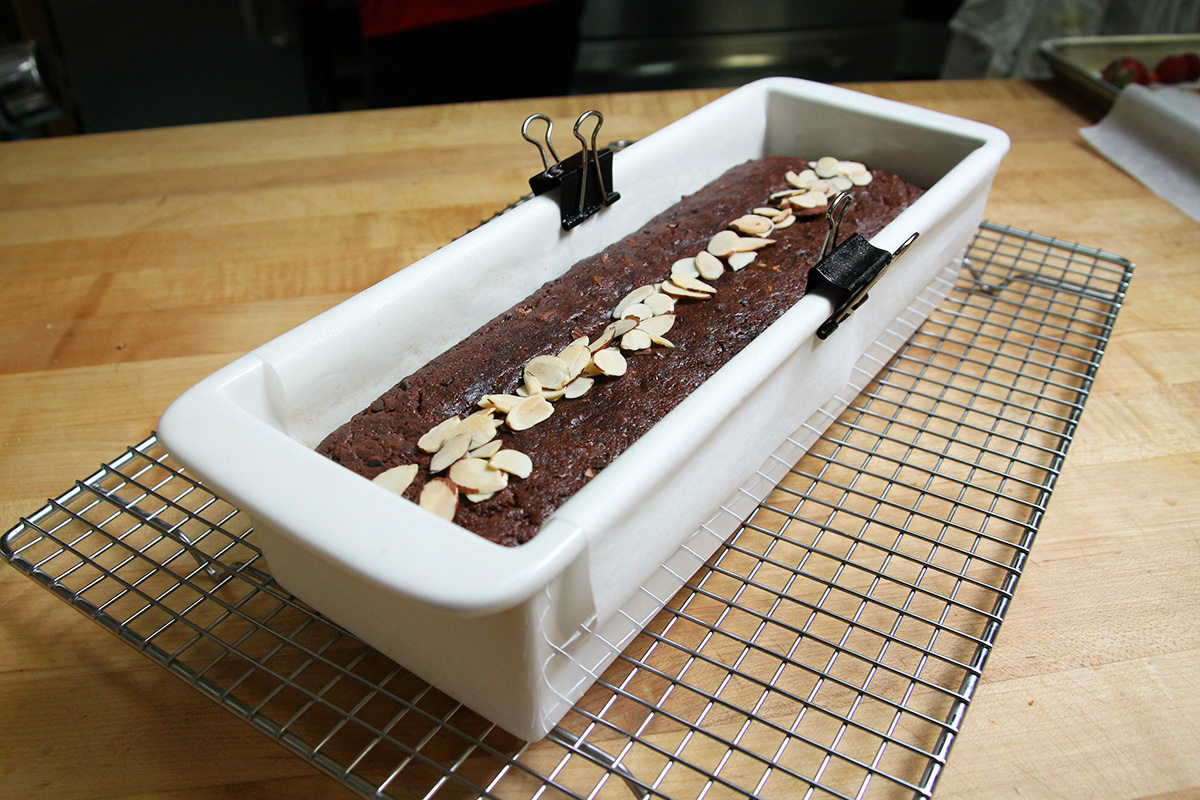
I love using parchment paper in pans to make a sling, especially when baking cheesecake bars or lemon squares, but the possibilities don’t end there! A parchment paper sling is also helpful when making quick breads, like my favorite morning treat: Double Chocolate Banana Bread (with a sprinkle of slivered almonds for pizzazz!).
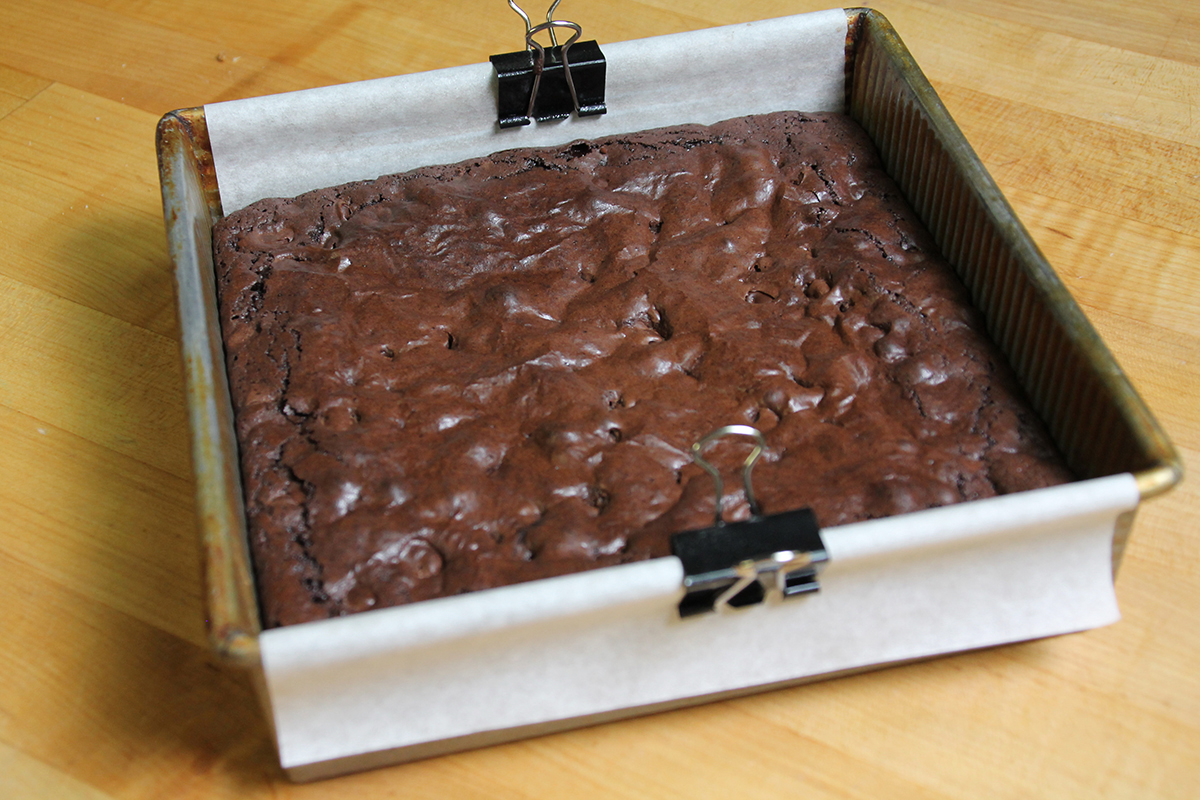
And those warm Fudge Brownies I talked about? These too can be perfectly sliced and served when baked in a parchment paper sling.
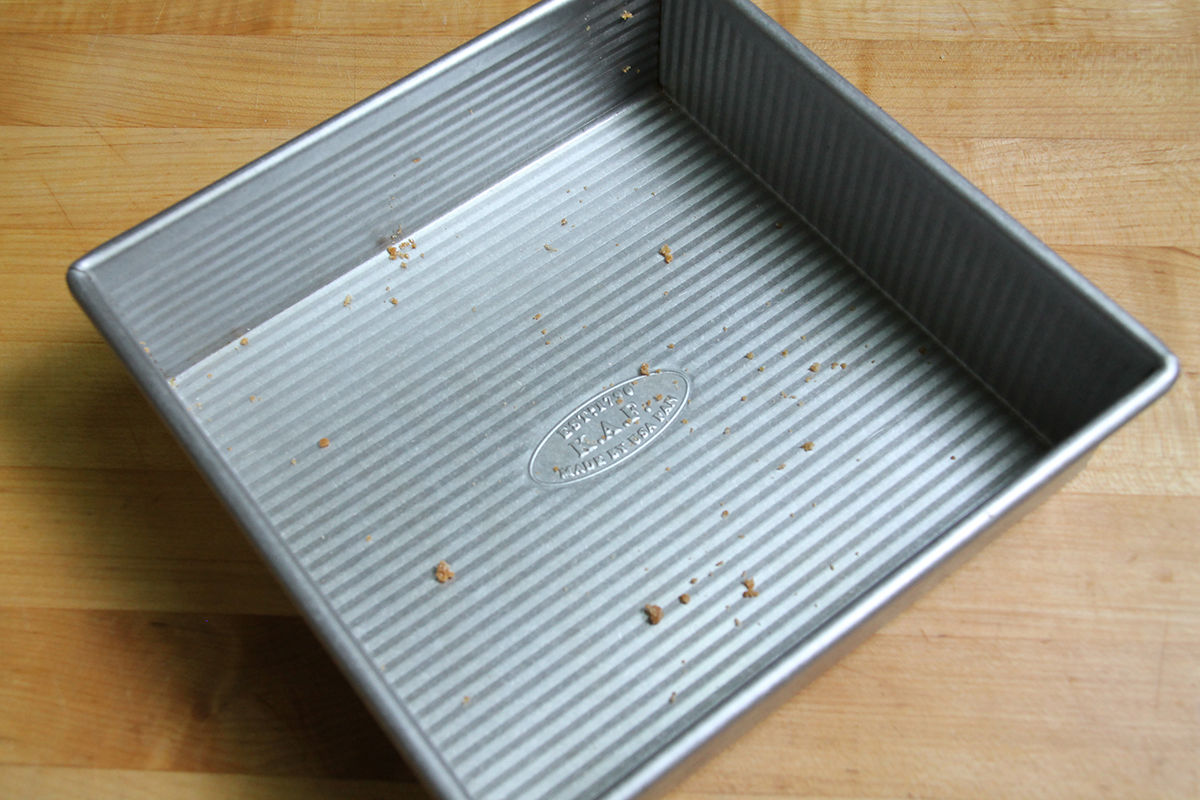
If you’re not already eager to use parchment paper in pans to make a sling, consider this added benefit: easy cleanup!
Even if you’ve become accustomed to using parchment paper in pans to line the bottom, edges often leave stubborn residue and provide the most trouble during cleanup. No more standing over the sink scrubbing stubborn pans or chiseling chunks out of the corners when you use a parchment paper sling.
Share with us the ways using parchment paper in pans has made your baking life easier in comments, below.
Thanks to fellow employee-owner Seann Cram for taking the photographs for this blog.