Buttercream frosting means different things to different bakers. If you've gone to the trouble to make a special cake, how you choose to finish it can be a pressure-packed situation. Buttercream frosting is the obvious choice, but that term is the tip of a pretty big iceberg. I wrote at length about the many types of buttercream back in 2011, but today's buttercream frosting tutorial is for Italian Buttercream, my hands-down favorite.
Italian buttercream takes some time and effort, but the rewards are many. It's incredibly silky and smooth, yet pipes beautifully. It can be flavored and colored any way you wish and tastes wonderful. The frosting is often at its best paired with a contrasting filling, such as lemon curd or jam.
Let's make some, shall we?
Before you do anything, take your unsalted butter out of the refrigerator and cut it into cubes. The butter should be between 65°F and 70°F by the time you're putting it in the mixer.
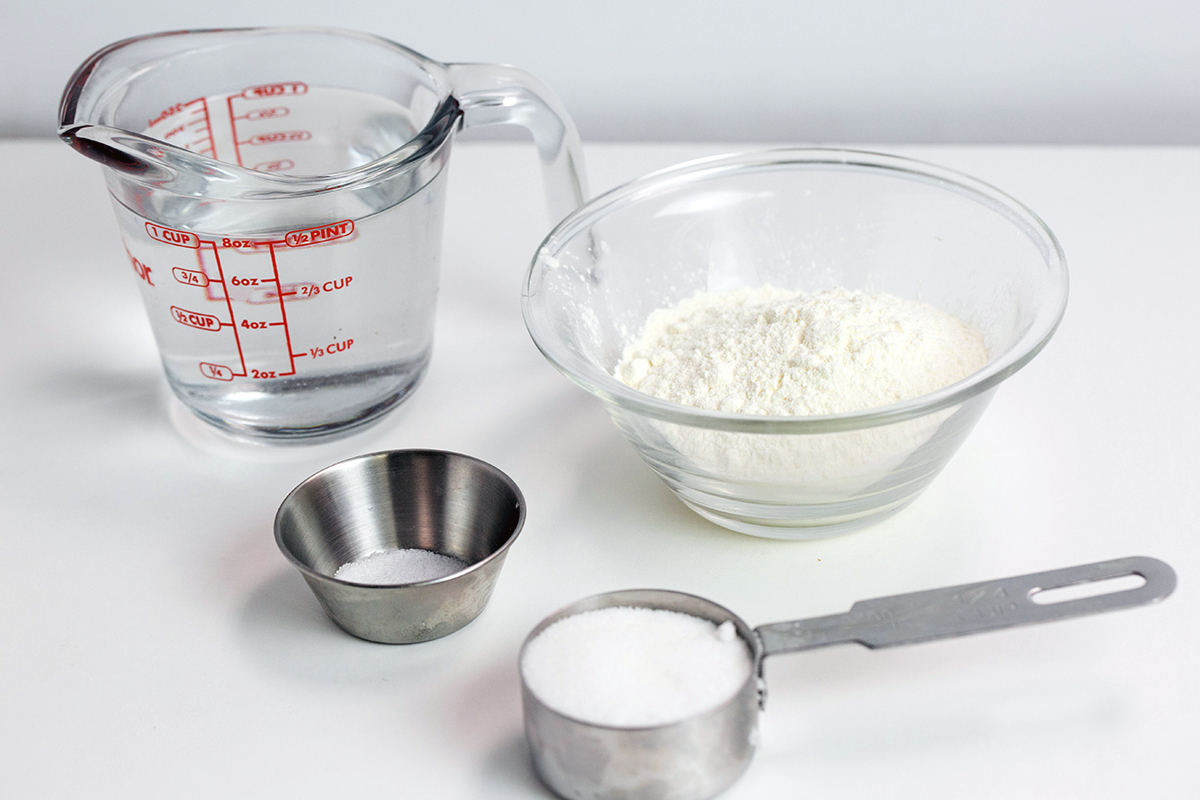
To start the meringue, you'll need:
1/2 cup meringue powder + 1 cup water, or 8 fresh egg whites + 1 teaspoon cream of tartar
1/4 teaspoon salt
1/3 cup granulated sugar
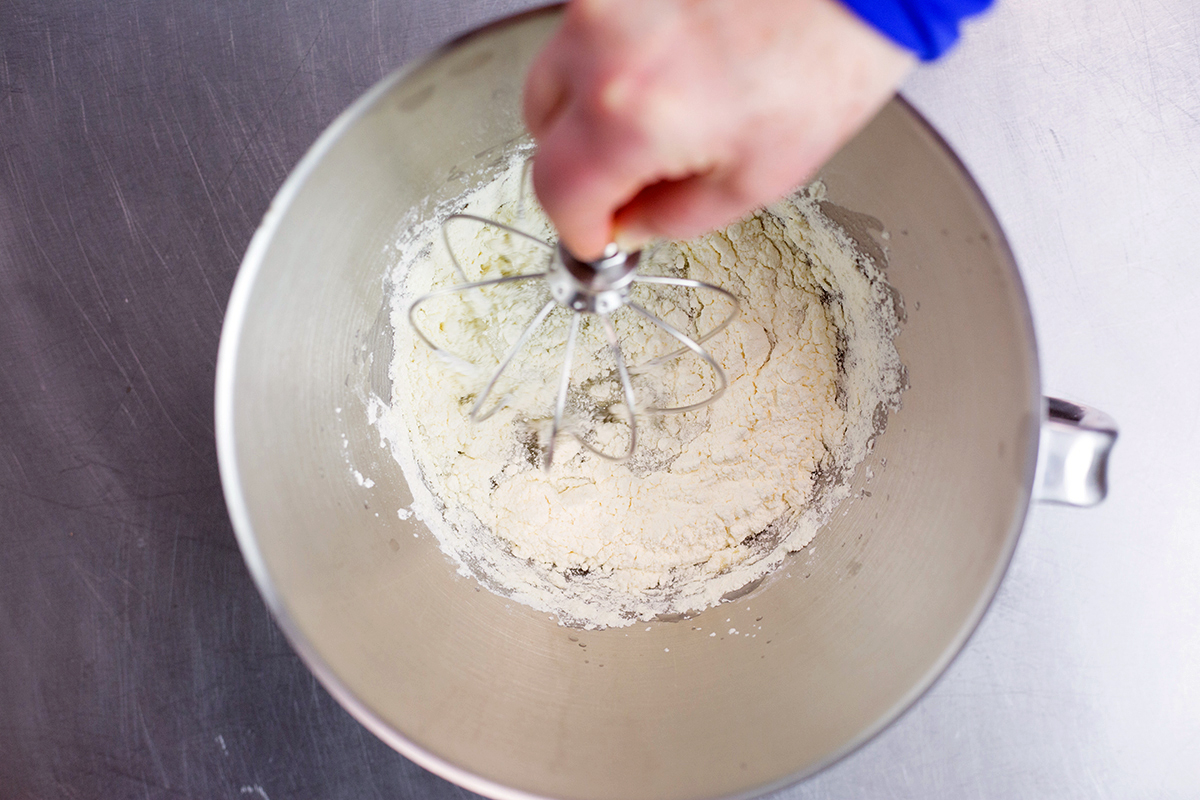
Put the meringue powder, water, and salt (or the egg whites, cream of tartar, and salt) in the bowl of a stand mixer. Use the whisk attachment to move the powder around to moisten it, and to incorporate the salt.
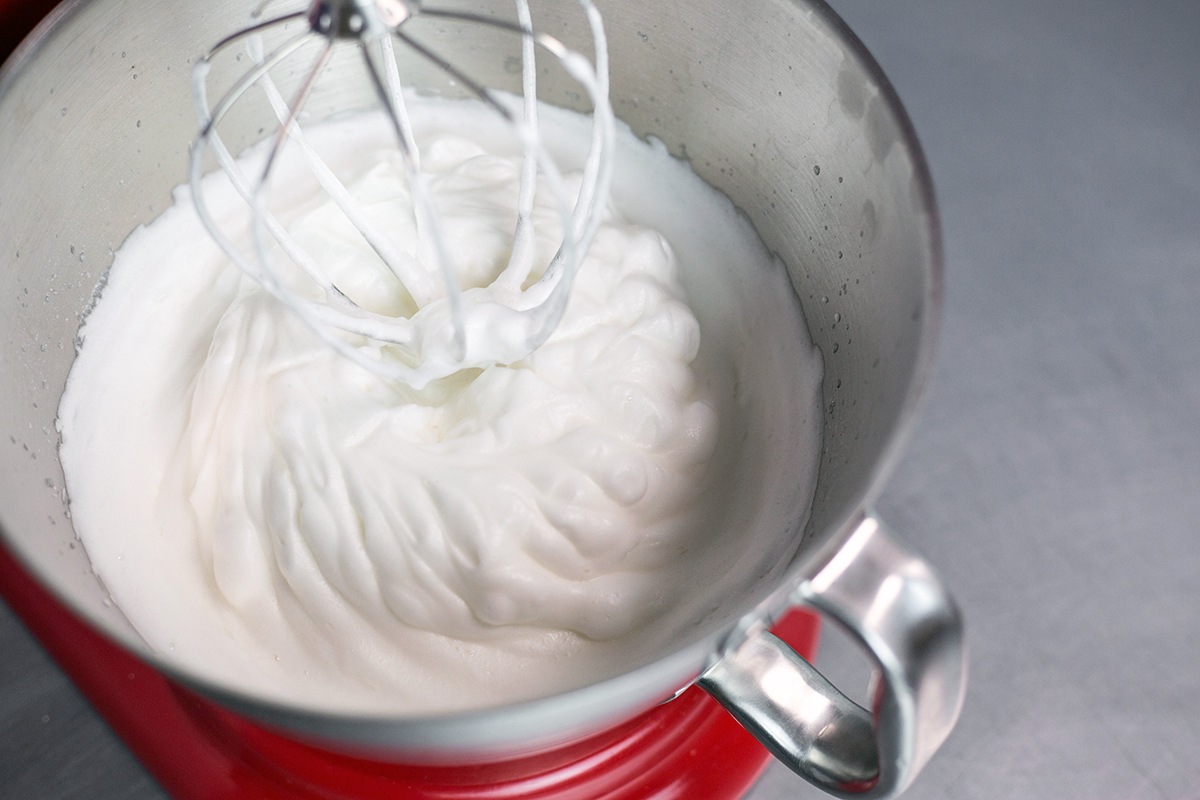
Whip at medium-high speed until the whites become opaque, the whisk leaves tracks in the bowl, and the mixture holds a soft peak when you pull the whisk out.
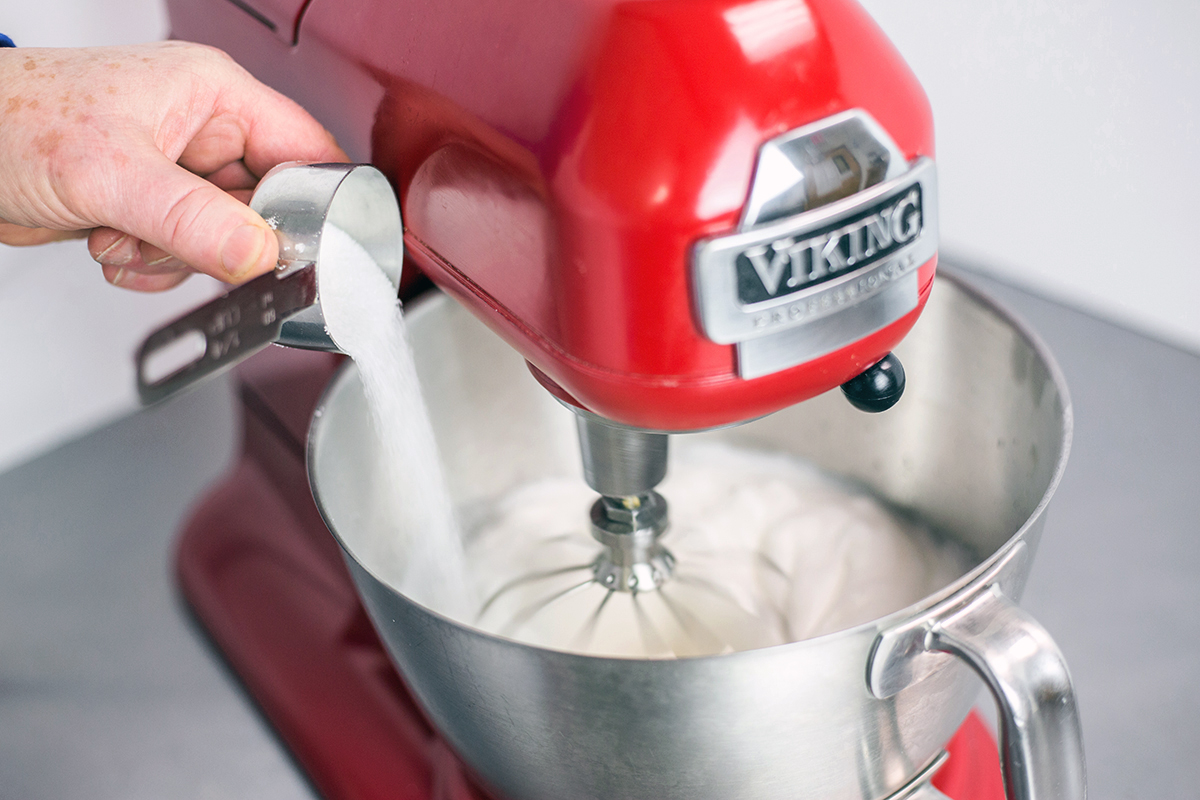
With the mixer running, gradually add the sugar and whip until the meringue is shiny. At this point you can turn the mixer off or leave it running at its lowest speed.
In a small, preferably nonstick saucepan with a pour spout, combine:
1/2 cup water
1 1/4 cups granulated sugar
Place the pan on the stove over medium heat.
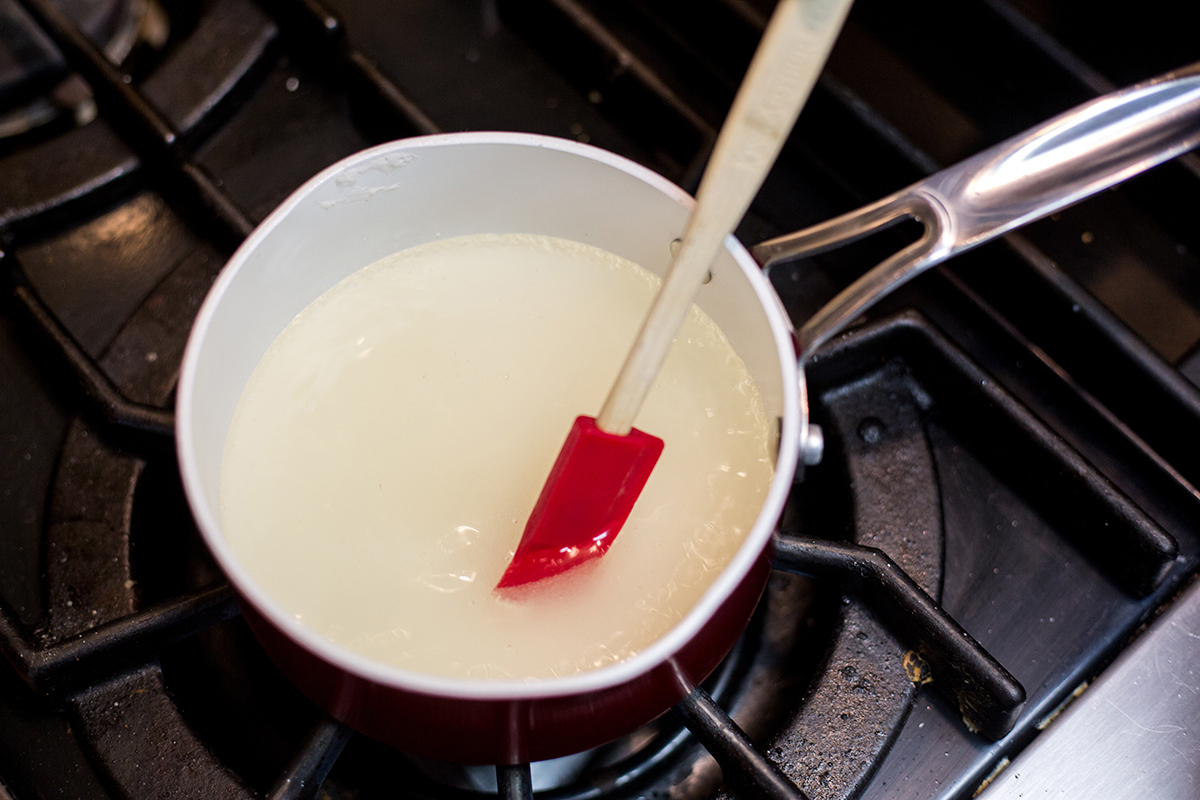
Stir at first, just until the sugar dissolves, then don't stir anymore.
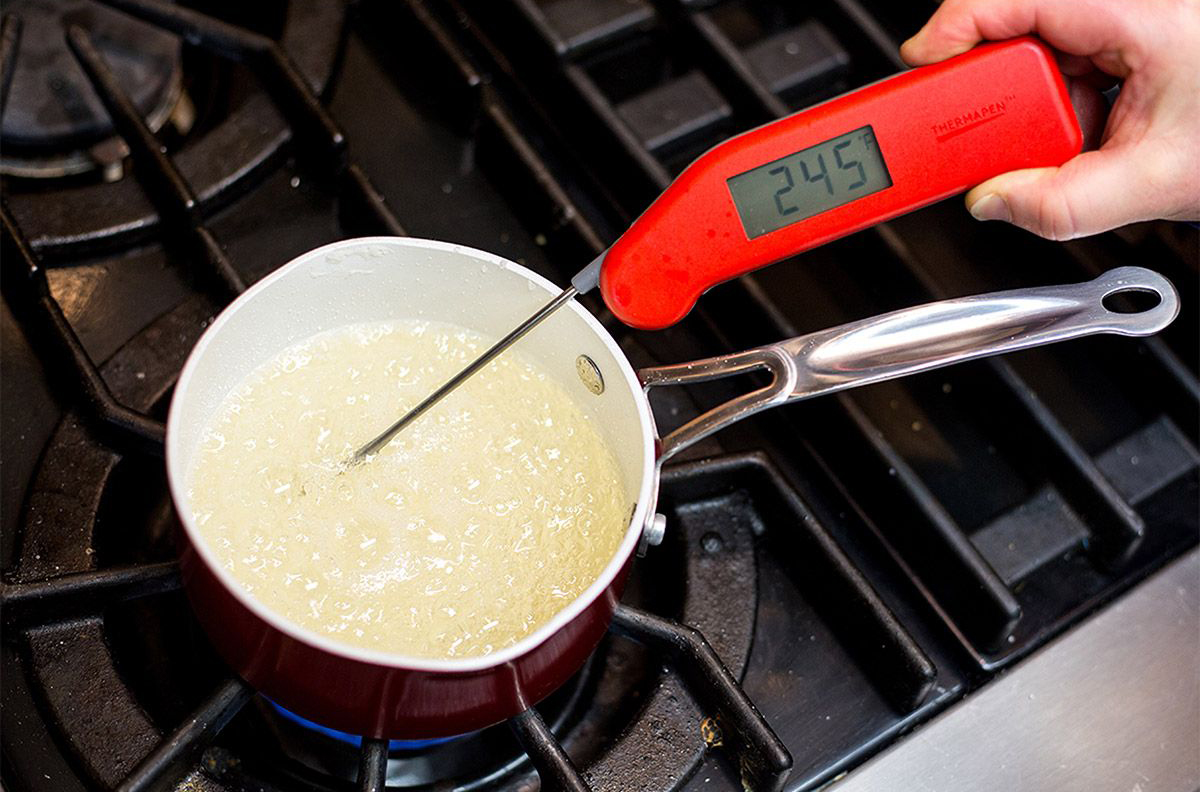
Bring to a boil and grab your digital thermometer. Cook the syrup until it reaches at least 240°F; I like to hit 245°F and you can go as high as 250°F before the syrup begins to color and turn to caramel. The sugar syrup is going to cook the meringue, setting the proteins in the egg whites and creating a stable base for the frosting.
When the syrup is ready, the bubbles are large and make a snapping noise. Head for the mixer immediately and turn it to medium-high speed.
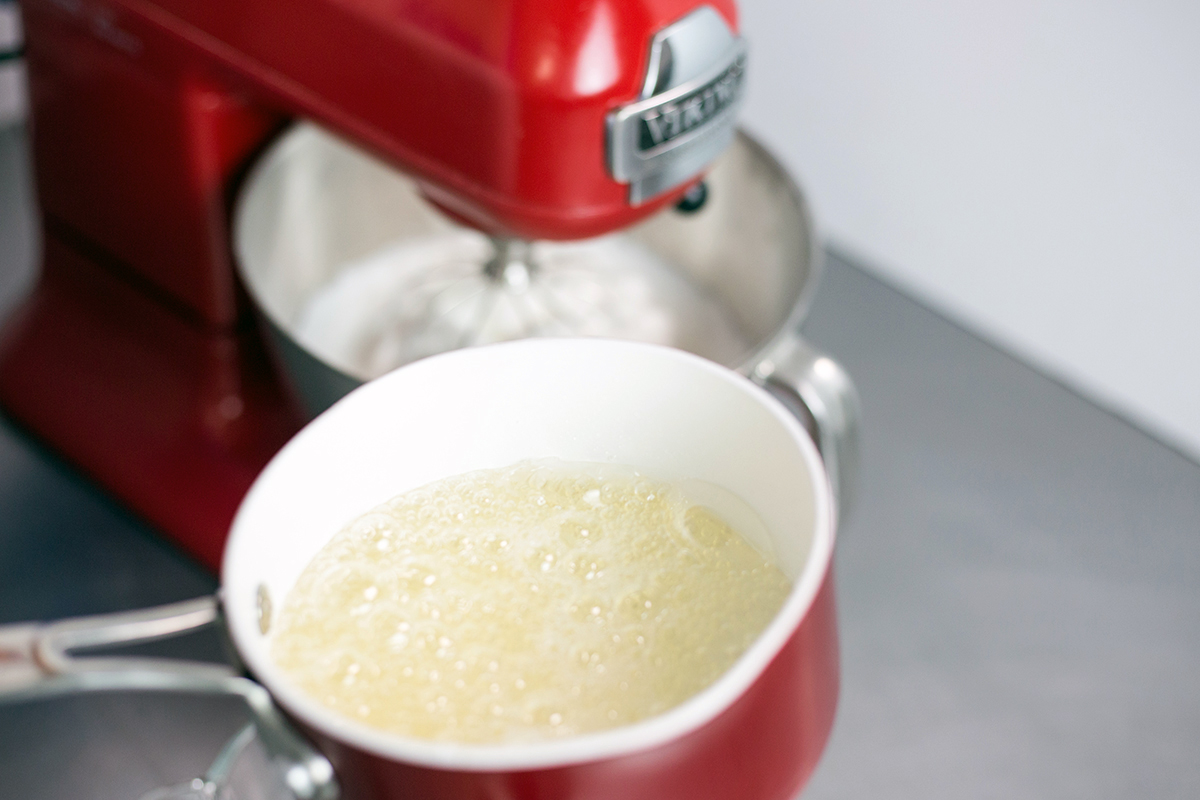
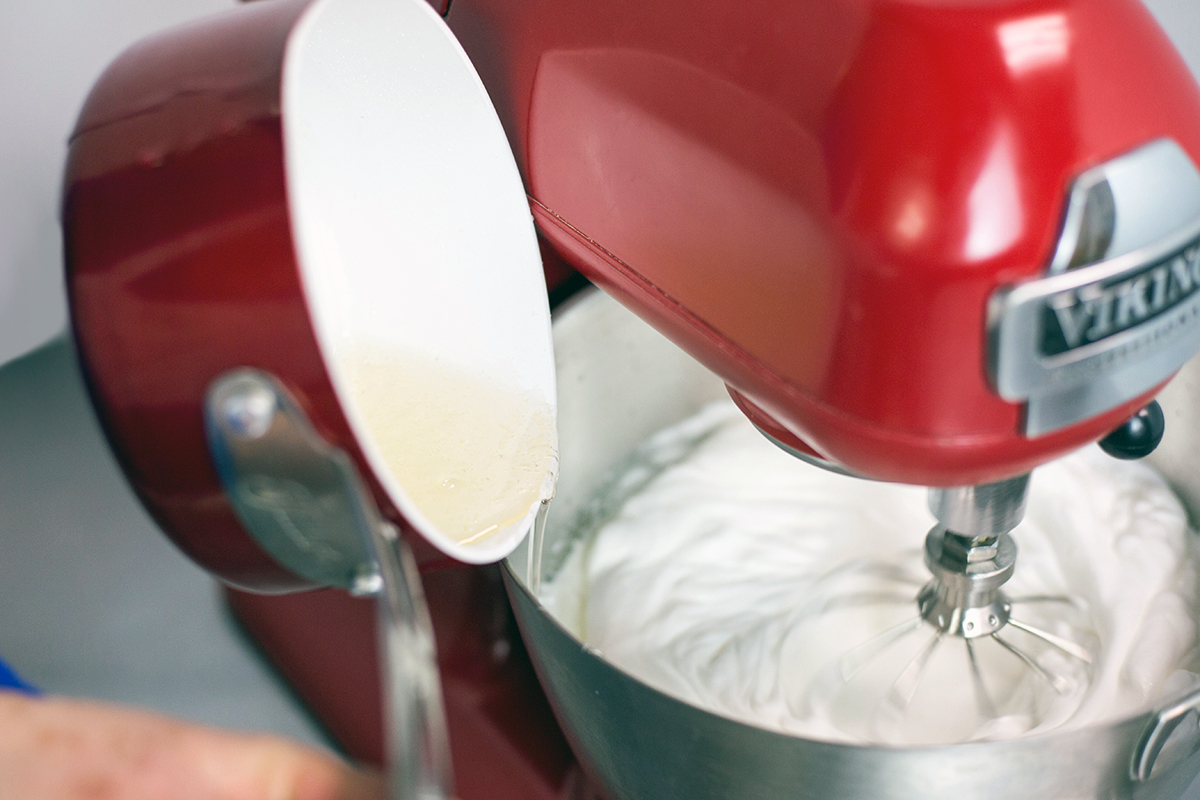 Pour the syrup down the side of the bowl, in the sweet spot between the bowl and the track of the whisk. This can be a trouble spot; having a pan with a slight indentation on the side makes this easier to pour. If you have no such pan...
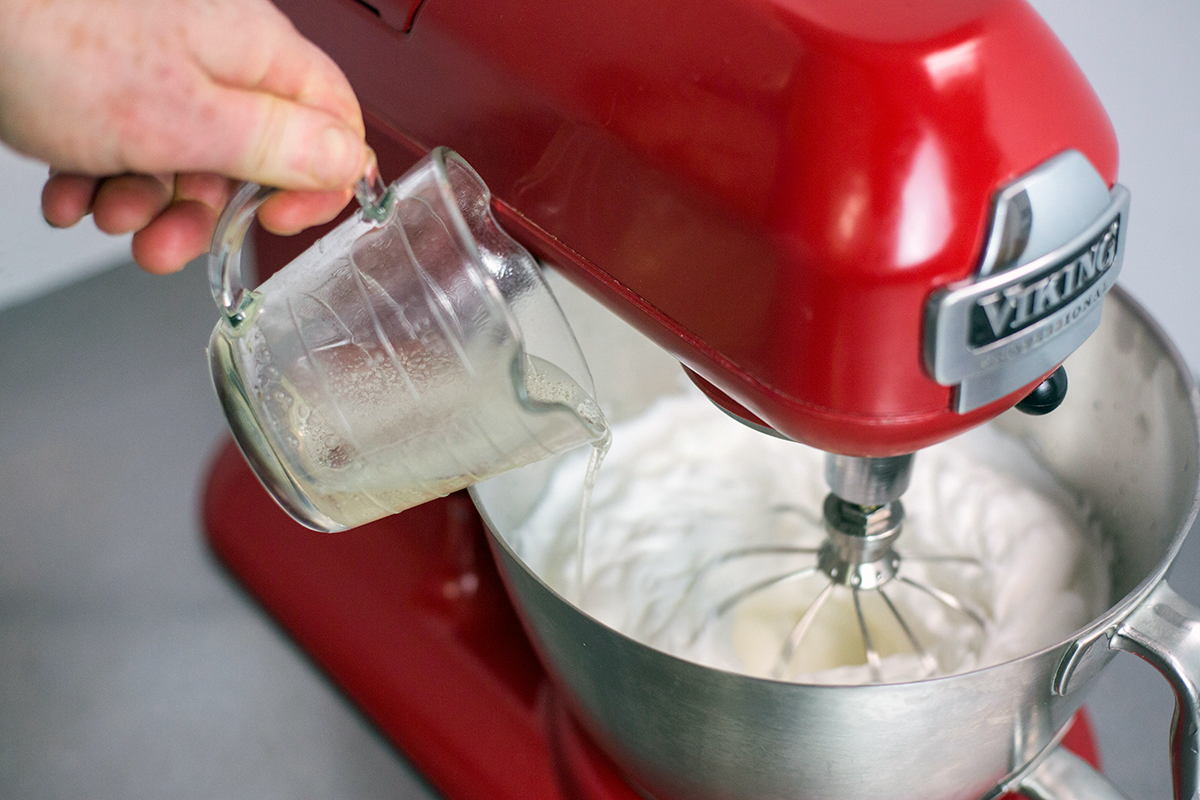
...grease the inside of a heatproof measuring cup with a spout, and carefully but quickly pour your hot syrup from the pan into the cup, and from there right into the meringue.
Let the mixer run. The meringue needs to cool to about 80°F before adding the butter, or else you'll have butter soup instead of frosting.
While you have the thermometer out, check your butter's temperature. If it's above 70°F, put it back in the refrigerator for 5 minutes (set a timer!). If it's below 60°F, find a warm place for it for a few minutes.
Ideally, the meringue should be about 80°F before you start adding butter. Don't be too nervous about this. If you place your hands on the base of the mixer's bowl and it's lukewarm, you're in the neighborhood. If the bowl is a little warm to the touch, start by incorporating cooler butter. For example, the first third of the butter can be more toward 60°F — the colder butter will bring down the meringue's temperature the rest of the way. After that, it's important that your butter is at 70°F, otherwise you can end up with lumps of unincorporated butter.
Some folks use flexible ice packs around the mixer's bowl to help the meringue's temperature drop more quickly. I will admit on hot days to doing the same.

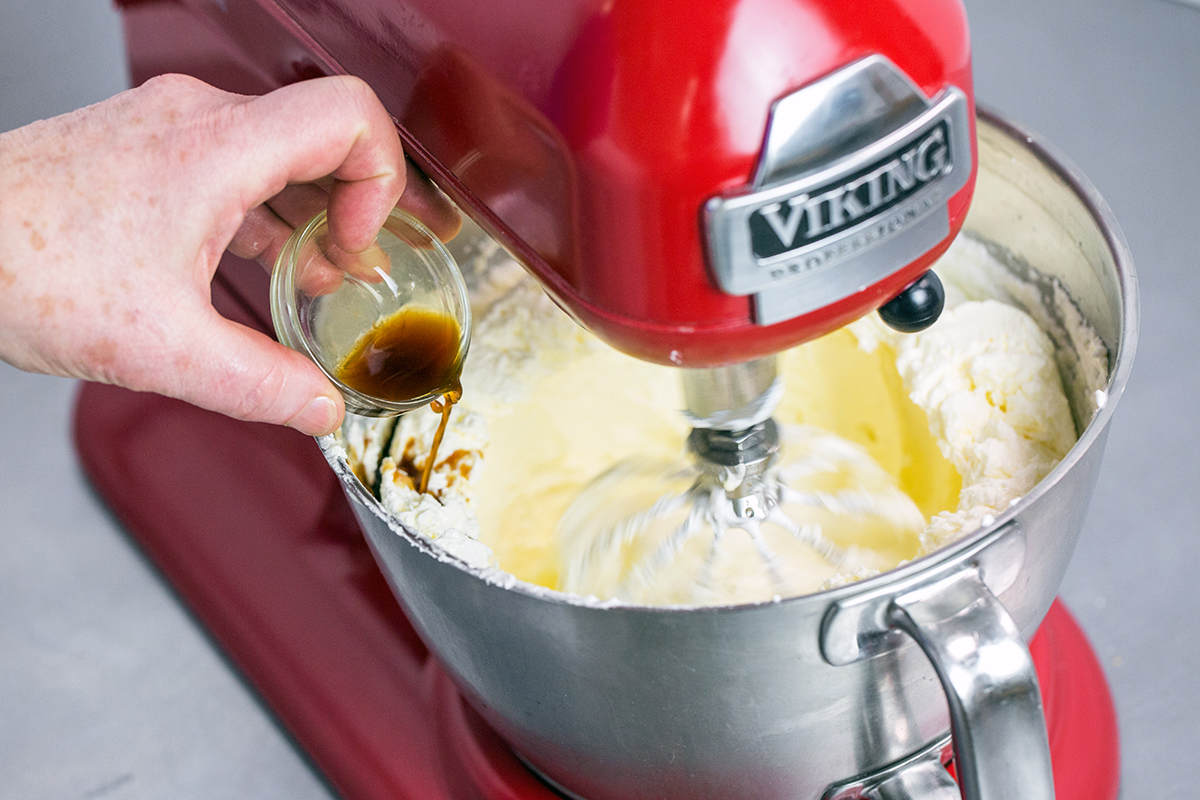
To finish the frosting, you'll need:
1 1/2 pounds unsalted butter, cut in 1" cubes
1 teaspoon to 2 tablespoons flavoring (I opted for 2 teaspoons vanilla extract)
1/2 cup vegetable shortening (optional; more about that later)
Once the meringue is cooled, it's time to add the butter a little at a time with the mixer running. I made two batches of buttercream, one on the too-warm side, and one on the colder-than-it-should-have-been side. They both worked. Let's take a look at each.
After the first few chunks of butter are added and mixed in...
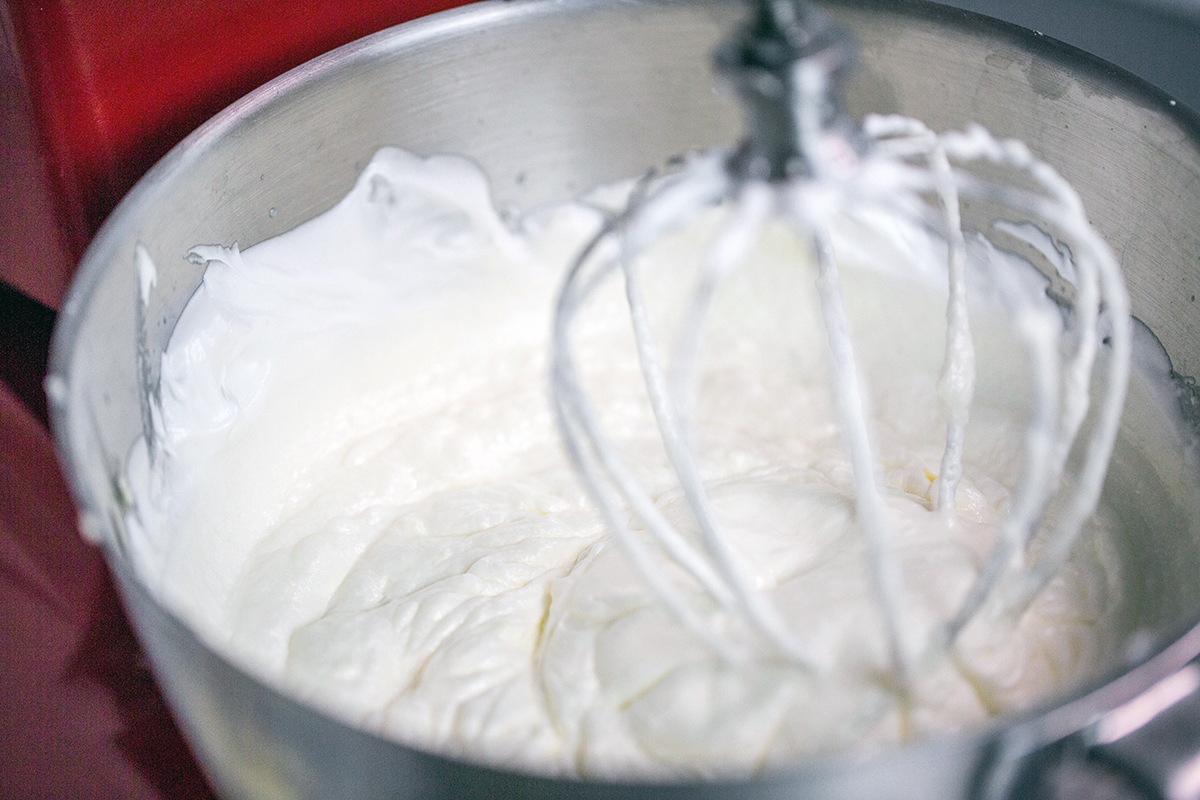
...the meringue will deflate. In the case of this warm meringue, the mixture in the bowl looks like thick butter soup. No worries, things will even out as we carry on. Keep adding the butter a few chunks at a time, waiting until they're absorbed before adding more.
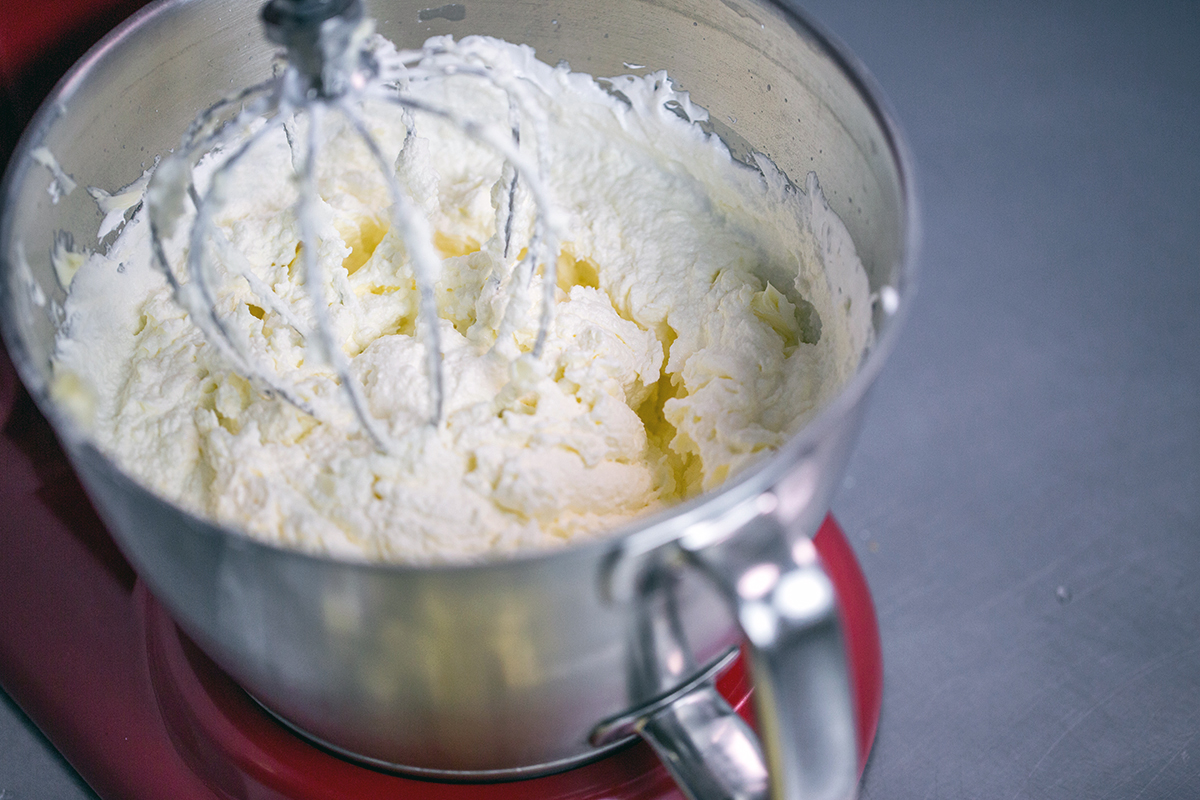
After going through its awkward adolescent phase where you're sure you've ruined the whole thing, suddenly you'll see this magical moment.
The frosting becomes fluffy around the whisk; if you look in the center there's still a remnant of butter soup that has yet to be incorporated, but a few more chunks of butter and more beating and success is at hand.
Let's look at how a cooler meringue behaves.
The cooler meringue deflates a little more dramatically after the first few chunks of butter.
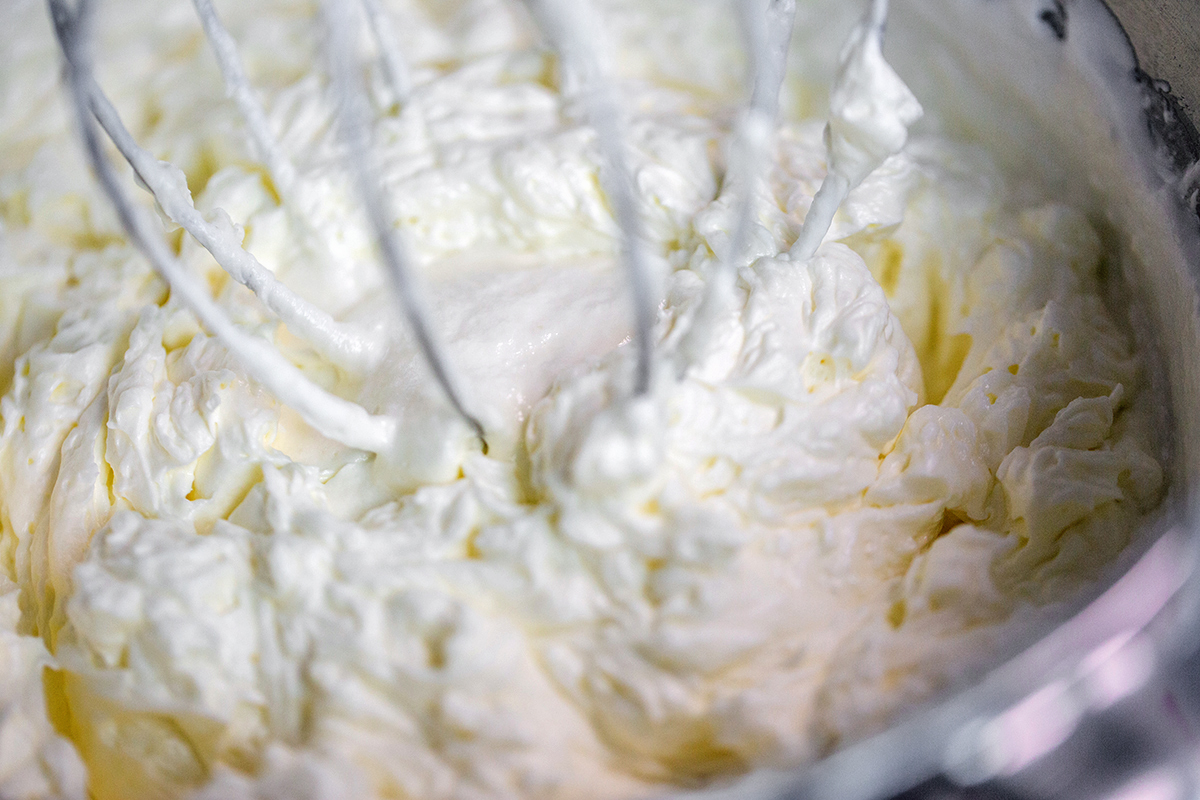
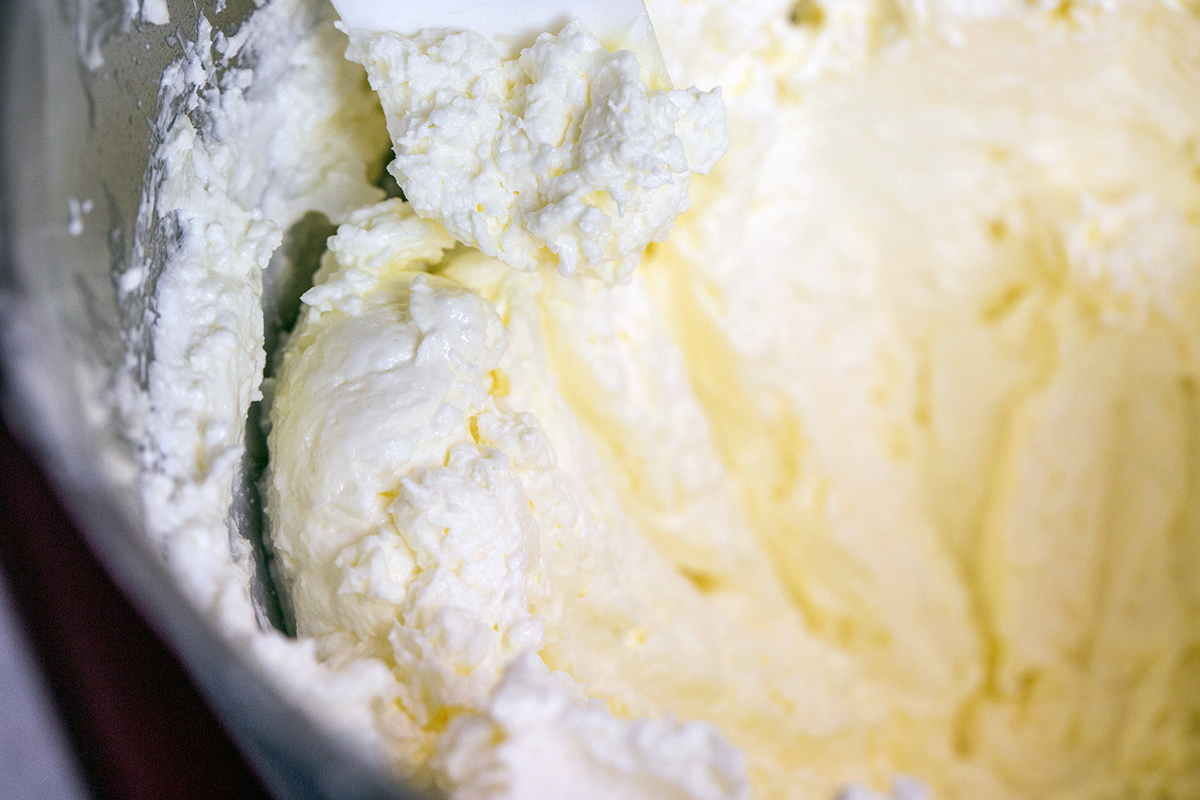
As we add more soft butter, things get ugly.
The buttercream with colder meringue now looks like cottage cheese, and once again you may think you've ruined it.
This is the moment where you need to trust yourself (and me) and carry on. Keep beating, keep adding butter. If all the butter is in and it still looks like this, there are three ways to get across the finish line.
The first is just to let the mixer go, and go, and go.
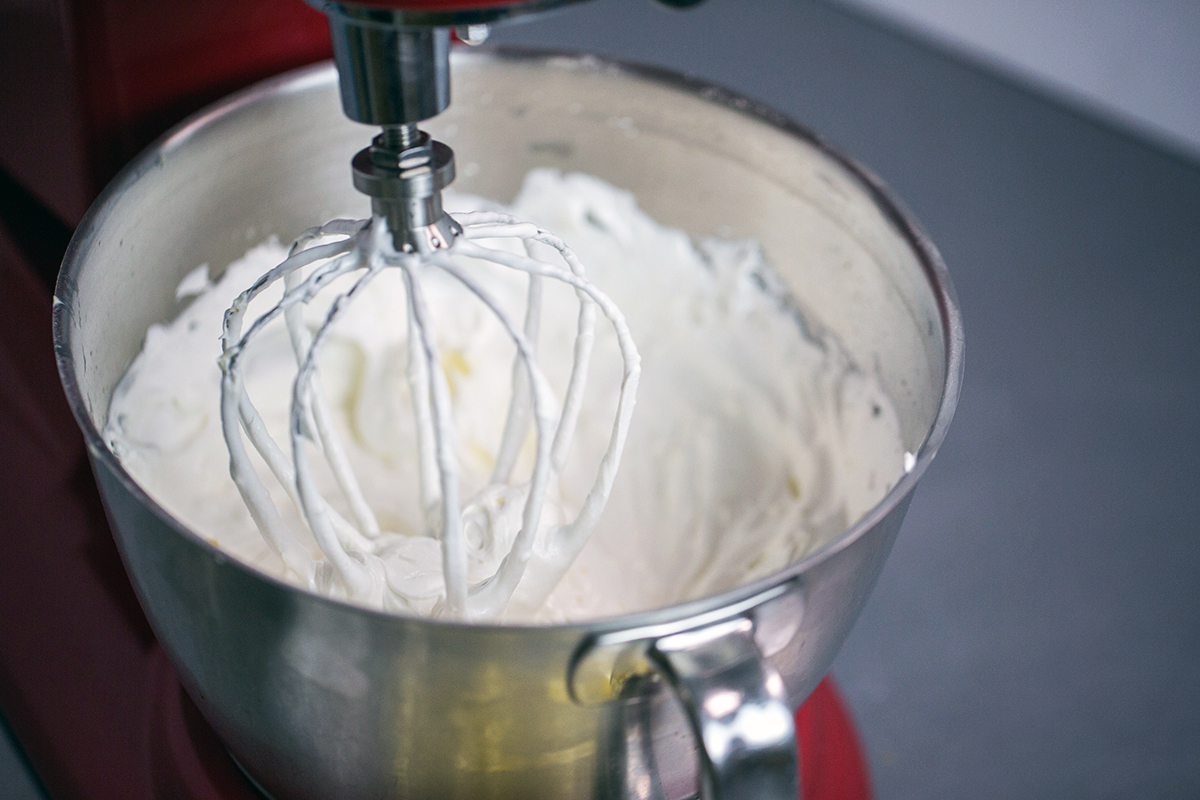
Eventually you'll see this: fluffy frosting in the center of the bowl. In this case, the unincorporated remnants are on the outside of the bowl.
Which brings me to my second option for cooler meringue: You can bring it together faster with the help of a hairdryer aimed at the outside of the bowl. It will warm up the outer edges and the whisk will bring everything together.
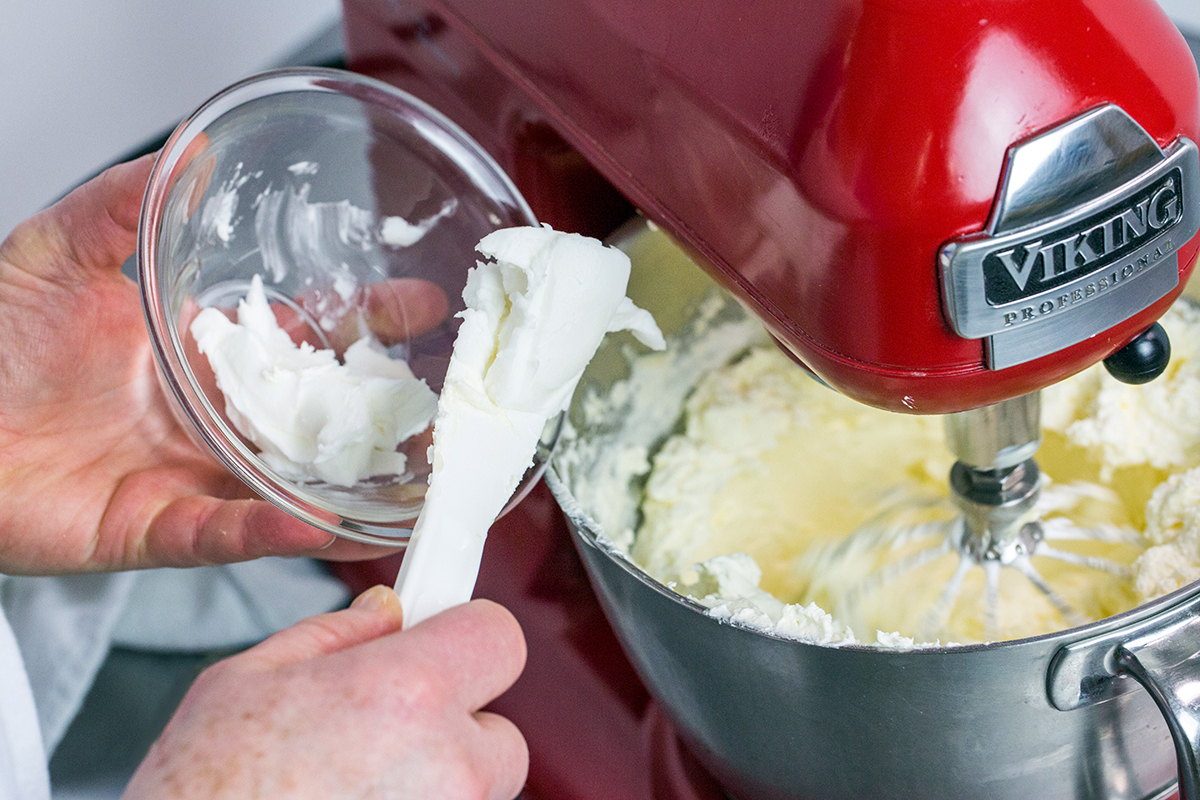
If you wish there was a magic bullet to cure ugly buttercream, you're looking at it. A little bit of shortening brings buttercream together, warm or cold. It will also make the frosting a little sturdier if you're serving the cake in a warm environment.
Time to flavor things up and make a cake. You can go to this roundup of cake making videos and decorating tips to get warmed up.
Since you've been such a trooper, you'll be glad to know the payoff is how beautiful this buttercream frosting is to work with.
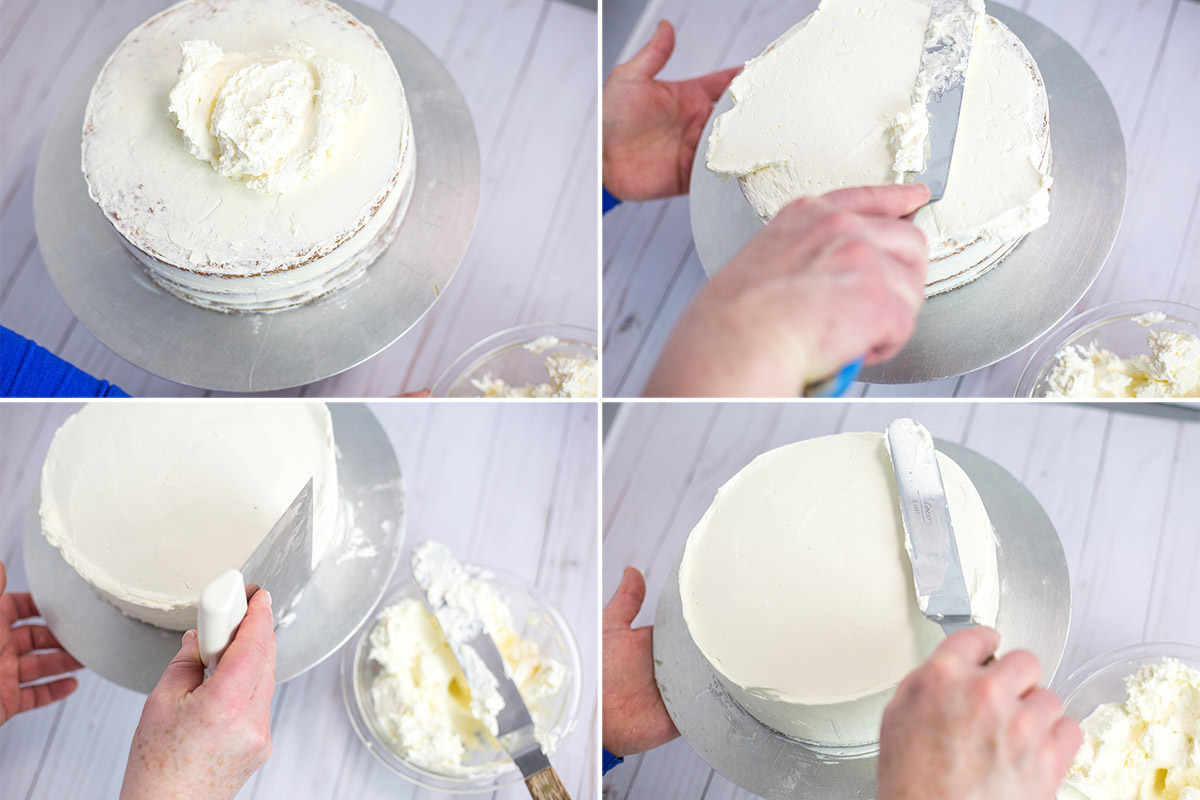
Always frost in two stages. A thin crumb coat over completely cooled, filled layers first. Refrigerate the cake for half an hour to let that firm up. Finally, the second (finish) coat, including any piping you feel inspired to do.
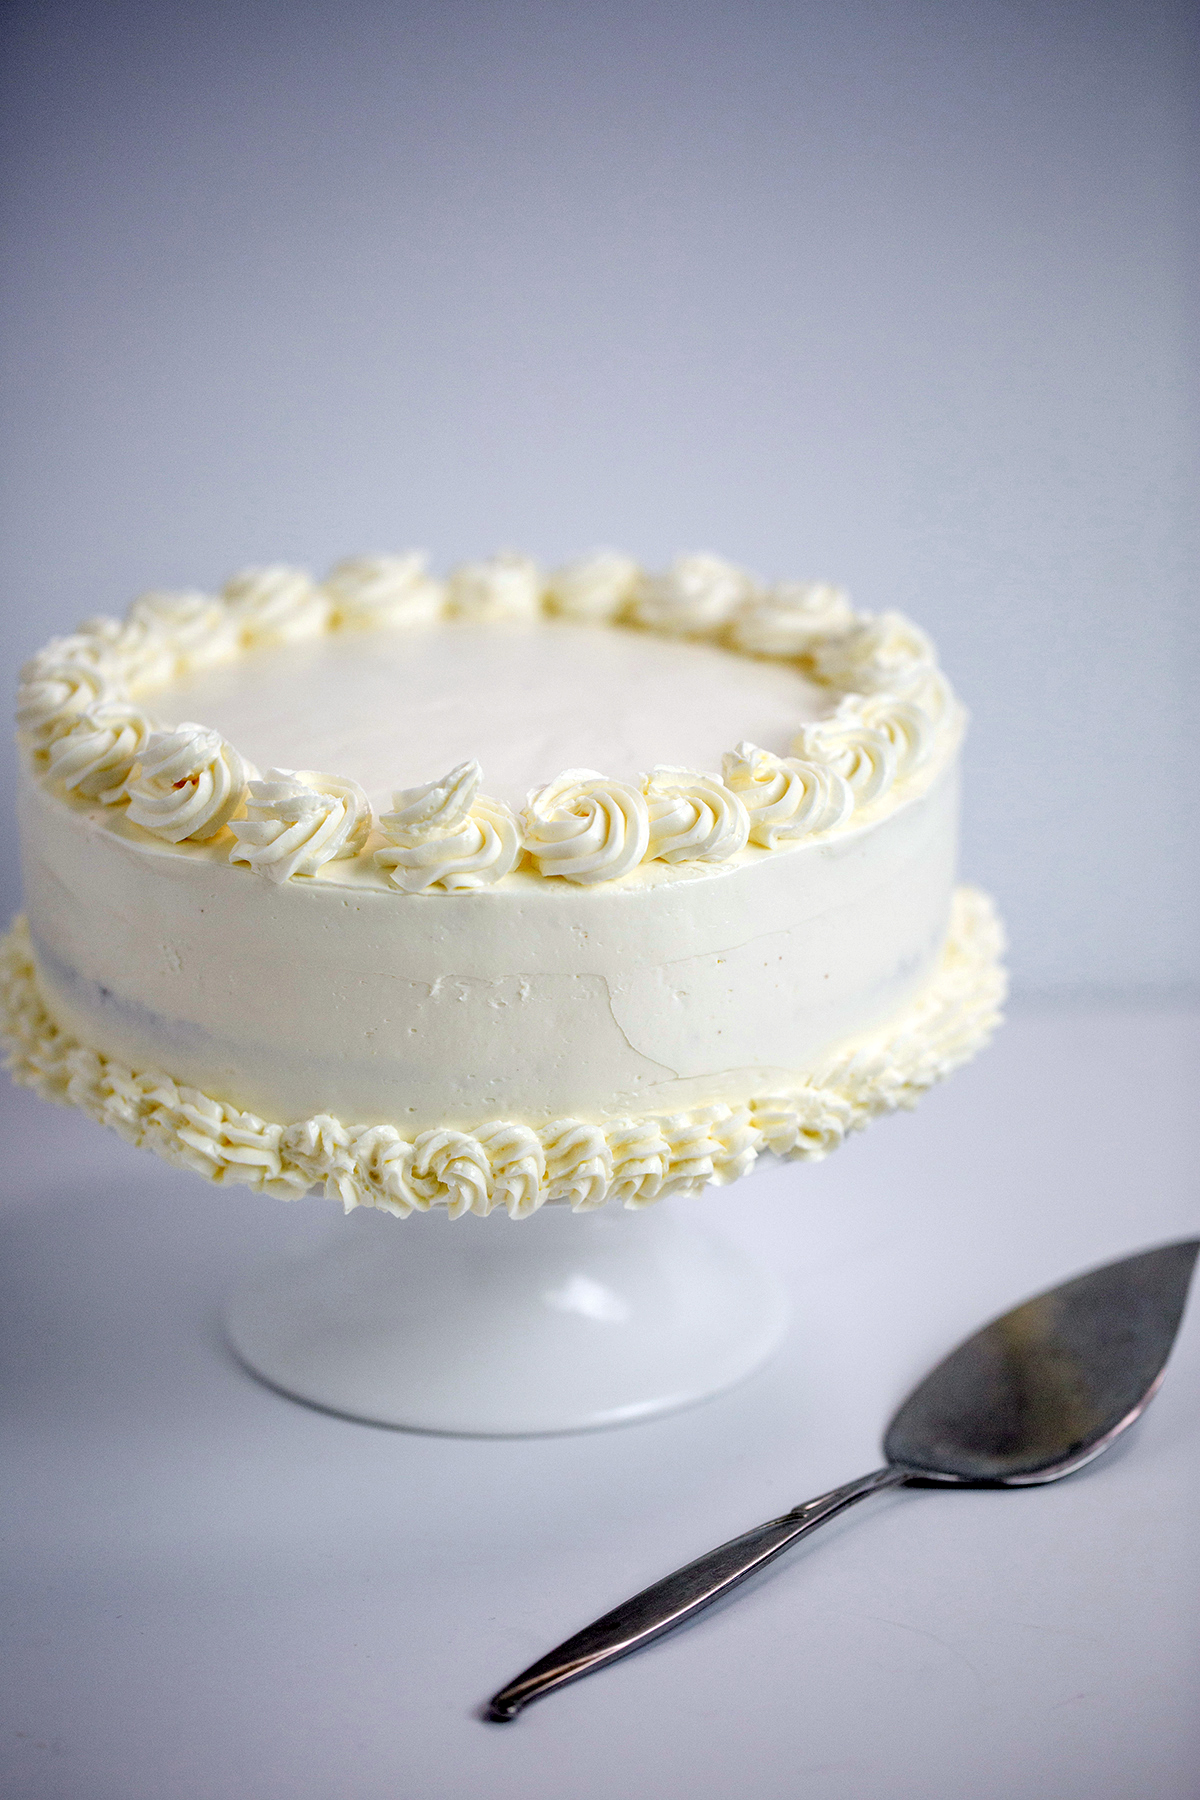
In conclusion, Italian Buttercream frosting is a little time consuming, but ever so worth it.
I can't imagine trying to do this for the first time (or any time) without a good digital thermometer. If you want to take your baking from fingers crossed to confident, I sincerely recommend you make the investment in this tool. Once you have it in hand, you can spread your wings and give this one a try; let us know what kind of cake you made and how your frosting goes in the comments below.
Thanks to Anne Mientka for the photos in this article.