


Whether or not you use a bread machine, this all-in-one bread-baking appliance has some legs: it’s been around for going on 30 years now. This is a tool that definitely has its advocates — those who appreciate the machine’s production of loaf after loaf with little more effort than pressing a button. So it’s not surprising that one of the questions we hear frequently on our Baker’s Hotline is this: "How can I bake my favorite homemade bread recipes in the bread machine?"
The fact is, with all the brands, degrees of quality, and sizes of bread machine out there — to say nothing of the huge universe of yeast bread recipes — it’s impossible to offer a one-size-fits-all method for baking traditional “handmade” recipes in a machine. You’ll want to learn some basic rules, then start experimenting with your favorite recipes.
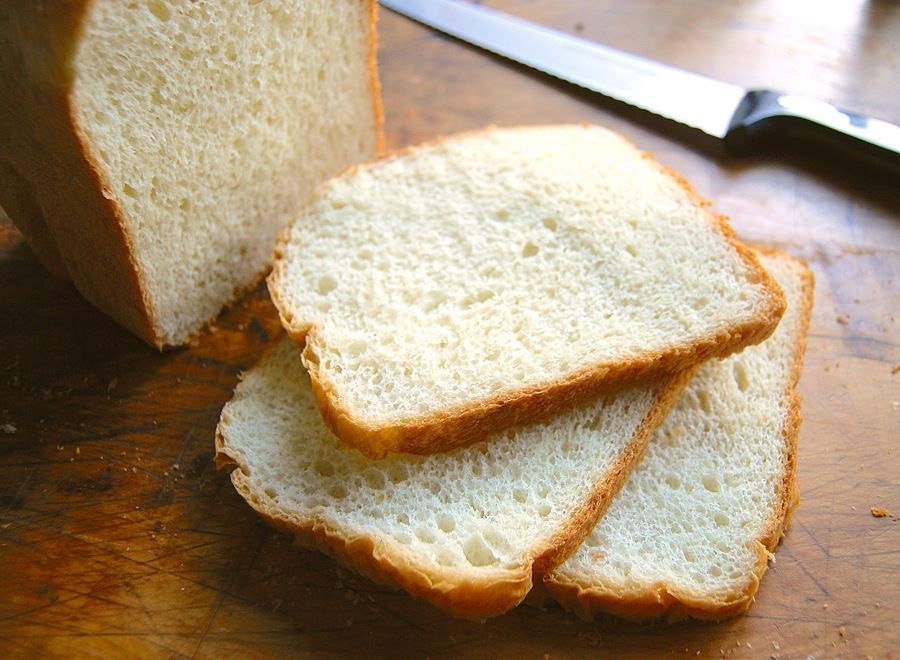
Understand that your favorite yeast bread recipes, when baked in a bread machine, will often be drier and less tender than the original. The price you pay for the superior convenience of machine baking (“just press start!”) is a slight drop-off in the resulting loaf’s quality. But if you usually enjoy your bread toasted or grilled, then honestly, you’ll never notice the difference.
So, how do you decide which of your favorite recipes to try first? Follow these tips, and you’ll soon develop the ability to quickly determine when a recipe can potentially transition easily to the bread machine — and when it’s best to continue making the recipe by hand.
The last thing you want to do is open your bread machine and find half-baked dough spilling out of the bucket into the bottom of the machine, the result of using a recipe with too much flour. How do you know if your proposed recipe has the “right” amount of flour?
While your machine may label itself a 1-pound, 1 1/2-pound, or 2-pound machine, what you really want to know is its “flour capacity.”
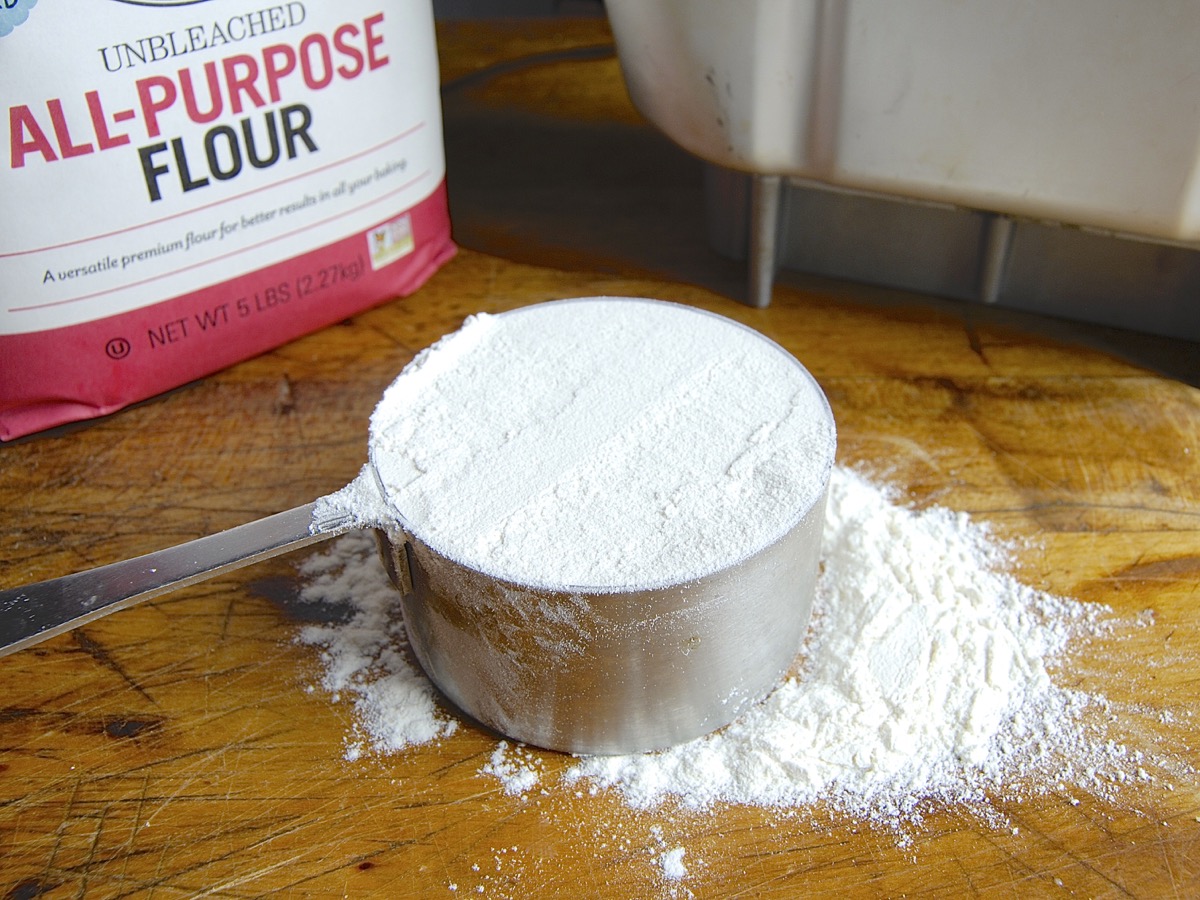
To determine the flour capacity of your particular machine, study the machine’s recipe booklet. You may notice that the manufacturer’s recipes consistently call for, as an example, between 3 and 4 cups of flour: that’s your machine’s capacity.
In general, these are the flour capacities for the most common sizes of bread machine:
1-pound machine — 2 to 2 3/4 cups flour
1 1/2-pound machine — 3 to 4 cups flour
2-pound machine — 4 to 5 1/2 cups flour
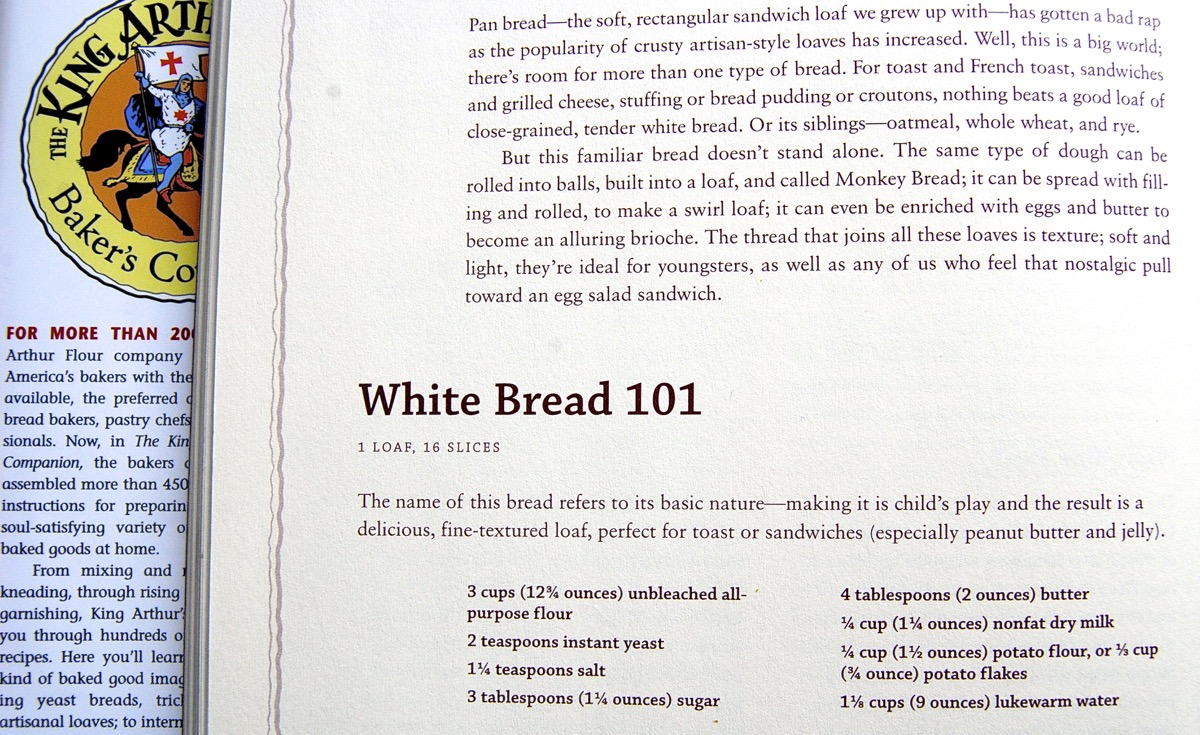
Many typical single-loaf recipes use 3 to 4 cups of flour; those recipes are perfect for your 1 1/2-pound machine (or your 2-pound machine using the 1 1/2-pound setting).
If you have a recipe that calls for less flour than your machine’s capacity, try baking it anyway; you’ll probably get a loaf that’s just a bit shorter than it would normally be.
If the recipe is larger, determine how much you need to reduce the recipe’s flour in order to accommodate your machine’s capacity, and go with that amount; cut back the remaining ingredients by the same percentage.
Does your handmade recipe call for the addition of both rolled oats and nuts? Understand that adding dry ingredients like fruit, nuts, flaked or chopped whole grains, and seeds will decrease your machine’s effective capacity.
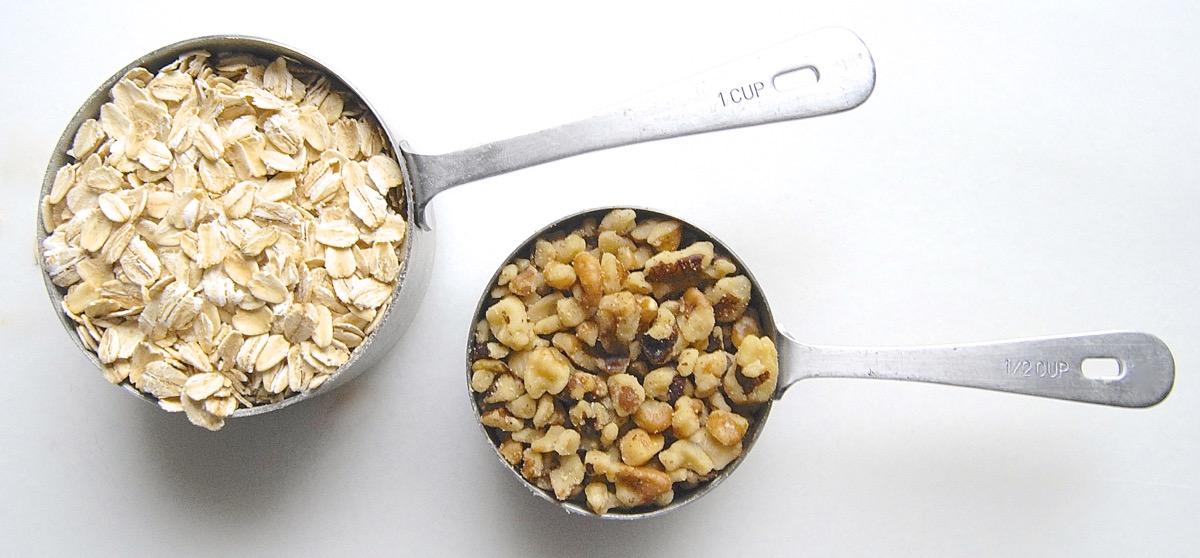
A recipe calling for 3 3/4 cups flour, 1 cup rolled oats, and 1/2 cup chopped walnuts will probably surpass the capacity of your 1 1/2-pound machine; best to try a different recipe.
Many recipes call for a packet of active dry yeast; some call for "rapid" yeast. We're strong advocates for instant yeast in all bread baking, and that includes machine baking. Instant yeast is vigorous and strong; it's infinitely less expensive than the little packets of active dry you get at the supermarket, and it’s almost surely fresher.
How do you know how much instant yeast to use? It's a simple substitution:
Substitute 2 1/4 teaspoons instant yeast for a packet of active dry or rapid yeast.
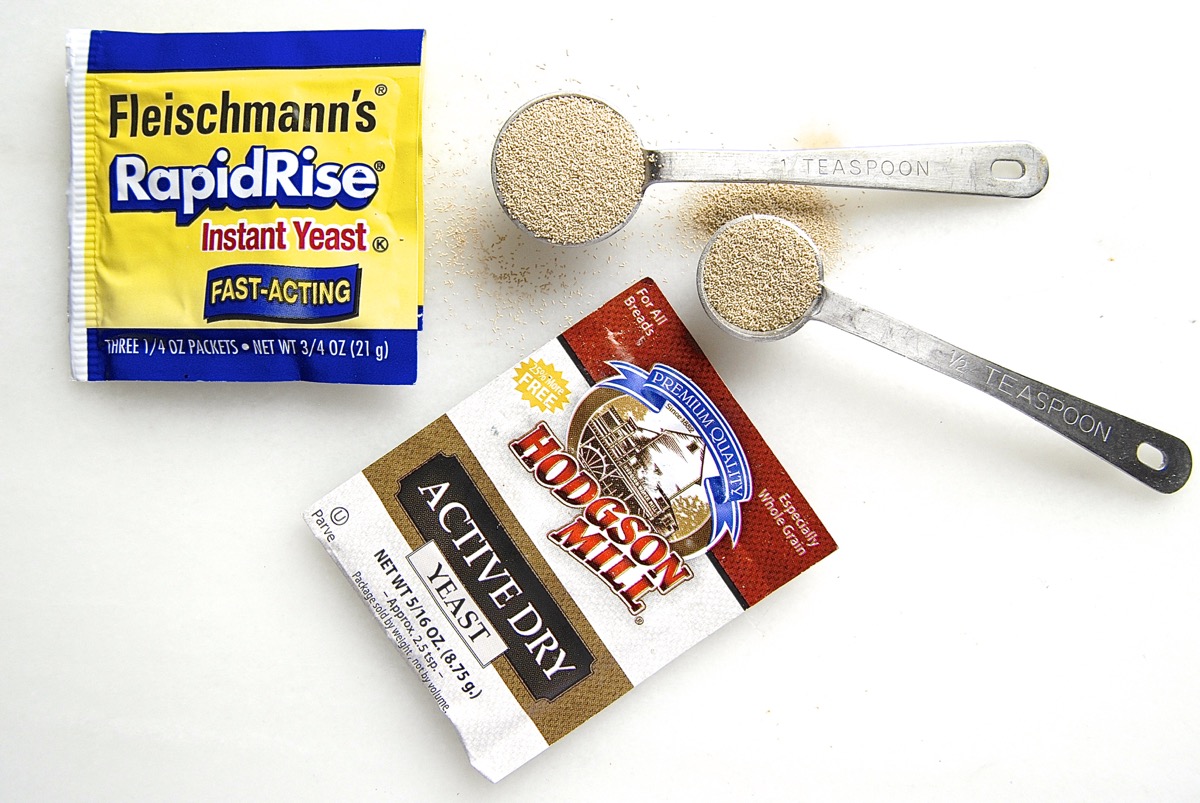
What if you don’t have any instant yeast? Then you'll have to use active dry. Be aware that it may work more slowly, so don't use active dry yeast in your machine's quick cycle.
Also, don't worry about "proofing" active dry yeast prior to use; its formulation has changed in recent years, and it's no longer necessary to dissolve it in warm water before use.
Finally, if you find your bread machine loaves consistently rising and then falling, try cutting the yeast back by about one-third (e.g., if you've used 2 1/4 teaspoons yeast, try 1 1/2 teaspoons). it could be that your particular machine's rising cycles are extra-warm or extra-long, which can cause the bread to over-rise before it bakes.
Your machine has multiple cycles, from basic to wheat to manual. Which one should you choose?
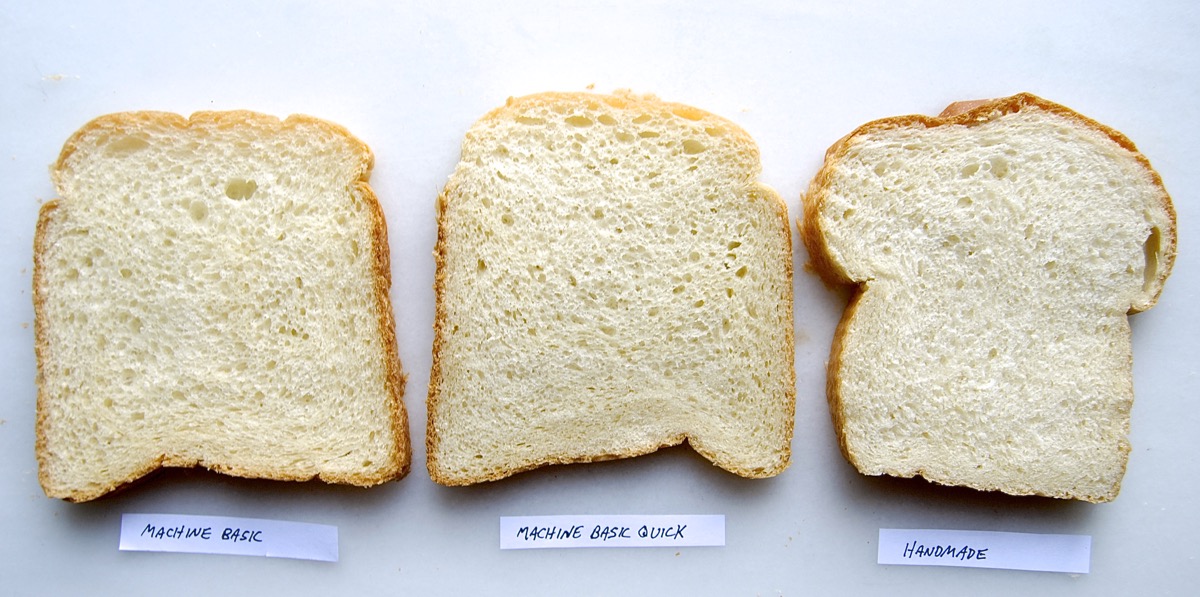
Start with the basic cycle, medium crust. It's a good all-purpose cycle that will work for most bread recipes, including those with whole grains. If you’re in a hurry, try the quick cycle (though only if you have rapid or instant yeast; it’s not appropriate for active dry yeast).
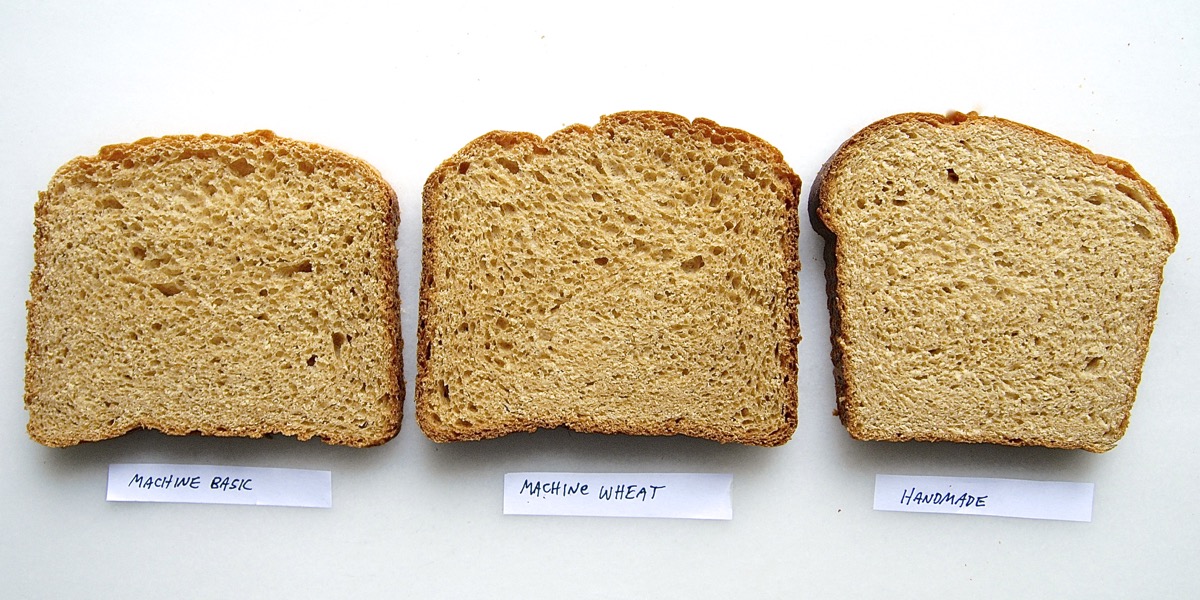
What about using the wheat cycle for whole-grain breads? Give it a try; I’ve found that the basic cycle bakes my 100% whole wheat bread every bit as nicely as the wheat cycle, so I just stick with basic.
Your machine’s instruction booklet will tell you the order for adding ingredients to the bucket; follow those instructions, ignoring whatever mixing directions your recipe gives. If your booklet doesn’t include that information, put the liquids in the bucket first, followed by the flour, then the remaining dry ingredients.
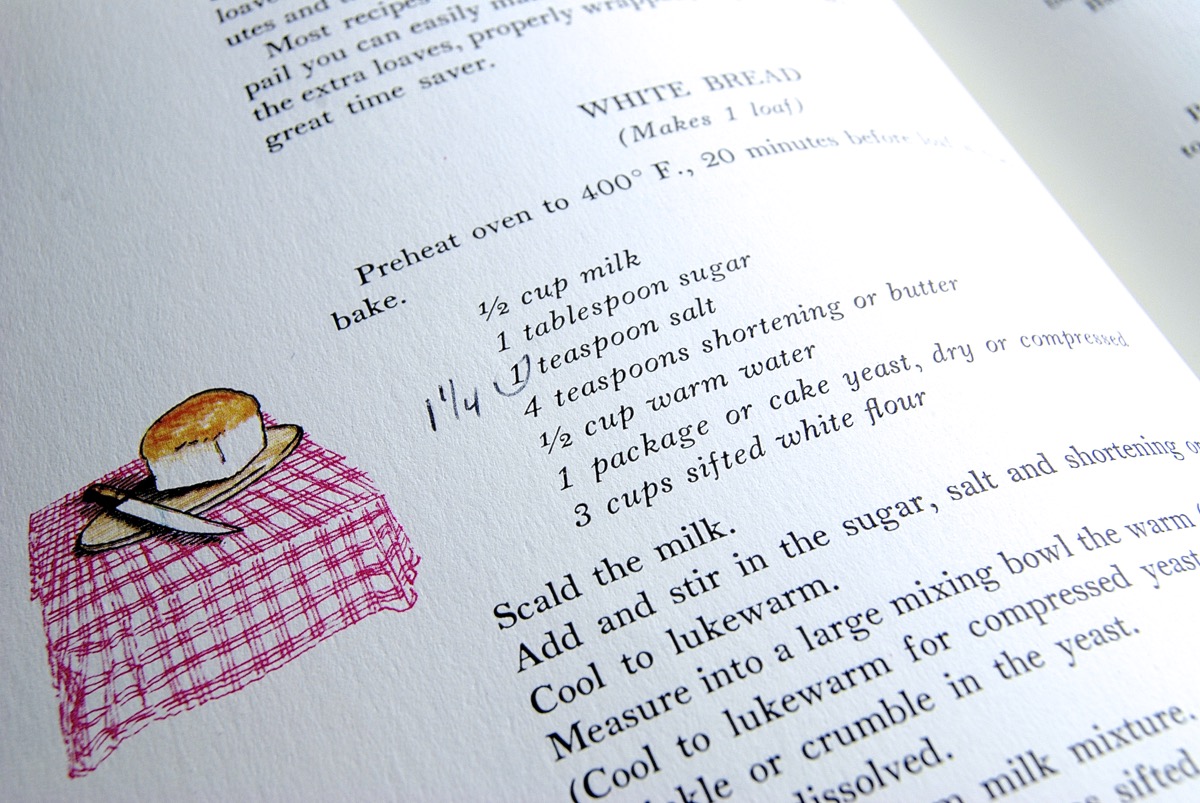
Some older recipes will call for you to "scald" the milk before using; ignore this. Bakers routinely scalded milk back in the day in order to kill any bacteria; pasteurization takes care of that these days. Simply have your milk at room temperature or warm it slightly, enough to take off the refrigerator's chill.
If you’re not happy with how your favorite recipe turned out baked in the bread machine, there's an easy fix: use the machine's dough (manual) cycle to prepare the dough, then take the dough out of the machine once it's fully risen. Proceed with the recipe from the point where it tells you to “deflate the dough,” shaping the dough and baking the bread in your regular oven.
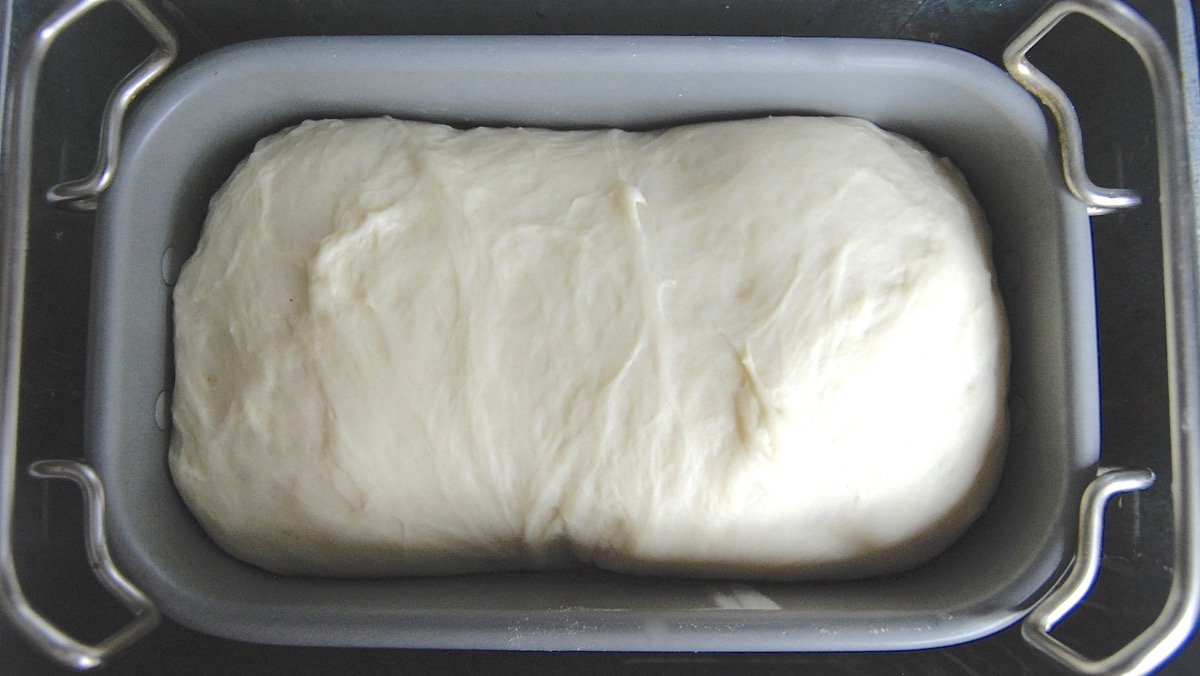
Your machine's dough cycle is a hands-free, convenient way to get any yeast dough ready for shaping and baking: no kneading ultra-sticky dough by hand; no standing watch over a stand mixer or finding a warm place for dough to rise.
While you'll want to take a peek at your dough every now and then as it kneads and rises, and adjust the liquid or flour if it seems extremely dry or very sticky, you can pretty much “set it and forget it.” A bread machine’s dough cycle is truly the busy bread baker’s best friend!
Choose which recipe to try baking in your bread machine based on your machine’s flour capacity and the amount of flour in the recipe.
Use basic bread, medium crust as your default setting.
For best results, choose sandwich loaf recipes. Recipes that require extra-long rising times (like sourdough), or special shaping (like babka or focaccia) are best made by hand — or by using your machine’s dough cycle to knead and raise the dough for these breads, then shaping and baking them outside the machine.
We've just explored one small facet of bread machine baking here. For additional tips and helpful information, see our post, successful loaves from your bread machine: 5 tips for home bakers.
How many of you readers out there own and use a bread machine? If you’re a bread machine baker — either completing the entire process in the machine, or simply using the dough cycle — please let us know in comments, below.
