I was 19 years old when my grandma gave me a scratched-up yellow tin box filled with recipe cards in various levels of messy disarray. The box had belonged to her grandmother (my great-great-grandma). Nestled among recipes for casseroles and holiday cookies was a recipe for yeast doughnuts.
It was my first foray into the world of doughnuts, and they quickly became one of my favorite things to make. They have the feel of a big baking project (thanks to the yeast), but they’re so, so simple. Plus, they’re incredibly satisfying — I still insist there’s nothing in this world better than a warm yeast doughnut, fresh from the fryer, dripping with glaze.
I fell for yeast doughnuts all over again when I was called to style the doughnut story in the Spring 2016 issue of King Arthur Flour's Sift magazine. The story contains plenty of doughnuts, but even next to chocolate cake and maple pecan, I realized I’m still a total sucker for yeast-raised (it’s in my blood!). The recipe is simple, and yields incredibly soft dough that makes a perfectly tender doughnut.
The best part about yeast doughnuts is they're infinitely adaptable. Need a simple finish? Toss them in confectioners' sugar or cinnamon sugar. Looking to dress them up? Try a glaze – thin glaze for an all-over coating, or a thicker glaze for that perfect doughnut-shop look (and if you’re asking me, I’ll remind you to not forget the sprinkles).
Here’s how you get from point A (no doughnuts) to point B (eating warm doughnuts) as quickly as possible —
In a large bowl, whisk together 3 cups (361g) King Arthur Unbleached All-Purpose Flour, 1/4 cup (50g) sugar, 1/2 teaspoon salt, 2 teaspoons instant yeast or active dry yeast, and 1/4 teaspoon nutmeg.
In the bowl of an electric mixer, whisk together 1 large egg, 1 cup (227g) milk, 2 tablespoons melted butter, and 1/2 teaspoon vanilla extract.
Add the dry ingredients to the mixer bowl all at once and mix on low speed until the dough just begins to come together. Cover the bowl and let the dough rest for 5 minutes.
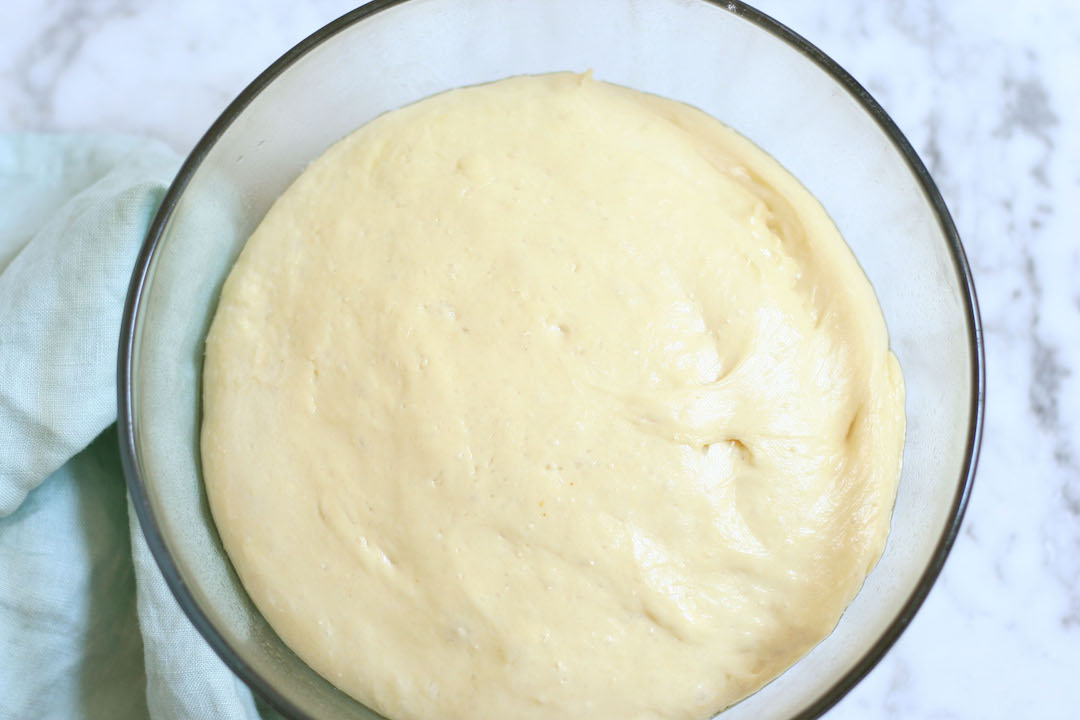
After its rest, mix the dough on low speed for 6 to 8 minutes (you can do this by hand, too, if you prefer). The finished dough will be very smooth, but a bit sticky — you can lightly grease your hands in oil to make handling it easier at this stage.
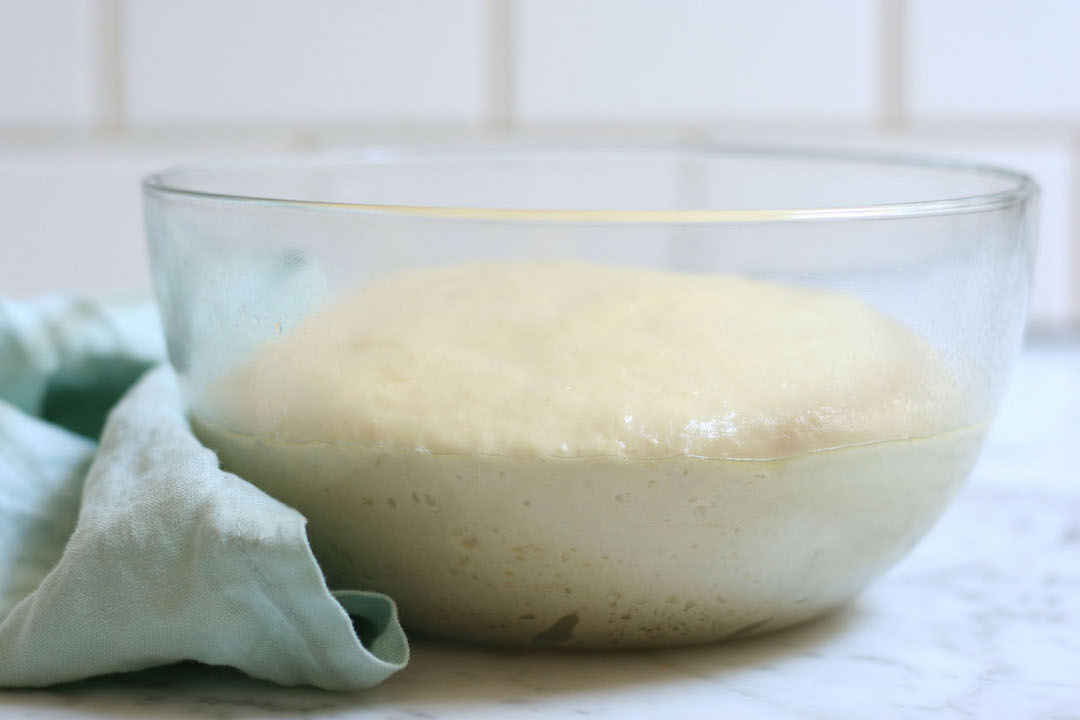
Transfer the dough to a greased bowl and cover. Let it rise until it doubles in size, 1 1/2 to 2 hours.
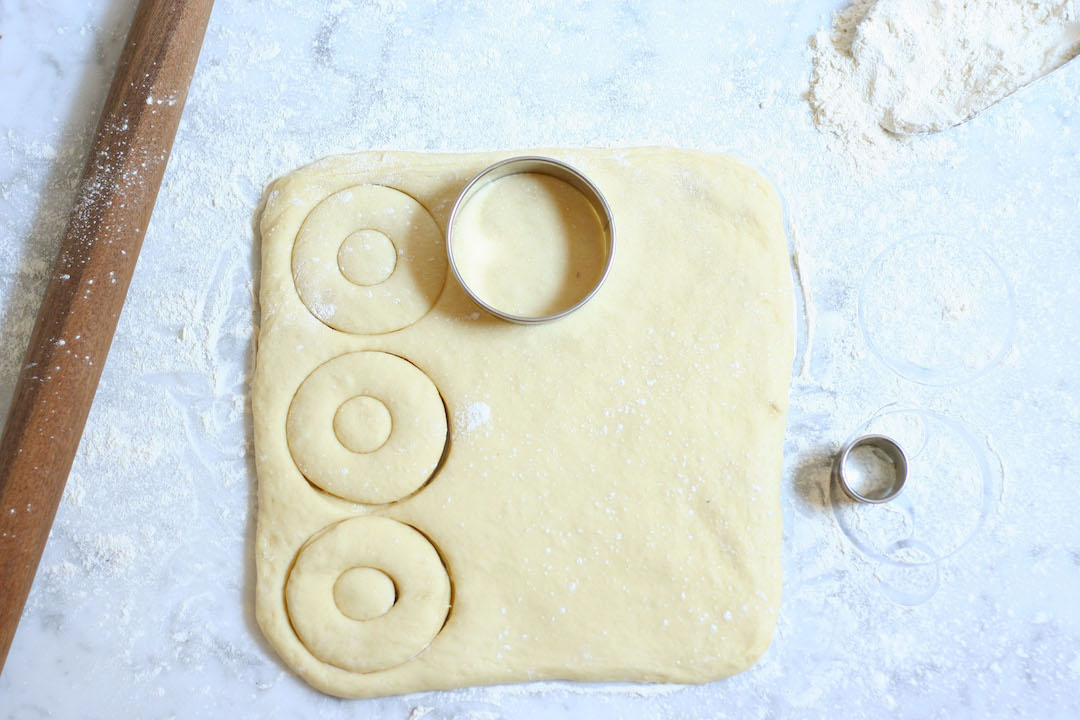
When the dough has fully risen, turn it out onto a lightly floured surface. Roll it out about 1/4" thick. The dough is very soft, and I find it can actually help to manipulate it a bit with your hands — gently stretching it or moving it to help keep it somewhat rectangular in shape.

Cut out doughnuts in your preferred size and shape – you can use a doughnut cutter, or two circle cutters (the larger one should be 2 1/2" to 3" wide). Sometimes, I’ll just use a bench knife or pastry wheel to cut them into squares so I don’t have to deal with scraps!
Cover the doughnuts with greased plastic wrap and let them rise for 30 minutes while you heat 6 cups of frying oil (peanut oil is my top choice) in a deep, heavy kettle.

Get the oil hot – around 350°F. A thermometer is great, but I usually use a doughnut hole to test the oil. If it begins to bubble and rise to the surface, it’s ready to go!
Have ready a draining station — a cooling rack set atop a baking sheet lined with a few layers of absorbent paper towels.
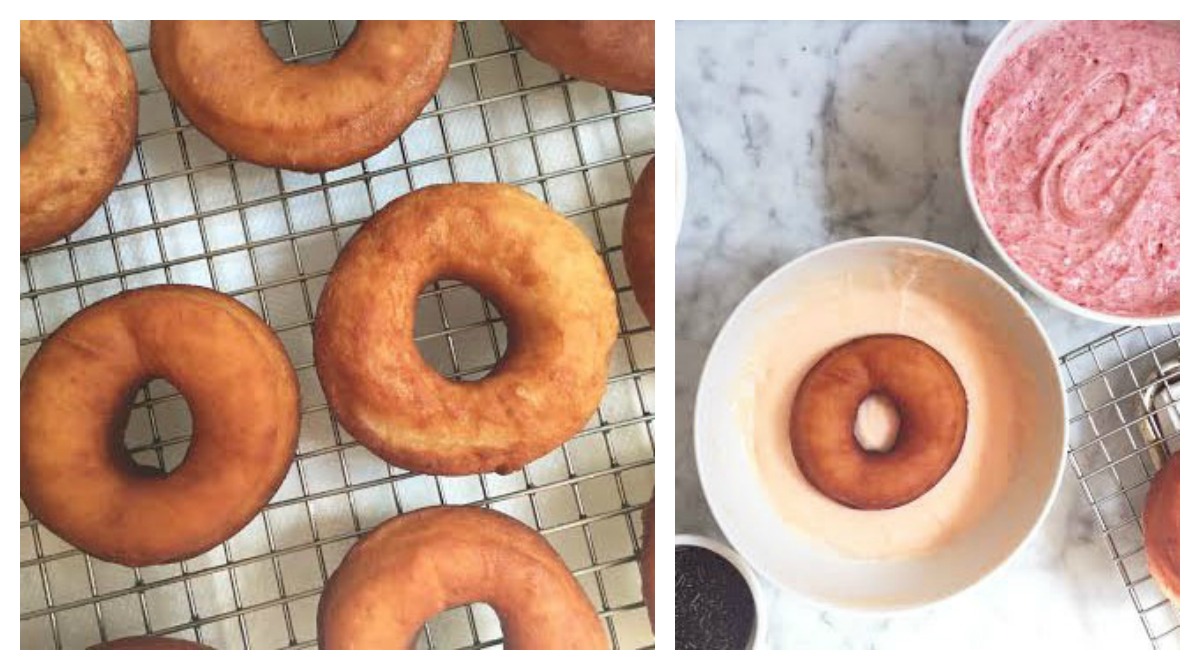
Fry the doughnuts, working in batches if you need to, until they're golden brown, 1 to 2 minutes per side. Remove the doughnuts from the oil and drain for a few minutes before proceeding. Don’t forget to fry the doughnut holes too, if only as a snack for yourself while you finish!
There’re so many ways to finish doughnuts, but I have a forever love affair with glaze (couldn’t you tell from my soliloquy before?). Your doughnuts should be warm, but not piping hot when you glaze them.
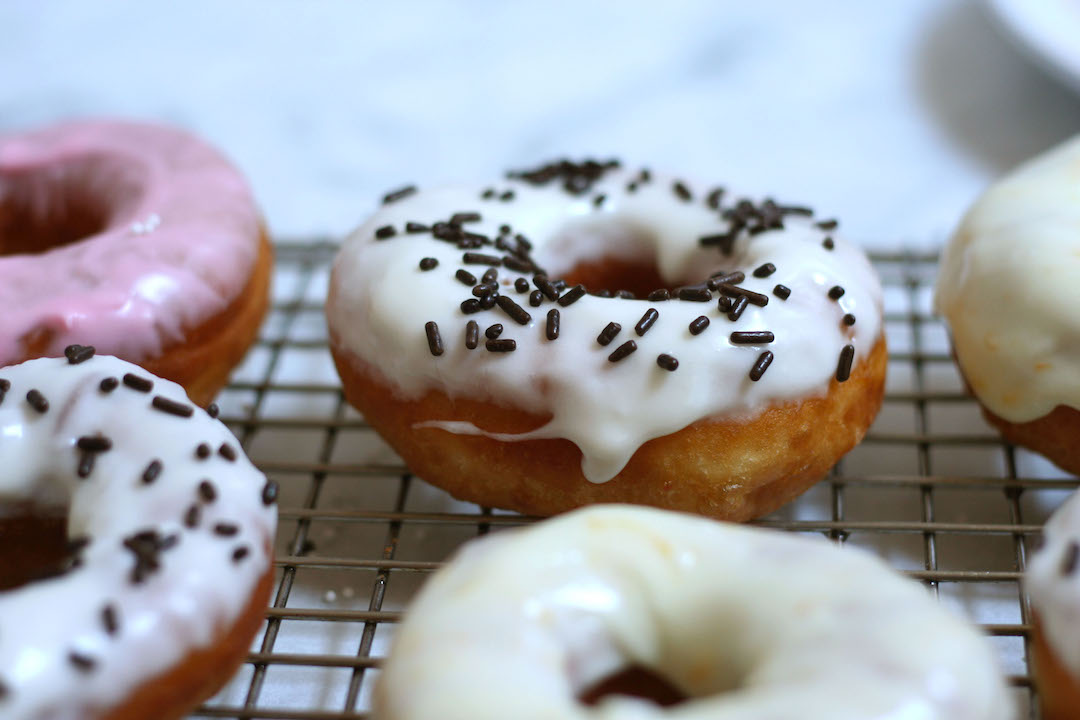
Remember, if you go for a thinner glaze, it will coat the whole doughnut, sliding down the sides a bit before it sets semi-translucent. If you opt for a thicker glaze, it will cover the surface of the doughnut, and be more opaque. Both are equally delicious, so it’s just a matter of preference. I like to make an array of glazes so I’ve got that whole pretty variety thing going on.
Vanilla glaze: Mix 1 1/2 cups sifted confectioners' sugar, 6 tablespoons heavy cream, and 1 teaspoon vanilla extract until smooth. Add more cream as needed to adjust the consistency to your preference.
Orange glaze: Mix 2 cups sifted confectioners' sugar, 2 tablespoons orange zest, and 1/4 cup freshly squeezed orange juice until smooth. Use milk or heavy cream to adjust the consistency to your preference.
Strawberry glaze: In a food processor, process 2 cups confectioners' sugar and 1 cup freeze-dried strawberries. Transfer the mixture to a bowl and add 1 cup heavy cream and 1/2 teaspoon vanilla extract, mixing until smooth.
Dunk doughnuts face down in the glaze, then turn over and let rest, glaze side up, on the cooling rack. If you want to use sprinkles, toasted coconut, chocolate chips, nuts, or any other garnish, sprinkle it on before the glaze sets fully so that it sticks.
You actually don’t have to let the glaze set fully at all — I’m all about diving in while it’s all still a warm, sticky mess. But if you want them to hold up a little better, let the doughnuts cool and the glaze set so it’s no longer sticky to the touch.
But whatever you do, eat these doughnuts the same day they're made. Because fresh doughnuts are everything. My great-great-grandma taught me that!
See Erin's Yeast Raised Doughnuts recipe on our website.