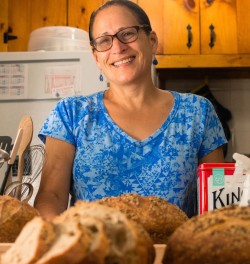
With this post we welcome first-time King Arthur Flour blogger Barb Alpern, a dedicated bread-baker, caramel-maker, and member of our bakers' support team.
My mom wasn't a great cook or baker. She grew up on a farm in Ohio during the Depression, and as an adult her heart was never indoors long enough to want to dwell in the kitchen, except when the bounty of her garden demanded canned tomatoes and pickles, abundant salads, and fried zucchini and green tomatoes.
She told us stories of growing up on the farm, how little money they had when she was a young child, and how an orange in her stocking at Christmas was a wonderful gift. If you're of my generation of Baby Boomers, you likely have these Depression-era parents, raised in a time of hardship and deprivation. They learned to do without and to make do. And when times changed and they had enough or more than enough, they still scrimped and saved and guarded against another period of want. In my parents’ house no waste was allowed and eating out was a very rare occurrence. So, whether my mom liked to cook or not, she cooked every night and tried to do her best.
There was one recipe that my mother made each year during the holidays that was truly great. Caramels, in the ethos of my mother’s farm upbringing, were a handmade gift, a special indulgence, and a test of culinary prowess. While her mother didn't make this particular caramel recipe, candies were made on the farm for Christmas and other special occasions. They were passed out as gifts and served at family celebrations. Back then the candy of choice was usually fondant, which didn't require expensive ingredients.
My grandmother also passed down her fudge recipe to my mother. In our house this recipe was usually referred to as “Magic Potion.” There was more to candy than mere science could explain, and my mother (fortified with memories of her own mother’s candy-making) was brave enough to attempt magic in the kitchen, particularly on a cold wintry day when her garden was buried in snow.
I've refined my mother’s recipe a bit over the years. The original recipe, which wasn't my mother’s invention, was called “Can’t Fail Caramels.” It was written as a single batch poured into an 8” x 8” pan.
But if you decide to go to the trouble of making candy, you’re going to want to make enough to wrap and give to all of your friends and relations, right? Might as well make a double batch! The stirring time for this recipe is about 2 hours, and requires a 5- to 6-quart heavy-bottomed metal pot with tall, straight sides.
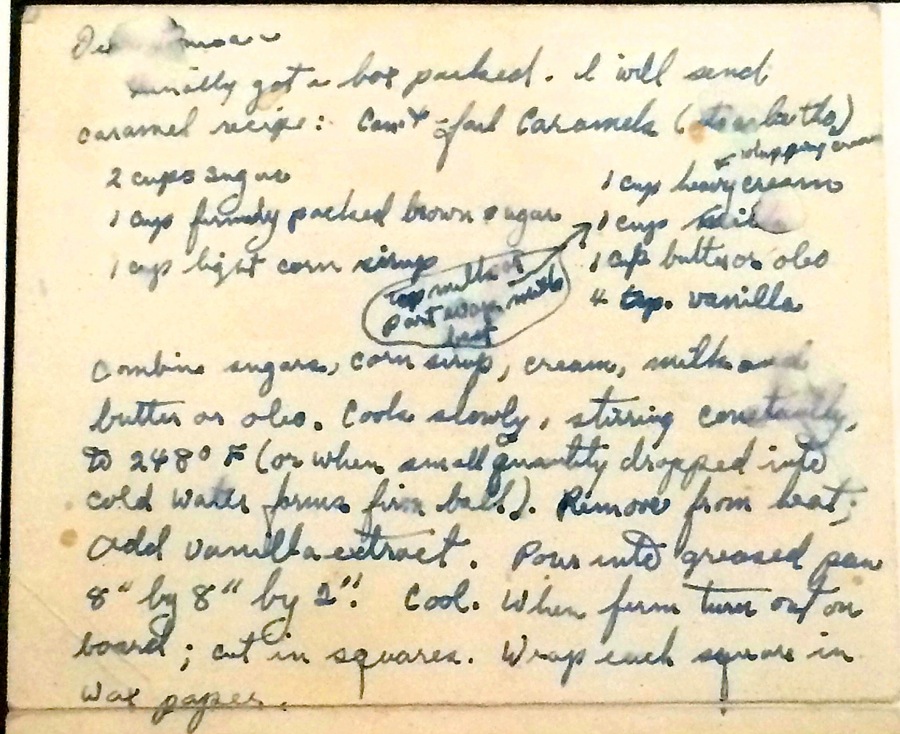
My mom wasn’t particularly attuned to the quality of ingredients, and went with what was inexpensive and on hand. I’m quite sure she originally used margarine or “oleo” in this recipe, since the handwritten copy of the recipe she sent to my aunt (who then included it in her church’s cookbook) listed it as an option.
And though I'm much more of a purist when it comes to ingredient choices, I know my mother’s caramels were not only edible, but delicious. Perhaps this is part of the magic of these caramels, that they perform spectacularly even with less than spectacular ingredients. And when you use the best ingredients? Well, they only get better.
Vanilla is an ingredient worth splurging on, because it's such an important flavor. I love either the Madagascar Bourbon vanilla from Nielsen-Massey, or our King Arthur pure vanilla extract in this recipe. After my brother urged me to make salted caramels, I added large-flake Maldon sea salt as a topping. This wasn't something my mom ever did, and you can leave off the salt if it doesn't appeal to you.
A note about corn syrup: it really is necessary for this recipe. I know it's not a favored ingredient for some these days, but I don’t know of an alternative that works.
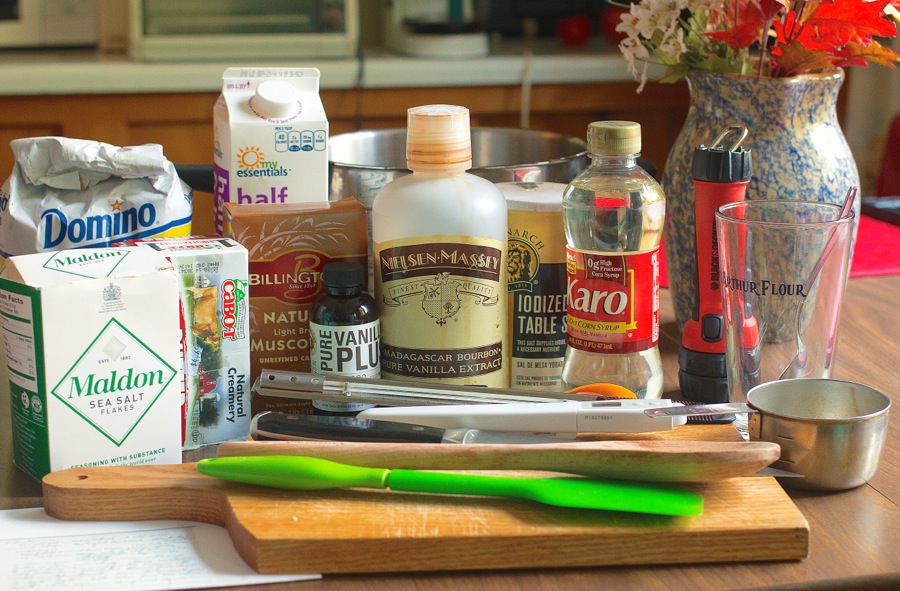
First, assemble your ingredients and equipment.
My mom always said to have the pans you’re going to pour the caramels into all buttered ahead of time, because you won’t have time or hands while you're stirring. You’ll need two pans (either 8’’ x 8” square or 10 1/2” X 6 1/2” work great. You can also use two 9" round cake pans). Rub butter into the bottom and up the sides of the pans.
It's helpful to measure the vanilla ahead of time and place it in a small container, so you don’t have to think about measuring at the end – when things get very exciting, and perhaps even a little scary.
Achieving the correct temperature is critical to candy making, so I recommend calibrating your thermometer before you begin. Here’s how: Fill the pan you're going to use 2/3 full with water, and clip your candy thermometer on the pan. Bring the water to a full boil; after 10 minutes, check to see if the thermometer reads 212°F. If your thermometer's a degree or two off from 212°F, subtract or add the difference to your final cooking temperature. For example: If your thermometer reads 210°F in boiling water, you'll want to cook the candy to 246°F, not 248°F.
For those making candy at high altitude: It's important to note that water boils at a lower temperature and you'll need to calibrate your thermometer in the way described above, and then adjust your final temperature accordingly. This can make a huge difference in candy consistency, so it's very important to check what temperature your thermometer reads in boiling water, and then subtract that temperature from 212°F. This will give you the number of degrees you need to reduce your final cooking temperature from 248°F.
It's also really helpful to use both a clip-on candy thermometer, and a digital thermometer, so that you can double-check your final temperature. Sometimes the paddle thermometer becomes difficult to read when the candy is steamy, and if the liquid in your pot is too low, you won’t get as accurate a reading from a clip-on. A thermometer touching the bottom of the pan will also tend to give you an inaccurate reading. A second opinion always helps!
OK, let's get started. Gather the following ingredients:
4 cups (907g) half & half
2 cups (624g) light corn syrup (16 fluid ounces, 1 pint jar)
4 cups (794g) granulated sugar
2 cups (425g) light brown sugar
32 tablespoons (454g) unsalted butter, cold
2 teaspoons salt
2 tablespoons + 2 teaspoons (35g) vanilla extract (to add at the end)
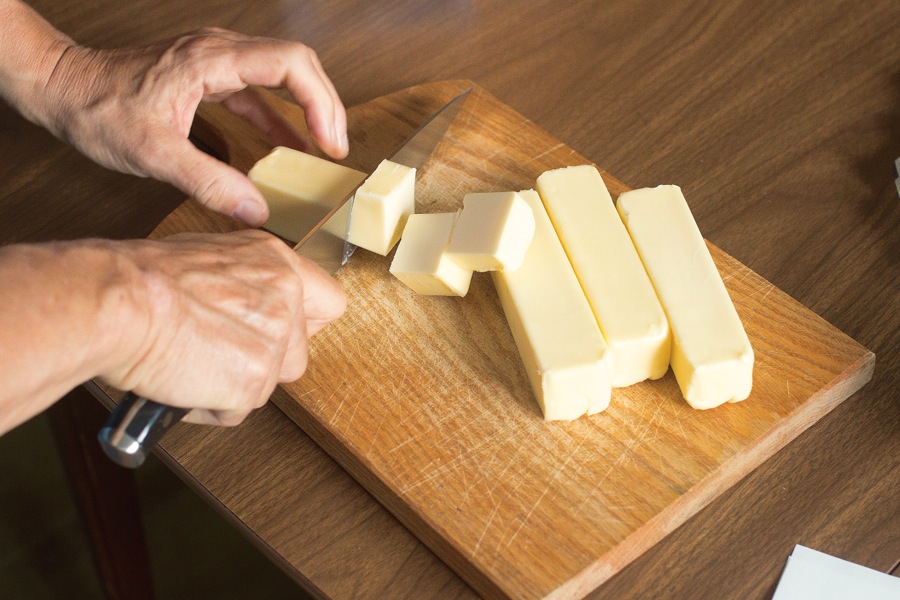
Chop the butter into smaller chunks, so that it'll melt more quickly.
Combine the half & half, corn syrup, granulated sugar, brown sugar, butter, and salt in a large, heavy-bottom, tall-sided saucepan.
Heat over medium-low heat until all the ingredients are melted, stirring constantly. Clamp a candy thermometer onto the side of the pan. Heat slowly, stirring constantly, until the thermometer reads 248°F.
The heating process should be slow, and the stirring constant. I know 2 hours sounds like a long time to be chained to the stove, but in the midst of holiday craziness, this time can become a gift.
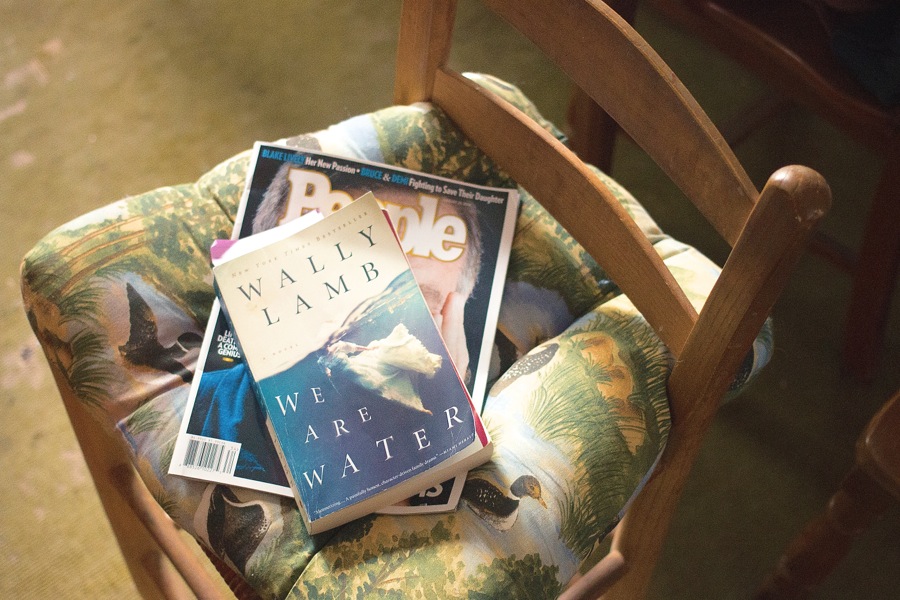
Pull up a stool. Grab that book or magazine you’ve been longing to read!
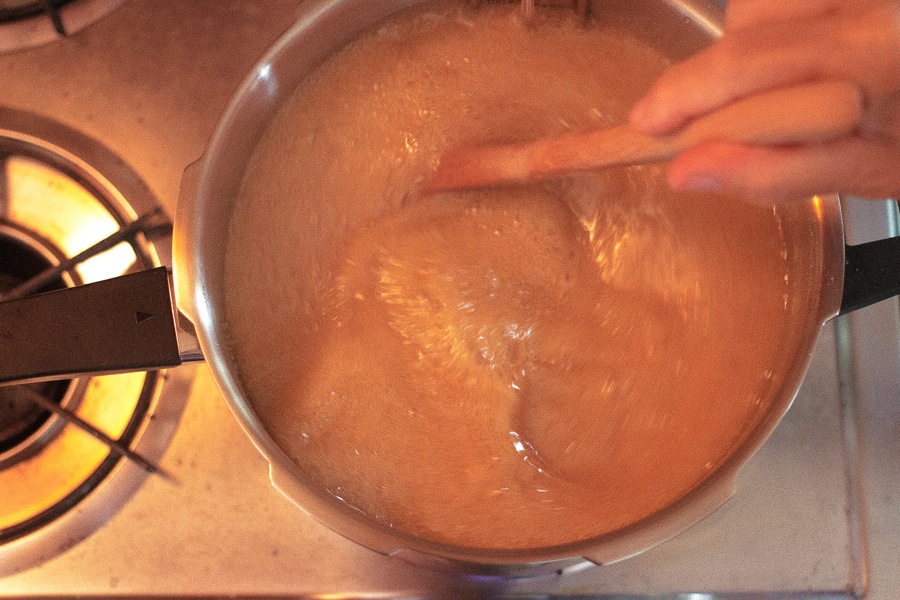
The first time the liquid boils it will be thin and frothy and threaten to boil over the top of your pan if you aren't careful. This is often a sign that you have the heat a little too high and should boil more slowly.

As the mixture continues to boil it will become thicker and thicker and the frothy bubbles will give way to a more blurpy bubble that resembles thick lava.
This happens gradually, but you'll notice it around 230°F and higher. This is when my mom said you really have to pay attention and watch the temperature carefully, as it tends to move more quickly from 230°F up.
This is also when you can start thinking about testing the candy, if you want to check the old-fashioned way to see how it's progressing.

At 230°F the candy should form a coarse “thread” when dropped into cold water.
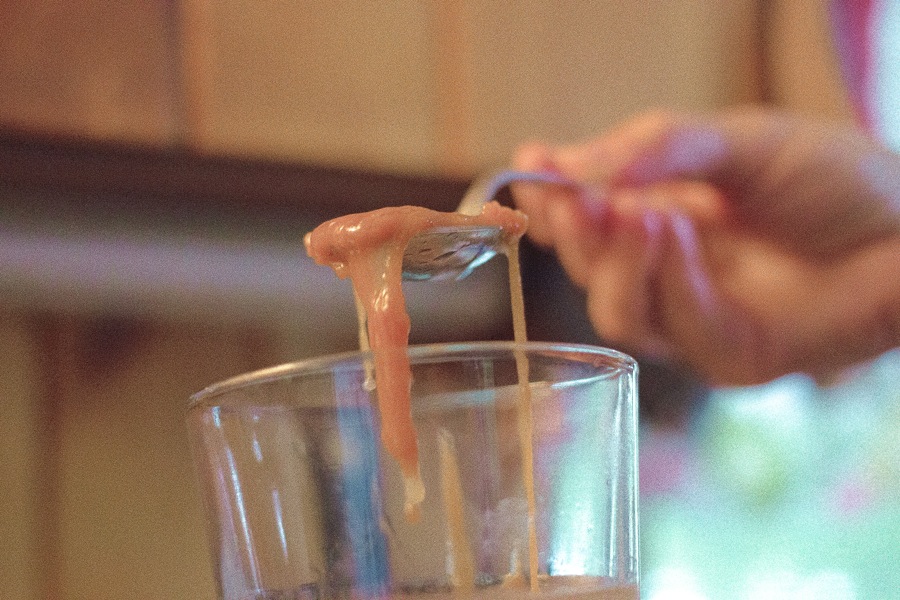
At 234°F you'll begin to see a “soft ball” when the candy is dropped into cold water. This means it comes together, but flattens out.
At 244°F to 248°F, the candy holds its shape in a “firm ball” when dropped into cold water.

At 248°F, the ball will hold its shape, and will also become stringy as soon as it hits the water. The candy makes a plunk, plunk sound when tapped against the side of the glass. This is a firm ball that is just shy of the hard ball stage, which starts at 250°F. The finished candy will be quite firm, but not brittle.
My mom taught me how to make these caramels when I was in middle school and I've made them at least 50 times since then. I always aim for 248°F, but sometimes I end up a little shy or a little over. If you go too far, the candy will be brittle and harder to cut; my mother called those the filling-pullers, and would joke that the dentists in the area should give us kickbacks. If you go shy of this mark, the candy will be soft at room temperature and stickier to deal with when you cut it.
It's a tricky little window, but don't despair. The candy will still be good in either direction, as long as you don’t stray too far. It's more about how difficult it is to cut than about the taste or quality of the caramels. If you desire a softer caramel you could aim for 246°F or 247°F, but for best results I recommend shooting for 248°F.
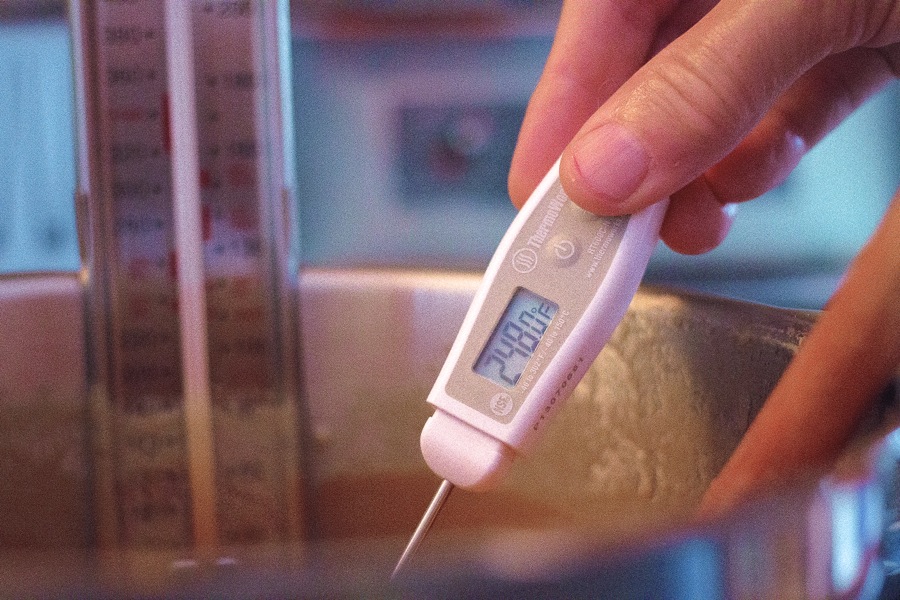
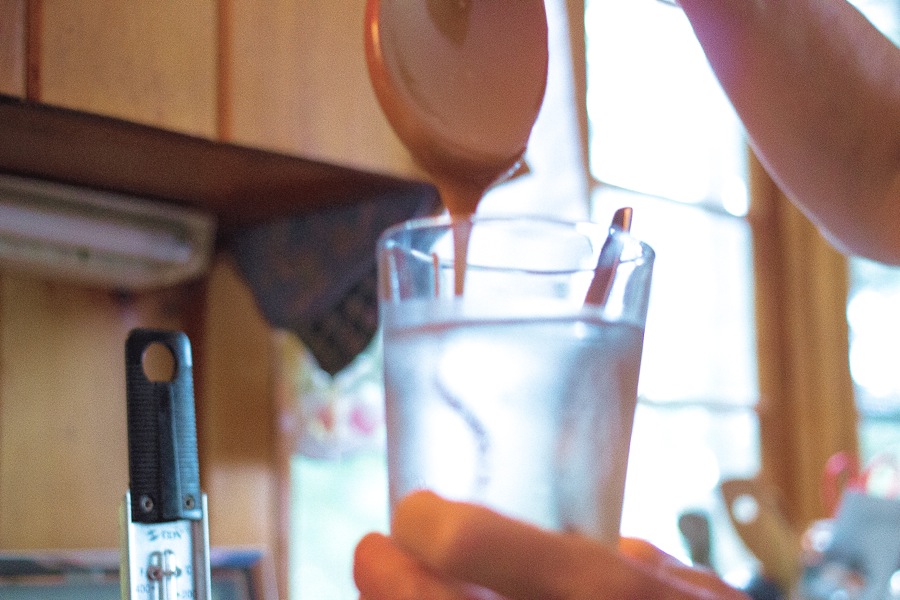
Once you reach the magical 248°F, hover there for a moment and double-check your reading with your digital thermometer.

Once you've verified the candy has reached its desired temperature of 248°F, remove it from the heat and stir in the vanilla extract. The caramel mixture will sizzle and crackle and react quite excitedly.
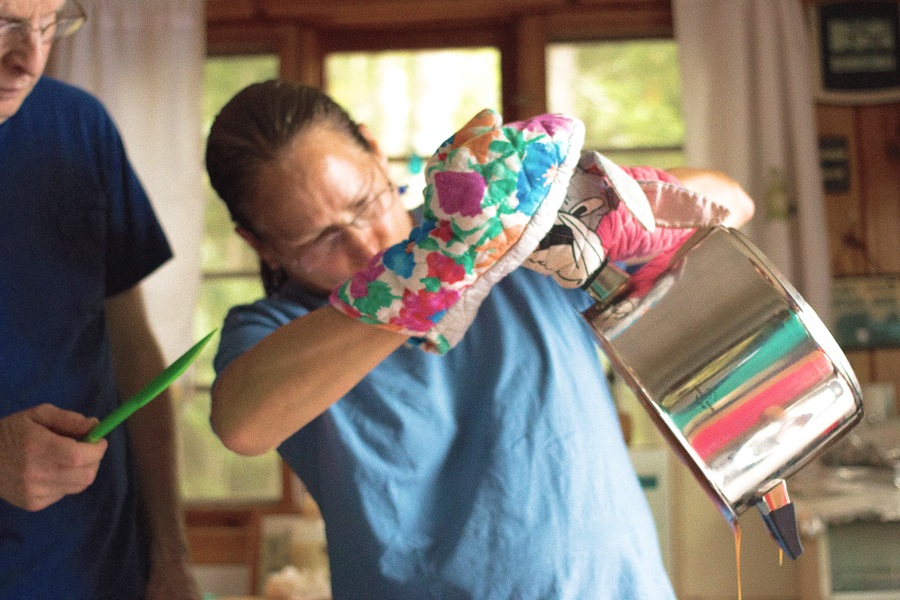
Once the vanilla is thoroughly mixed in, you're ready to pour the caramels into the prepared pans. Be careful to suit yourself up with two oven mitts, and have a helper if possible. There is nothing quite so painful as hot caramel stuck to your skin!
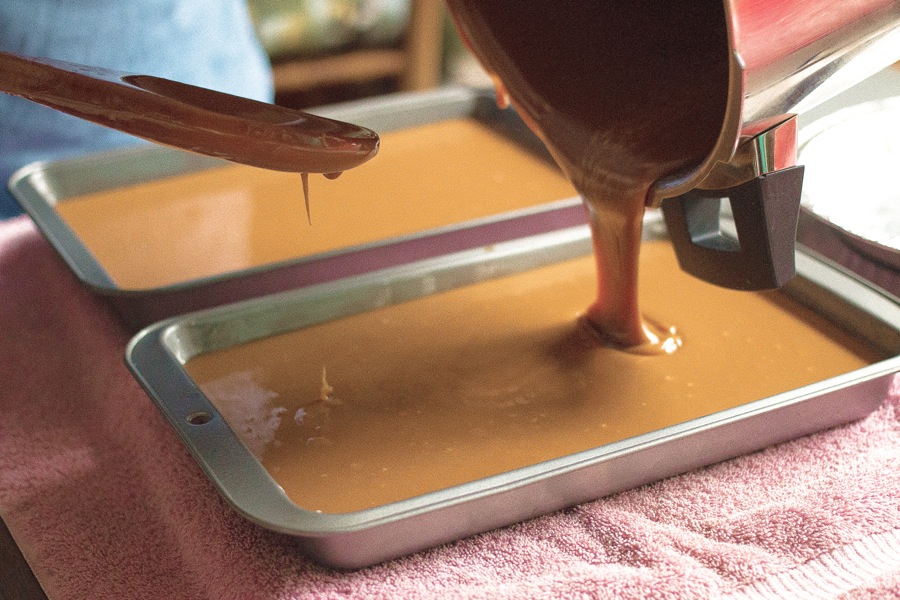
Scrape the caramel that doesn't pour readily from the pan into a buttered “scrap” pan. This is for sampling.
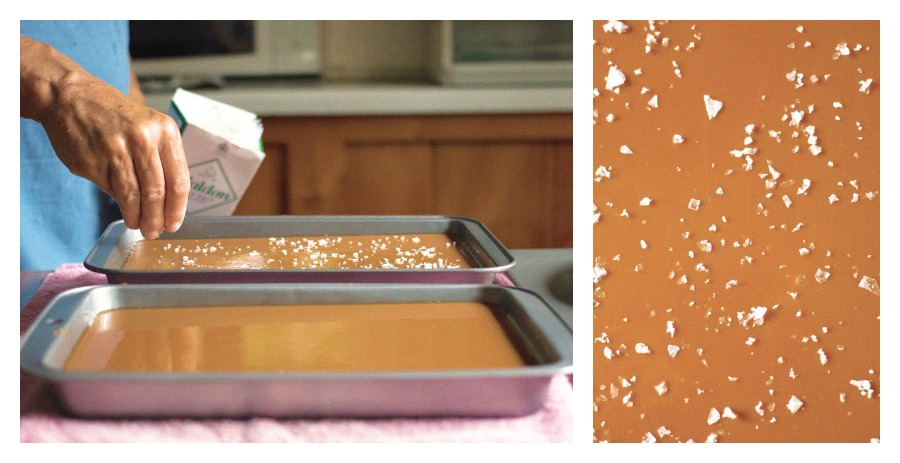
After 30 minutes, dust the candy with salt flakes, if desired. You need to wait for this step so that the salt doesn’t completely melt into the candy.
Allow the caramels to cool at room temperature, then cover them tightly. Technically caramels don't need to be refrigerated; but for ease of cutting and longest shelf life I always refrigerate. You'll get a bit of sweating when you take them in and out of the refrigerator, but that's OK.
I like to place a layer of waxed paper, and then a layer of foil over the caramels before refrigerating. It’s important to protect them from moisture and odors during cold storage.
When you're ready to cut the caramels, remove them from the fridge and loosen the edges with a butter knife or offset spatula. Invert the pan over a cutting board, and bang it forcefully. If the candy feels very hard, you should allow it to warm up for 30 minutes before attempting this step, as it may shatter on impact.
Once you've removed the slab of candy from the pan, it can be stored in the refrigerator and removed when needed for cutting. Again, wrapping the slab in waxed paper and then enclosing in a plastic bag will add extra protection. Most caramels will need a little time at room temperature in order to cut more easily.
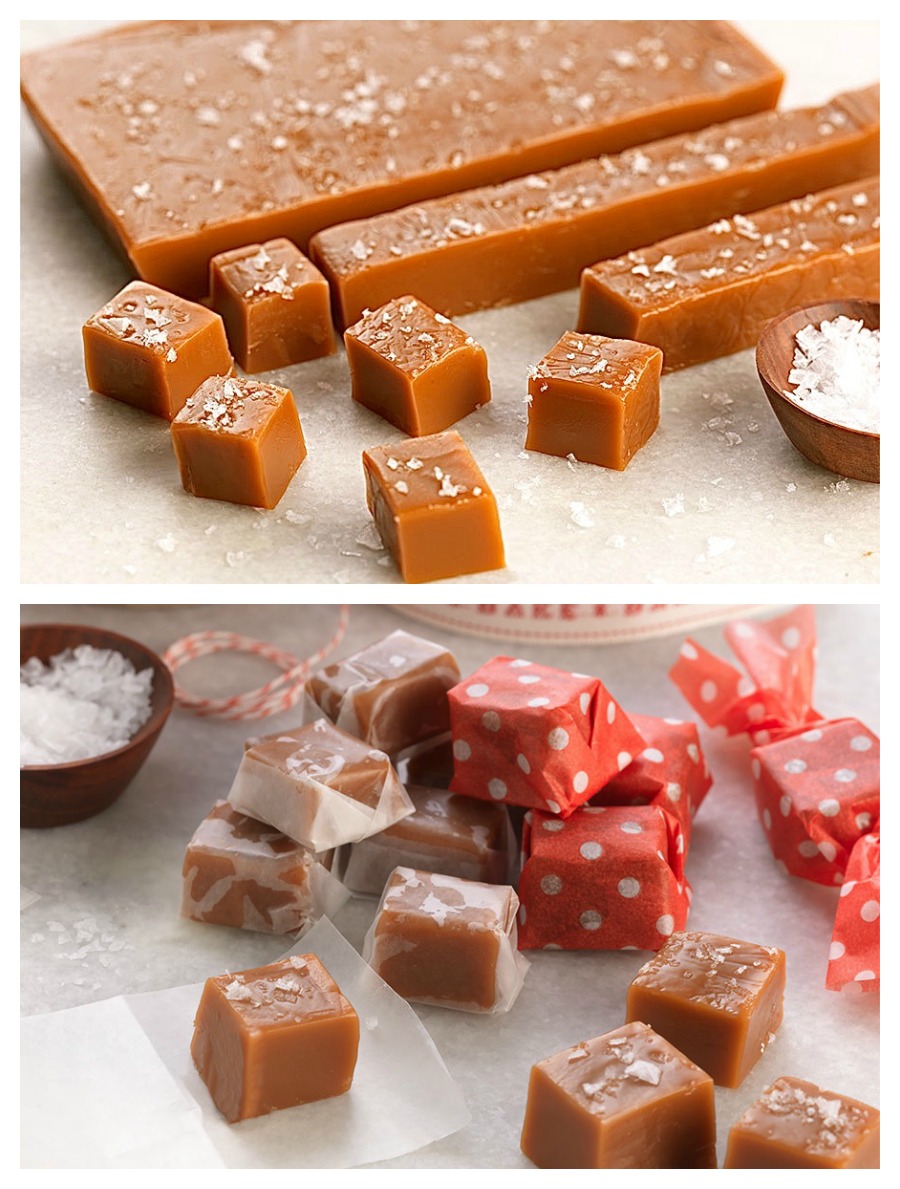
Cut in squares and wrap in waxed paper or parchment paper. Wrapped caramels can also be frozen.
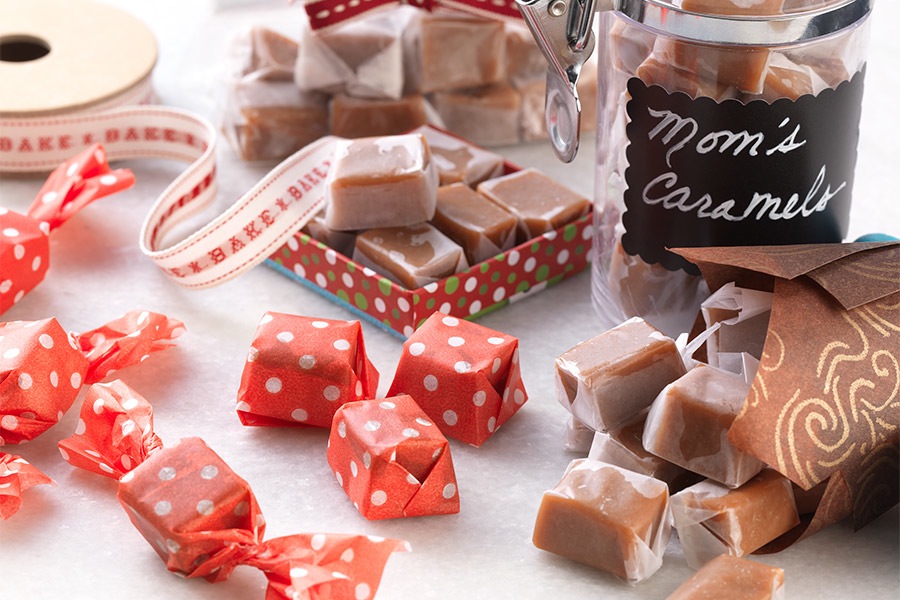
My mom always said a little goes a long way with caramels, so I love to look for tiny boxes and containers for gift giving. My favorites are holiday coffee mugs or other reusable containers.
My mother used to gather us around the stove when she was making caramels and read Little Women out loud while she stirred. Next to her garden, a good book was one of my mom’s favorite places, so it's not surprising that a book was always by her side when it came time to stir. And I imagine her mother read the same book to her and her sister while stirring fondant all those years ago.
When I think about my mom and why she enjoyed this long process, I realize that I love it for the same reasons she did. It was a way for her to feel connected to her mother (whom she admired above all others). It was a way of giving that was simpler, and harkened back to her farm days. She loved sweets. And she hated shopping more than anything, so it was a way of celebrating the holidays that kept her away from the mall, peacefully at home.
Sometimes I save up long-distance calls to friends and family for caramel-making day. I miss the days when I could call and chat with my mom while I stirred. She died this past February after a long battle with Alzheimer’s. Making caramels always makes me feel close to her.
I see Mom bending over the stove with Little Women propped up in front of her. I hear her whisper in my ear to watch the temperature carefully after it reaches 230°F. I feel a gentle tap on my hand when I'm wrapping caramels and consume a few too many. “Watch the profits,” she would tell my brothers and sister and I, as we helped her wrap candy at the kitchen table.
In the end, I think this is why these family traditions and recipes become so important to us. They're not only part of the framework of our past – they're inextricably entwined with the ones we love.
Please read, rate, and review our recipe for Mom's Caramels.