


There are people who bake cakes — for the occasional birthday, office party, or just because it’s so fast and easy to go from “I NEED some chocolate” to chocolate Cake Pan Cake.
And then there are Cake Bakers — with their complete arsenal of multi-sized pans, cake strips, offset spatulas, piping bags, and the all-important revolving cake stand, without which no self-respecting cake decorator would consider finishing their perfectly baked confection.
You know which camp you fall into, right? If you’re a Cake Baker, feel free to skim this post just for the satisfaction of thinking to yourself, “Yeah, yeah, I know all that; it’s SO basic.”
But if you bake cakes without the complete buy-in of a dedicated Cake Baker — then read on.
Learn how to do a crumb coat, one of the first steps you take on your evolution from “Sure, I can slap frosting on a cake” to “Every cake I bake is a reflection of my brilliant inner artist.”
I bake cakes — but I’m not a Cake Baker. So until very recently, I’d never done a crumb coat, which is basically your layer cake’s underwear: a thin coat of frosting applied prior to the thicker layer of “real” frosting. “Too fussy,” I thought. “Too time-consuming. How much difference can it really make?”
As it turns out — a lot. Applying a crumb coat means your finished cake will never reveal its inner issues: the crumbly side, dimpled top, or that thumbprint you inadvertently made with your oven glove. A crumb coat smooths over every imperfection — literally — leaving a pristine surface upon which you can swirl, pipe, and style your remaining frosting.
And the best thing of all, for casual cake bakers like me? It’s easy. And fast. Though the cake needs a couple of quick chills in the fridge to set its frosting, these short rests are the perfect opportunity to get out your sprinkles, consider your spatula strategy, and maybe check Instagram.
Let’s see how to do a crumb coat on one of our favorite cakes, Classic Birthday Cake.
First, make sure your cake layers are entirely cool. Frosting a warm cake is an exercise in futility akin to making iced coffee by adding ice cubes to hot coffee — yeah, you can do it, but not if you want great results.
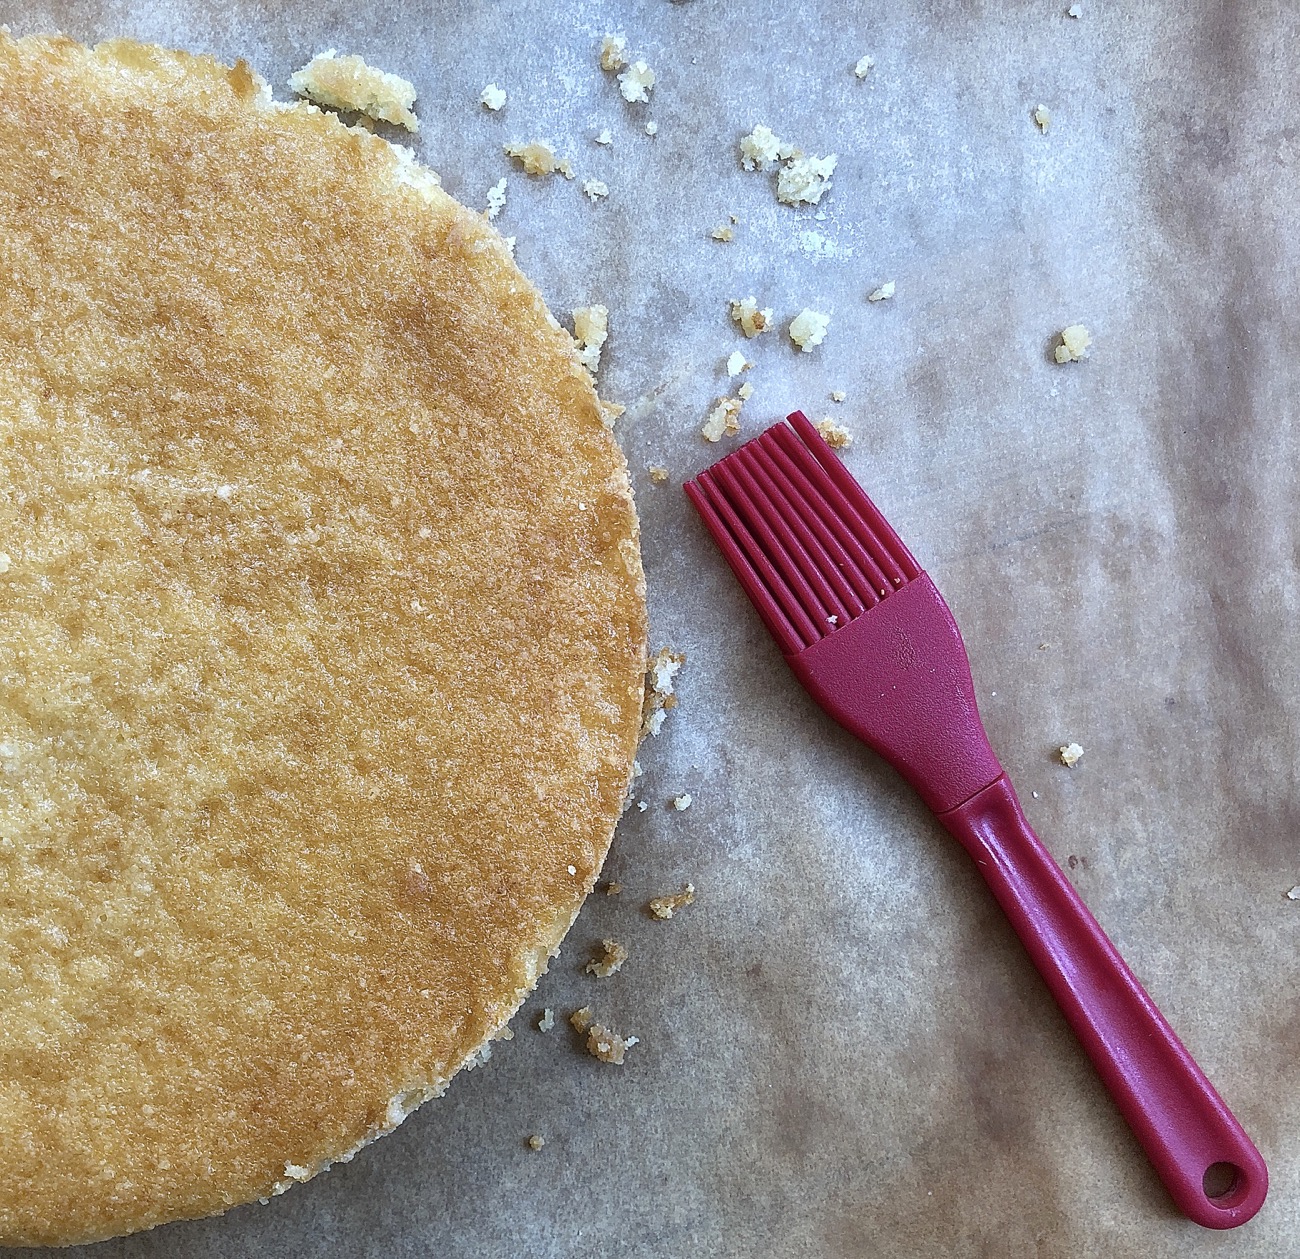
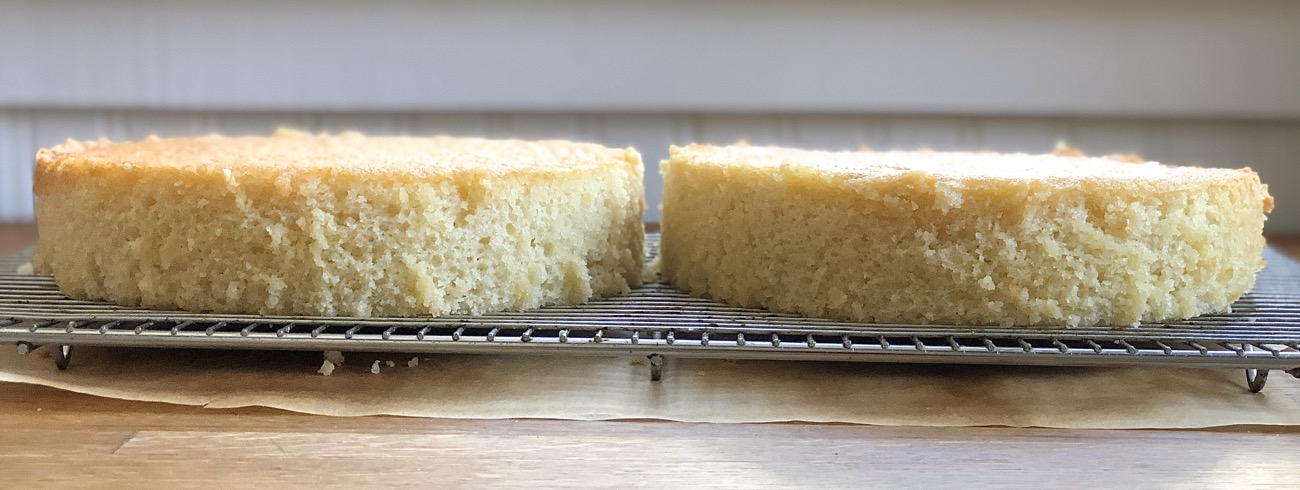
Your cake may be entirely crumb-free — or it may be fairly crumb-y, as this one is. Use a pastry brush to brush any obvious crumbs off the top and sides of each layer.
I find that when I use cake strips my layers stay wonderfully flat, but sometimes also exhibit delicate sides prone to some slight crumbling. I assume this is due to the strips insulating the sides of the pan, thus preventing the cake from developing a smooth brown crust. Honestly, though, I’d rather use the strips and risk this slight crumbiness; I enjoy not having to trim an enormous dome off the top of each of my layers, nor risk tough, overdone sides.
Start by laying three or four strips of parchment or waxed paper onto a serving plate, then setting the bottom layer of cake onto the plate. The paper will protect the serving plate from getting messed up as you frost your cake; you’ll pull the strips out once you’re done. Ta-da! Pristine plate.
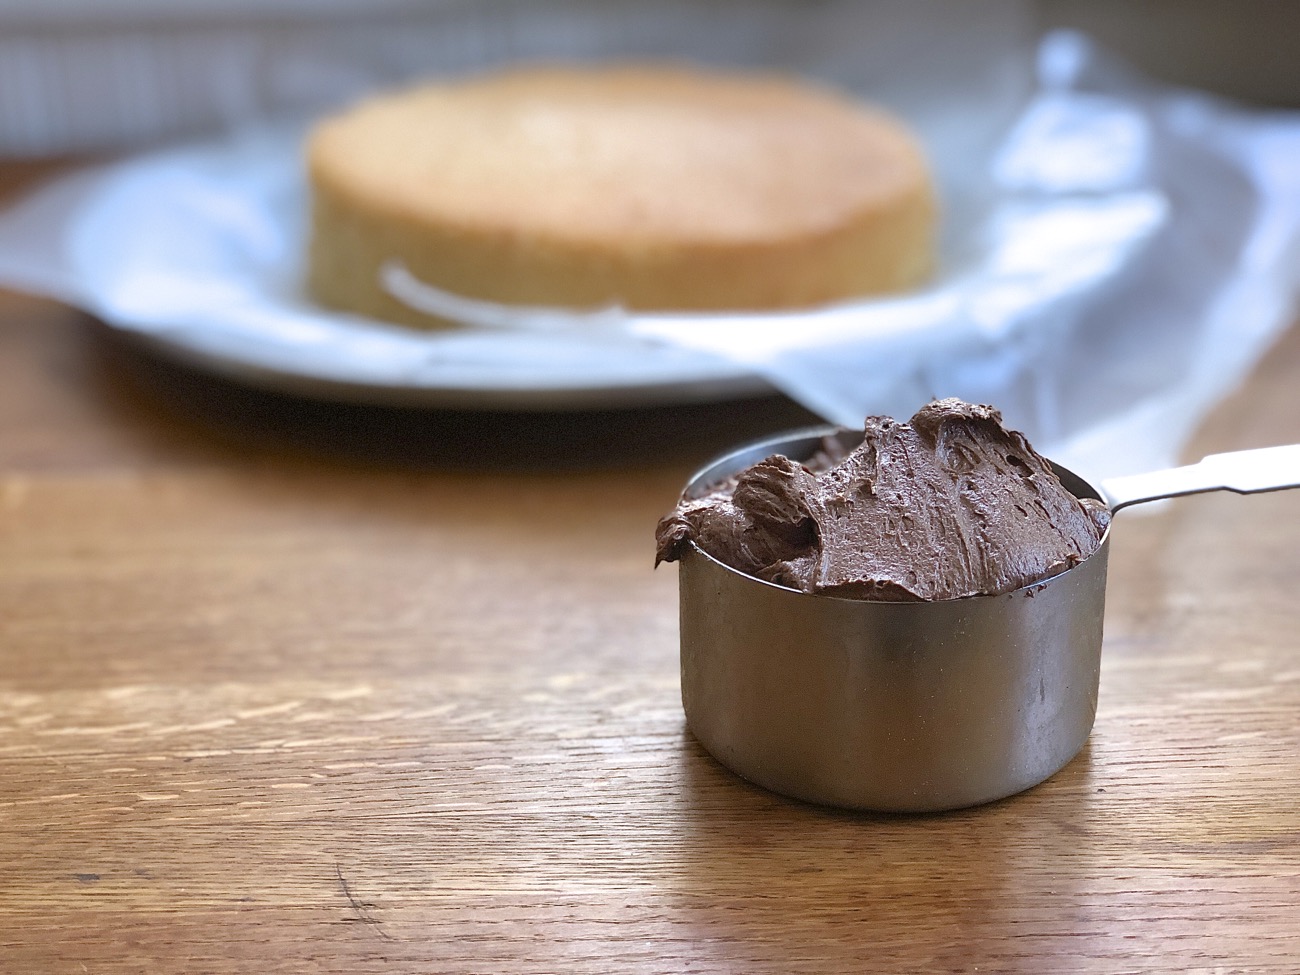
Next, add your middle layer of frosting. Our Classic Birthday Cake recipe calls for 1 cup of chocolate frosting.
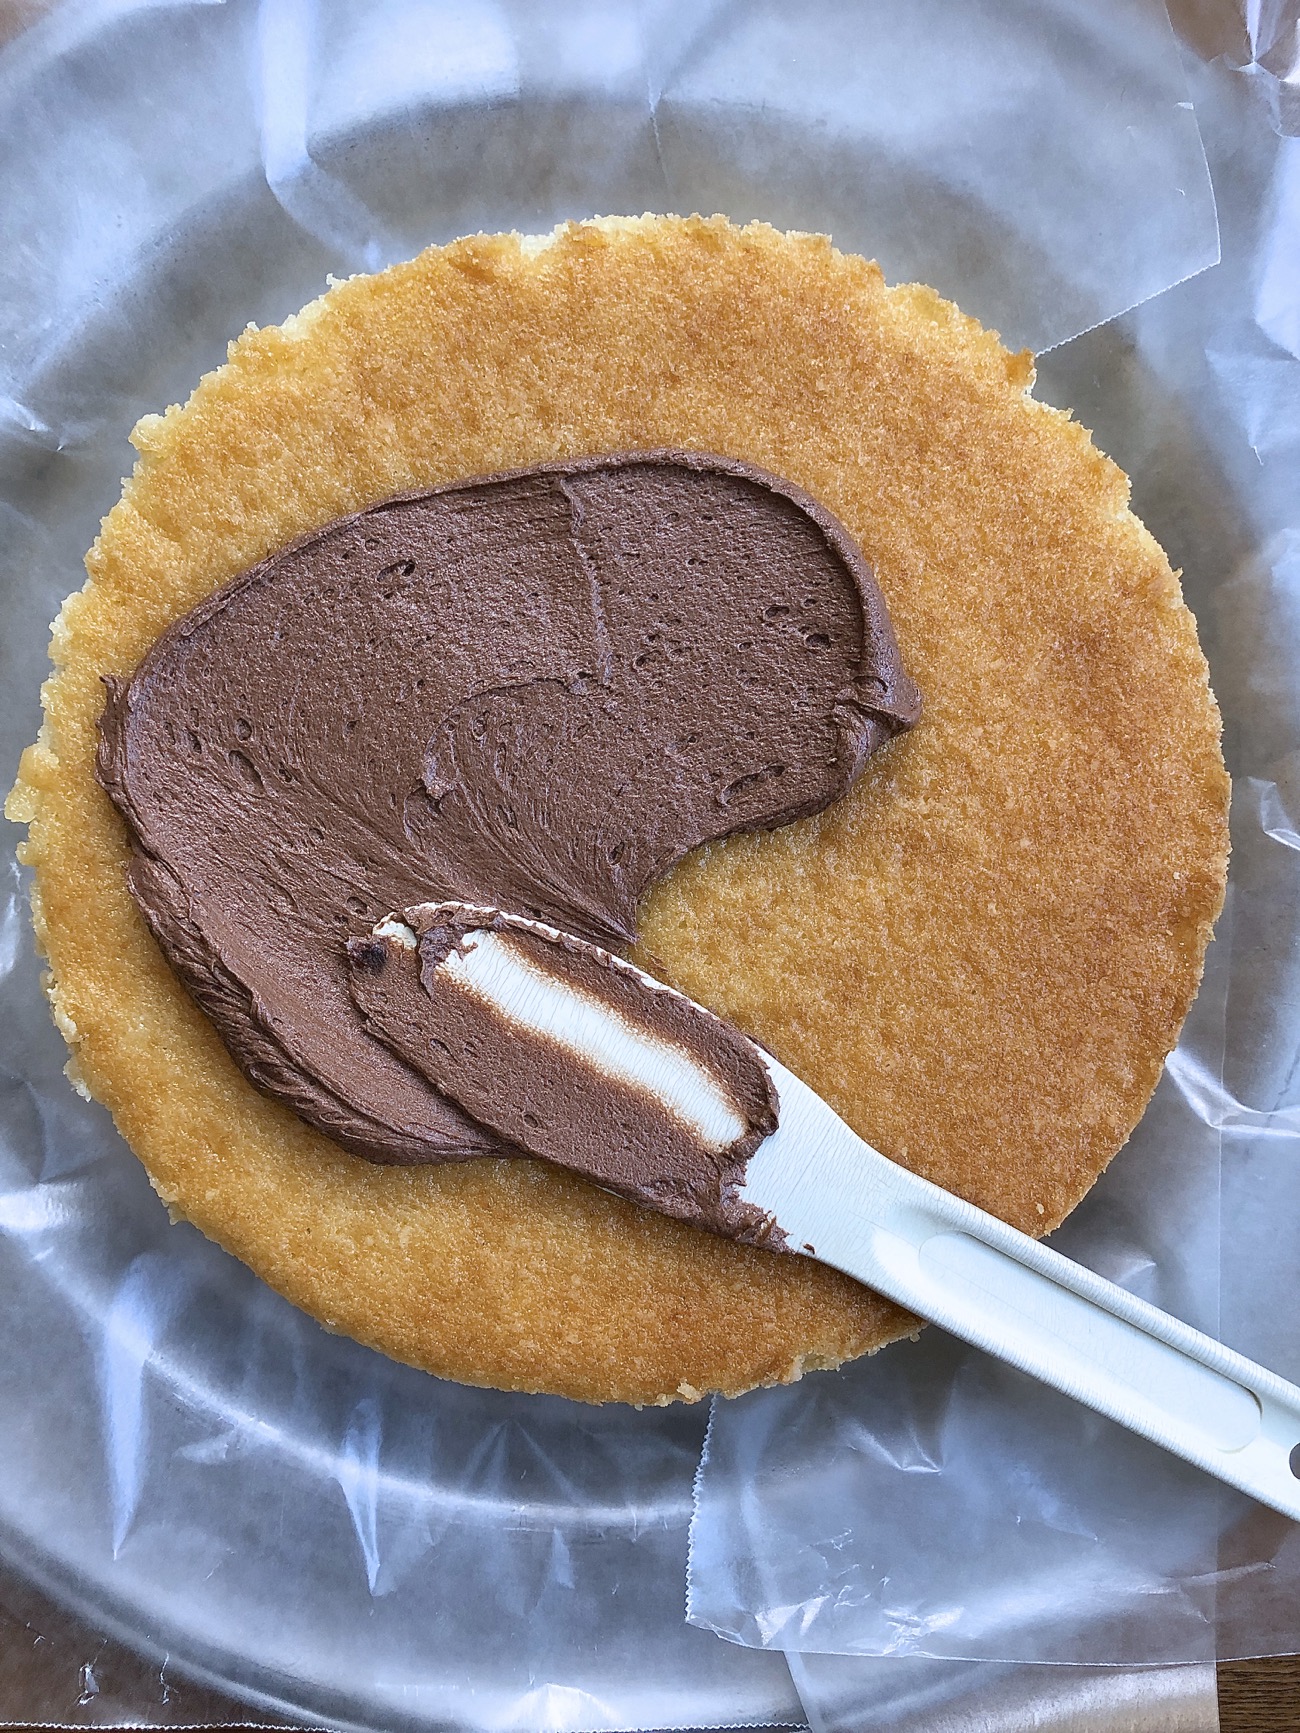
Use a metal offset spatula (if you have one), a nylon spreader, table knife, or your other favorite tool to spread the frosting atop the cake; you don’t need to worry about any crumbs, as this middle layer of frosting will obviously be hidden inside.
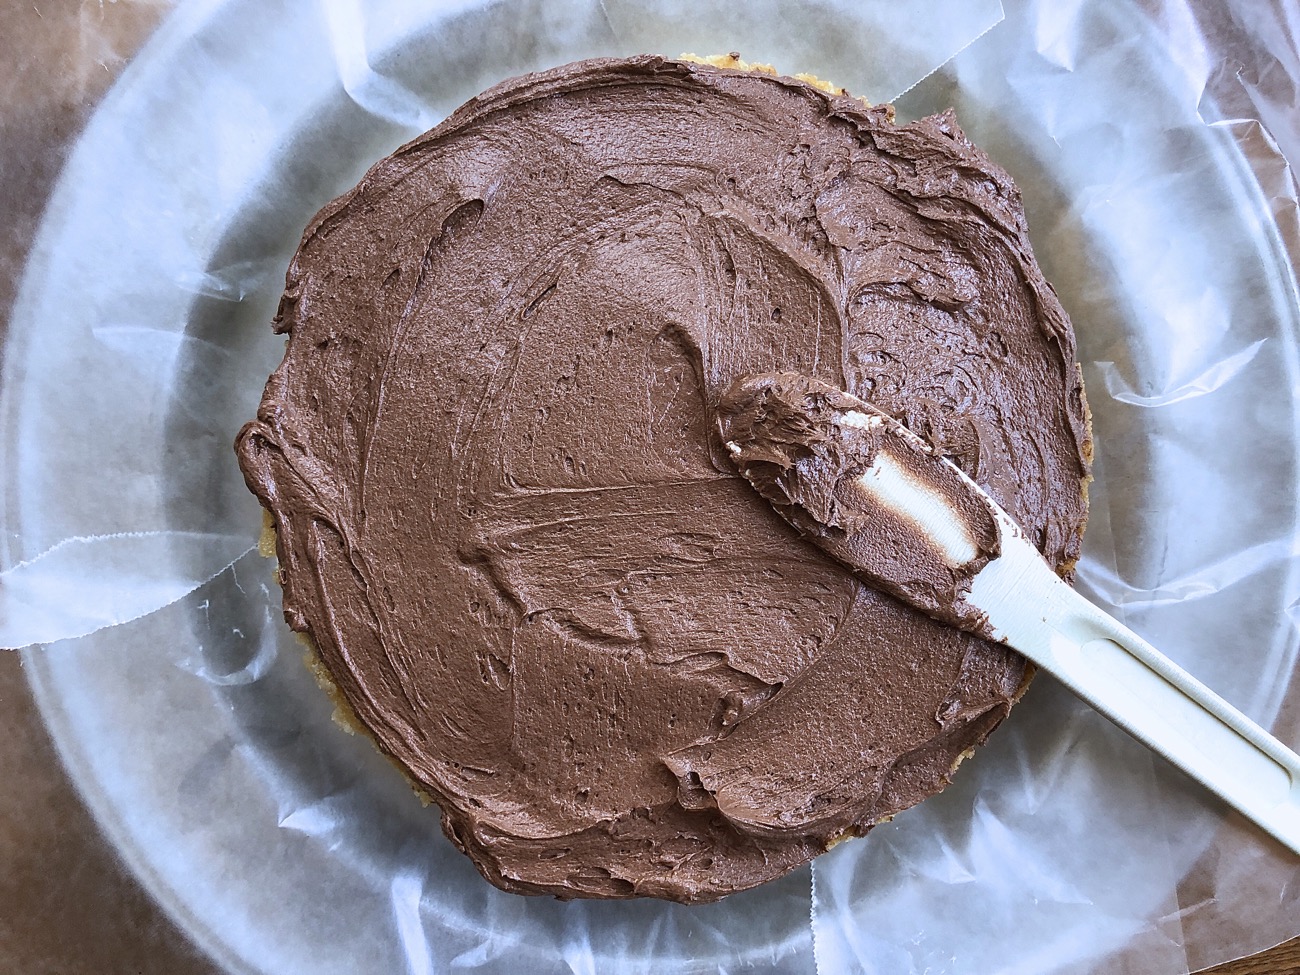
Spread frosting completely over the top surface, going beyond the edge a bit of you like; you don’t need to be careful.
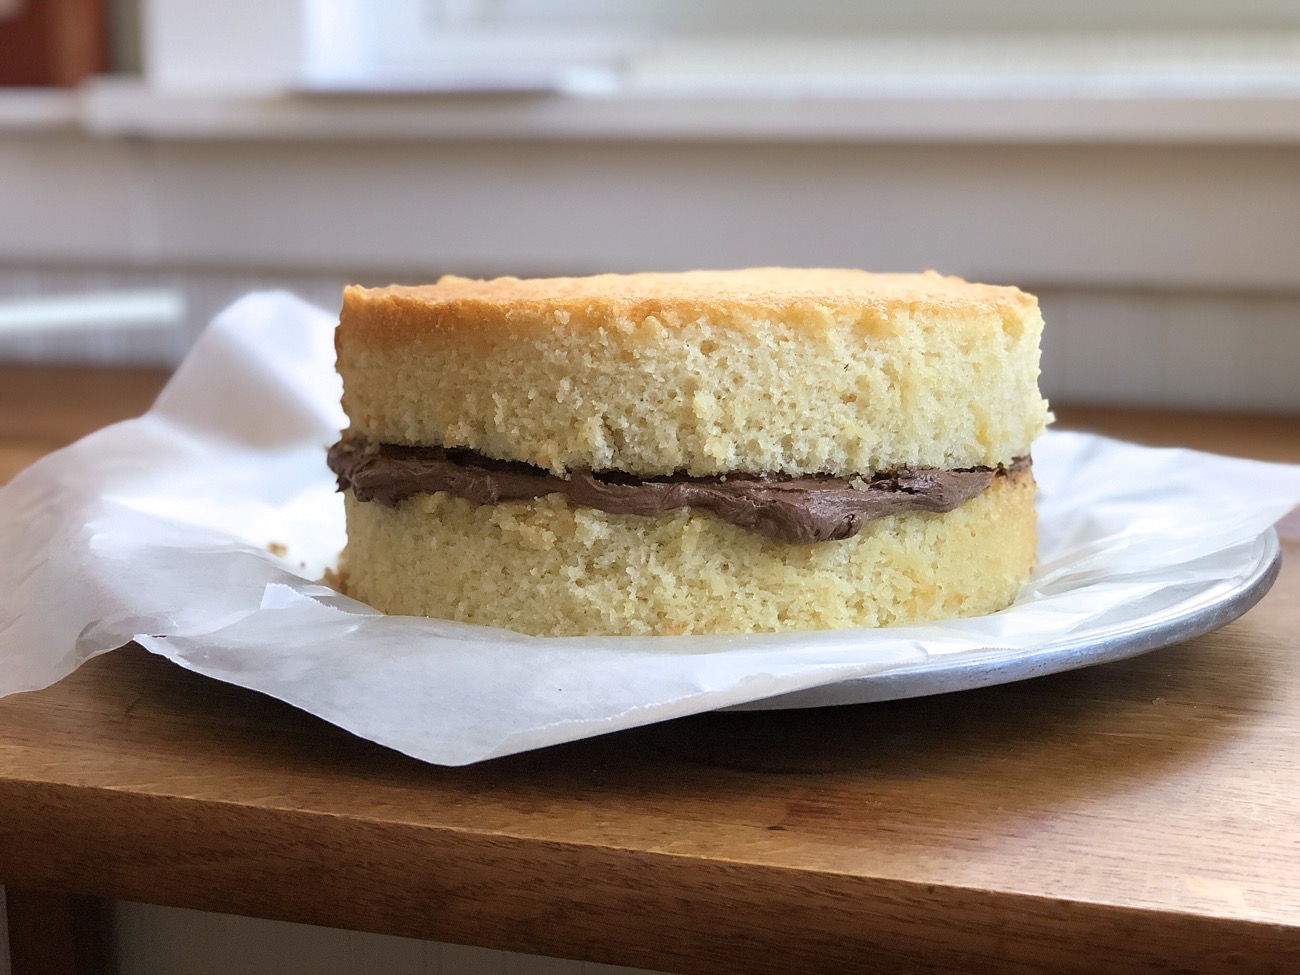
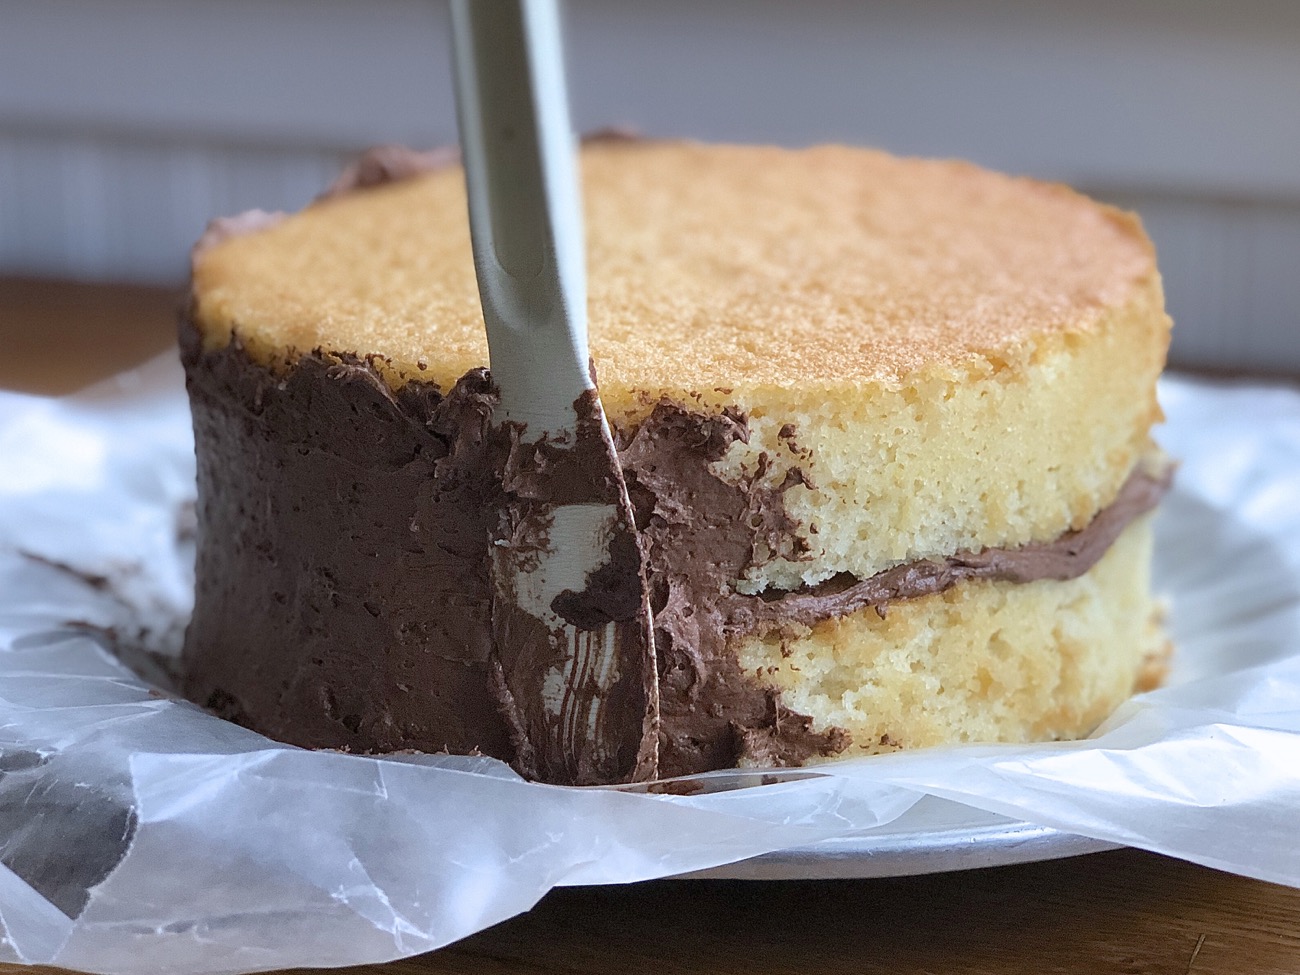
Set the second layer atop the frosted bottom layer. Run a spatula around the cake to flatten any frosting that’s bulging out.
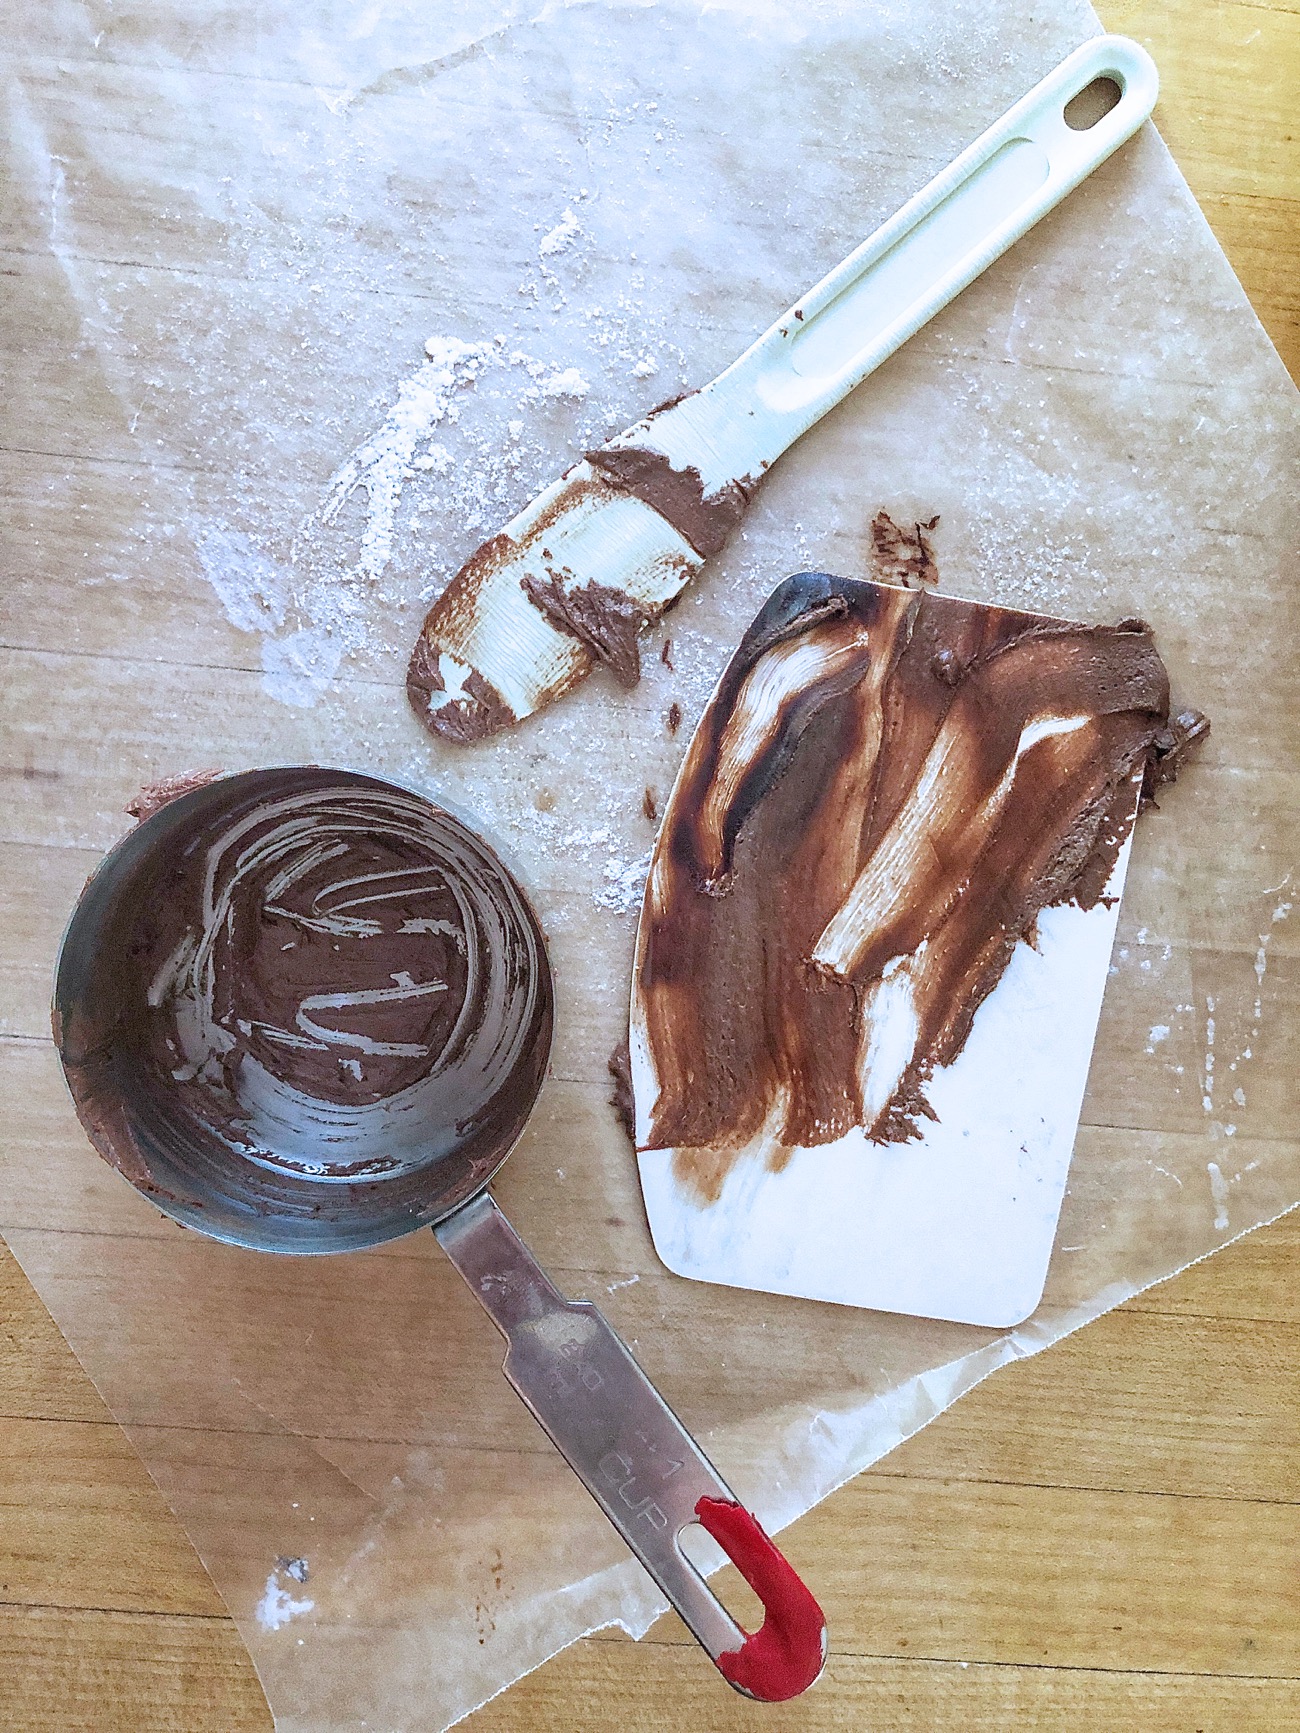
By the way, make sure you have somewhere to set your tools; I usually just put everything on a piece of waxed paper, which is easily disposed of afterward.
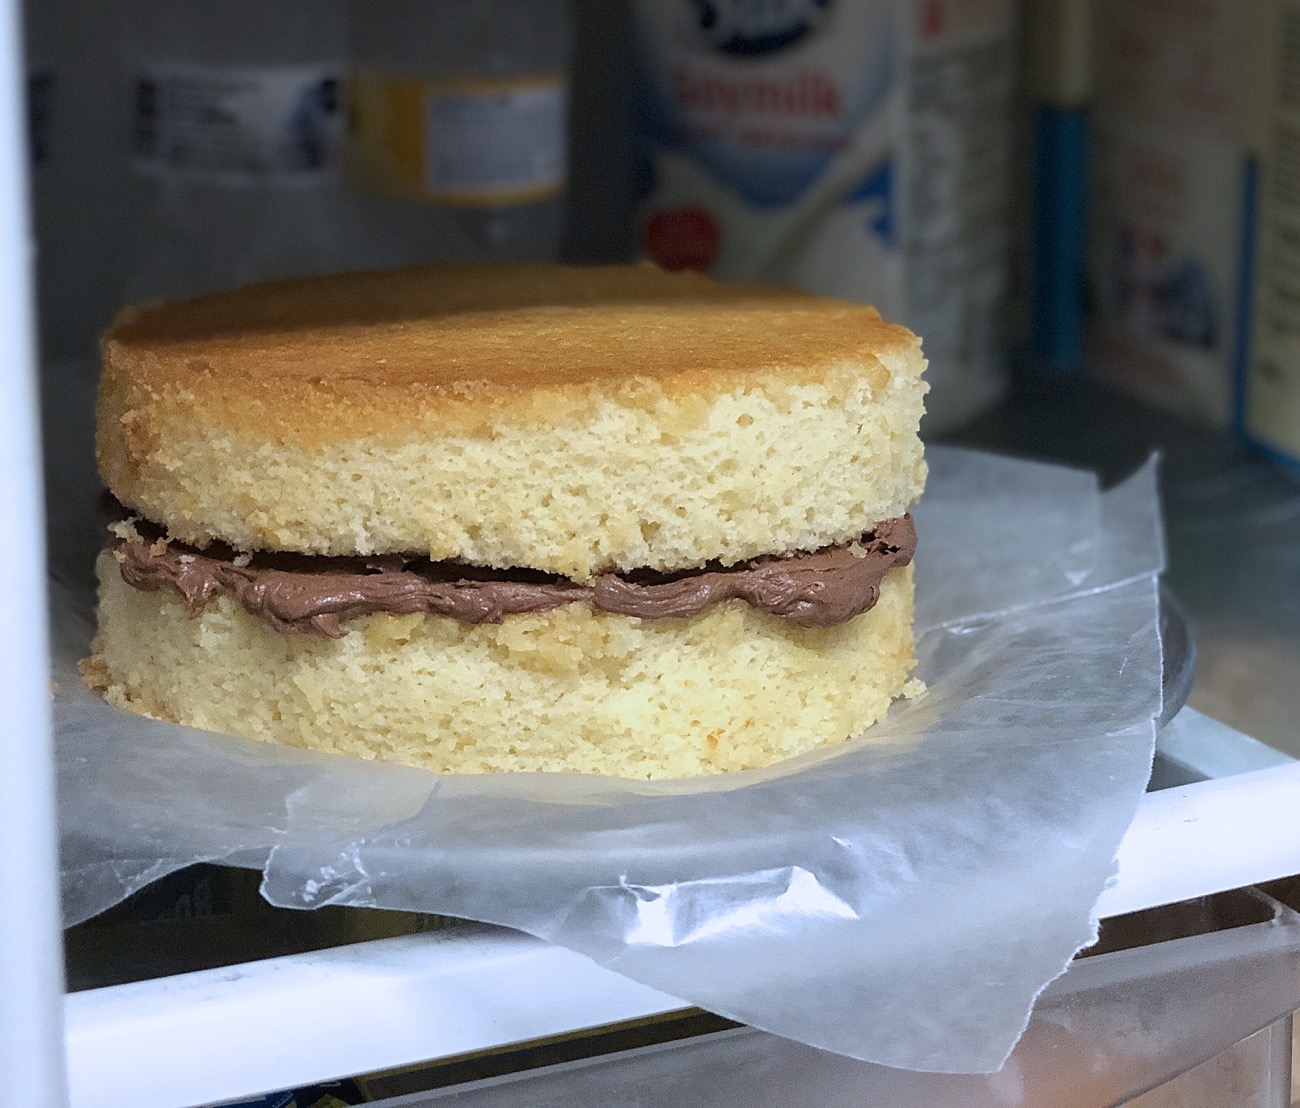
If it works with your schedule, place the cake in the refrigerator for about 30 minutes (or up to 2 hours), for the frosting to chill and harden a bit. This interim step, while not crucial, means there’s no chance of the top layer sliding around on a slick of warm frosting as you try to apply your crumb coat.
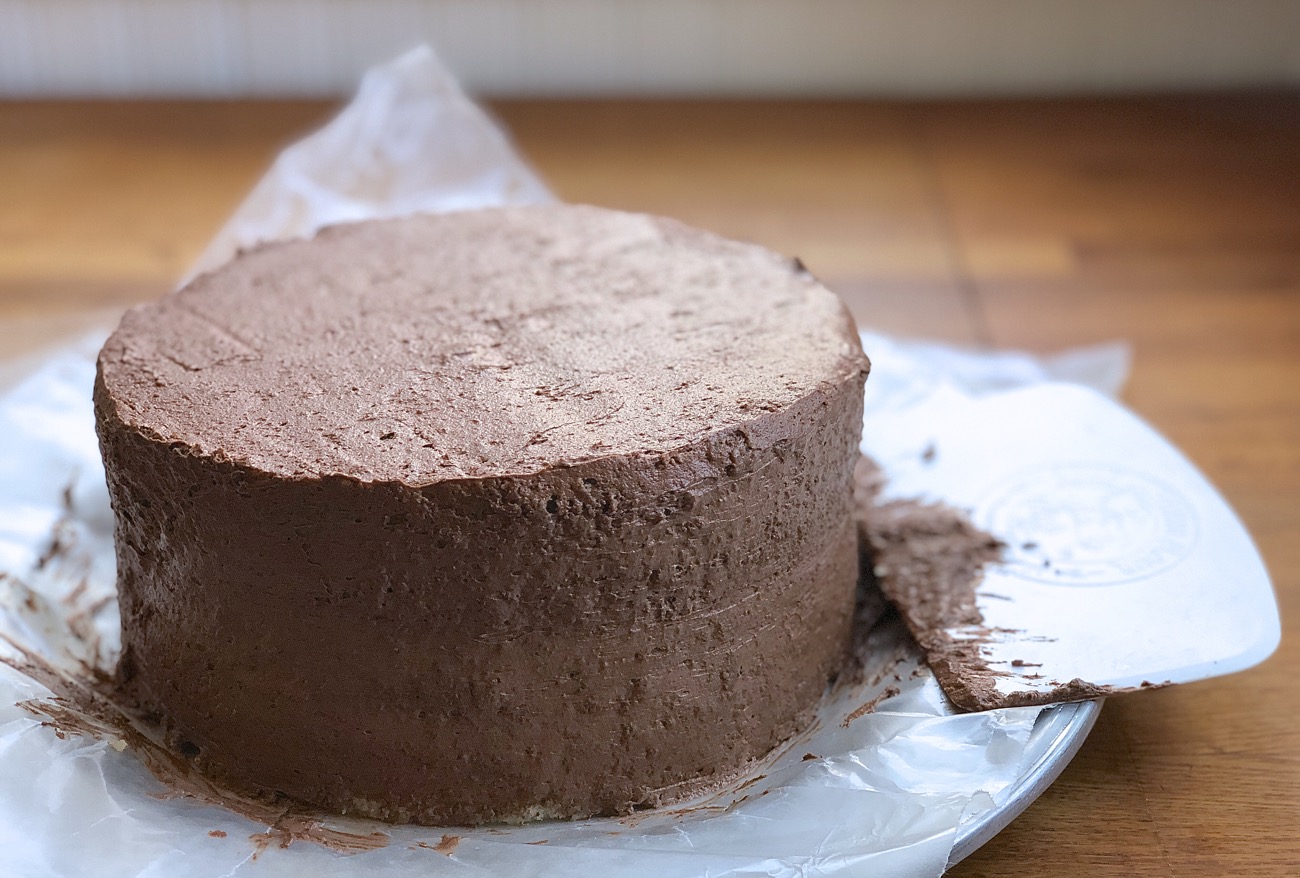
The chilled cake is now ready for its crumb coat, whose ultimate goal is to capture and trap any stray crumbs, anchoring them in place preparatory to you adding the next layer of frosting.
Start by applying a thin layer of frosting all around the sides of the cake, then across the top.
Notice I said a thin layer; you want to just barely cover the cake. Honestly, the frosting should ideally be no more than 1/8” thick. It’s fine for the cake itself to show through in places. If you do find the frosting too thick in spots, a bowl scraper is the perfect tool for smoothing and "trimming" your crumb coat.
As well, you want to fill any small divots and even out any slight depressions. While it’s not designed for this, a crumb coat can even repair some fairly major errors — e.g., the grape-sized chunk that stuck when you turned the cake out of its baking pan. However you reach it, your goal is an even, crumb-free surface.
Place your crumb coated cake in the fridge for another 20 minutes. You want the frosting to set and harden enough that you can apply frosting to it easily, without any drag or sticking. Hint: If you touch the crumb coat with the tip of your finger and your finger comes away clean, it's good to go.
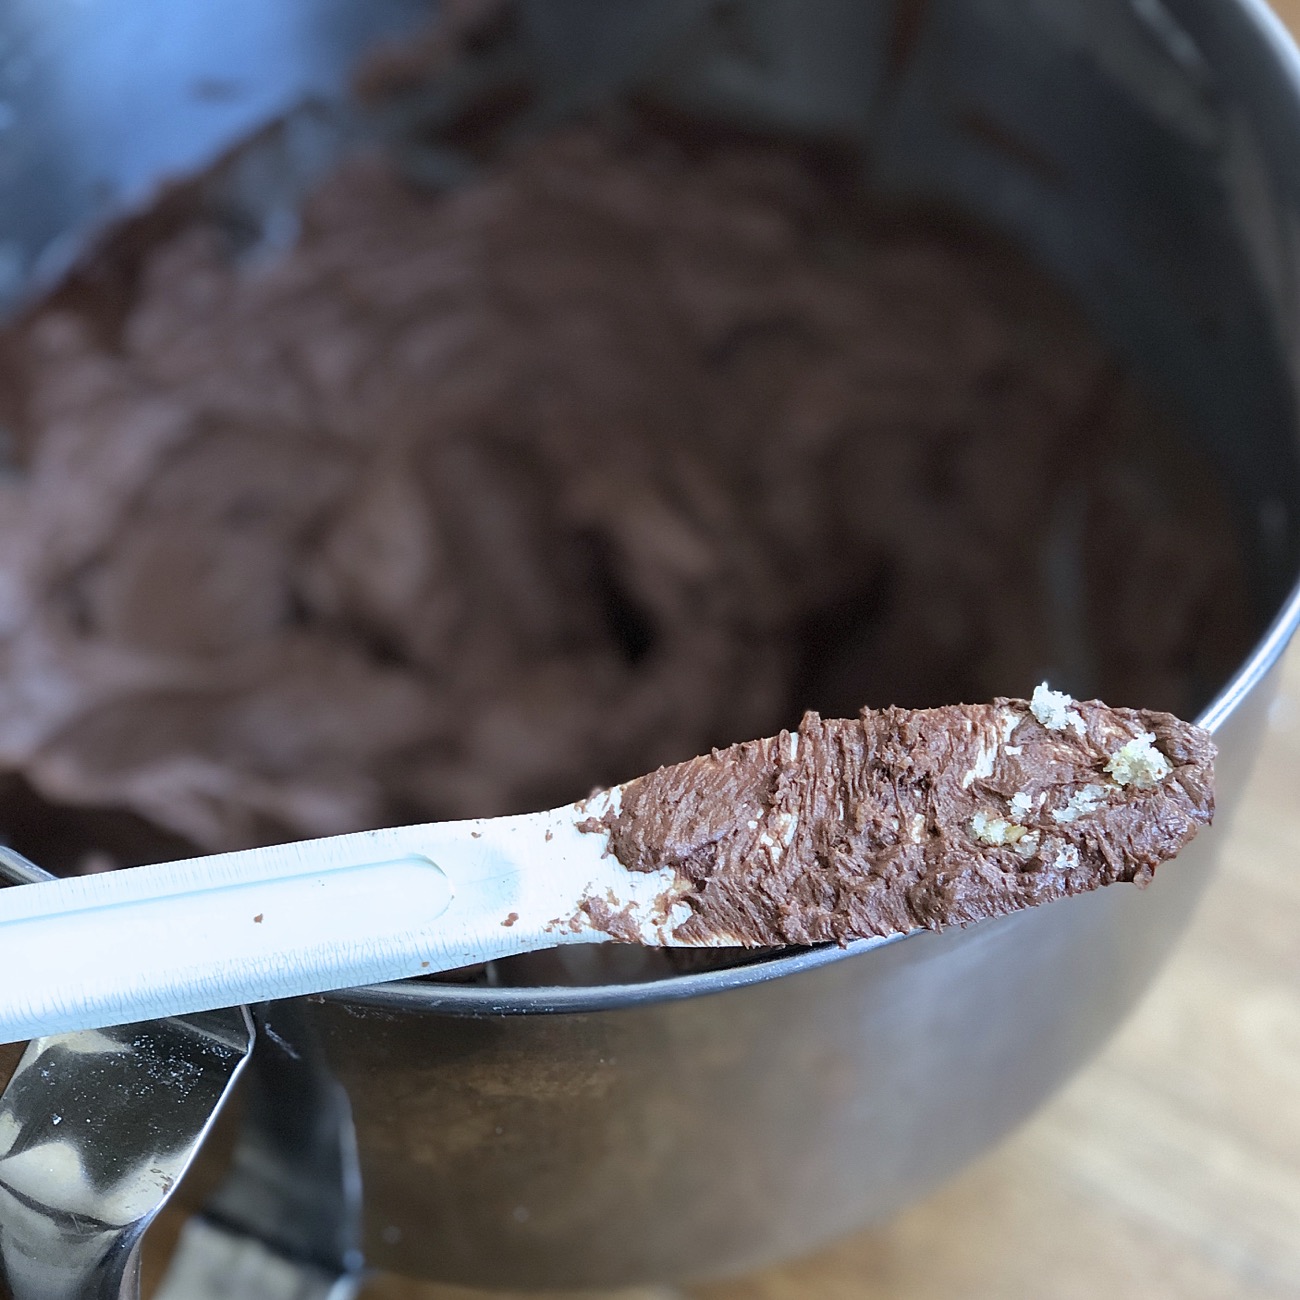
Oh, here’s a hint: tempting though it may be, don’t scrape your spatula of crumb-y leftover frosting back into the big bowl of frosting. All you’ll do is add crumbs to your crumb-free frosting — thereby negating the work of your crumb coat.
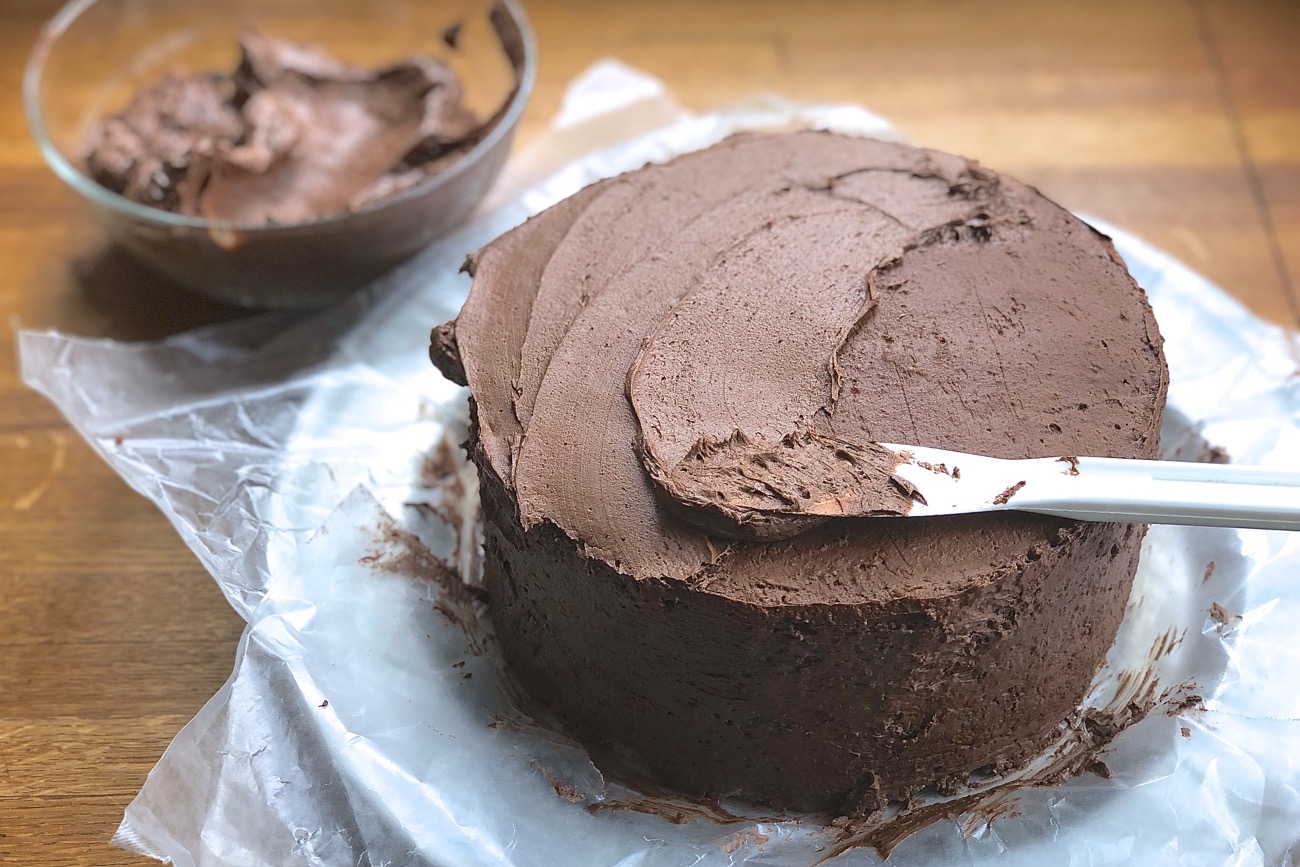
Now comes the creative part — applying your final beautiful layer of frosting. I like to spread frosting all over the cake rather haphazardly first, then if I feel creative, craft it into a “look.
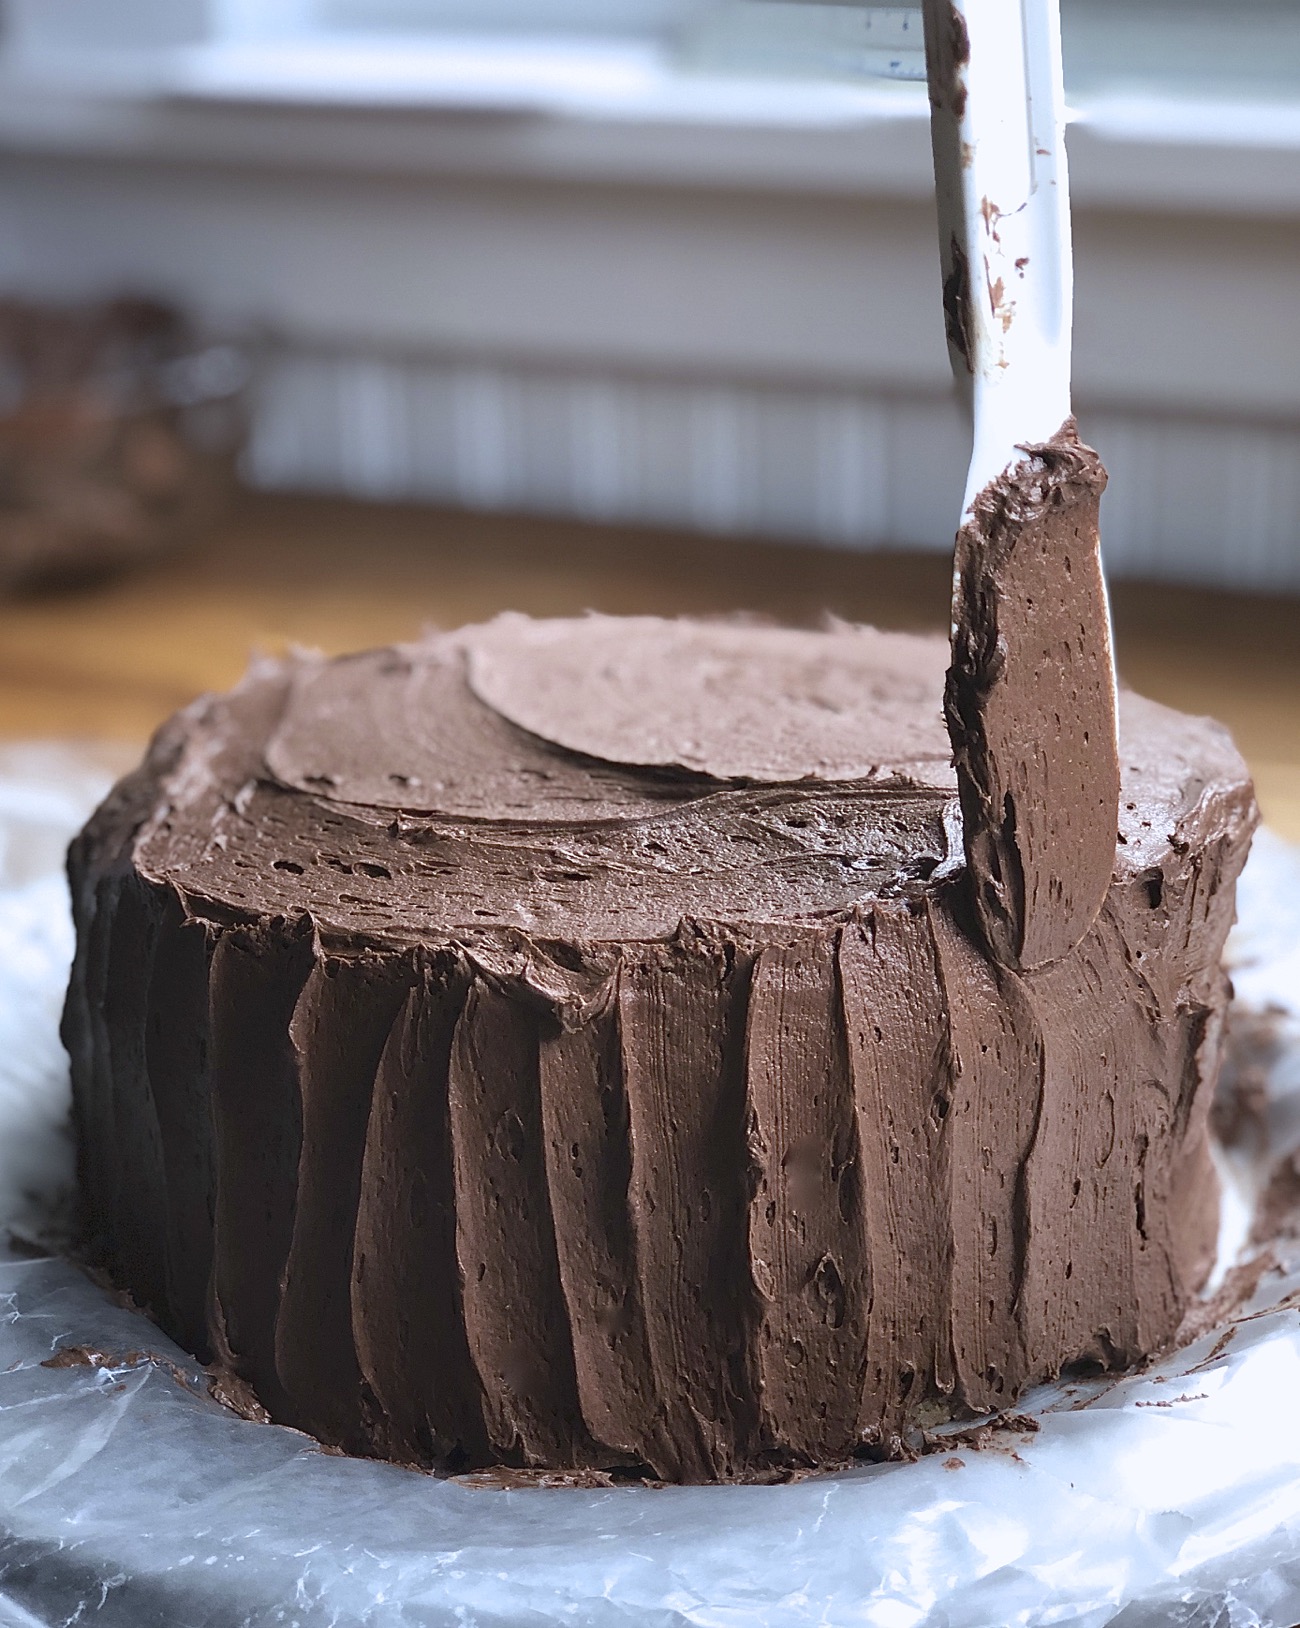
Like these vertical scallops, simply made with my trusty nylon spatula.
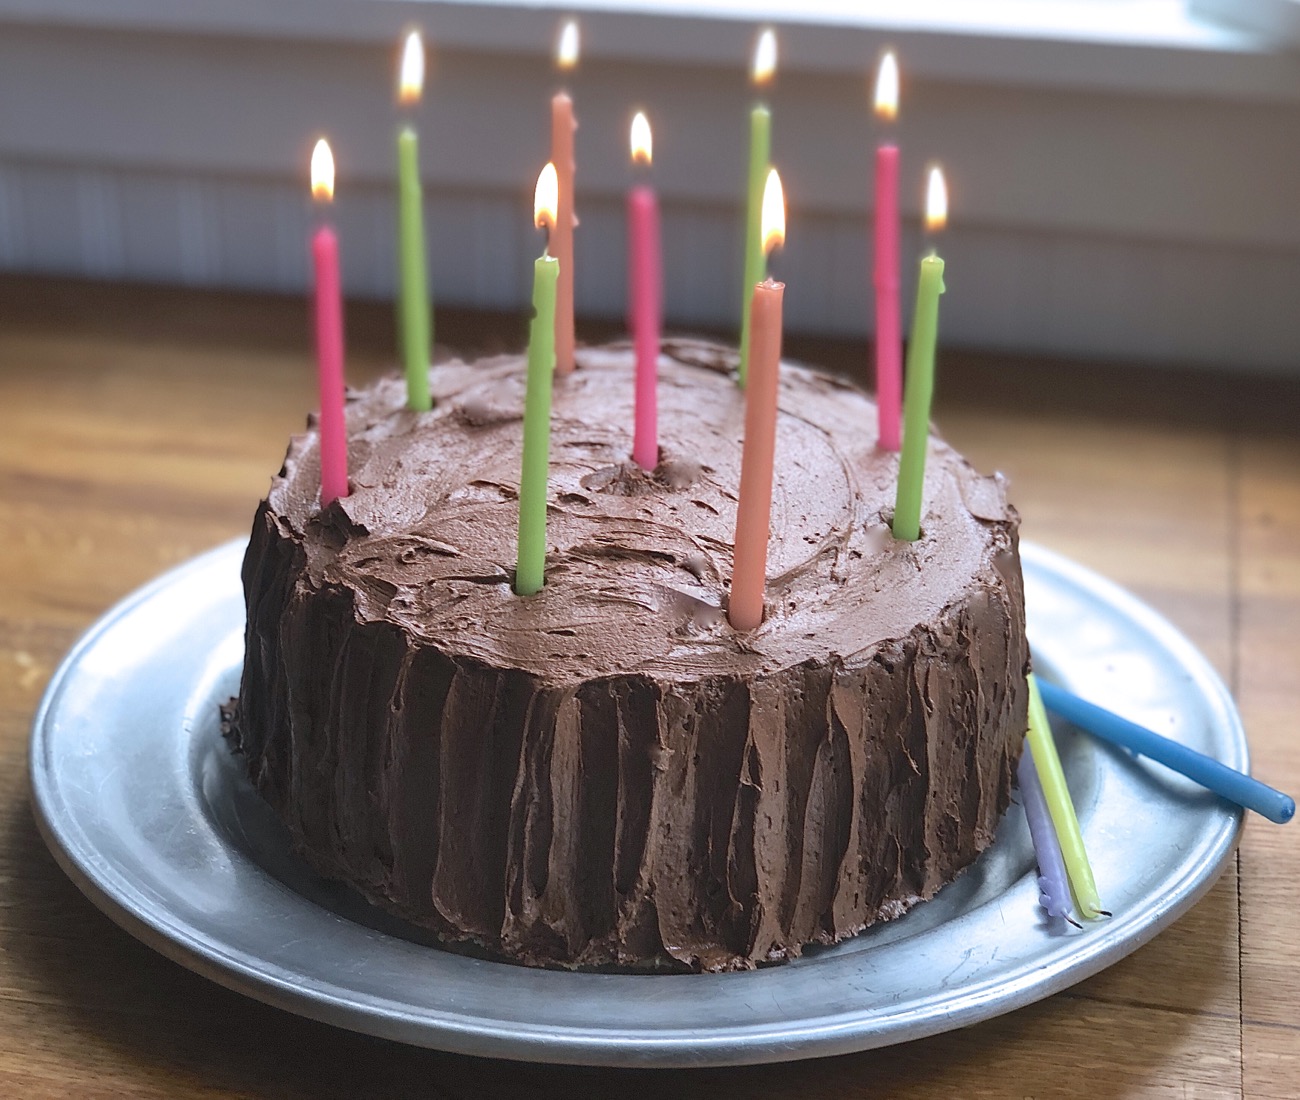
I definitely could have been more imaginative with the top. But hey, add some tall candles, and that’s not a bad-looking cake for someone who’ll never reach the esteemed rank of Cake Baker!
Now that you know how to crumb coat a cake, you're ready to get into some fancier frosting techniques. See our Cake Styling Guide for six simple yet impressive ways to frost a cake.
