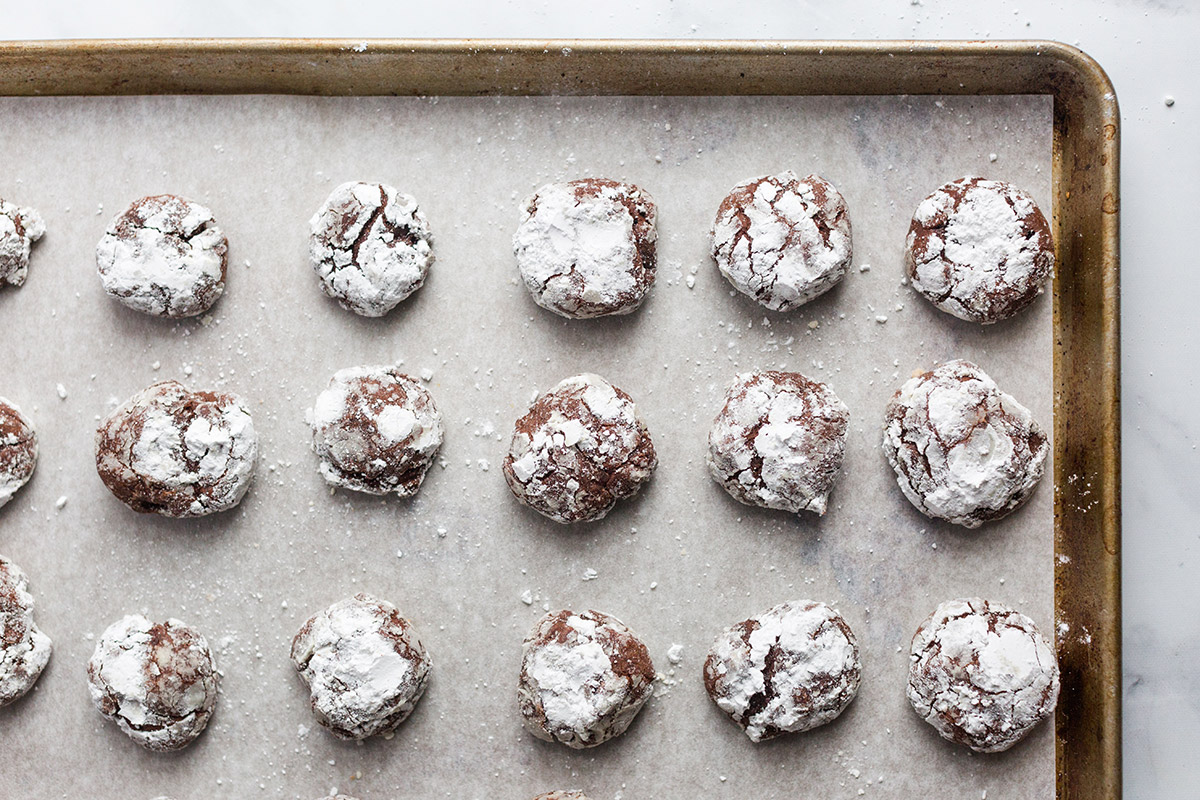
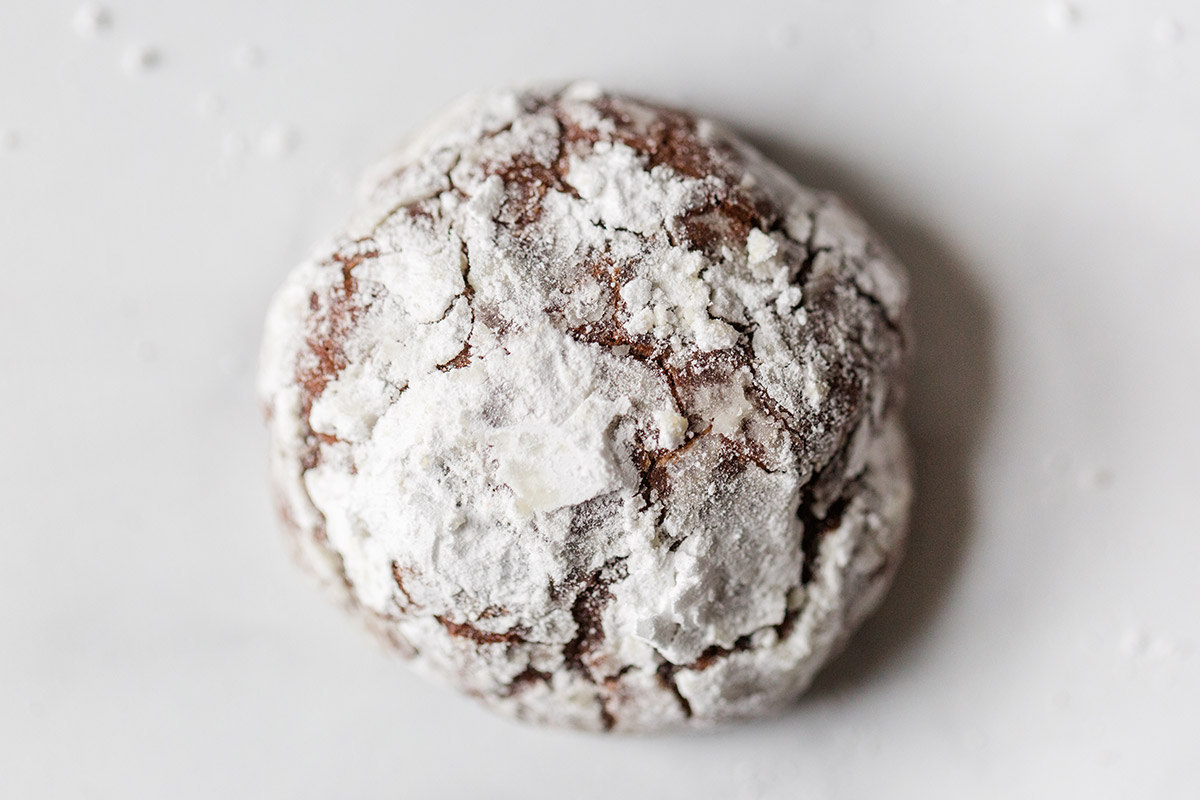
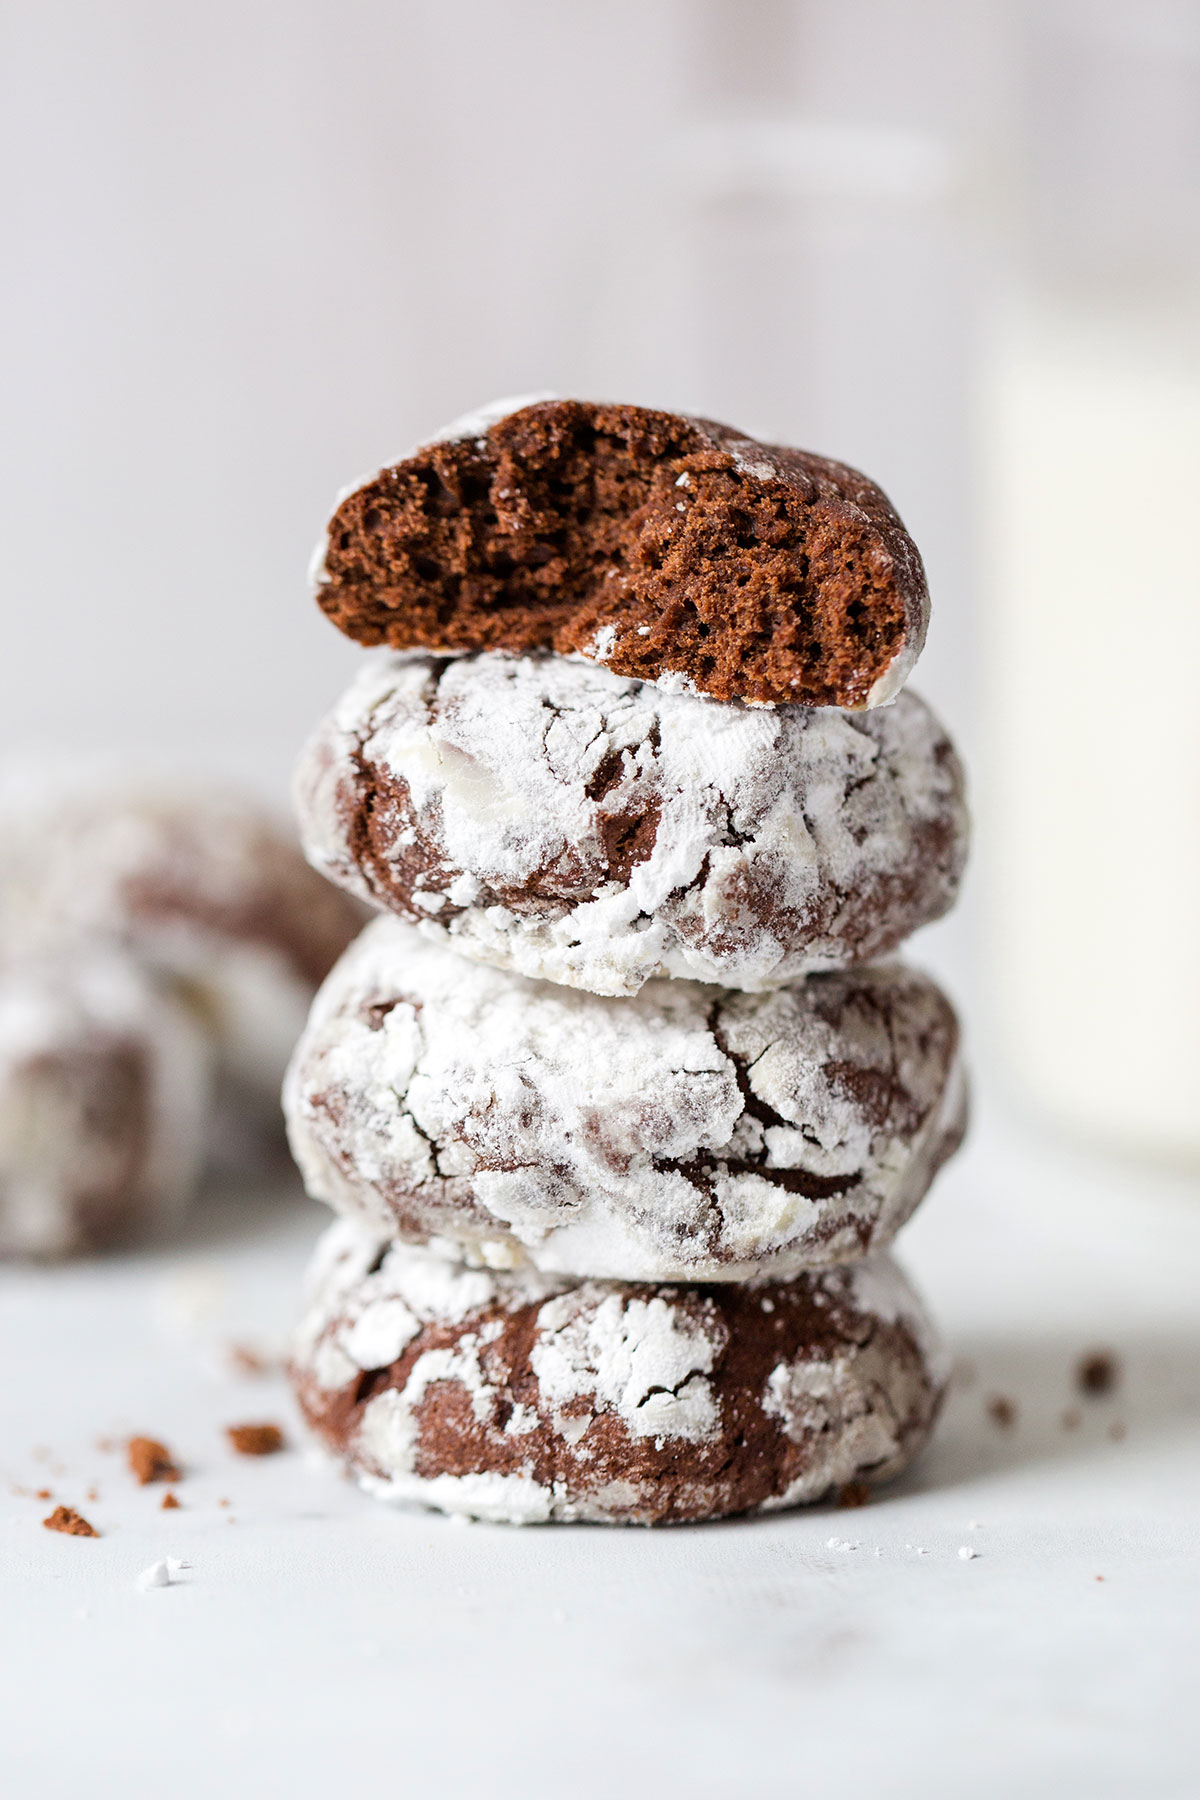
There’s something magical about baking Chocolate Crinkles. In the oven, smooth rounds of sugar-topped cookie dough puff and crack, leaving behind beautifully dappled black-and-white cookies with the tempting aroma of warm chocolate.
To say it’s a disappointment if you end up with lackluster, uncrinkled cookies is an understatement. It can feel like a tragedy if it's an important baking season and your cookies turn out sad and monotone.
Uncrinkled crinkles? No more! Learn how to make quintessential Chocolate Crinkles that turn out perfectly every time.
Soon you'll be able to make Chocolate Crinkles that reliably crack and show off their fudgy interiors. They'll leave everyone who tastes them with a ring of confectioners’ sugar around their smile.
Let’s start with what you’ll need to bake these classic chocolate cookies.
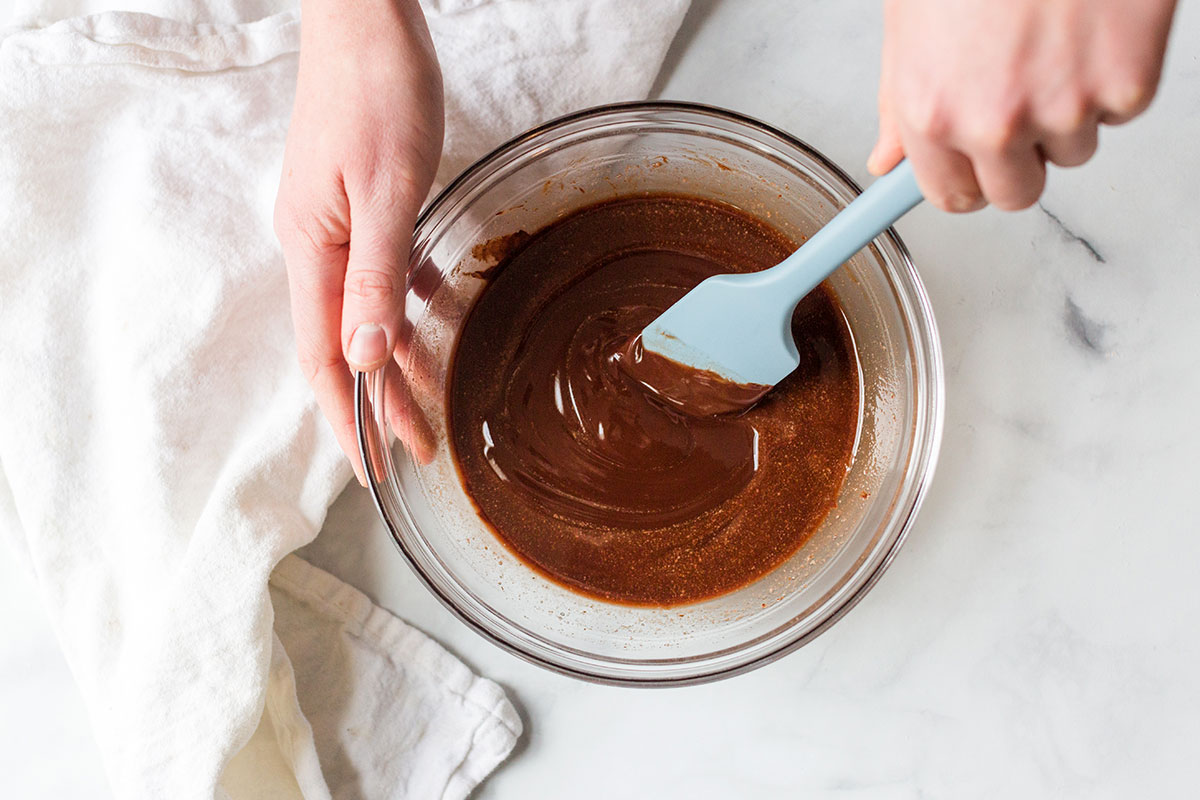
The first step in making Chocolate Crinkles requires melting chocolate. This forms the rich foundation of the cookies to come, so choose high-quality chocolate. (If it’s chocolate you like to eat, it’s suitable for these cookies.)
Place these ingredients in a small saucepan or microwave-safe bowl:
Heat the butter and chocolate over medium heat or microwave it until the butter melts. Remove from the heat and stir gently until all the chocolate melts and the mixture is silky smooth.
In a medium-sized mixing bowl, stir together the following:
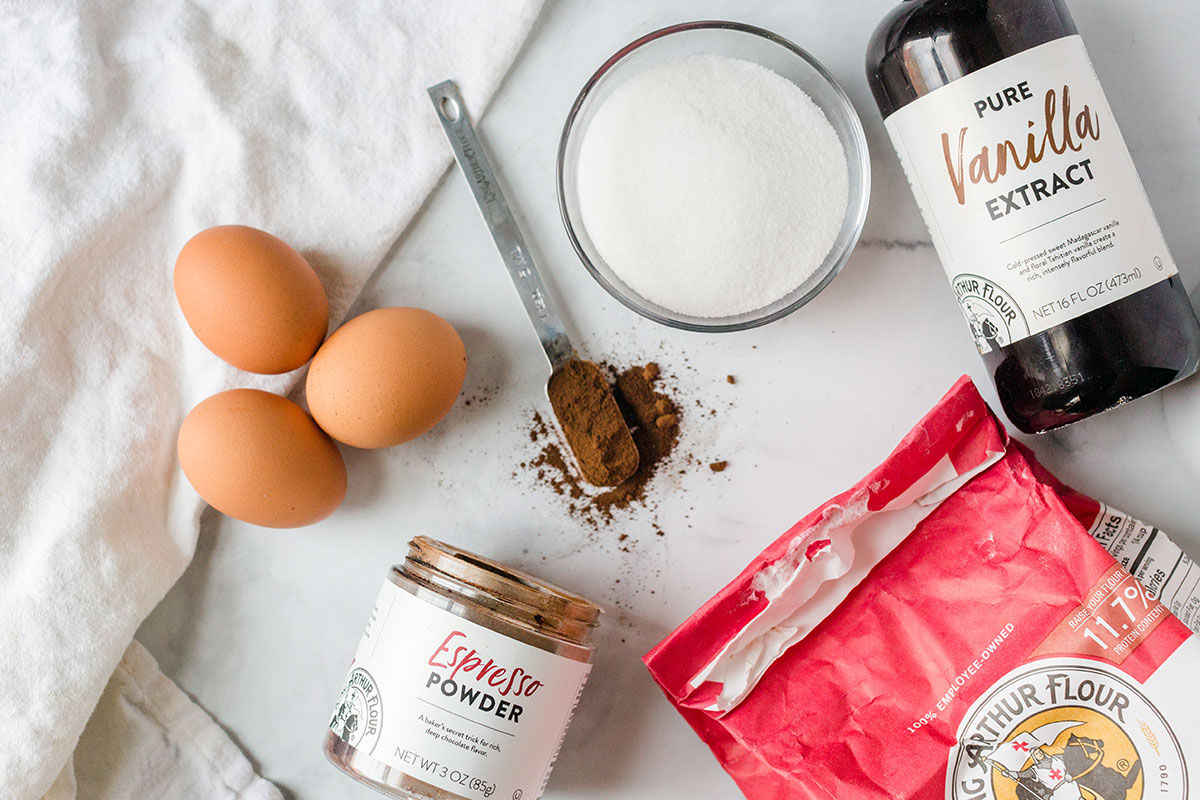
Even if you’re not a coffee lover, try adding espresso powder to your Chocolate Crinkles. It enhances the chocolate flavor, making the cookies taste richer and more flavorful.
Beat the eggs, sugar, vanilla, and espresso powder together until combined.
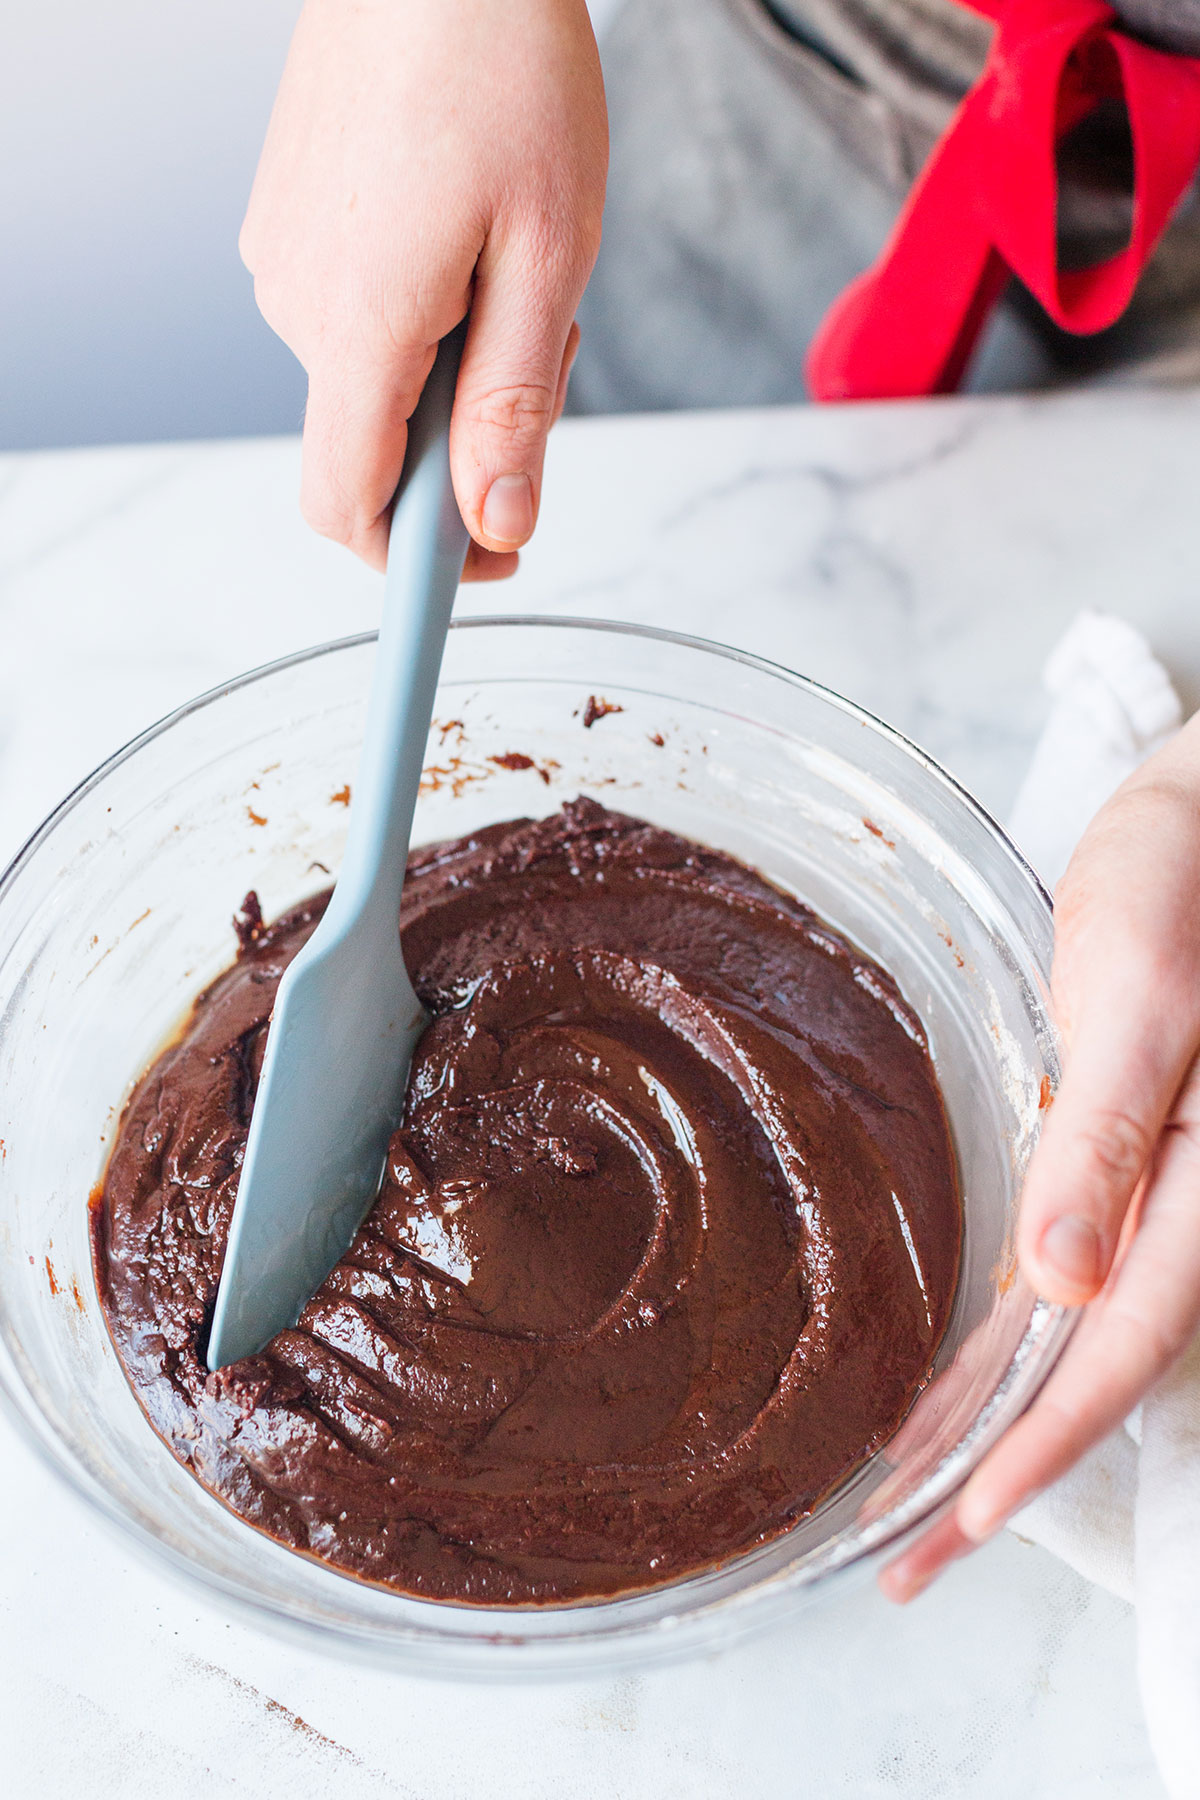
Add the slightly cooled chocolate and butter mixture to the mixing bowl with the eggs and sugar.
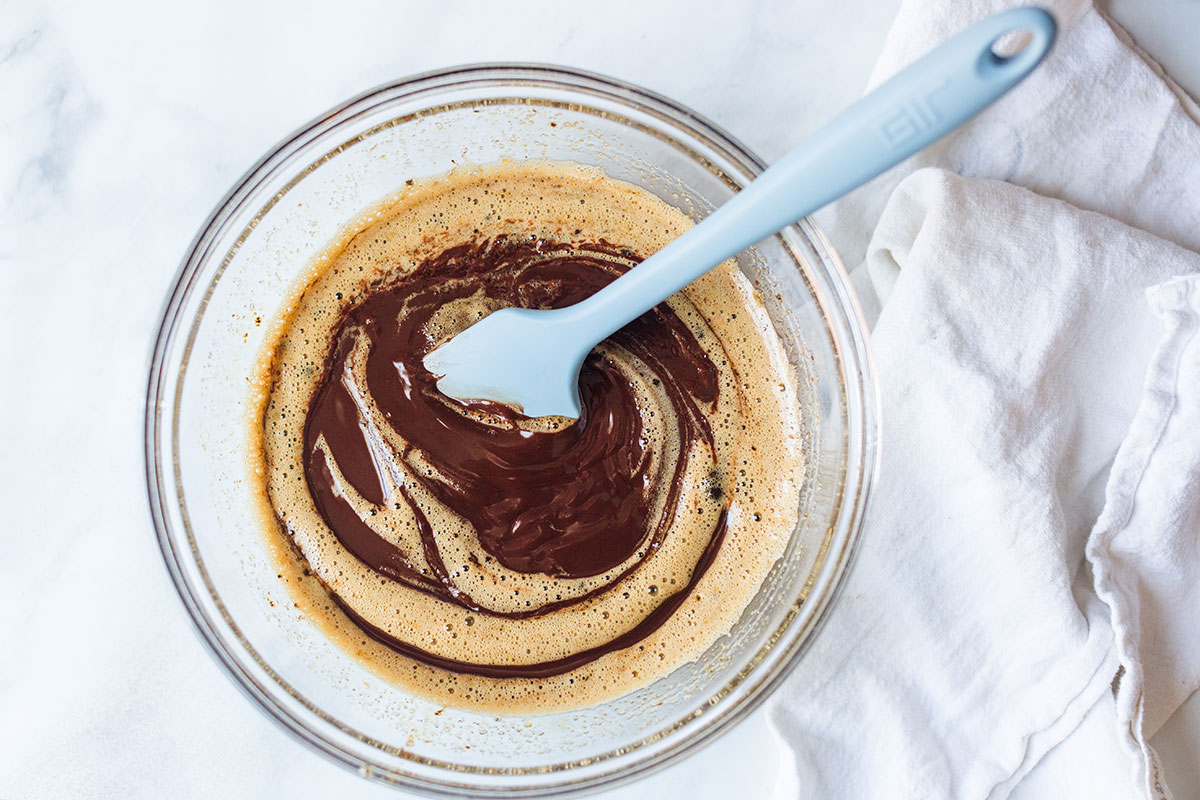
Mix it all together, scraping down the sides of the bowl periodically. Stir until everything is combined.
Add these dry ingredients to the chocolate mixture:
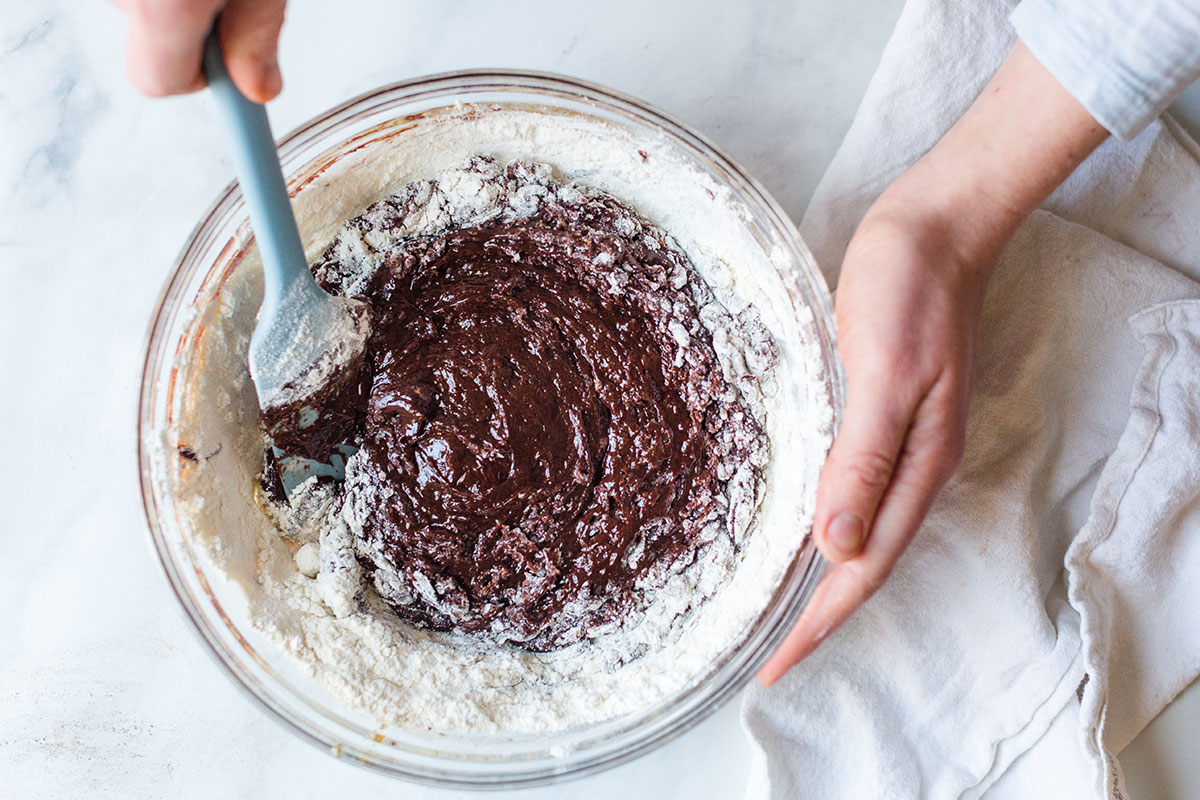
Once the dry ingredients are added, the cookie dough will be the consistency of thick cake batter rather than traditional stiffer cookie dough.
Resist the urge to add extra flour — it’s not necessary and will make your cookies dry and dense. Trust the recipe here: it's normal for Chocolate Crinkles and produces their delicate texture.
Chill the cookie dough for at least 2 to 3 hours, or overnight.
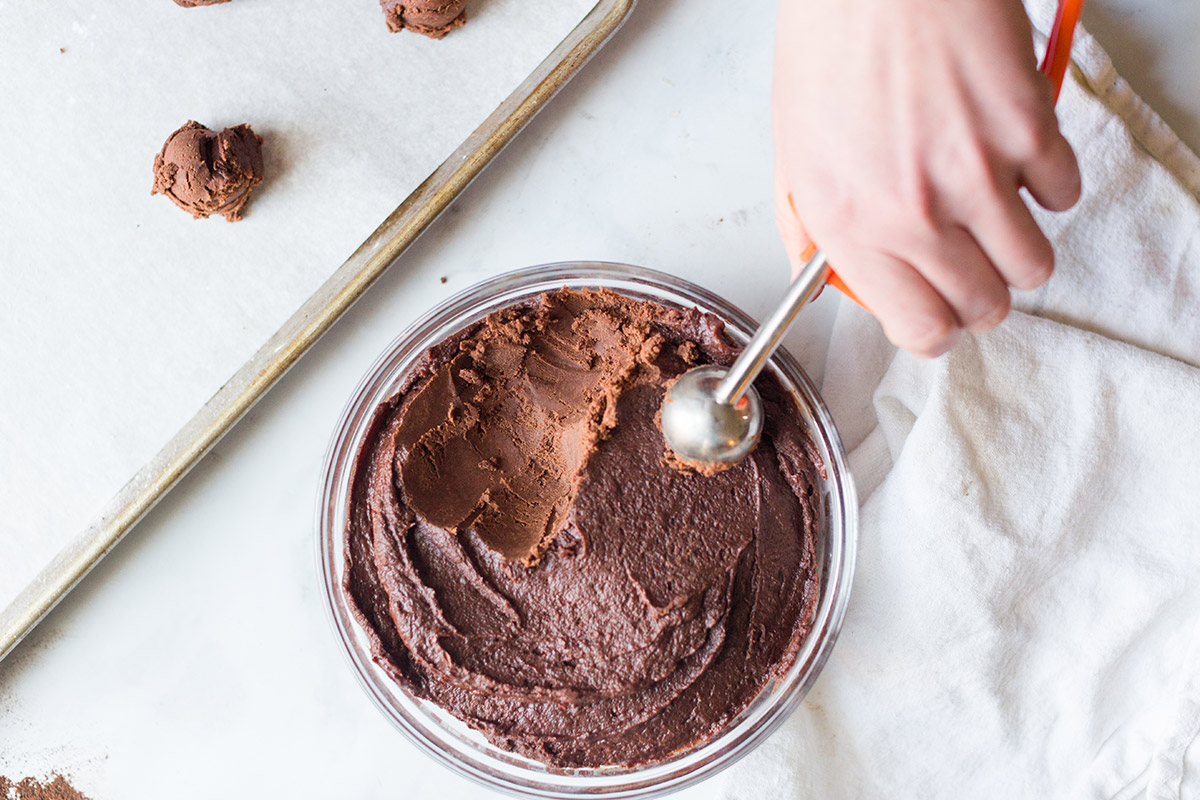
Here’s Chocolate Crinkles' first magic act: once the mixture is removed from the refrigerator, it will have been transformed into a beautiful, scoopable cookie dough.
When you’re ready to bake, preheat the oven to 325°F. Lightly grease a couple of baking sheets or line them with parchment paper.
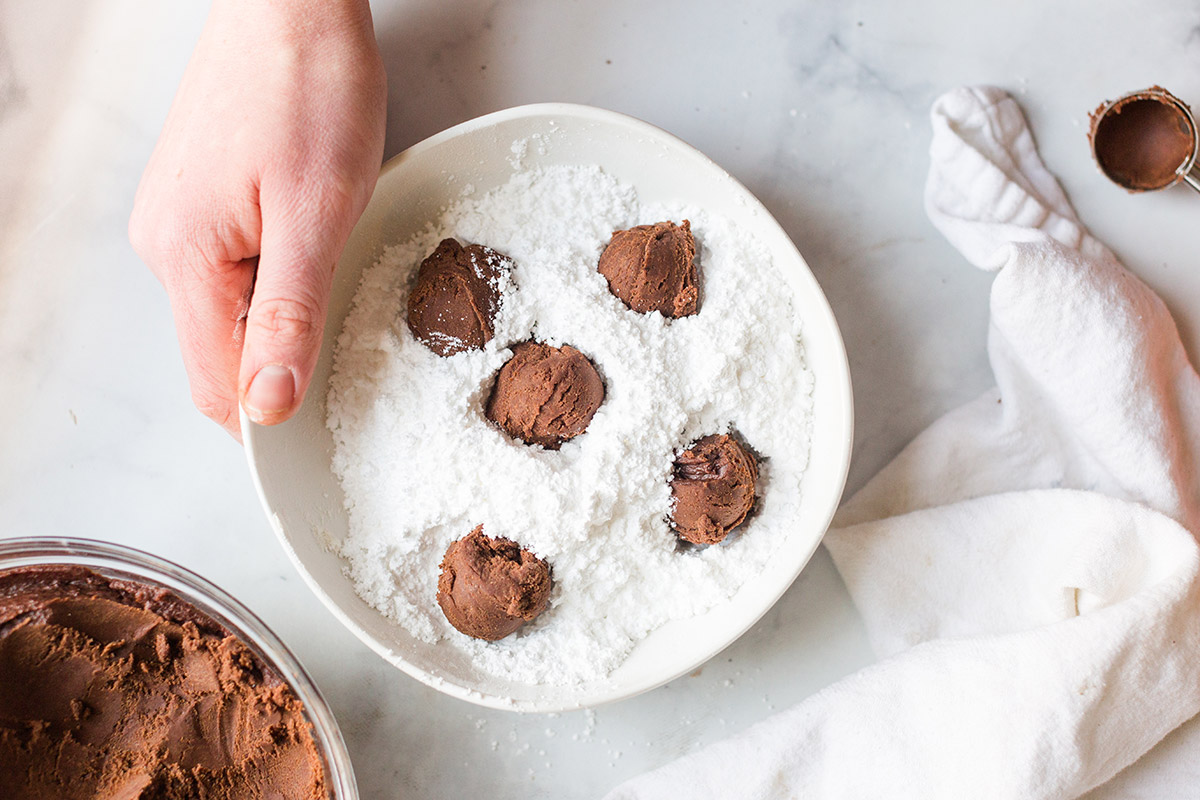
Place about 1 cup (113g) of confectioners’ sugar in a small bowl. (Since this sugar will be baked with the cookie dough, it’s best to use traditional confectioners’ sugar rather than Snow White Non-Melting Topping Sugar, which performs best as a garnish.)
Use a teaspoon-sized cookie scoop or a spoon to scoop out a heaping teaspoon of dough. For perfectly round crinkles, roll it into a ball using your palms. Each ball of cookie dough should be about 1 1/4” in diameter.
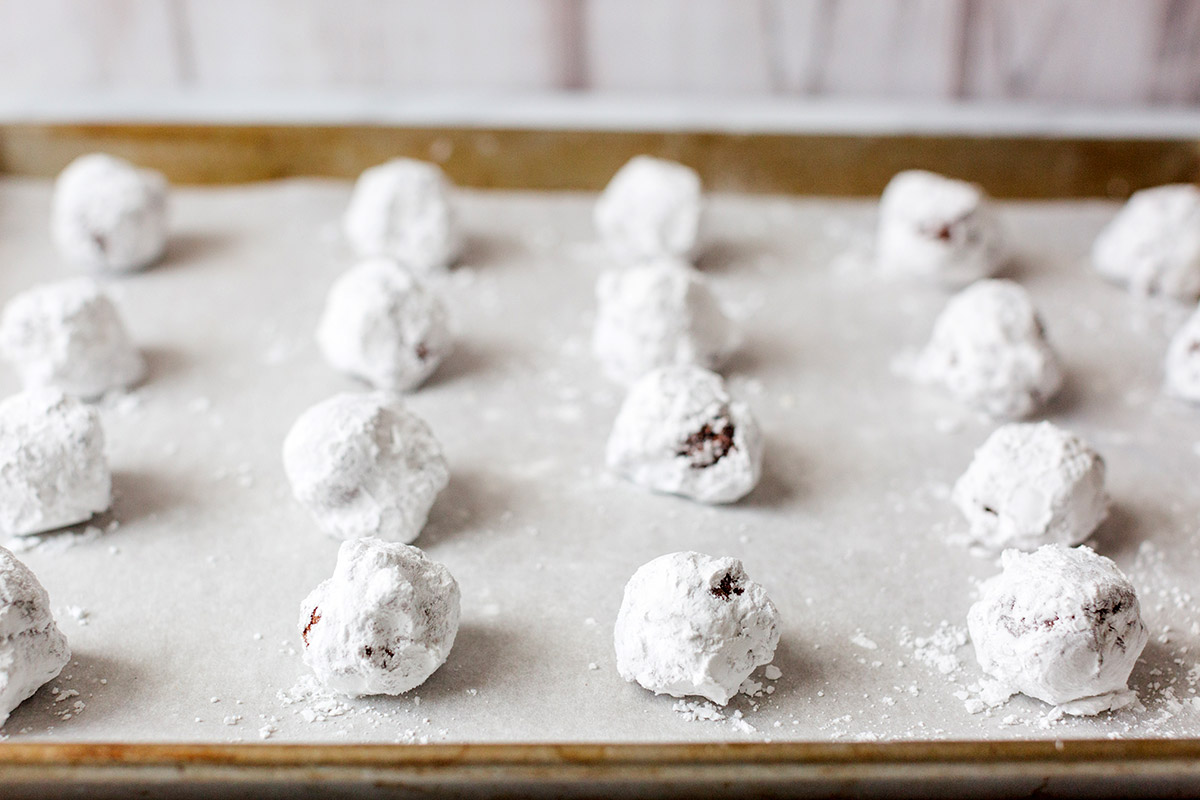
Gently drop the dough balls into the confectioners’ sugar as you scoop. Once there are about five or six in the bowl, toss them in the confectioners’ sugar to coat evenly.
Place the sugar-coated dough balls on the prepared baking sheets, leaving about 1” to 1 1/2” between them. They’ll spread just slightly as they bake, and also puff up a bit.
Bake the cookies for 10 to 12 minutes, rotating the pans halfway through if your oven has hot spots. (Not sure how to tell? Read our blog post, Identifying oven hot spots, to find out.)
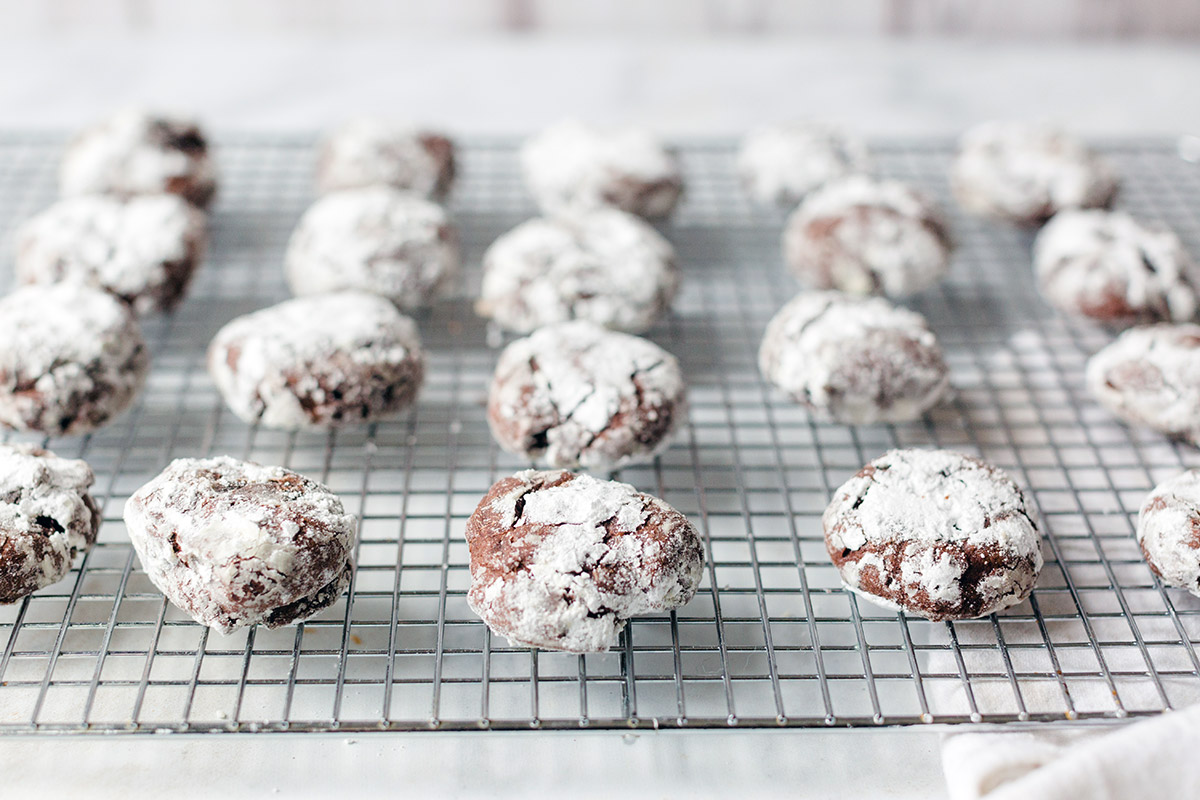
As the cookies bake, peek through the oven window to watch them puff and take on their uniquely-crinkled appearance.
Remove the cookies from the oven and allow them to cool on a rack. If you remove the cookies from the pan and transfer them to a rack immediately, they’ll end up softer than if you just let them cool on the pan. (Crunchy cookie lovers, let them cool completely on the pan.)
Chocolate Crinkles can be stored at room temperature for several days, though it’s unlikely they’ll last that long. These cookies tend to disappear — perhaps their final magic trick.
Treat this recipe like a treasure map and follow it closely. It’ll lead you to rich Chocolate Crinkles in the end! However, if something goes awry and your crinkles don’t have quite the appearance you’re looking for, here’s what may have gone wrong (and how to fix it):
Once you’ve mastered the classic crinkle, kick things up a notch and start playing with alternative flavors.
For a mocha crinkle, increase the espresso powder to 1 tablespoon (or more, if you’re a coffee die-hard!).
For a hint of peppermint, substitute 1/4 teaspoon peppermint oil for the vanilla.
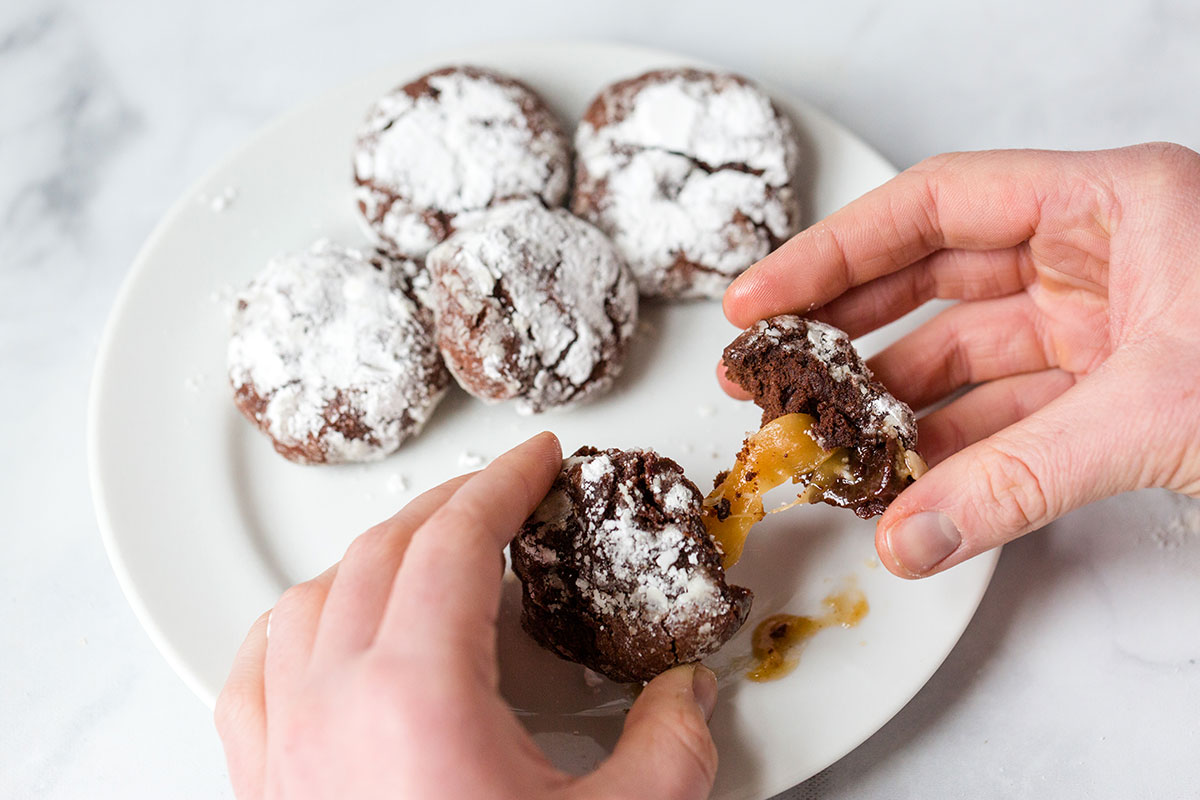
The creative combinations don’t need to stop here — use your imagination and what you have on hand to jazz up the flavors. Tuck a piece of salted caramel inside each ball of dough, or add mini chocolate chips to the dough.
If you have flavor-infused sugar on hand, substitute it in place of the granulated sugar in the recipe. Orange-infused sugar in a chocolate crinkle could be the best thing you’ve ever tasted!
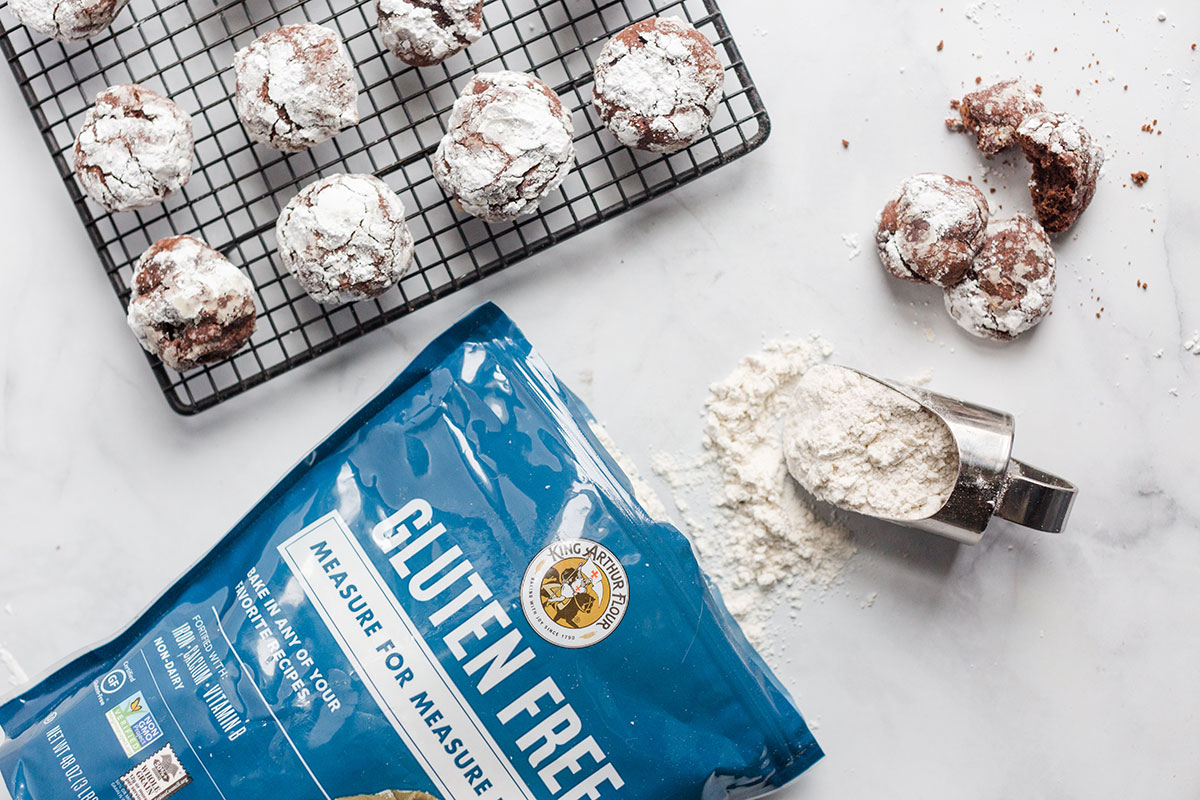
No gluten? No problem. These cookies will be even more tender when made with our Gluten-Free Measure for Measure Flour in place of the all-purpose flour in the recipe.
No other ingredient changes need to be made. Just remember to use certified gluten-free ingredients if necessary.
Bake the cookies for about 11 to 13 minutes; gluten-free baked goods often need a few more minutes in the oven to bake thoroughly.
No more holding your breath and wondering if you’ll end up with sad, flat cookies or impressive crackled crinkles. With this recipe, you’ll end up with those classic caverns exposing deep-chocolate interiors every time.
Are there other recipes that make you cross your fingers and hope for the best? We can help you make them bulletproof. Let us know what you’re baking in the comments, below. (For time-sensitive baking “emergencies” give our Baker’s Hotline a call at (855) 371-2253 to speak to one of our friendly and experienced bakers.)
Thanks to Anne Mientka for taking the photographs for this post.