


Have you ever baked a new recipe simply because it grabbed you and wouldn’t let go? You know what I mean: those cookies with the tablespoon of miso, the cake that uses mayo instead of eggs and butter, the bran muffins whose batter lasts in the fridge for two weeks …
You read the recipe and think, “No, really?” You stash it away in your mind, but the itch has begun: sooner or later, you have to make it.
Making a new recipe is like reading a cliffhanger detective novel: you just can’t wait to see how it turns out.
Take flourless chocolate cake, a real mystery back in the day (prior to flourless becoming a “thing”). A cake made without flour — how could that possibly be? I had to make it.
And when I first read about salt-rising bread — its long American history, its tricky two-part cornmeal starter — it grabbed me. I mean, bread that smells like stinky sneakers and tastes like cheese (without any cheese in it)? Hooked.
That’s how I often feel about offbeat bread recipes, especially those involving starters. I’d heard through the grapevine (groan) that burying wild grapes in flour and then adding water would produce a superior starter.
Had to try it. Did try it. Meh. Wild grape starter was no better or worse than sourdough starter made the conventional way.
But then there's this “yeast water” starter thing going around: dried or fresh fruit mixed with water, left to ferment, and the water mixed with flour to stand in for a regular sourdough starter. Promises abounded: once it’s made, stash it in the fridge — no feeding necessary! No discard, no wasted flour. When you want to bake bread, just mix yeast water with some flour from your recipe, let it sit overnight, and off you go.
Had to make it.
Made it. It was an easy (but long) process, stretching over 10 days from inception to loaf of bread.
And, like that thriller novel, how did it turn out?
OK. In fact, pretty good. I used my new yeast-water starter in our Naturally Leavened Sourdough Bread recipe, baking it side by side with a loaf made with regular sourdough starter for comparison. The recipe calls only for starter to leaven the bread (no commercial yeast), which means your starter had better be pretty darned active.
Would my yeast water be up to the task?
Yes. Although I had my doubts midway through (when the dough refused to rise at all during its initial 2-hour rest), by the time the yeast-water bread came out of the oven it was pretty much identical to the loaf made with my standard flour-based starter.
The main difference is flavor. The yeast-water bread has only the mildest tang; I wouldn’t call it "sour" sourdough bread based on its taste. The flavor of this bread is more wheat-forward: without the typical dominant sour notes, it tastes fresh and mild with a whiff of fermentation, the kind you might smell at an apple orchard during cider-pressing season.
Will I make this bread again? I’m doing so right now. As with any new venture, it takes time to nail the details. What’s the best temperature for building the final starter (and how do I find an 80°F spot in my New England winter home)? What’s the optimum timeframe for bread requiring an overnight starter (followed by two long rises) that doesn’t result in me pulling loaves out of the oven at midnight? At this point, it’s still a work in progress.
But I couldn’t wait to share this yeast-water starter with you. You’re going to have to tinker with the process anyway; your climate, water, fruit, the season, your patience for try, try, trying again when things don’t work out — there are a lot of variables at play here. Still, if you’re one of those bakers eager to try a recipe that’s veered off the beaten path (but might take you somewhere perfectly marvelous), have at it — this one’s for you.

I highly recommend you start by watching “Pablos ultimate yeastwater,” the video I followed to build the starter. Pablo Giet is a German baker with his own shop in San Rafael, California. And while his certainly isn't the only yeast-water method you can find online, my partner-in-recipe-crime, Charlotte (King Arthur’s test kitchen manager), attended a conference at which Pablo presented, and she hooked me up with his video.
The video will give you an overview of the yeast-water process; the accompanying notes explain the basic science behind it (hint: it’s all about capturing and growing wild yeast and friendly bacteria). The following expands on that video with notes, photos — and opinions!
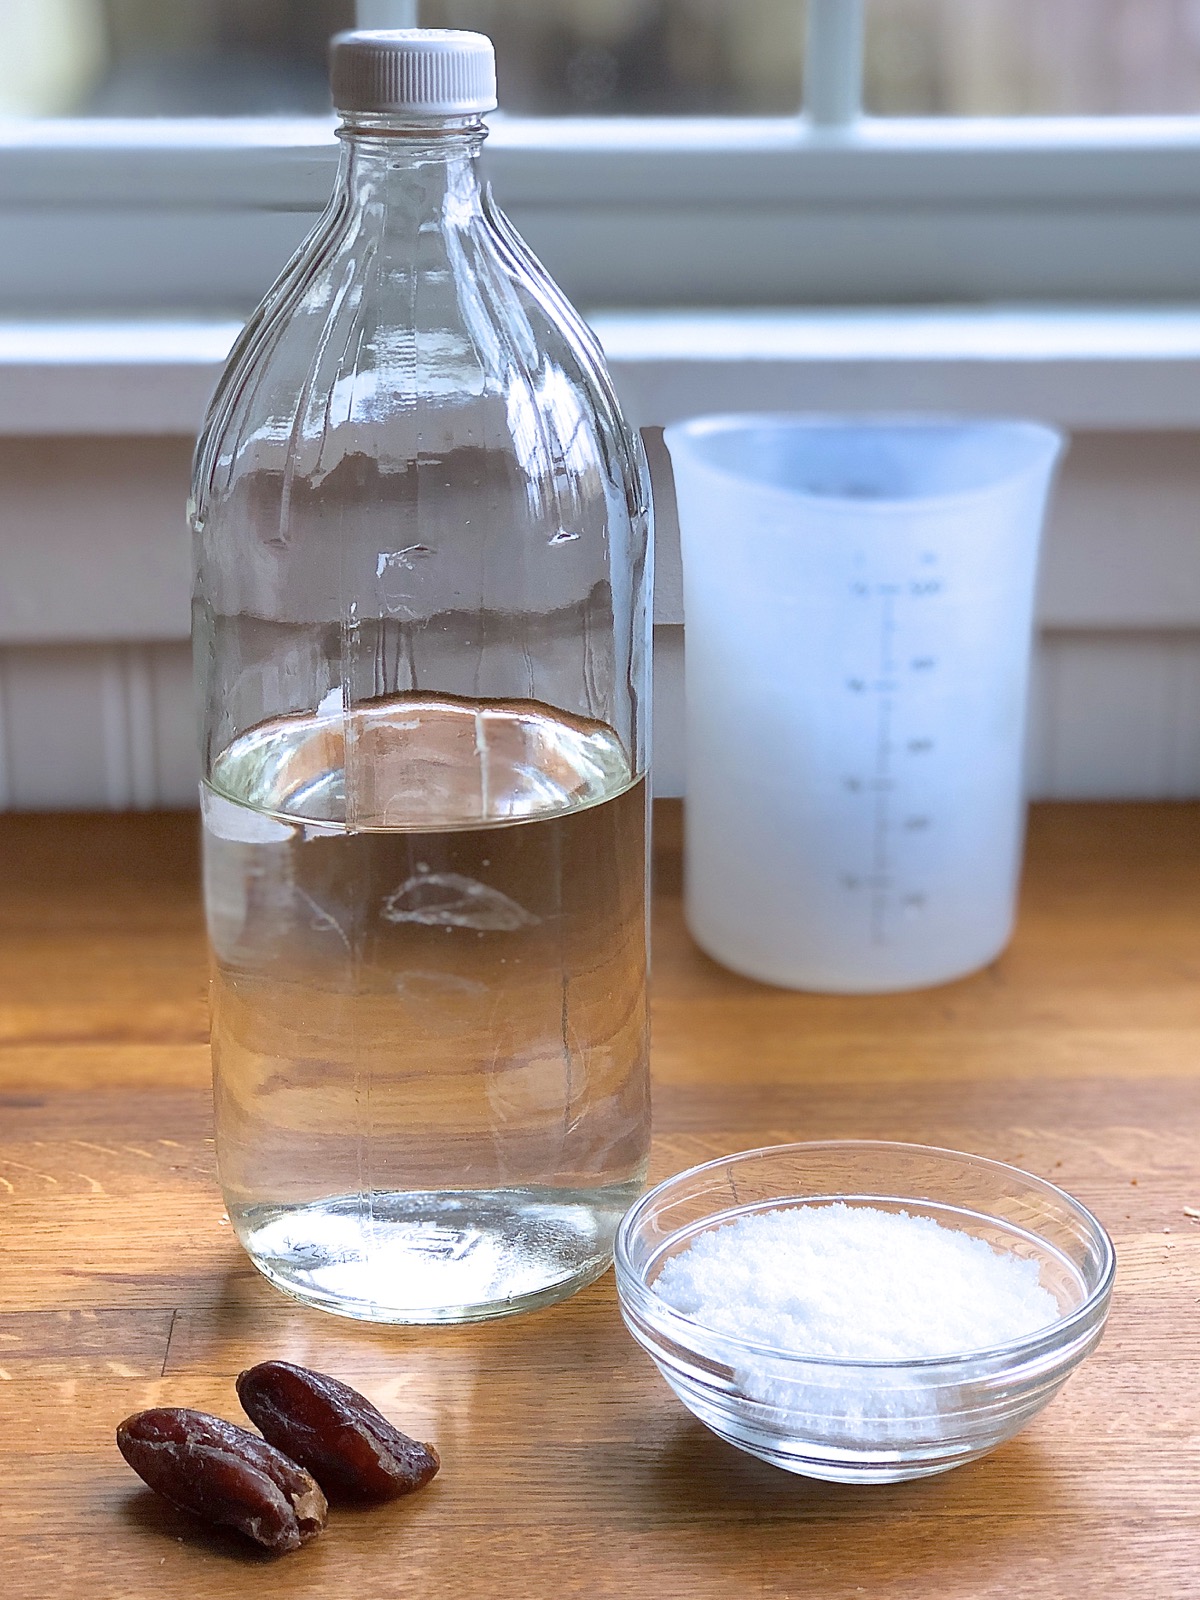
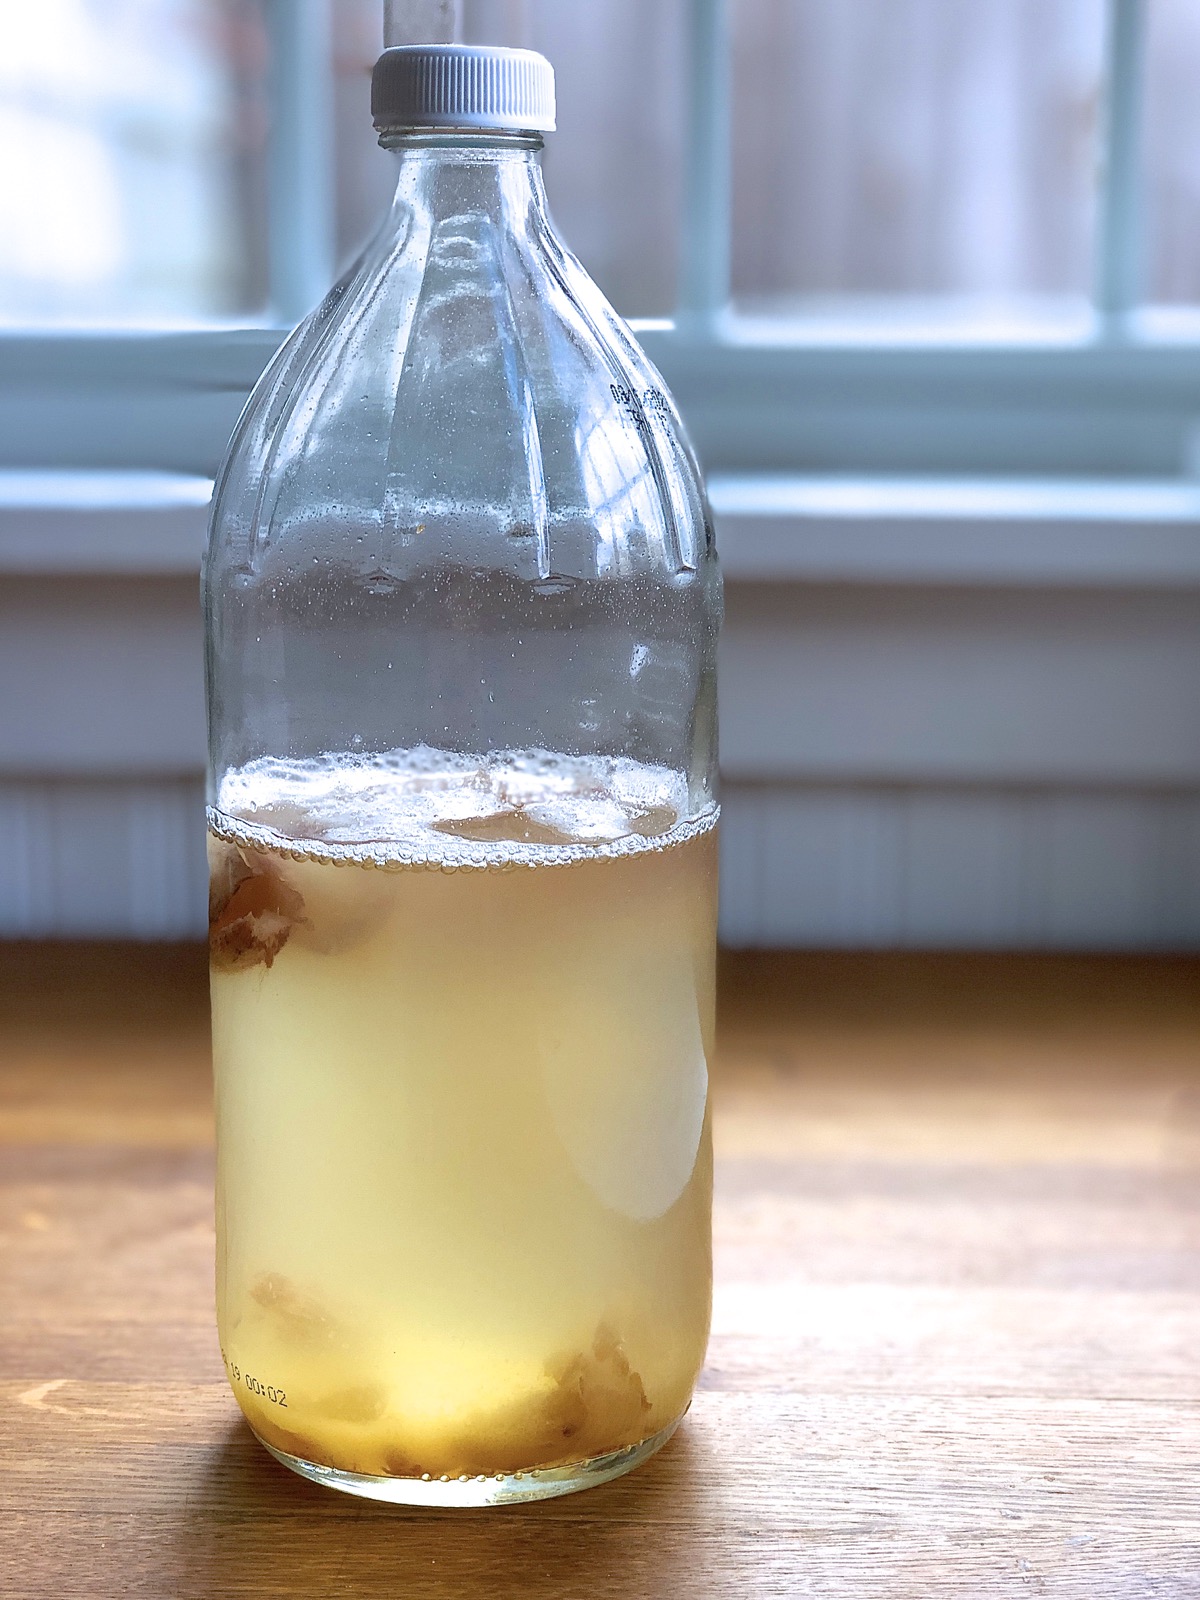
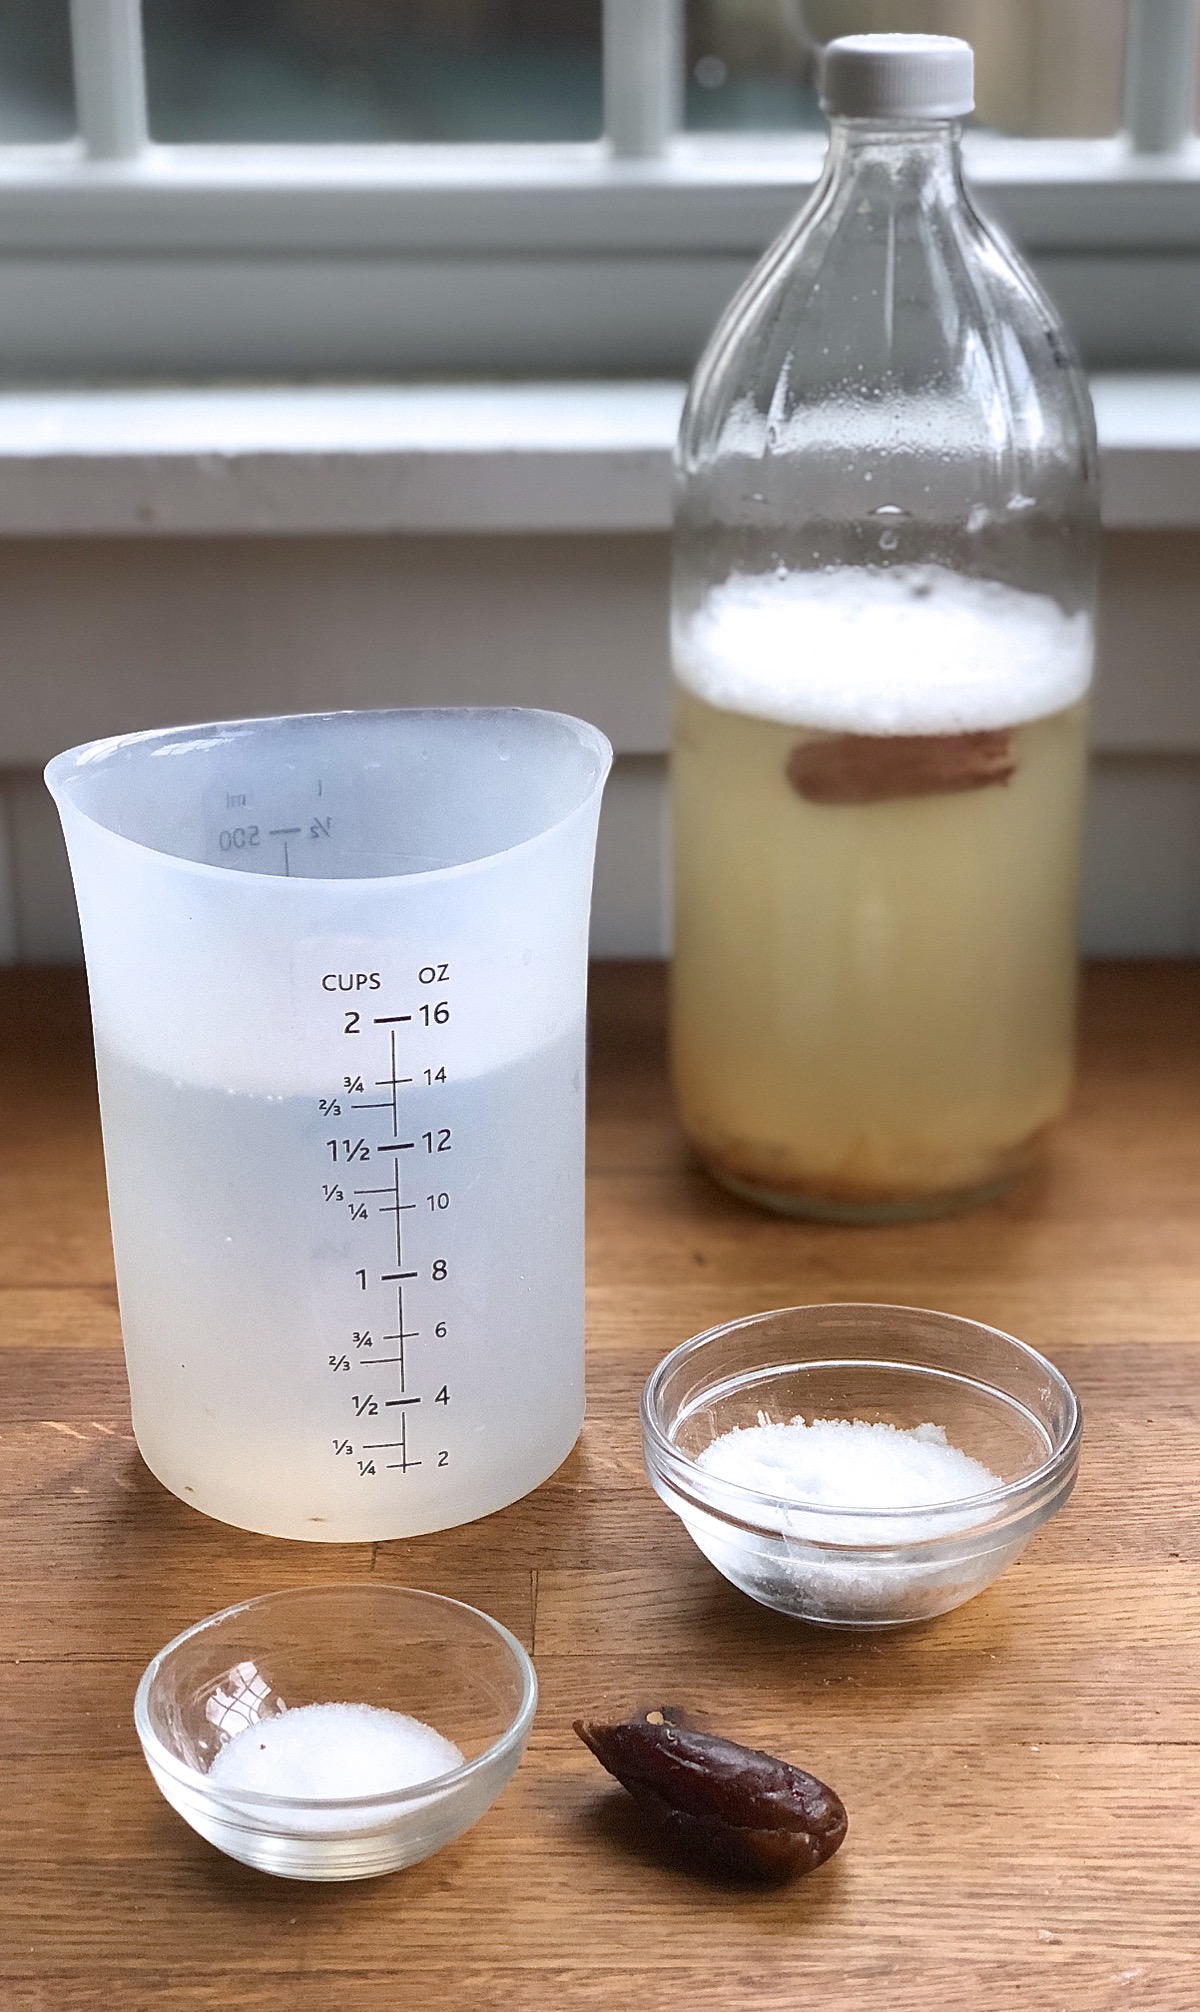
Start by finding a jar or bottle that’ll hold at least 32 ounces, preferably more like 34 ounces (though 32 ounces will do in a pinch). I ended up using a glass jar that had held vinegar. Can you use plastic? I imagine so. I just happen to be in love with glass, as it’s totally non-reactive.
Use a funnel to put 500g (2 1/4 cups) of water (tap water is fine), 50g (1/4 cup) of granulated sugar, and two dried dates (pitted or whole) into the jar.
Can you use some other fruit? I imagine so. A different sugar? No doubt. But I’m detailing here what I’ve tested, so no guarantees if you stray off the path!
Screw the cap on the jar and shake vigorously to dissolve the sugar. Loosen the cap a half-turn and put the bottle somewhere warm; Pablo says 78.8°F is optimal. I put the bottle alongside my oil burner in the cellar. Another good place might be in your turned-off oven with the light on.
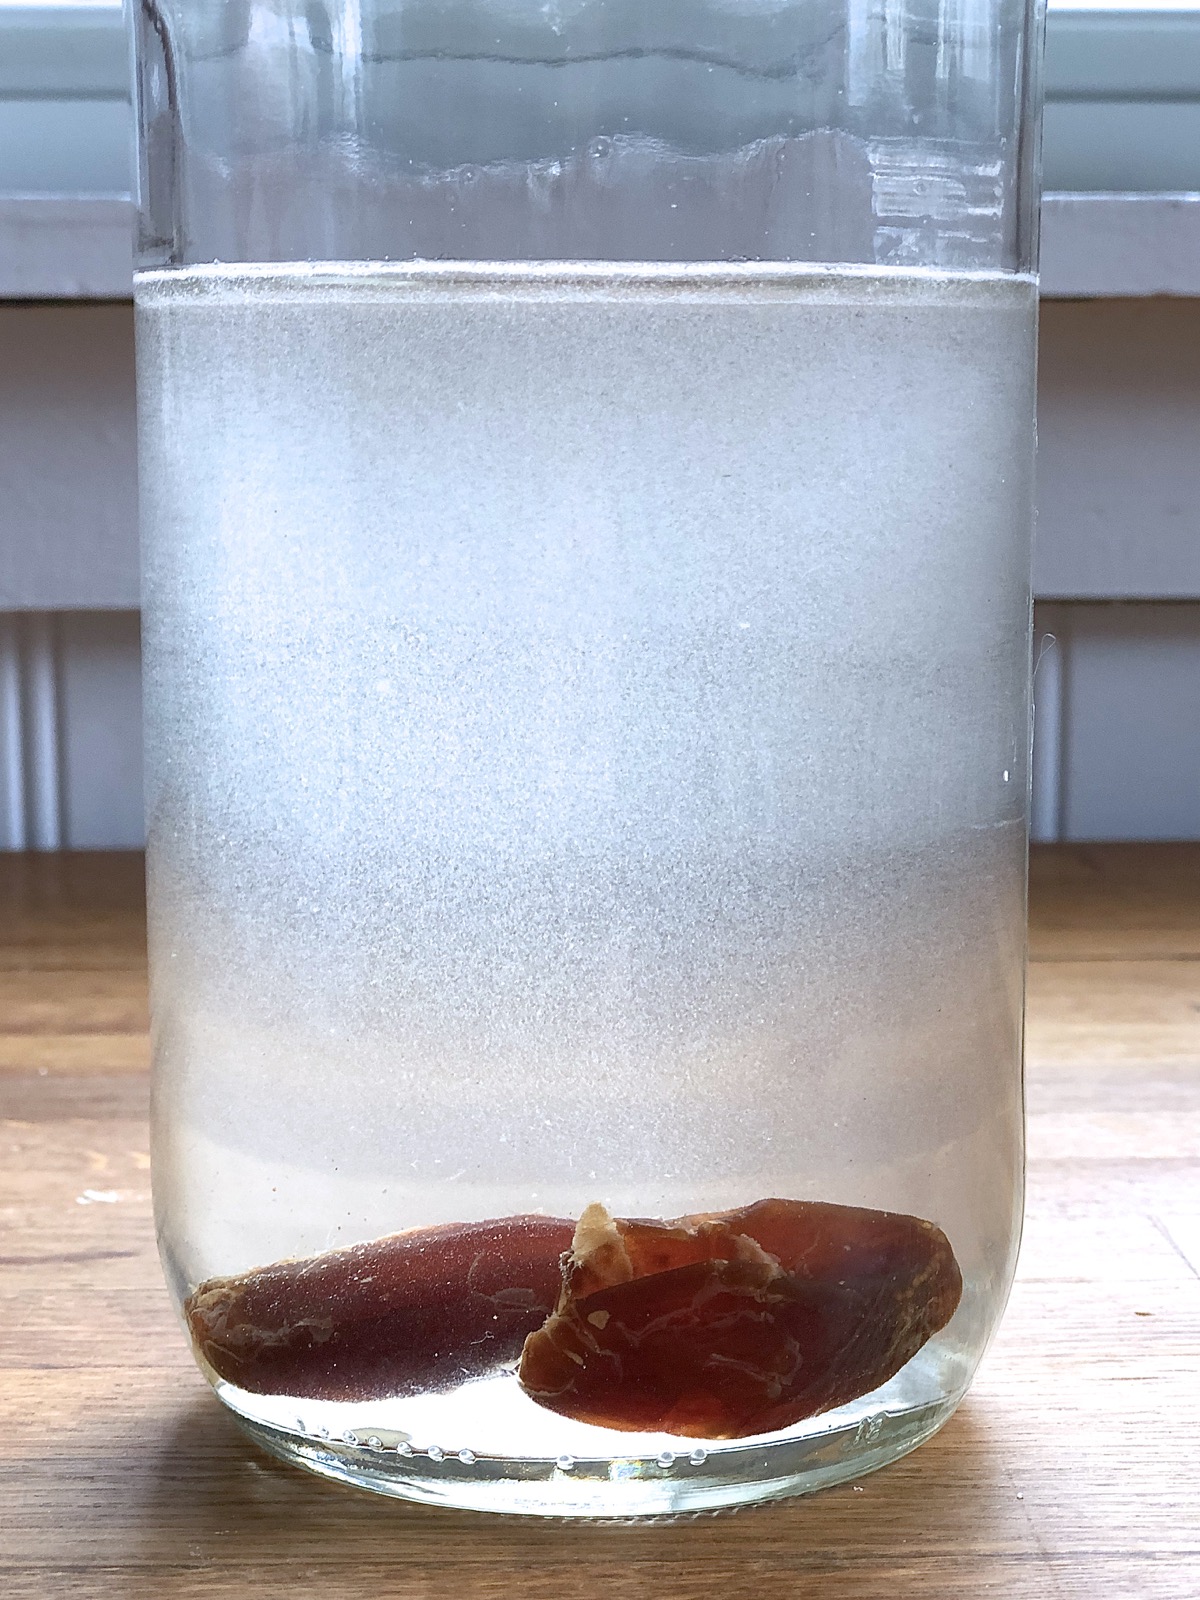
For the next 4 days you’re going to shake the bottle twice a day. Unscrew the cap to let out any pressure buildup, screw it back on, then shake shake shake!
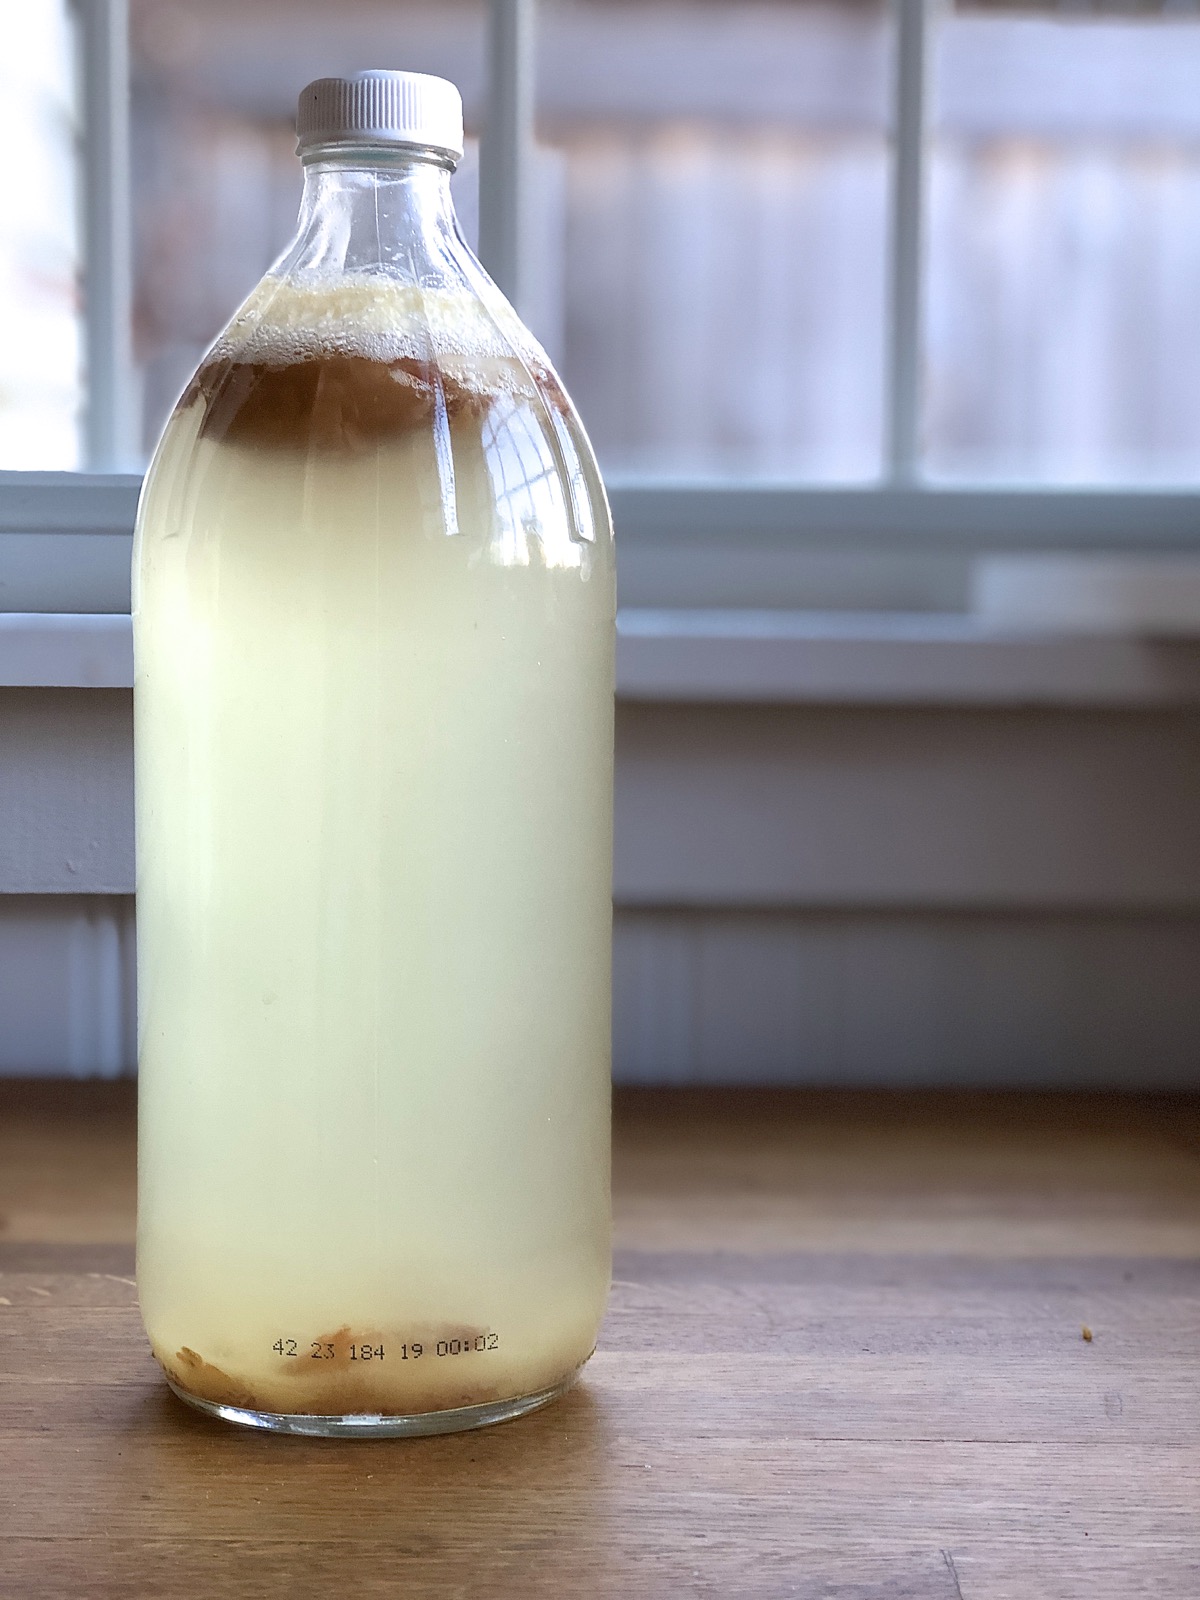
After 24 hours you should already be seeing some bubbles.
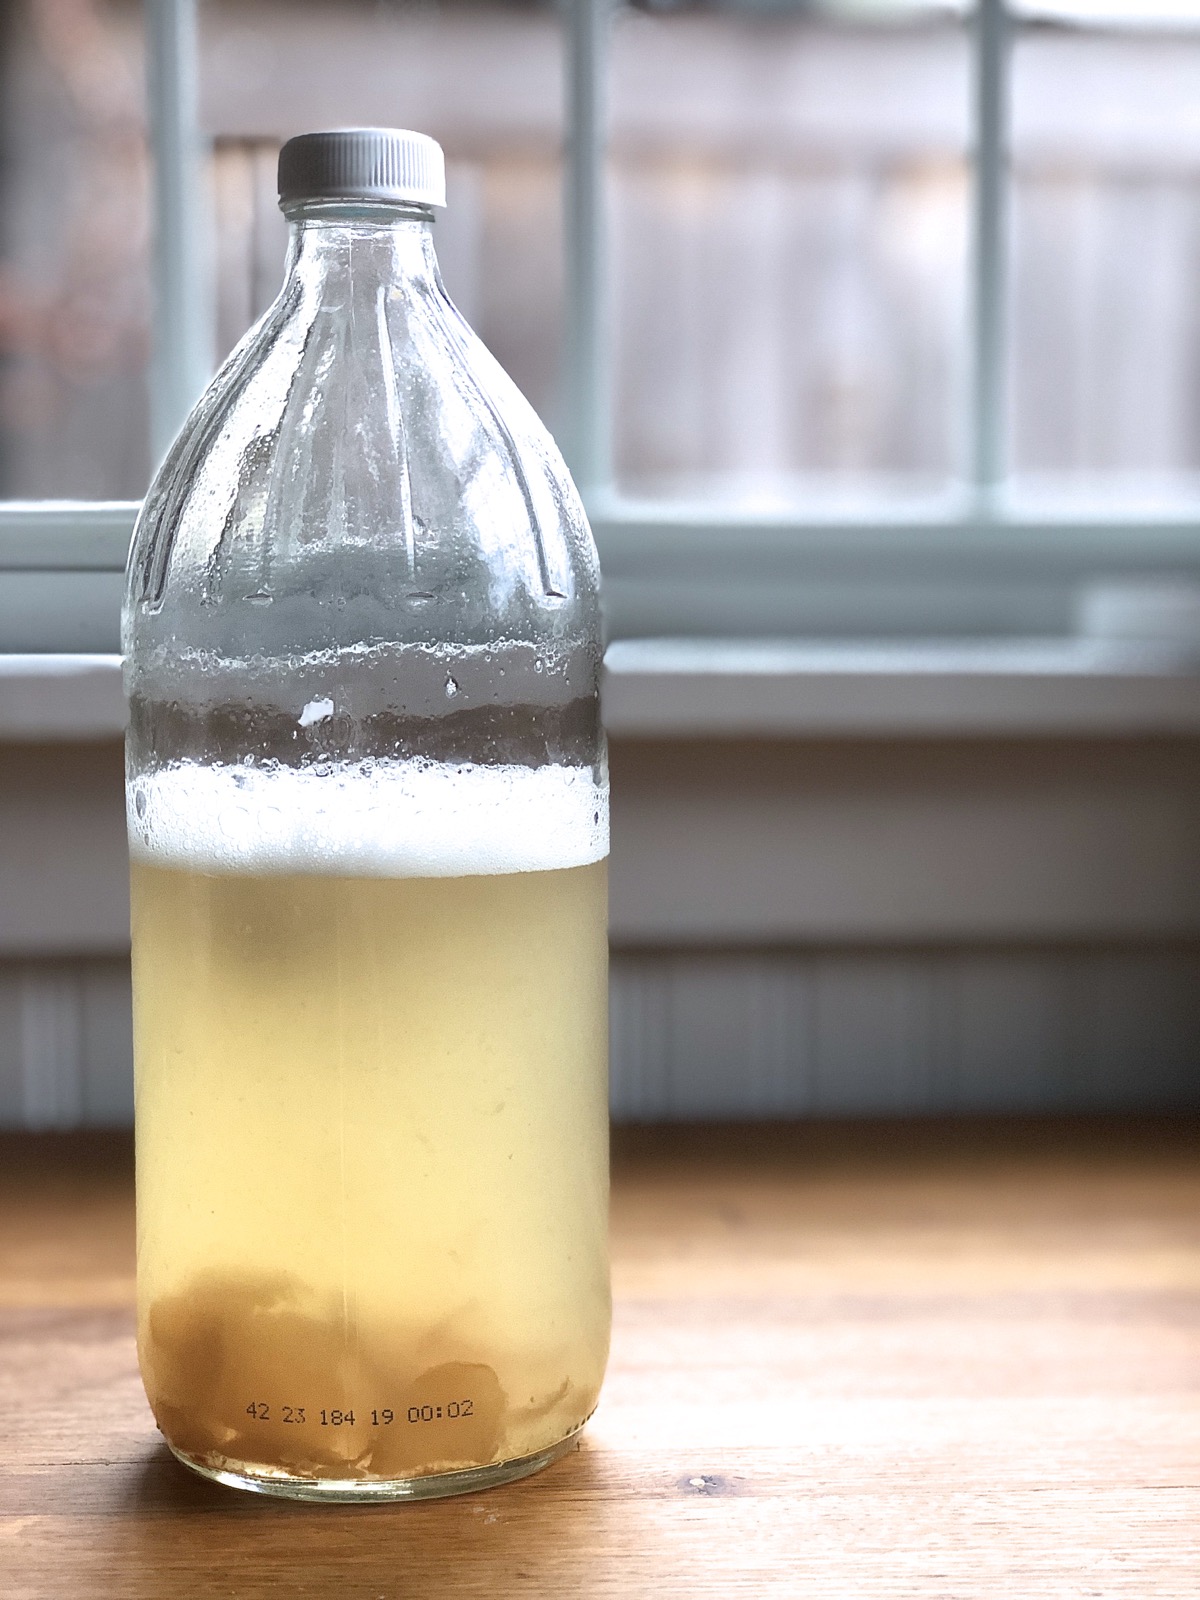
By the end of 4 days, the water should be frothy on top, and you’ll definitely be able to smell the fruit fermenting: think a combination of orchard and barroom.
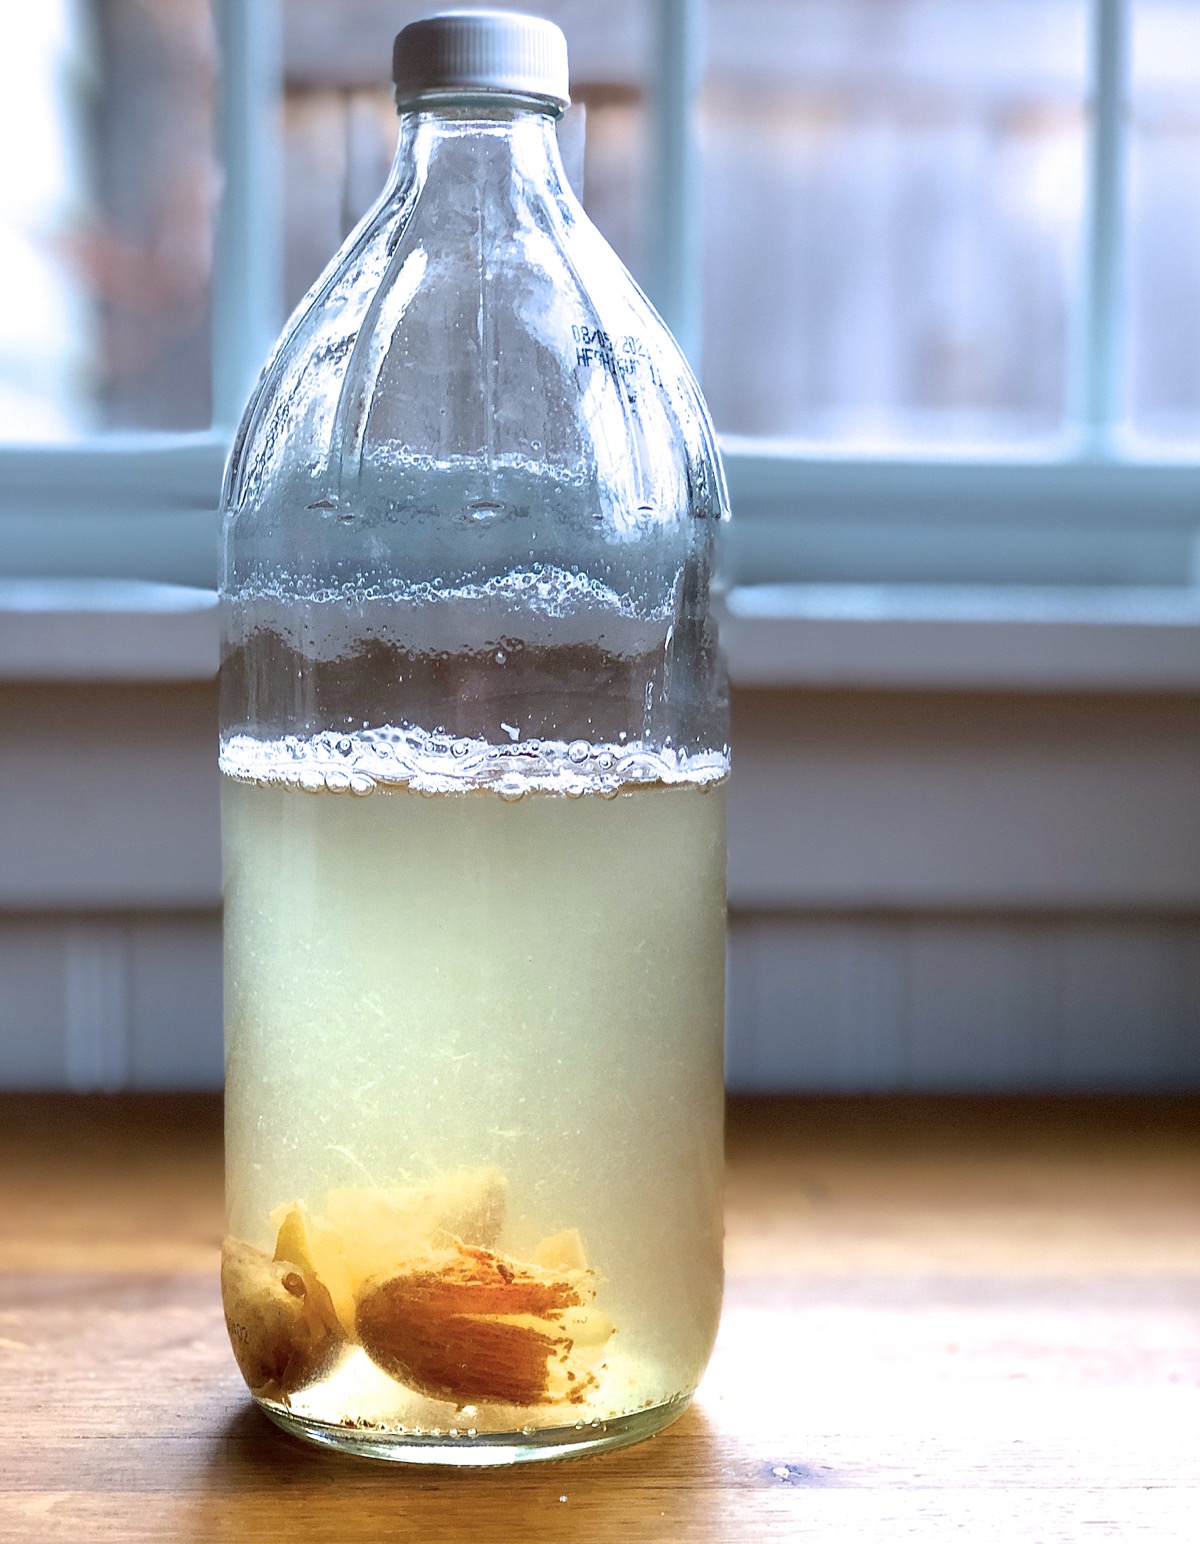
On day 5, add the following to the bottle:
This is where you might have trouble with a 32-ounce bottle. Adding 400g of water takes you up to about 31 3/4 ounces plus the space the dates take up, so in order to leave a little headspace at the top for bubbles and shaking, you’ll probably have to back off on the water a bit. I actually added just 360g (about 1 1/2 cups) of water (10% less). I don’t believe that missing 10% made a difference in the final outcome.
Shake the bottle vigorously to dissolve the sugar. Put it back in its warm spot, and shake twice a day, uncapping and recapping each time, for 4 more days.
After 8 days, you’re ready to build your final starter and make bread.
To make bread, Pablo says to build a starter by combining yeast water and flour in equal parts (by weight).
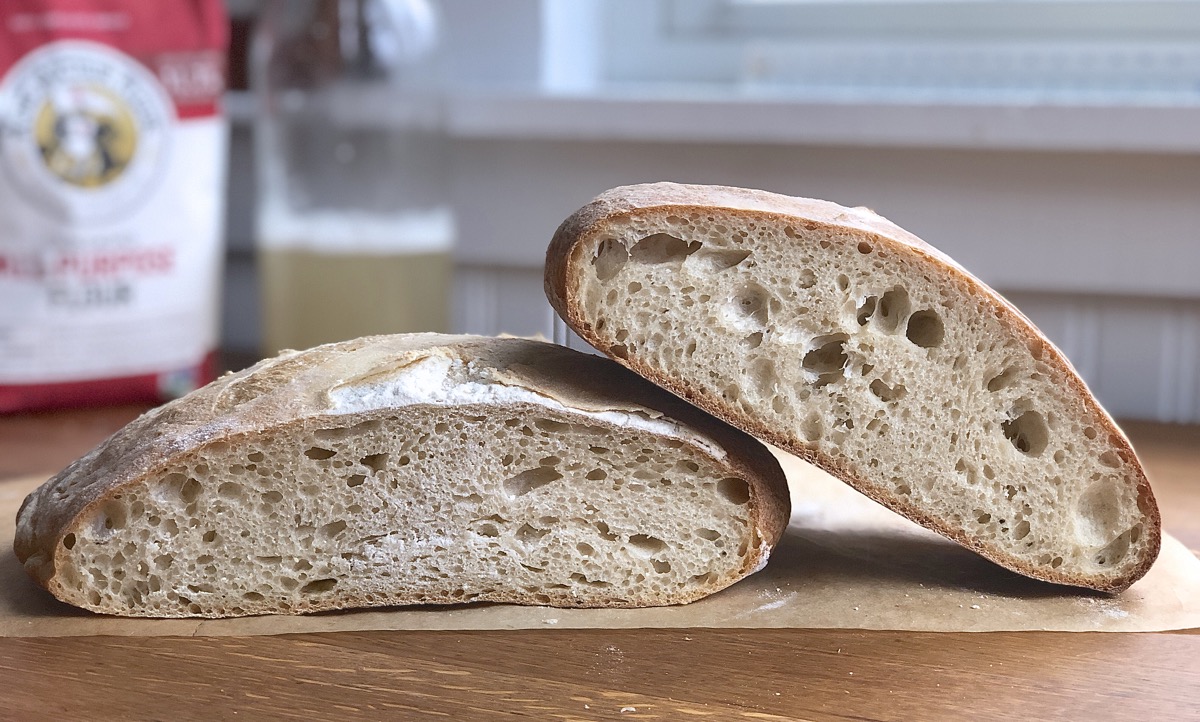
Can you use this starter in any recipe calling for sourdough starter? It would make sense. The recipe I decide to follow, Naturally Leavened Sourdough Bread, calls for 454g (2 cups) fed starter. That means I'll substitute 227g (1 cup) of yeast water mixed with 227g (2 scant cups) of all-purpose flour. (I decide to complicate my life by dividing the recipe in half and testing two slightly different starters, but that's not important for you to know at this point; I'm just explaining why you'll see two loaves in progress here.)
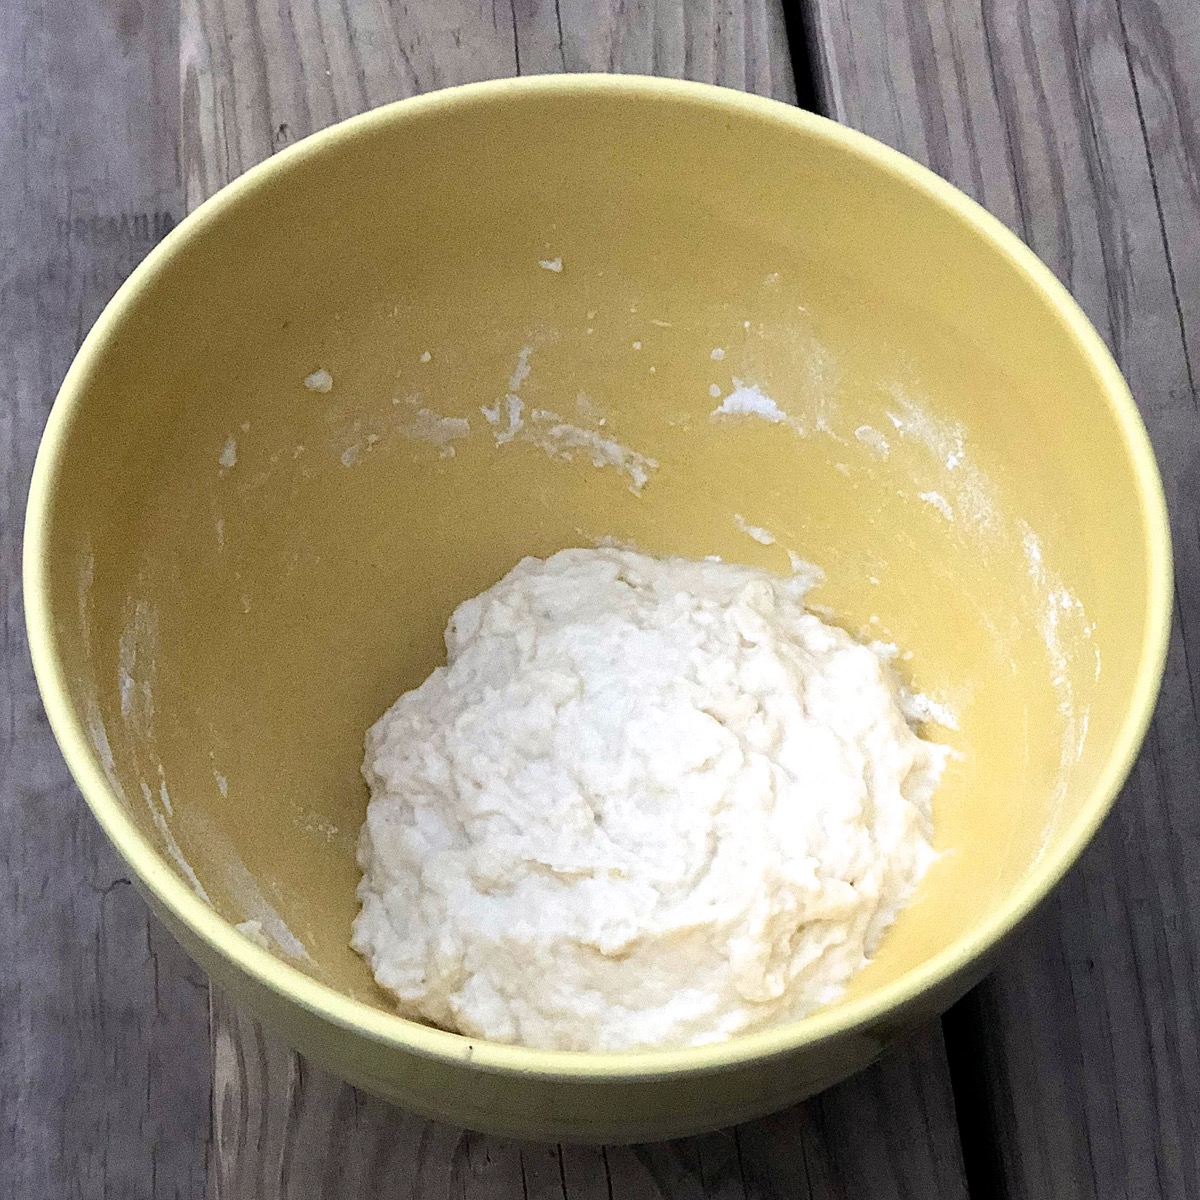
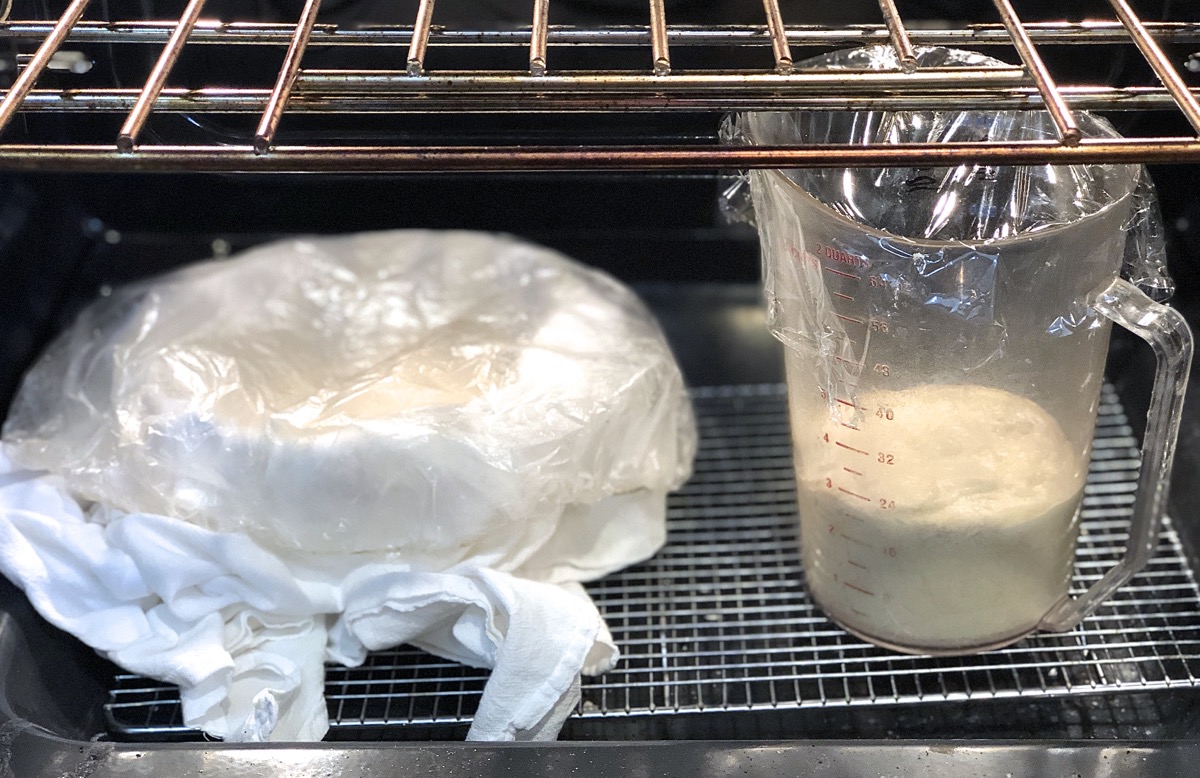
I combine the yeast water and King Arthur Unbleached All-Purpose Flour in a small bowl. I set the bowl in my turned-off oven with the light on, and let it rest for 16 hours (5 p.m. to 9 a.m. the next morning).
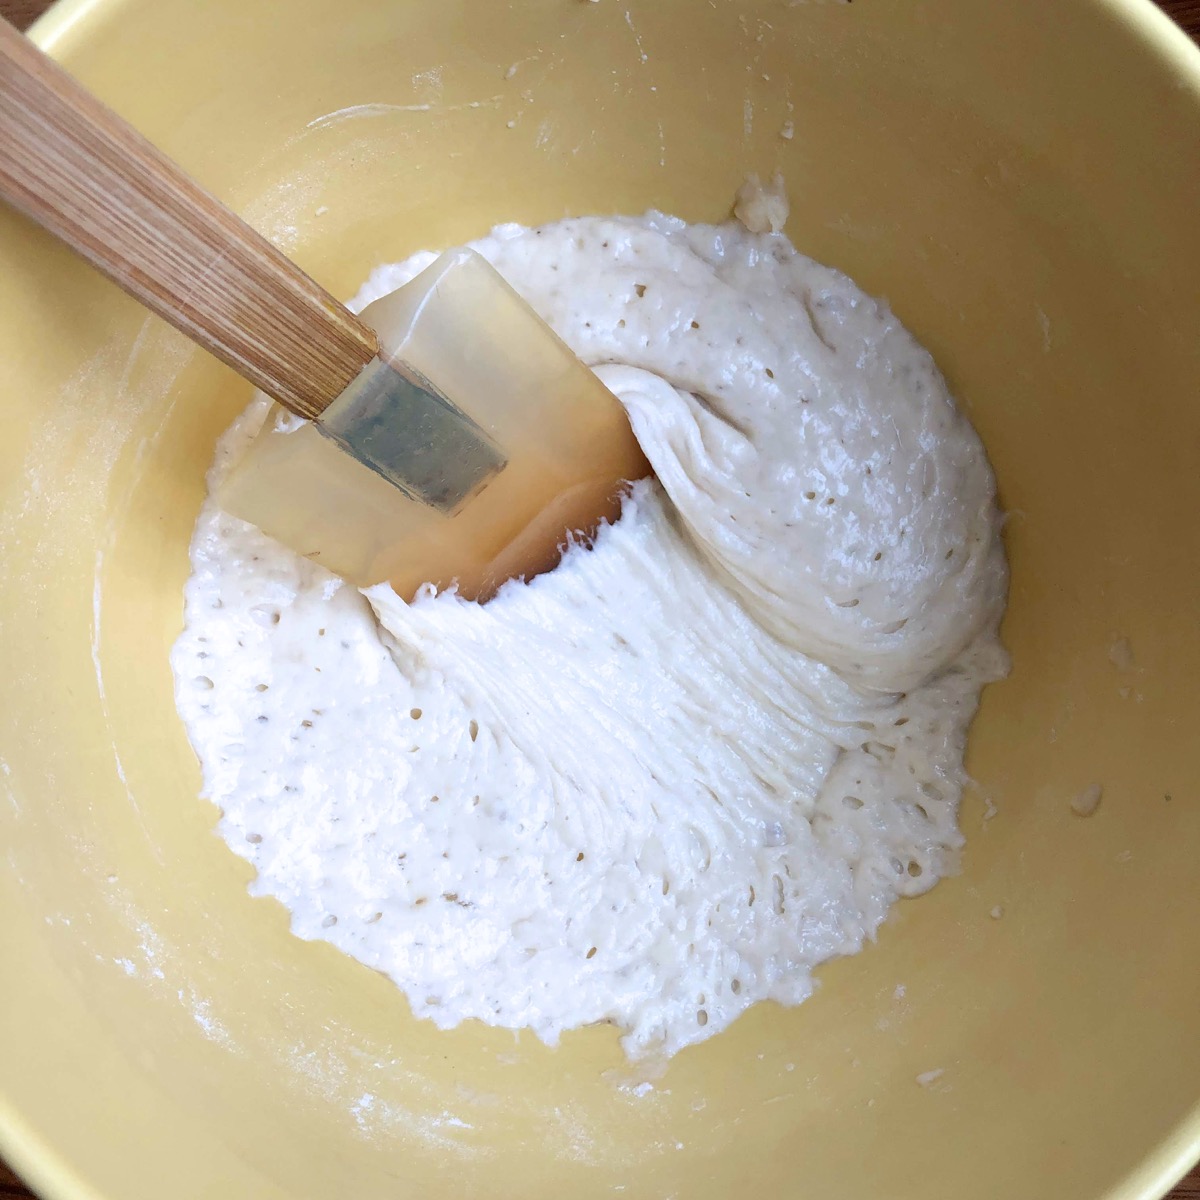
After 16 hours the starter has grown a bit, become infused with bubbles, and is beautifully stretchy, showing not only that the wild yeast in both the flour and water has started working, but that the gluten has started developing as well. Nice!
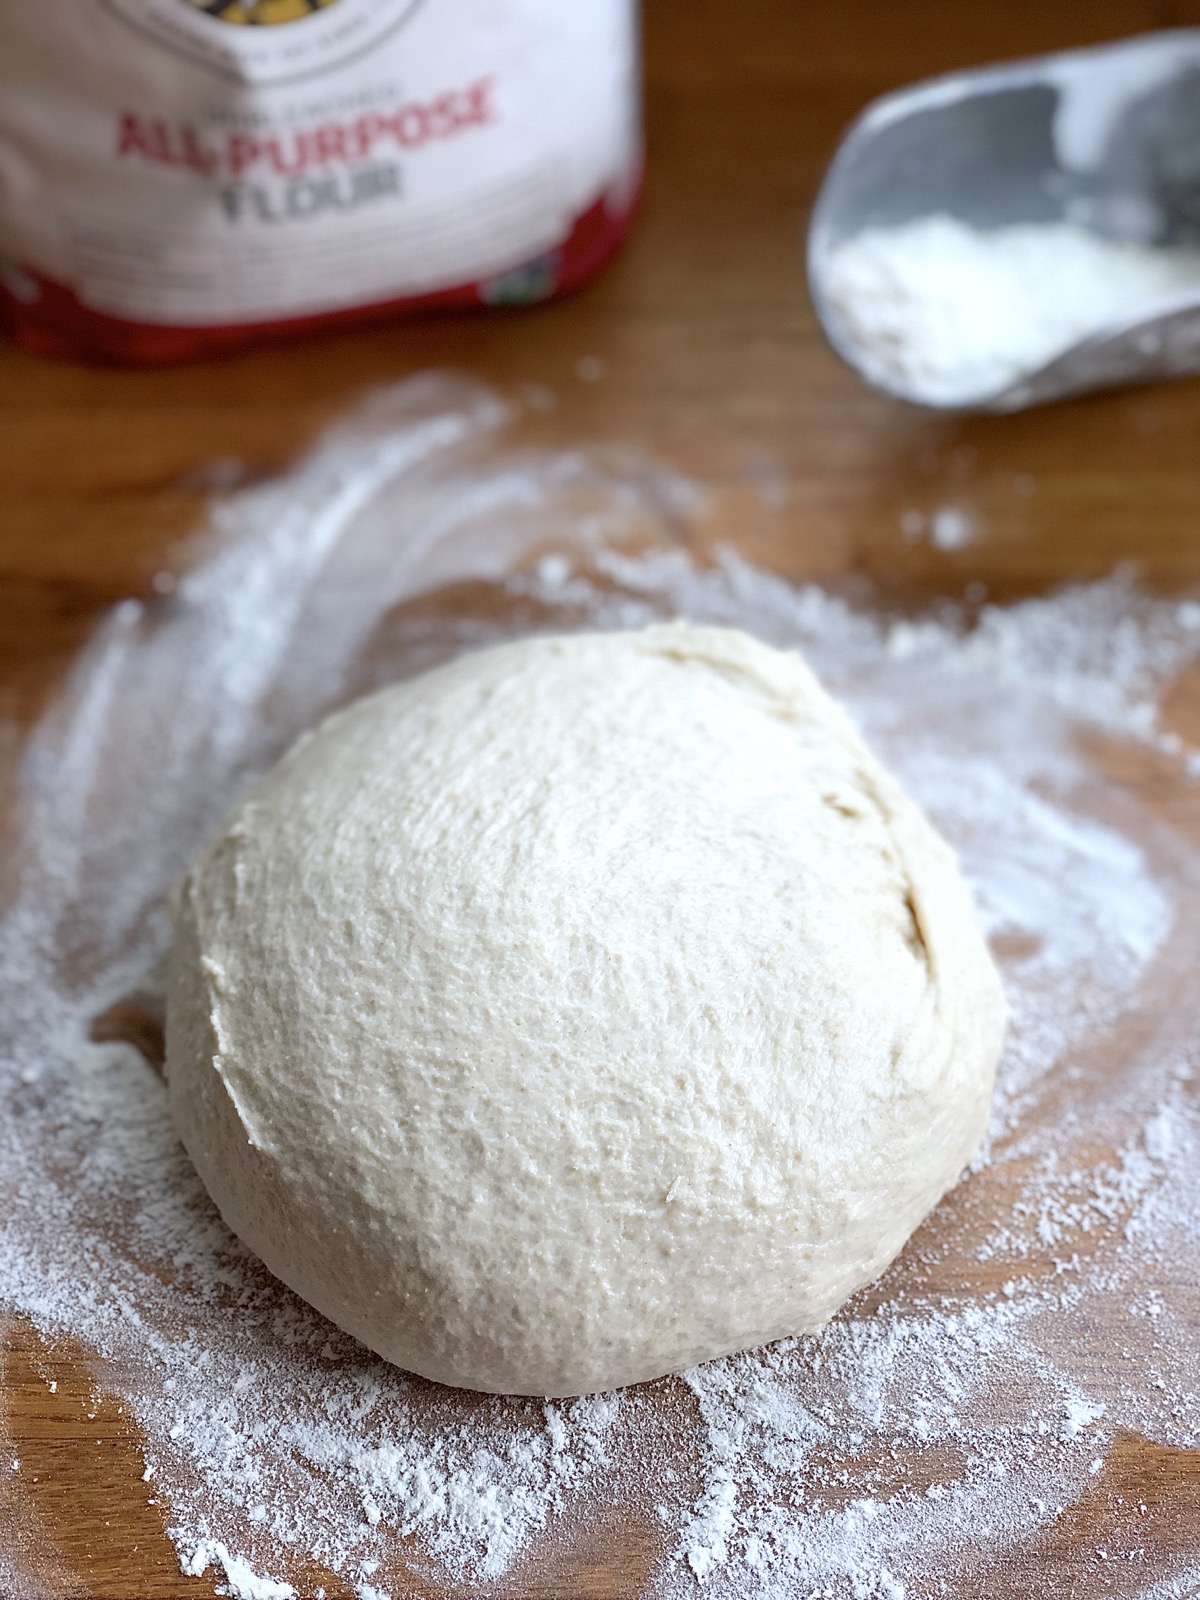
I follow the bread recipe as written, combining the starter with all-purpose flour, white whole wheat flour, and room-temperature water. After a 20-minute rest (autolyse), I add salt, and knead to make a soft, quite sticky, and very elastic dough.
Here’s where things start to get dicey. As the recipe directs, I place the dough in a lightly greased bowl (I actually use a large measuring cup), cover it, and let it rest at room temperature for 2 hours, folding once midway through.
After 2 hours: nothing. Nada. No rise at all.

I give it another 90 minutes, and see the slightest inching upwards.
Uh-oh. Has 9 days of lovingly caring for my yeast water been all for naught?
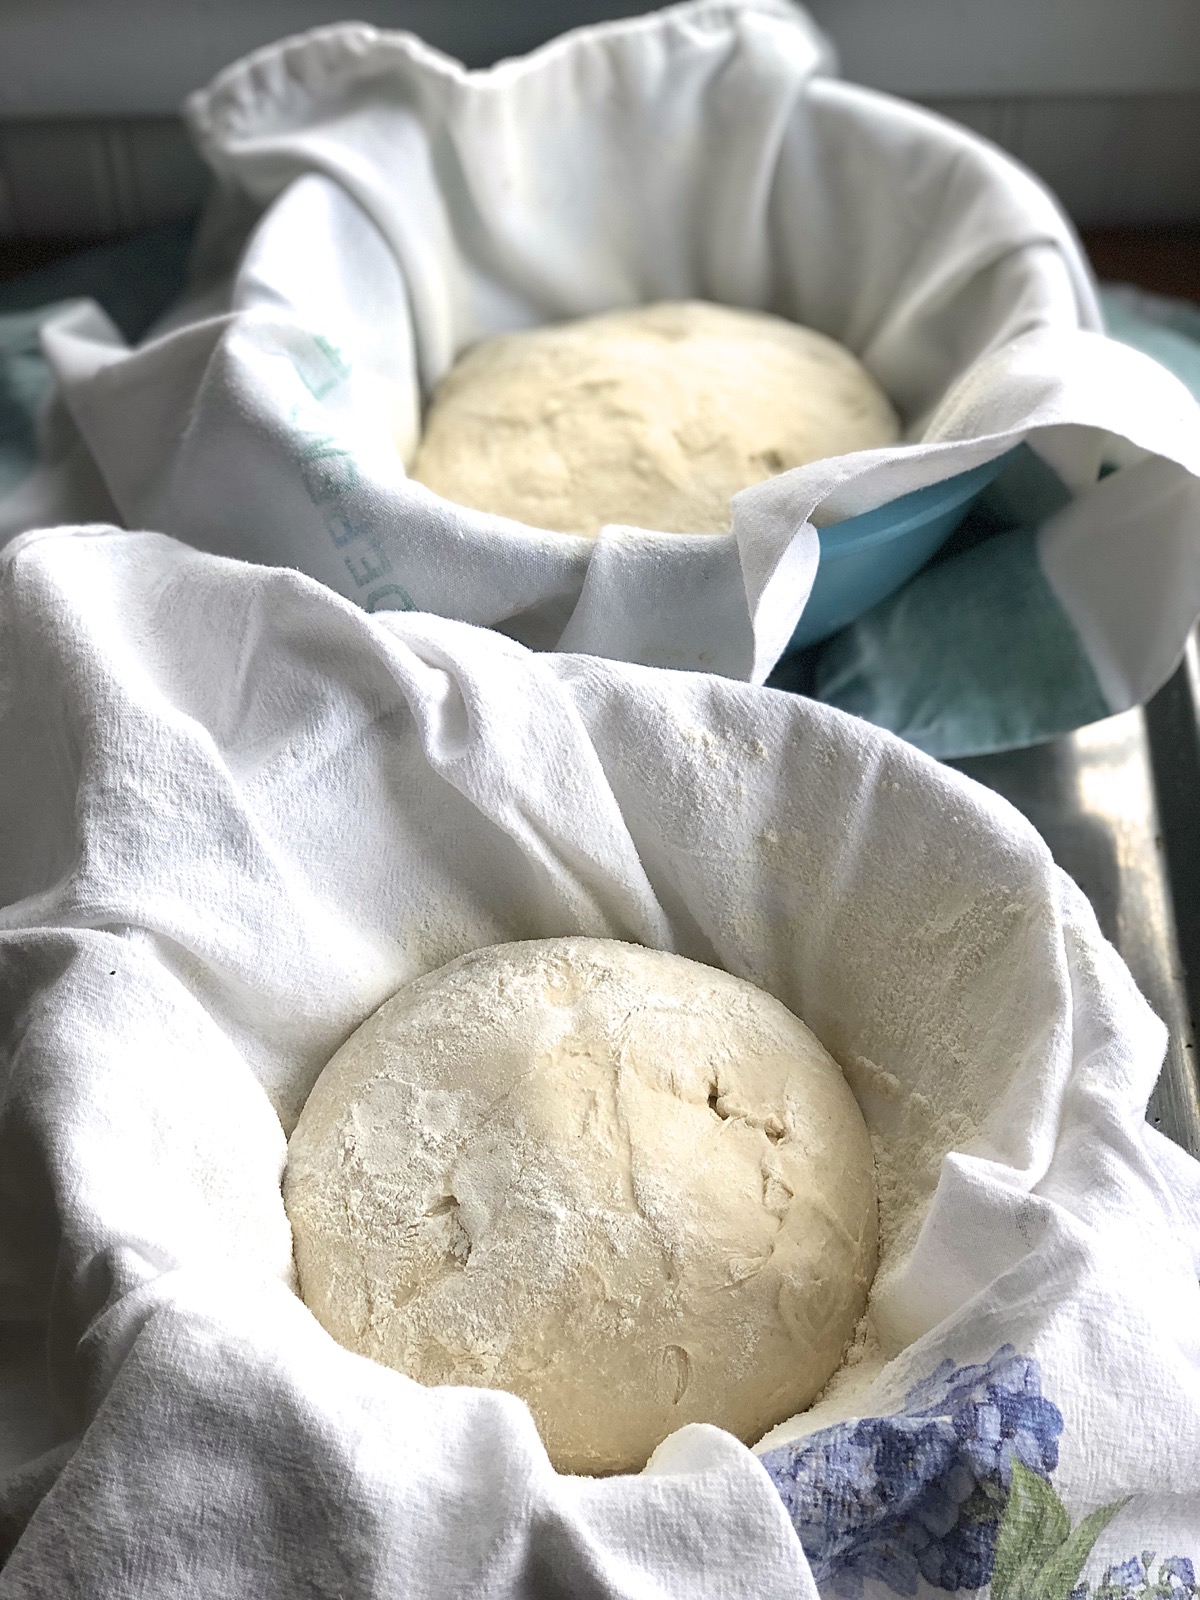
I decide to carry on. I round the dough into a ball and place it in a heavily floured towel set in a bowl (my homemade version of a lined dough rising basket, a.k.a. brotform).
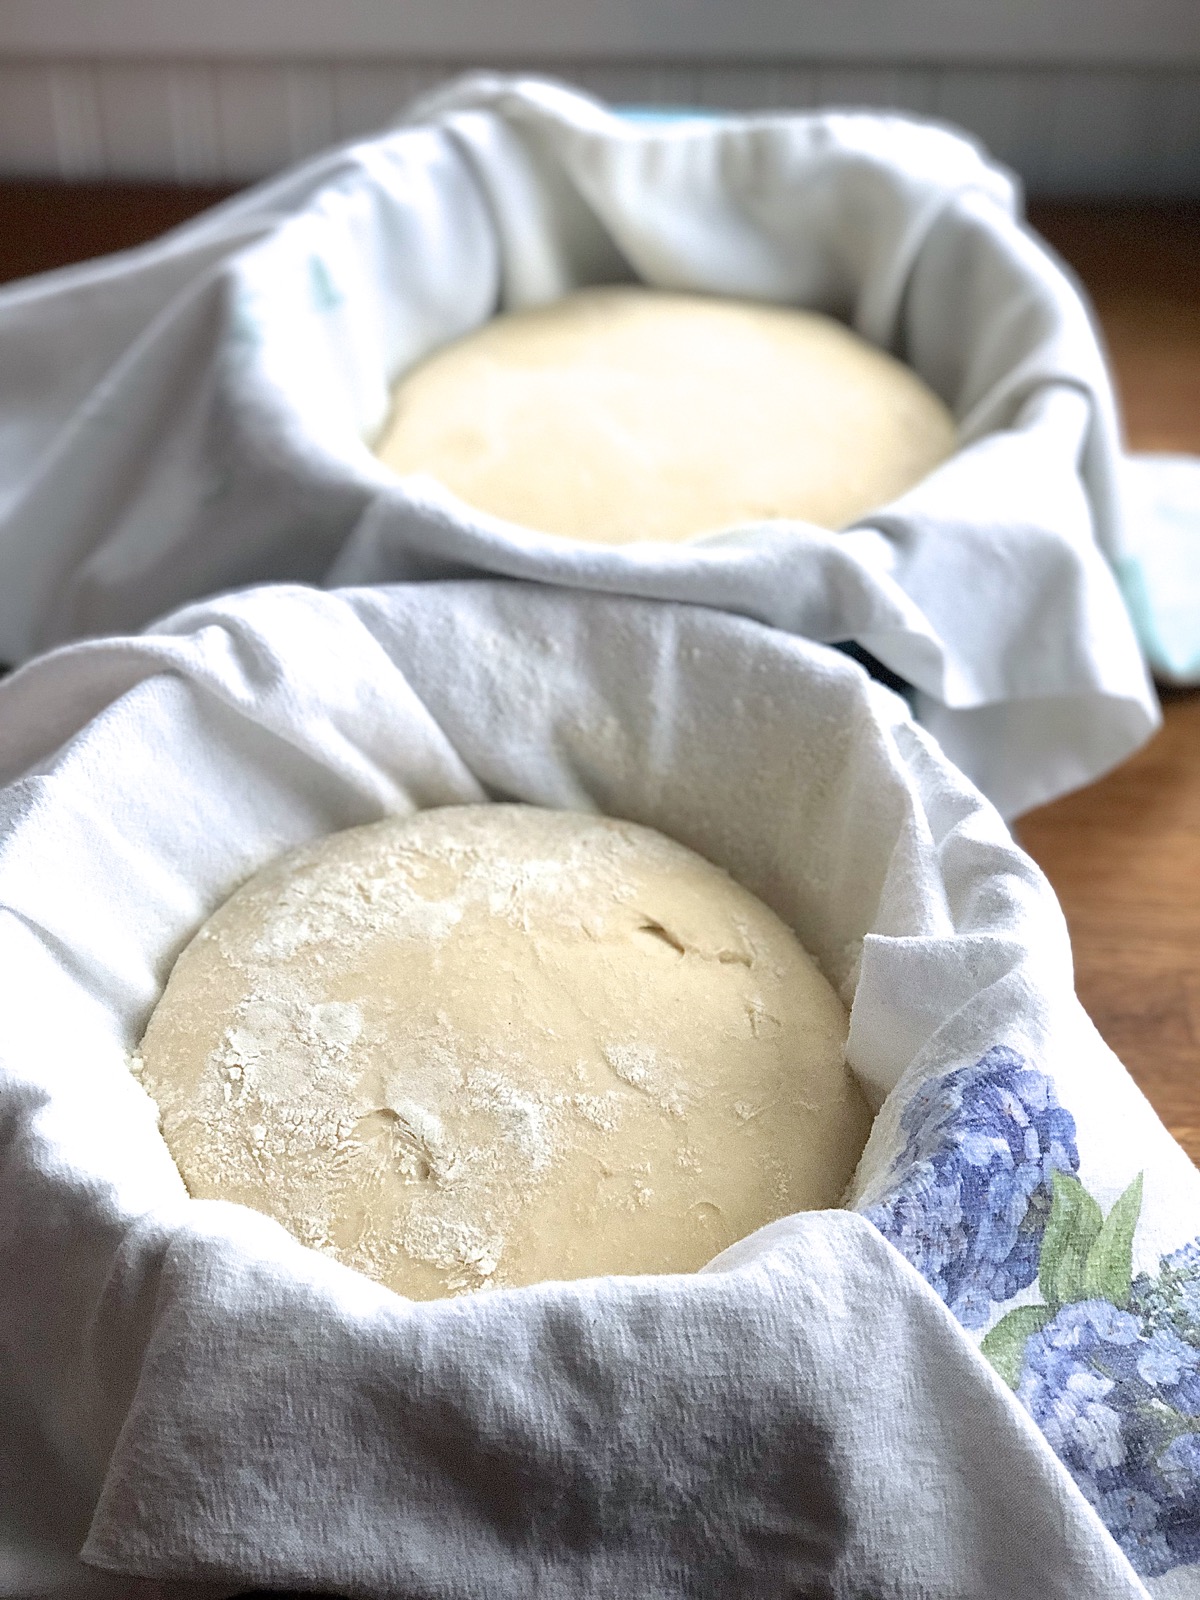
It “rises” for 2 hours. Hmmm, do I see any change at all? I decide to let it rise another 90 minutes. Now it’s definitely larger, but still not blowing me away size-wise. Still, it’s getting late; I don’t want to wait any longer. I preheat my oven to 450°F with a stone inside and when it’s ready, turn the loaf out onto a piece of parchment, slash it, and place it on the stone in the oven.
Twenty minutes later I dare to peek. Will the bread be sitting inert and lifeless, or will it have blossomed into a gorgeous artisan loaf?
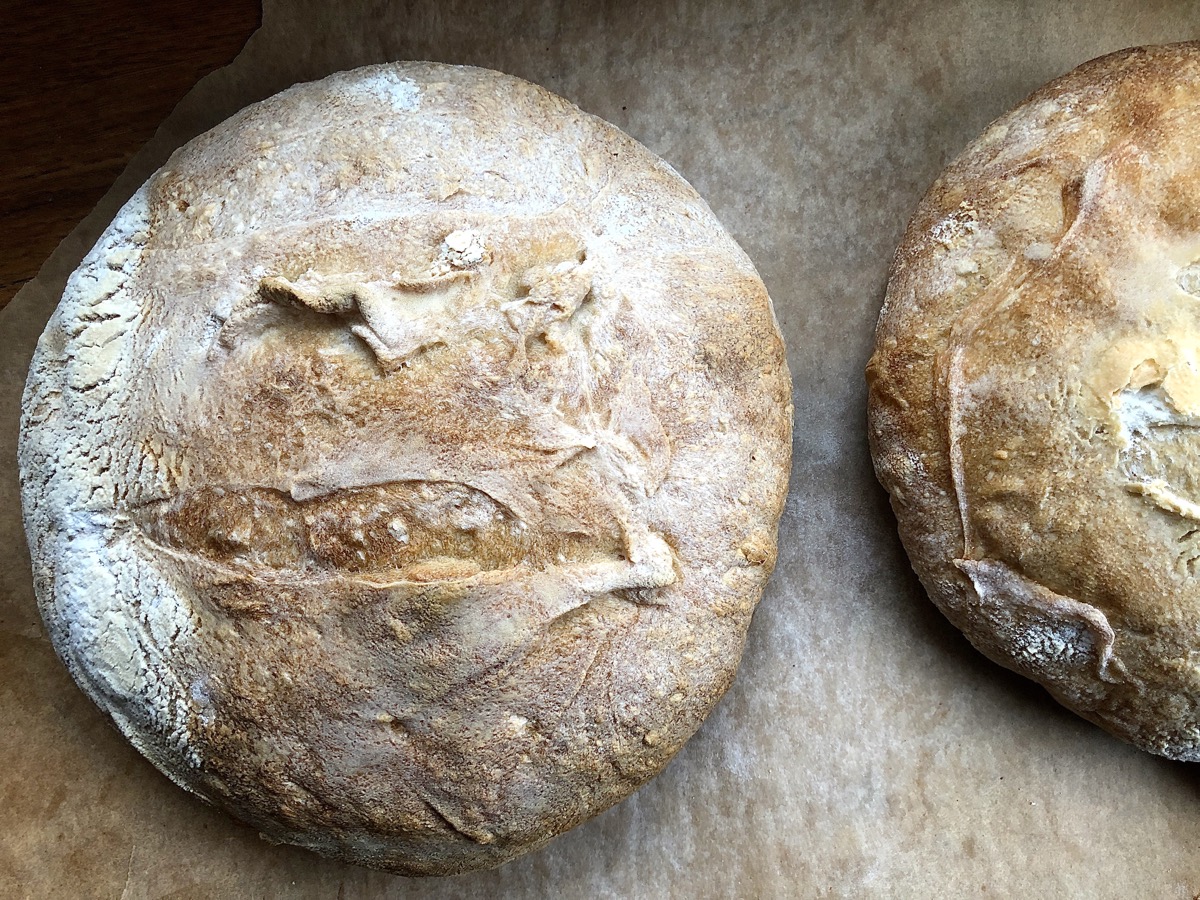
Neither. It’s definitely showing oven spring and has risen pretty nicely, so I’m happy about that. But looks-wise – well, let’s just say I’ll never be known for my expert slashing. Besides which the loaf stuck to the rising towel as I was turning it out, so its top crust was kind of messed up even before I added my “decorative” slashes.
I shuffle the loaves around on the stone so they brown evenly (my oven is hotter towards the back), and bake for 15 more minutes, for a total of 35 minutes.
I take the loaves out of the oven, transfer them to a cooling rack and let them cool completely (a couple of hours) before slicing.
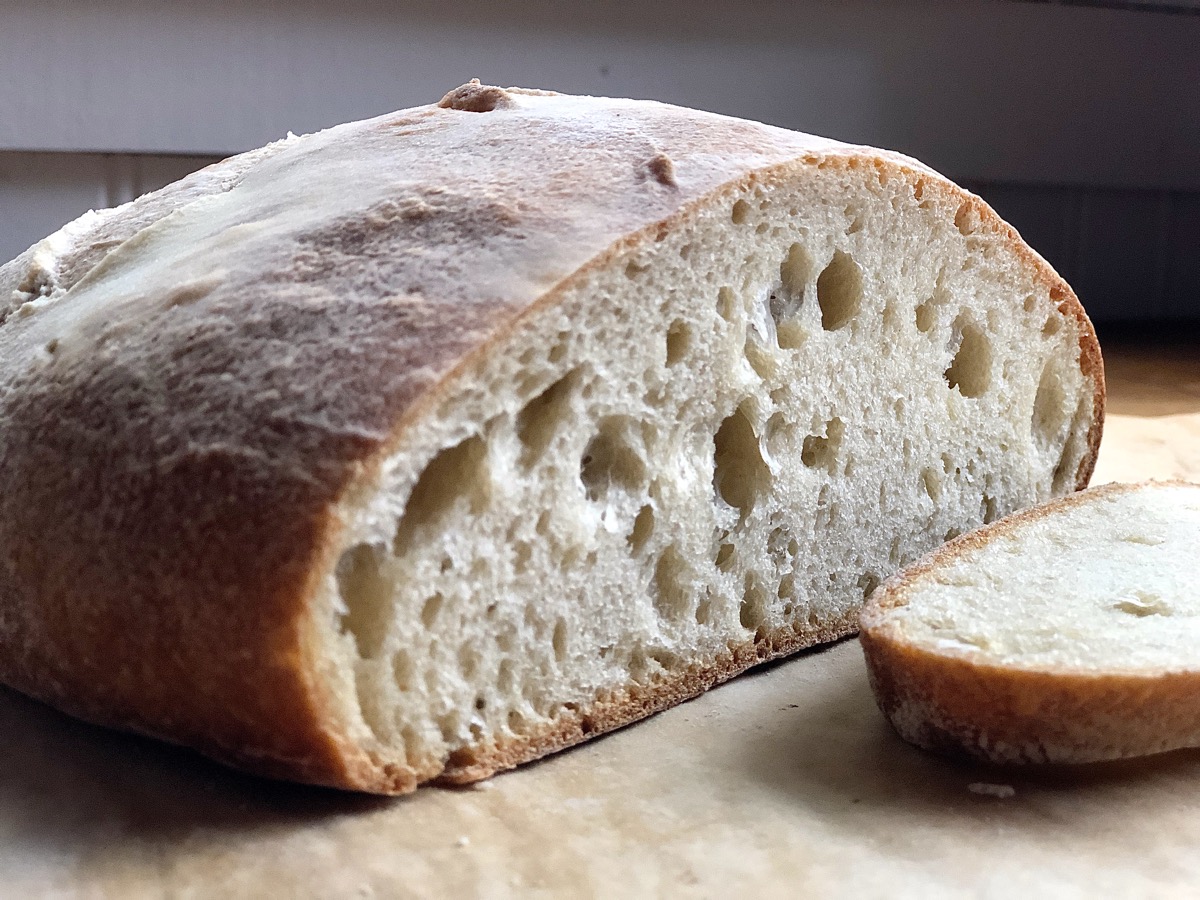
The baker’s moment of truth has arrived. Will the interior have an open crumb (be full of irregular holes) — the universal goal of dedicated bread geeks?

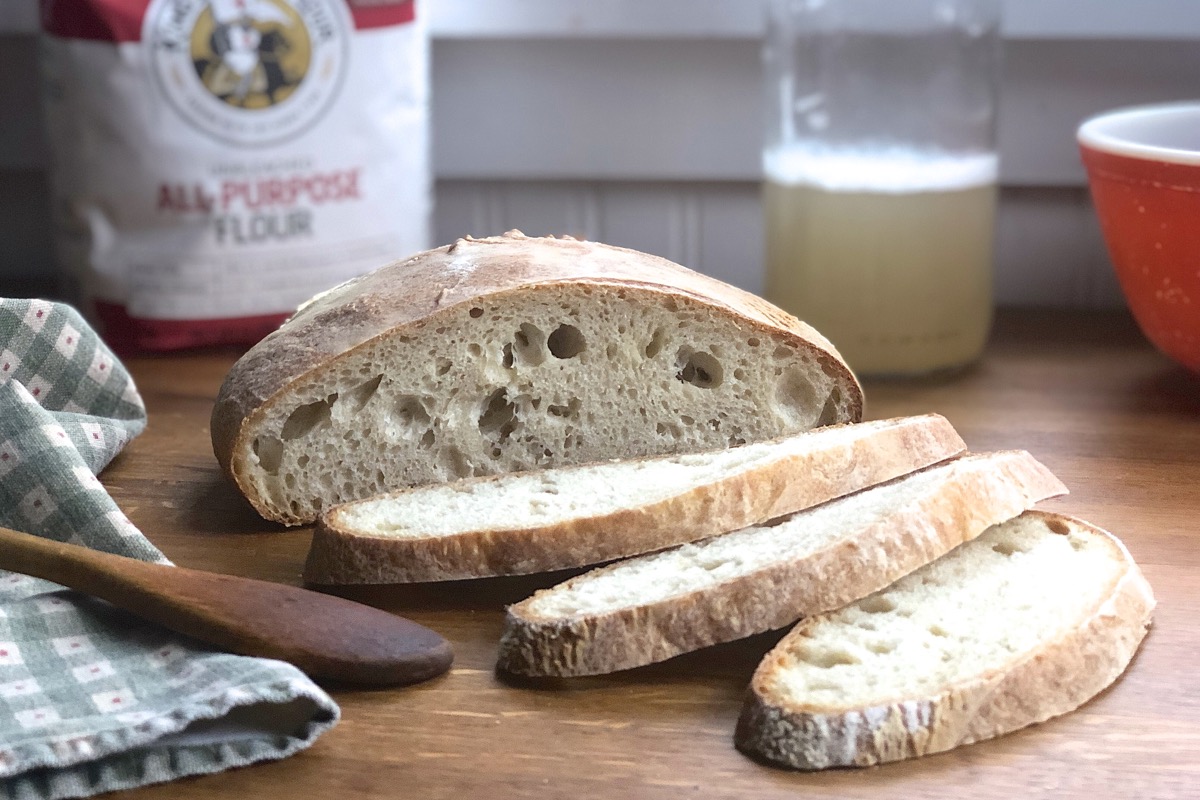
Yes! The loaf has at least a semblance of resemblance to its online recipe photo, which is what most of us feel successful sourdough bread should look like.
And the taste? Rather than obviously sour it’s mildly tangy, with an elusive hint of fruit. Toasted and spread with butter is my favorite way to enjoy its flavor; but it also pairs well with any sandwich filling, and is neutral enough to easily become croutons, sweet or savory bread pudding, or bread crumbs.
Texture-wise it’s identical to the test loaf of Naturally Leavened Sourdough Bread made with standard sourdough starter: dense yet airy (due to its many holes), crusty, and chewy.
If you decide you enjoy baking with yeast water, you’ll eventually need to make more. You’ll need 200g of your existing yeast water, so don’t use the entire bottle on bread. Each bottle of yeast water will yield about six average-sized loaves of bread, minus the 200g you need to save.
Combine 200g yeast water with the following:
Shake twice a day for 2 to 3 days, until the yeast water is foaming nicely. Strain out the dates, and store water in the refrigerator.
At the end of the day, I feel I need to learn more about yeast water. It seems slow off the mark, making the dough’s first rise quite long. I intend to experiment with using more fruit to begin with, giving the water itself more native yeast before combining it with flour to make a starter.
Yeast water dough also seems quite sensitive to temperature, requiring a pretty warm environment (around 75°F to 80°F) to work well. Thankfully, I’ve discovered my oven, with the light turned on, is a steady 77°F at the bottom rack position. Just a single experience with yeast water has taught me that; I’m sure the more I use it, the more comfortable I’ll become with it.
Are you considering trying yeast-water bread? Keep in mind that yeast water makes bread with mild, rather than assertive sourdough tang; this can be a pro or con, depending on personal taste. Here are some other points to ponder:
Pros
Cons
The biggest "pro" to me is one I haven't listed, since it's so dependent on personal taste: I'm a baker who simply likes trying something new — especially something that flies in the face of convention and sounds wacky. Make sourdough starter without flour? Sure, let's give it a try!
Every day of those 10 days spent making the starter and baking the bread I woke up thinking, "I wonder what it's going to look like today? I wonder how the bread will come out?" And that sense of wonder and anticipation, my friends, is a large part of what makes baking so enjoyable.
So will you try yeast water, or not? Whether or not you choose to shake up a bottle, please let us know what you think in the comments section below.
