Yeast Baking Guide

Yeast Baking 101

Have you ever dreamed about baking a delicious loaf of homemade bread, a fresh, crusty pizza, or soft, tender dinner rolls from scratch — and then discarded the idea, thinking "yeast baking is too hard?" Well, think again! Let us demystify yeast baking for you; before you know it, you'll be baking homemade sandwich bread, pizza, and so much more.

The Easiest Loaf You'll Ever Bake

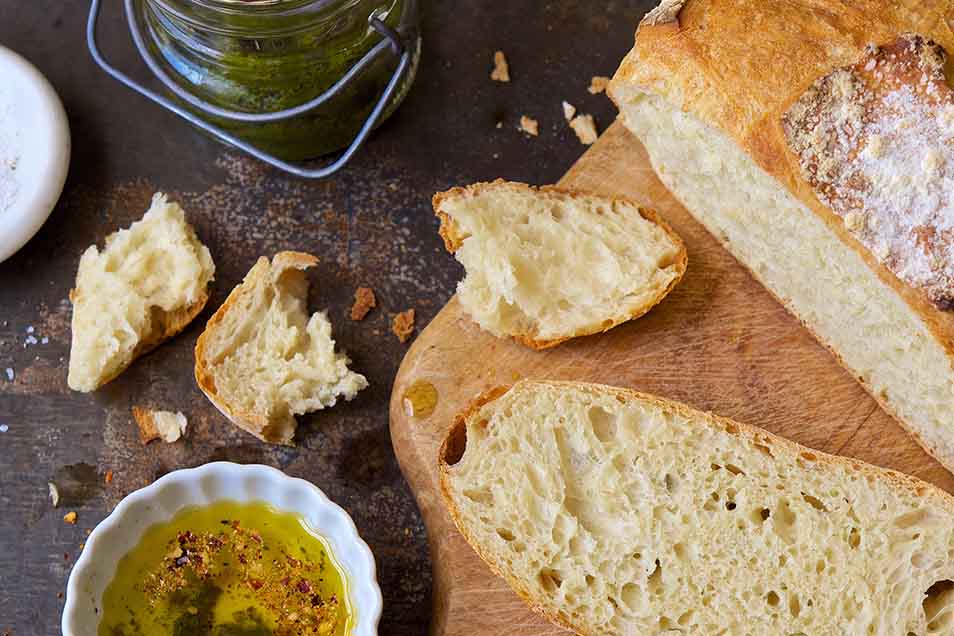
Flour, water, yeast, salt, and just a touch of sugar: these are the simple ingredients in The Easiest Loaf You'll Ever Bake. With its directions geared towards the beginning bread baker, this is a wonderful place for a new yeast baker to start. See the full recipe for complete instructions.

  • Gather Ingredients

    1. Gather your ingredients.

  • Mix everything

    2. Mix everything together.

  • Knead by hand

    3. Knead by hand, or using a mixer.

  • Let rise

    4. Let rise for 1 to 2 hours, until doubled in size.

  • Divide and shape

    5. Divide and shape.

  • Bake and enjoy

    6. Bake and enjoy.

Key Ingredients

Yeast

Packaged dry yeast is readily available at the supermarket or online. You'll find three types: instant, rapid or quick-rising, and active dry. These can be used interchangeably, though they each act a bit differently as they work. For a comparison of these three yeasts see our blog post, Which yeast to use: choosing the best type for any recipe.

The fresher the yeast, the more readily it will do its job. Buy the freshest yeast you can find; packets or jars at the supermarket will have a sell-by date. For the freshest yeast possible, though, buy online.

Flour

Using a consistently high-quality flour is key to yeast-baking success. For best results, base your yeast dough on wheat flour — only wheat-based flour provides the type and amount of protein yeast dough needs to support its structure. Whole wheat flour, white whole wheat flour, bread flour, or all-purpose flour are all good choices.

For best results, measure flour carefully

Too much flour makes bread dry and dense; too little, your loaf or pizza will spread instead of rise. For best accuracy, use a scale. See our video, How to measure flour.

Liquid

Varying the amount of liquid in a yeast recipe has a significant effect on texture. In general, the drier and stiffer the dough, the denser and drier the loaf (and the longer it will take to rise). Loaves made with softer dough are usually moister, higher rising, and exhibit more open texture.

Salt

Salt tempers yeast's activity, preventing it from growing too quickly; without salt, your loaf runs the risk of rising too quickly and then collapsing as it bakes. Salt also enhances flavor and color; without it, your bread, pizza, or rolls will taste flat and lifeless, and won't brown well.

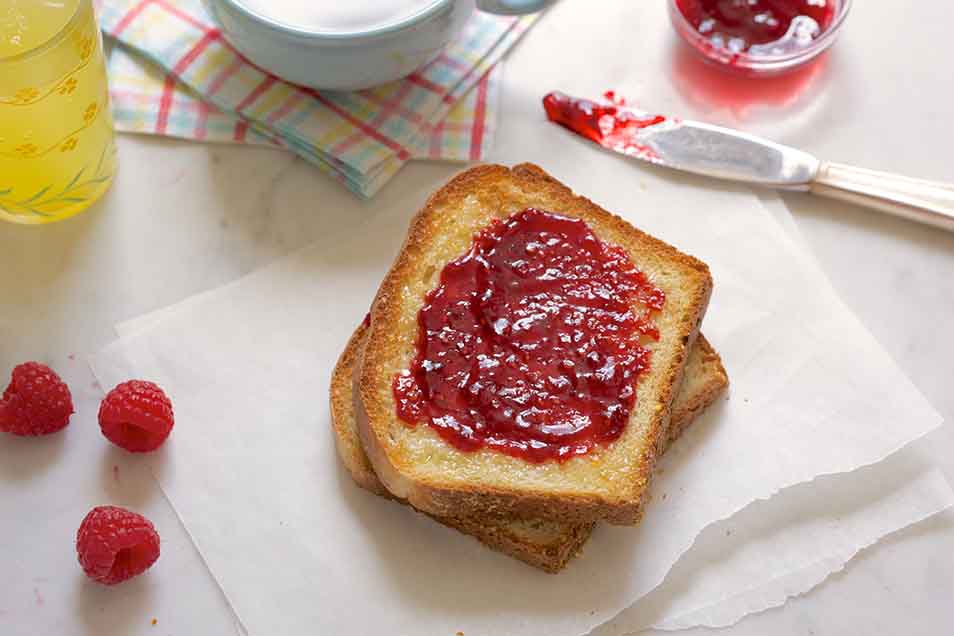
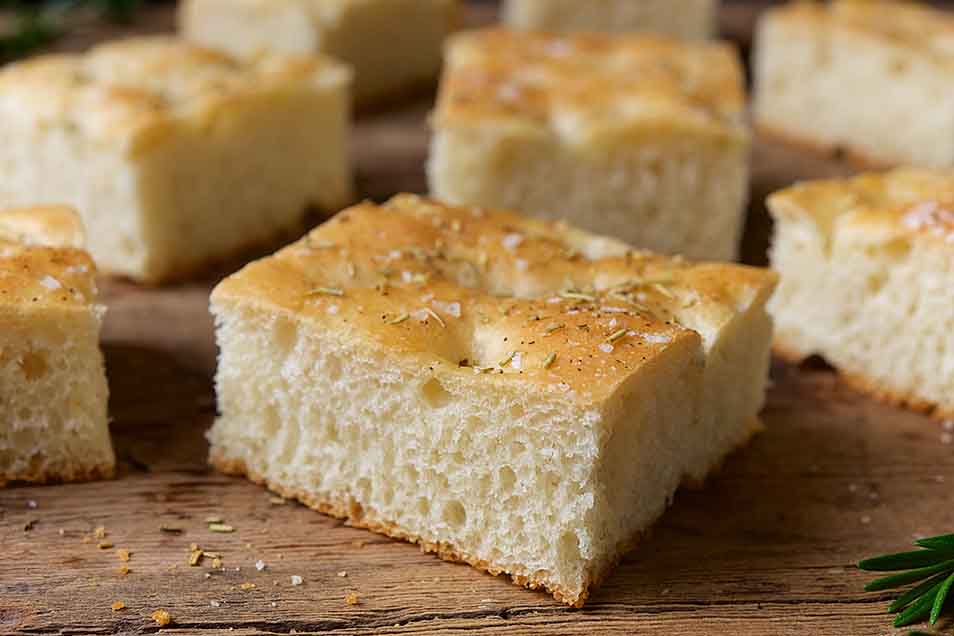
Simple yeast recipes

Get started with these easy recipes — no kneading required!

Kneading basics

Once you've become familiar with yeast and how it works, it's time to broaden your bread horizons. Most baked goods using yeast require kneading the dough before shaping and baking. Kneading develops the dough's gluten, strengthening and stretching it so it's able to trap the gas created by yeast, thus making the dough rise.

Once your dough has been kneaded, it's ready to rise: professionals call this step "fermentation." The gas emitted by growing yeast will be trapped in the kneaded dough, causing it to rise.

There are various ways you can "work" the dough to develop its gluten:

  • Knead by hand

    Your hands are an excellent tool for kneading yeast dough; bakers have been kneading dough by hand for centuries.

  • Stand mixer

    A stand mixer mixes yeast dough ingredients with its beater, then kneads the dough with a dough hook.

  • Bread machine

    A bread machine set on the dough cycle mixes and kneads dough, then provides a warm rising environment.

Videos

Rising Basics

Once your dough is thoroughly kneaded, transfer it to a lightly greased bowl or other container. Your dough will likely double in size as it rises; so be sure to use a large enough vessel. To determine exactly when your dough has doubled in size, choose a container with marked measurements:

  • An 8-cup measure is just the right size for a recipe using 3 to 3 1/2 cups of flour.
  • For larger recipes, a lidded dough bucket is ideal.

Why two rises?

Yeast dough usually rises twice: once in a bowl or other secure container; and then again after it's shaped. Gently deflating the dough after its first rise, shaping it, and then giving it a second rise redistributes the yeast, thus offering it fresh food. The result? A more even rise, and better flavor.

Shaping and baking basics

After your dough has risen once, you'll deflate it, then shape it into a loaf, rolls, soft pretzels, or whatever you've chosen to make. Your recipe will tell you how to divide and shape the dough, and let it rise prior to baking.

The final step, baking, transforms soft, malleable yeast dough into a towering loaf of bread, soft dinner rolls, chewy pizza crust... Adjusting oven temperature and baking time can yield different effects in your bread, most particularly in its crust. While the bread's ingredients affect its crust to some degree, baking is arguably a larger factor in whether your bread is crusty and crunchy, or soft and tender.

  • For crusty bread and rolls, bake quickly at a higher temperature (425°F or above), and add steam to your oven.
  • For soft bread, dinner rolls, and sweet rolls, bake for a longer amount of time at a lower temperature. For extra flavor and an even softer crust, brush bread with melted butter when you take it out of the oven.
  • For pizza crust, bake in a hot oven (at least 425°F), baking on a stone or steel for extra-crusty crust. Bake thin crusts quickly; thicker crusts longer.
b corporation logo
100% Employee-owned
1% For The Planet
100% Committed to Quality