Buttermilk Biscuits

Buttermilk biscuits are a classic American treat. Mix together just a few simple ingredients and in less than 30 minutes, you can have fresh, warm biscuits on the table — perfect for a leisurely breakfast, savory supper, or served with jam and a cup of afternoon tea. Formerly known as "Baking Powder Biscuits," this recipe is now called Buttermilk Biscuits to reflect the historical and beloved nature of biscuits made with buttermilk.

Prep
20 mins
Bake
15 to 20 mins
Total
40 mins
Yield
12 biscuits
Buttermilk Biscuits - select to zoom

Instructions

Prevent your screen from going dark as you follow along.
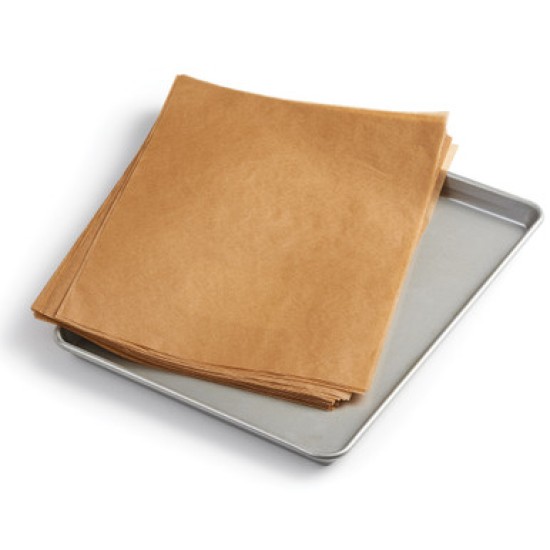
  1. Preheat your oven to 425°F with a rack in the upper portion. Get out a baking sheet; there's no need to grease it. Line it with parchment if you like, for easiest cleanup.

  2. Weigh your flour; or measure it by gently spooning it into a cup, then sweeping off any excess. 

  3. Mix together the flour, salt, baking powder, and sugar.

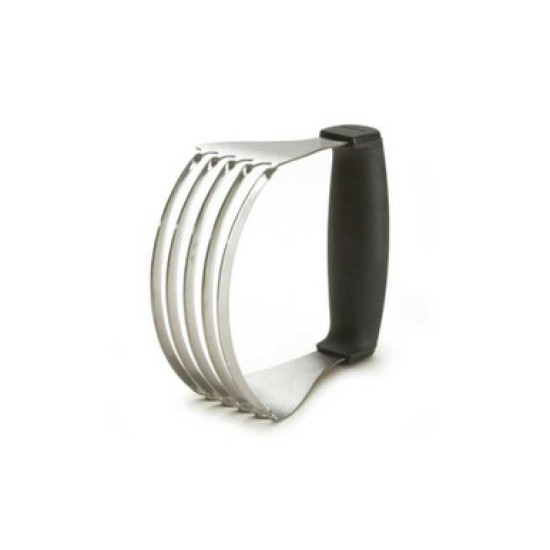
  4. Work the butter into the flour mixture using your fingers, a fork or pastry blender, a stand mixer, or a food processor; your goal is an evenly crumbly mixture (think breadcrumbs).

  5. Drizzle the smaller amount of buttermilk evenly over the flour mixture. Mix quickly and gently for about 15 seconds, until you've made a cohesive dough. If the mixture seems dry and won't come together, don't keep working it; drizzle in enough milk — up to an additional 2 tablespoons (28g) to make it cohesive.

  6. Place the dough on a lightly floured work surface. Pat it into a rough rectangle about 3/4" thick. Fold it into thirds like a letter and roll gently with a floured rolling pin until the dough is 3/4" thick again.

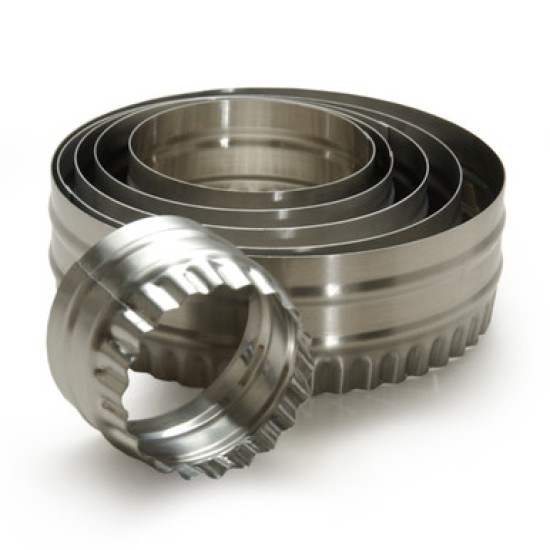
  7. Cut the dough into circles with a biscuit cutter for traditional round biscuits; a 2 3/8" cutter makes nice-sized biscuits. Or to avoid leftover dough scraps, cut the dough into squares or diamonds with a bench knife or sharp knife.

  8. Place the biscuits bottom side up on your prepared baking sheet; turning them over like this yields biscuits with nice, smooth tops. Brush the biscuits with milk, to enhance browning.

  9. Bake the biscuits for 15 to 20 minutes, until they're lightly browned. Remove them from the oven, and serve warm.

  10. Store any leftover buttermilk biscuits, well wrapped, at room temperature for several days. Freeze for longer storage. Biscuits are always best when they're rewarmed before serving.

Tips from our Bakers

  • Using room-temperature butter and working it into the flour until the mixture is an even, breadcrumb-like consistency will yield tender biscuits with an even, light crumb. Using cold butter and working it into the flour until the mixture is unevenly crumbly, on the other hand, will result in higher-rising biscuits that are "layered" and flaky. 

  • Why the range in liquid? Add just enough of whatever liquid you choose to bring the dough together readily, without having to work it too much. For more tips on how to substitute different liquids and fats in biscuits, see our blog post, Fats and liquids in biscuits.

  • Placing cut biscuits closer together (with 1/4" of space between them) will help them rise higher and straighter; they'll literally hold each other up as they rise in the oven. The sides will be softer, also. If you like a crisp biscuit, space them at least 1" apart on the baking sheet so the oven's heat can reach their sides.
  • If you're going to use the biscuits for shortcakes, increase the sugar to 2 tablespoons, and stir 1 teaspoon vanilla into the dry mixture along with the milk. Also, dissolve a teaspoon of sugar in the tablespoon or so of milk you use to brush the tops; this will help them brown nicely and impart mild sweetness to the crust.
  • If you have time, prepare the biscuits up to the point they're on the pan before preheating your oven. Place the pan of biscuits in the refrigerator while you preheat your oven to 425°F, or for about 20 to 30 minutes. This short chill will help them maintain their shape while baking.