Birthdays: A time for singing, balloons, and (of course) cake. Some of us have a dedicated favorite, but perhaps no cake is more universally topped with candles than the classic yellow cake with chocolate frosting.
Despite its ubiquity in bakeries nationwide (and in mix form on grocery store shelves), great homemade versions of this chocolate-on-vanilla duo are somewhat elusive. But after months of testing, we think we've nailed it. Join us in celebrating this classic American cake and the birthdays it commemorates; crowned our 2019 Recipe of the Year.
Prevent your screen from going dark as you follow along.
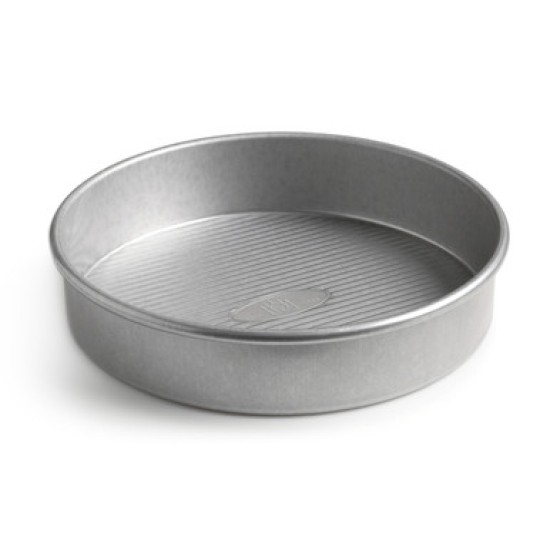
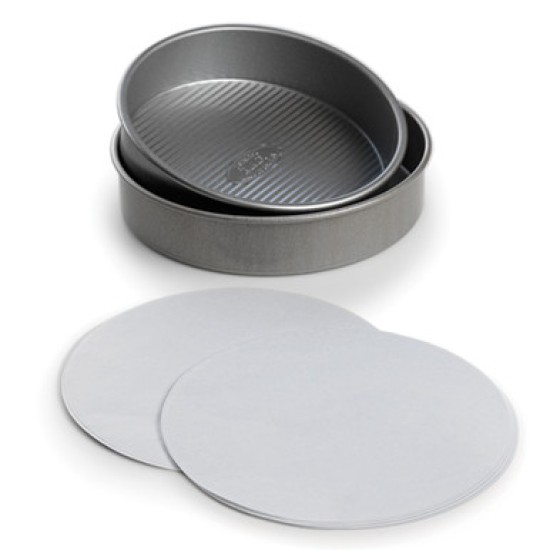
To make the cake: Preheat the oven to 325°F with a rack in the center. Lightly grease two 8” x 2” or 9” x 2” round cake pans; for extra protection against sticking, line the bottom of the pans with parchment rounds (you can cut these yourself or use precut 8” or 9” rounds), and grease the parchment. If your 8” pans aren’t at least 2” deep, use 9” pans.
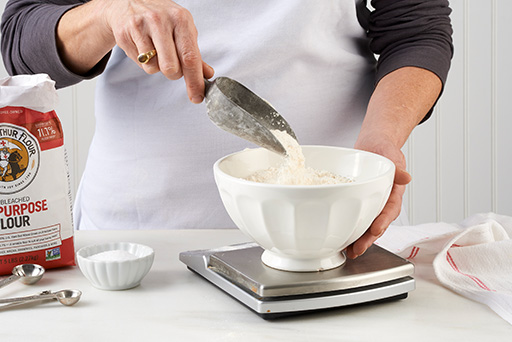
Weigh your flour; or measure it by gently spooning it into a cup, then sweeping off any excess.
In a small bowl, combine the flour, salt, and baking powder. Set aside.
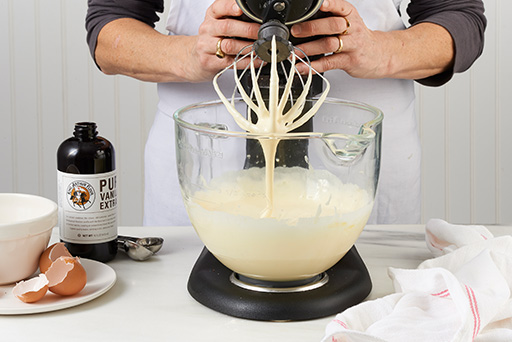
In a large mixing bowl, either using an electric hand mixer or a stand mixer with whisk attachment, beat the eggs, sugar, vanilla, and almond extract, until thickened and light gold in color, about 2 minutes at medium-high speed. If your stand mixer doesn’t have a whisk attachment, beat for 5 minutes using the paddle attachment. The batter should fall in thick ribbons from the beaters, whisk, or paddle.
Add the dry ingredients to the mixture in the bowl and mix — by hand or on low speed of a mixer — just enough to combine. Scrape the bottom and sides of the bowl, then mix again briefly, to fully incorporate any residual flour or sticky bits.
In a saucepan set over medium heat or in the microwave, bring the milk just to a simmer. Remove the pan from the heat and add the butter and oil, stirring by hand until the butter has melted.
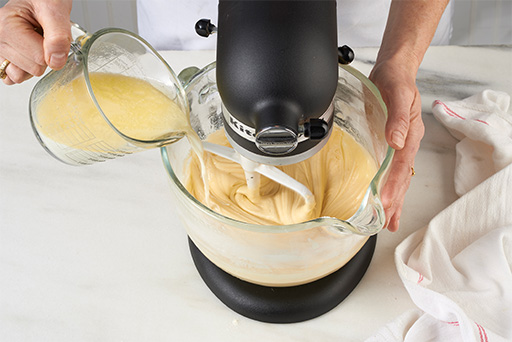
Slowly mix the hot milk-butter-oil mixture into the batter, stirring on low speed of a mixer until everything is well combined. Scrape the bowl and mix briefly, just until smooth.
Divide the batter evenly between the two pans. You’ll use about 2 3/4 cups (about 580g) in each.
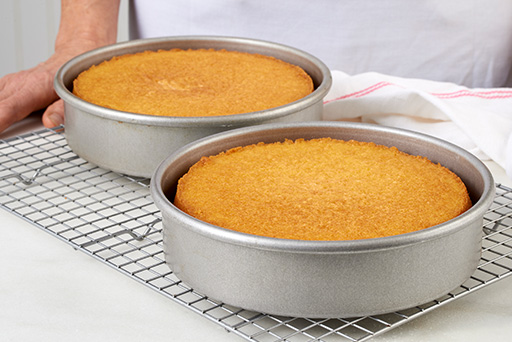
Bake the cakes until the edges are pulling away from the sides of the pan, a toothpick inserted into the center comes out clean, and the top feels set. This should take 26 to 30 minutes for two 9” pans, or 38 to 42 minutes for two 8” pans; a digital thermometer inserted into the center of the cakes should read 205°F. Remove the cakes from the oven, carefully loosen the edges, and allow them to cool for 15 minutes in the pans. Then turn them out of the pans and transfer them to a rack, right-side up, to cool to room temperature.
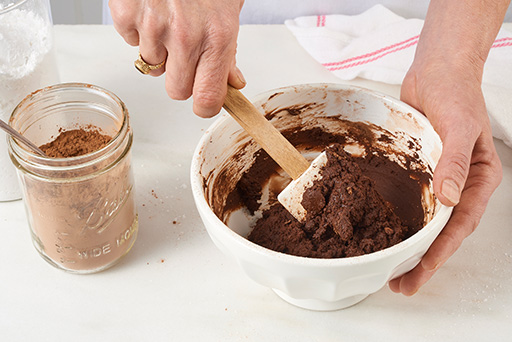
To make the frosting: In a large mixing bowl or the bowl of your stand mixer, stir together — by hand or mixer — the cocoa powder, 1 cup (113g) of the confectioners’ sugar, and the salt. Stir in the water and vanilla, scraping the bowl if necessary.
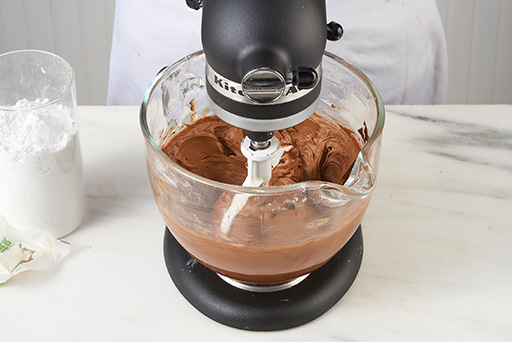
Add the butter and remaining confectioners’ sugar, stirring to combine. Using an electric hand mixer or a stand mixer with paddle attachment, beat the frosting at medium-high speed for 1 to 2 minutes, until lightened in color and fluffy, stopping halfway through to scrape the bottom and sides of the bowl. When the frosting is ready, scoop out a bit on your spatula; does it seem nicely spreadable? If it's too stiff, beat in water (1 teaspoon at a time) until it's the consistency you want.
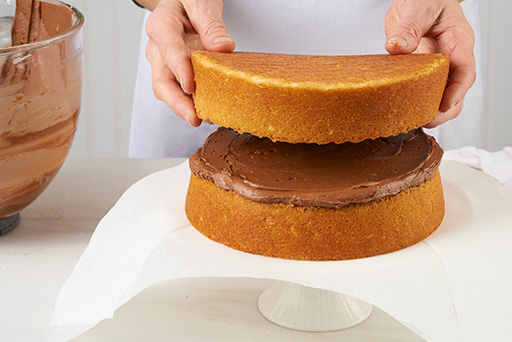
To assemble the cake: Place one of the cake layers on a serving plate; tuck pieces of waxed or parchment paper underneath the edge of the cake to keep the plate clean. Spread the bottom layer with about 1 cup of frosting, enough to make a 1/4” to 1/2”-thick layer. Center the second layer bottom-side up (for a flat top) over the frosted layer and press gently to set it in place.
If your schedule permits, place the cake in the refrigerator or freezer, uncovered, for at least 30 minutes (or up to 2 hours) to firm it up. This will make the layers less likely to slide around as you work, and the cake won’t shed crumbs as you frost. If you’re pressed for time, you can skip this step.
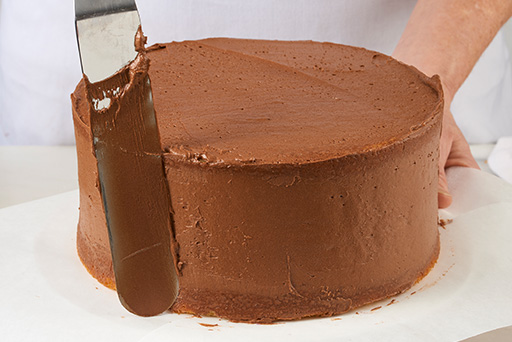
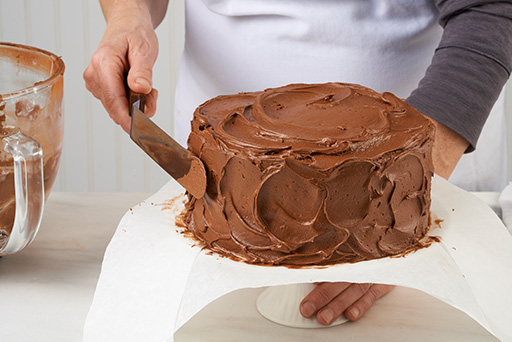
To finish the cake: For the best-looking cake, do the frosting in two steps. First, spread a very thin layer of frosting around the sides and across the top; this is called a crumb coat. You should be able to see the cake through the frosting in spots, it’s that thin. Refrigerate the cake for 20 minutes to let this layer set. Again, skip this step if time is a factor.
Once the cake is chilled, use the remaining frosting to coat it thoroughly and evenly; our cake styling guide offers six pro-style options for "styling" your cake. If you have any leftover frosting, you can use it to pipe decorations on the top and/or around the base.
Store the cake, covered, at room temperature, or in the refrigerator if your kitchen is hot. Let it come to room temperature before serving. For tips on slicing, see The best way to cut cake.
Storage information: The cake will keep at room temperature, covered with a cake cover, for up to three days; in the refrigerator, covered, for up to one week, or in the freezer, well wrapped, for up to one month.
If you prefer a three-layer cake, or your 8” pans aren’t at least 2” deep, divide the batter into thirds and use three pans. If you only have two pans, bake the third cake in a second batch, reusing one of the cooled, cleaned, and newly greased pans. Bake the cakes for 22 to 27 minutes.
Make ahead tips: Cake layers and frosting can be made up to three days ahead, refrigerated, and the cake assembled the day you wish to serve it. For storing, wrap the layers in plastic and transfer the frosting to an airtight container, or tightly cover the bowl in which you made it. When you're ready to assemble the cake, remove the frosting from the fridge and warm at room temperature until soft enough to spread easily. The whole cake (assembled and decorated) can be stored in the freezer for up to a month.
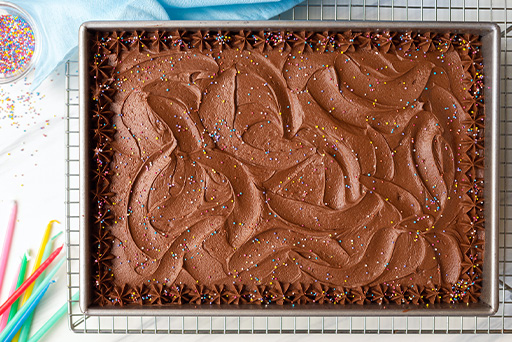
To make a 9" x 13" sheet cake: Prepare the batter as directed. Pour it into a lightly greased 9" x 13" pan, and bake in a preheated 325°F oven for about 45 to 48 minutes, until the cake tests done. You'll have excess frosting if you make the entire frosting recipe; if you don't want to end up with leftover frosting, consider making a half recipe (which will frost the cake minimally), or a three-quarter recipe (which will frost it more generously).