-
If you're measuring the sourdough starter using volume rather than weight, stir it down before measuring. Combine the starter, flours, and water in a large bowl and mix well, until all of the flour is moistened and the dough has formed a cohesive mass. Add extra water or flour if needed to form a soft, tacky dough.
-
Cover the dough and let it rest for 20 minutes. This rest, known as an autolyse, allows the flour to absorb the water, which starts the dough’s gluten formation, and makes it easier to knead.
-
After the rest, add the salt and knead the dough until it’s smooth and supple, though still somewhat soft and tacky. When fully kneaded, place the dough back in the bowl, cover, and let it rise for 1 hour.
-
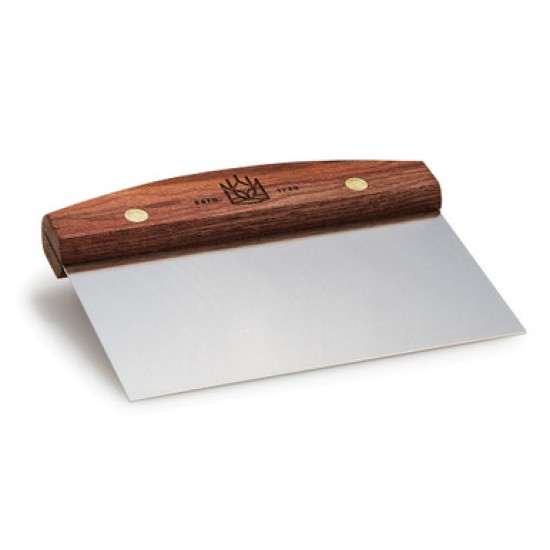
Give the dough a fold: Turn it out onto a floured surface and, using a bowl scraper or bench knife, fold it like a business letter. Turn the dough 90° (a quarter turn). Gently flatten it a bit, and repeat the letter fold. Return the dough to the bowl, cover, and let it rise for another hour.
-
At the end of the rise, turn the dough out onto a lightly floured surface and divide it in half. Gently shape into two rounds, cover, and let rest for 20 minutes.
-
After this rest, shape the loaves into tight rounds, and place them seam side up in bowls lined with floured cloth, or on a cloth couche. Cover and let rise until light and airy, about 2 to 2 1/2 hours.
-
About 60 minutes before the bread is ready to bake, preheat the oven with a baking stone in it (if you have a stone) to 450°F. For the best crust, place an empty cast iron frying pan on the oven rack below the stone to preheat.
-
When the loaves are risen, gently turn them out of their bowls onto parchment, slash them with a sharp knife or lame, and slide the parchment directly onto the stone in the oven. If you’re not using a stone, turn them out onto a parchment-lined (or lightly greased) baking sheet, slash them, and place the baking sheet in the oven.
-
Pour 1 cup of boiling water into the cast iron frying pan. Be sure to wear good oven mitts to prevent steam burns.
-
Bake the bread until it’s crusty and golden, about 35 to 40 minutes. Remove the loaves from the oven and cool on a rack before slicing.
-
Store leftover bread, in a paper bag or loosely covered in plastic, for a day or so at room temperature; wrap and freeze for longer storage.