Simple Cookie Glaze

Recipe by PJ Hamel

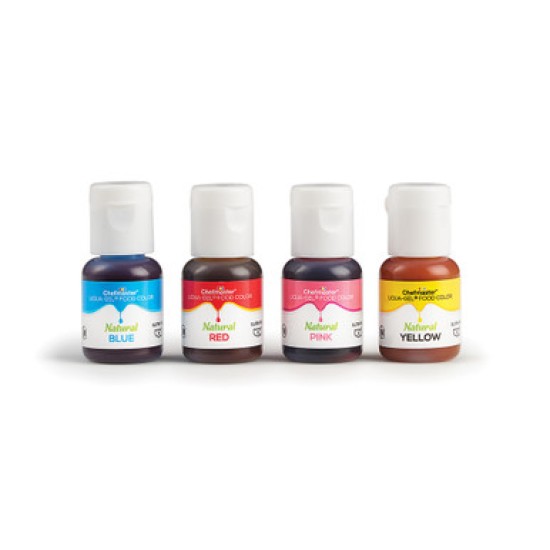
This glaze dries hard and shiny, and is perfect for coating the top of your cookies in preparation for decorating with food-safe pens or markers, or adding sprinkles or other decorations. It's the perfect way to transform rollout cookies — like these Chocolate Cut-Out Cookies — from basic to beautiful.

Prep
15 mins
Yield
2/3 cup, about 18 cookies' worth
Simple Cookie Glaze

Instructions

Prevent your screen from going dark as you follow along.
  1. Mix all of the ingredients together. Stir until smooth; a fork works fine. The glaze should be thick, but soft enough to "settle" when you spread it. If the glaze is too thick, dribble in another teaspoon of milk, 1/2 teaspoon at a time.

  2. Glaze one cookie and set it aside briefly. The glaze won't be perfectly smooth when you apply it, but should settle into a smooth surface within half a minute or so. Has the glaze settled into a smooth surface? If so, it's the right consistency. Remember, it's easier to add more liquid than to stir in more sugar, so start with a glaze that's thicker than you think it should be, then add milk little by little to adjust the consistency.

  3. Add food color, if you like; gel paste food colors are preferable, as they yield vibrant color, and don't alter the liquid/sugar ratio as regular food colors might.

Tips from our Bakers

  • Be sure you measure accurately here. Too little milk, and the glaze won't spread nicely. Too much milk, and it will be thin, spotty and develop splotches overnight.
  • Once the glaze has hardened, you can color on it with foodsafe markers, or you can pipe another color over the top with Royal Icing. You can sprinkle sugar on top of the wet royal icing for a sparkly effect.