-
To make the cookies: Prepare and refrigerate the cookie dough as instructed.
-
Preheat the oven to 350°F. Line two baking sheets (or more if you have them) with parchment.
-
To make the filling: In a medium saucepan, combine the sugar, corn syrup, and water, stirring over medium heat until the sugar has dissolved.
-
Cook the syrup without stirring until it reaches 280°F on a candy thermometer.
-
Remove the syrup from the heat and pour it onto one of the prepared baking sheets. Let the syrup cool to room temperature (it'll solidify into candy), then break it up into large pieces.
-
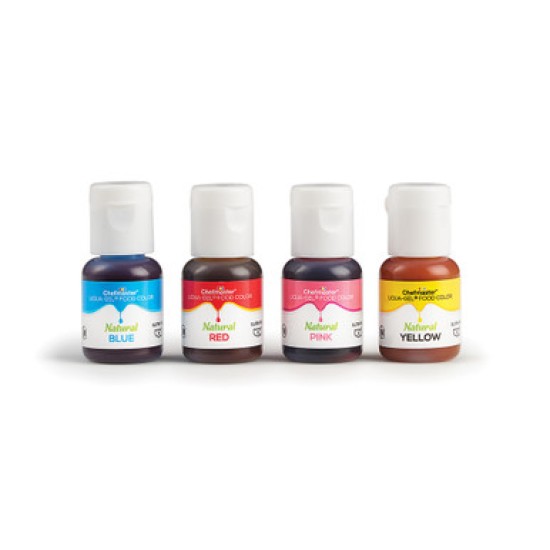
To crush and color the candy: Pulse the candy pieces in a food processor until they've become fine, sandy-powdery crumbs. Toward the end of processing, if you want to make different colored fillings, divide the crumbs into however many different colors you want to make. Return the crumbs to the food processor one batch at a time, adding the food color of your choice. It's best to work from light colors to dark during this process, to avoid too much color cross-contamination.
-
To roll, cut, and bake the cookies: Lightly flour your work surface. Working with one piece of dough at a time, roll it 1/8" thick. Cut into desired shapes; re-roll the scraps and cut additional shapes. This dough is quite forgiving; scraps can be gathered and re-rolled up to three times before becoming tough.
-
Transfer the cookies to the prepared baking sheets.
-
Cut out windows from the insides of the cookies with the cutters of your choice. Graduated cutters work well if you want one larger window, and a round piping tip or mini cutters are a great choice for several small windows. If desired, gather the cutout scraps, re-roll, and cut more cookies.
-
Bake the cookies for 5 minutes, then remove them from the oven. With a small spoon or teaspoon carefully fill the cutouts with the colored sugar, making rounded piles in the windows.
-
Return the cookies to the oven and bake for 6 to 7 minutes longer, until the sugar has melted and the cookies are just barely starting to color around the edges.
-
Remove the cookies from the oven and leave them on the baking sheets to cool until the windows have set into hard candy.
-
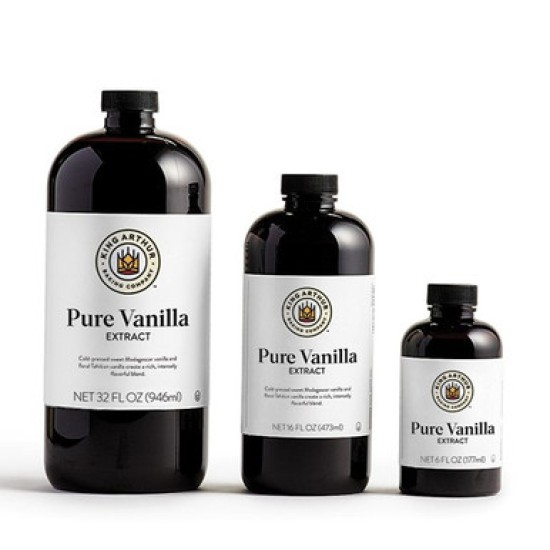
To make the glaze: In a medium bowl, whisk together the confectioners’ sugar, corn syrup, vanilla, and a tablespoon of the milk; the mixture should be thick. Add more milk a teaspoon at a time, until the glaze is the consistency of honey. It should fall off the spoon in a thick ribbon that disappears back into the bowl after a few seconds.
-
Pipe or drizzle the glaze onto the cooled cookies. Set them aside until the glaze sets.
-
Storage information: Store the cookies, well wrapped, at room temperature for a week to 10 days.