


My son Nik, a 23-year-old newly minted college grad out on his own for the first time, emailed me last week with this question: "Mom, how do I make a baguette?"
Well, nothing like jumping right in with both feet, kiddo... A baguette? Though Nik has been part of the King Arthur family since 1990, when he modeled a kids' apron in one of our first catalogues, he was never interested in baking.
Till now. Hunger and thrift have opened his eyes.
Initially, I thought I'd send him to our baguette recipe. Then I thought better of it.
Eureka! Artisan Bread in Five Minutes a Day has been getting a workout lately here in the King Arthur Flour test kitchen. Authors Jeff Hertzberg and Zoë François have truly made crusty artisan yeast breads easily attainable by ANYONE.
Including my son, the kitchen neophyte.
I emailed him a paraphrased recipe from Five Minutes a Day. An hour later, I get a call on my cell. Nik's in a Giant supermarket in D.C. We spend 30 minutes doing some virtual shopping together. "I found the King Arthur Flour. Where's the salt? Which of these kinds of yeast should I get? Can I use this big plastic bowl, it looks like something for kids on the beach?" We never do find the plastic wrap...
Next day, an email with attached photo:

"The inside is really nice too. Perfect moist inside with crunchy outside!"
Believe me, from a kid who's been known to send me ONE-LETTER emails ("K" - yes, it makes sense in context), this is absolutely effusive. My son, the baker!
So OK, Nik's loaves don't look exactly like mine. But I've been at it a lot longer; he'll get there. And he can't go wrong by sticking with Five Minutes a Day, which he can use to make no-knead cinnamon rolls.
Not to mention a nice challah, and yes, the promised crusty artisan loaves. But for the time being, you know what they say...
Cinnamon roll, $2.00.
Challah, $4.95.

Using email and a cell phone to teach your 23-year-old son how to bake bread: priceless.
Nik isn't keen on sweets. Heck, he doesn't even like chocolate. Talk about the acorn falling FAR from the oak... But if he ever wants to impress breakfast guests with his baking prowess, I'd recommend these Ridiculously Easy No-Knead Sticky Buns in a heartbeat.
Here's how to make them.
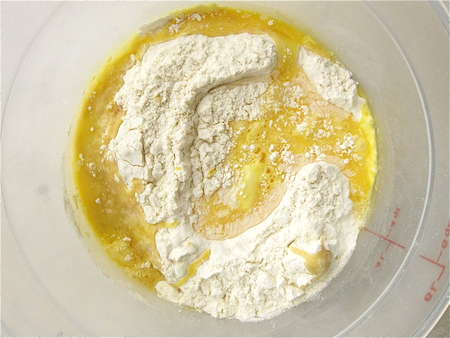
My version of Nik's "big plastic bowl" is our 6-quart dough-rising bucket. In go the flour, salt, yeast, water, eggs, honey, and vegetable oil.
The ingredients don't begin to fill the bucket at this point, but don't let that fool you into using a standard-size bowl; the dough will eventually rise quite emphatically.
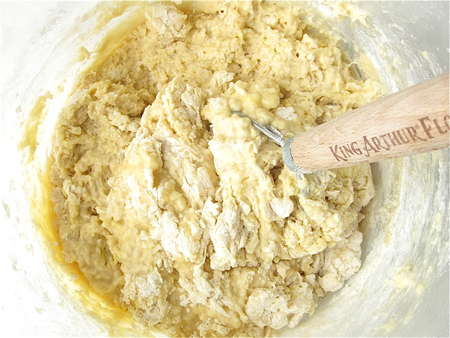
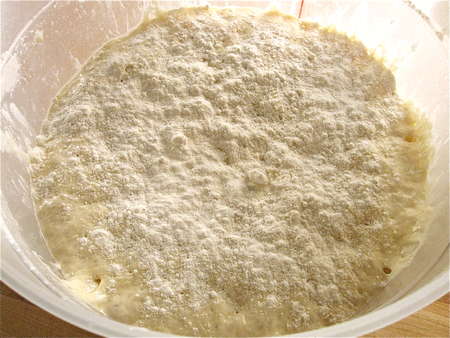
Stir to combine. This is a good start...
...but keep stirring. You want to make sure all of the ingredients are thoroughly moistened, with no floury patches left.
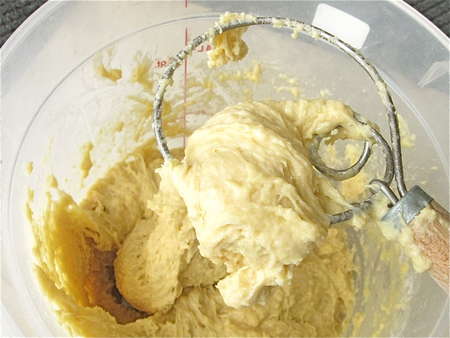
Our sturdy dough whisk, with its flow-through blades, does a first-rate job here.
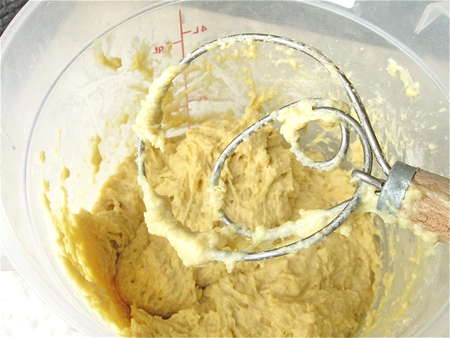
See how this ultra-sticky dough falls right through the blades?
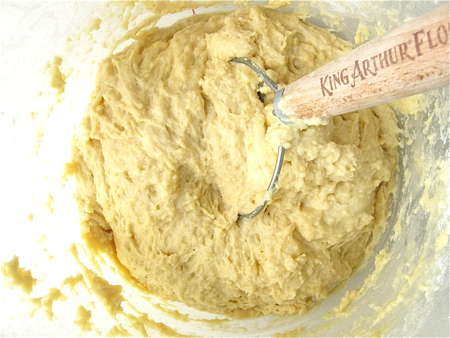
Here we are, nicely mixed.
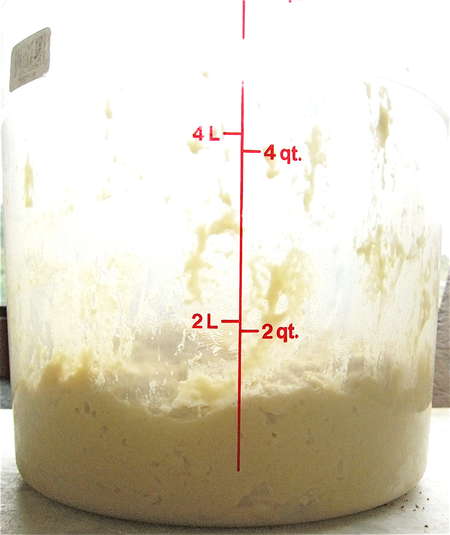
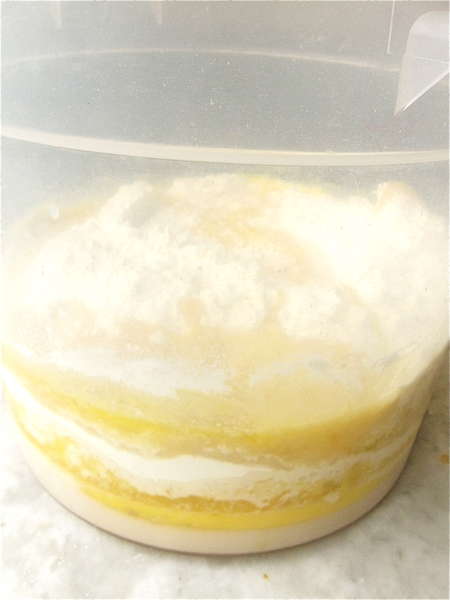
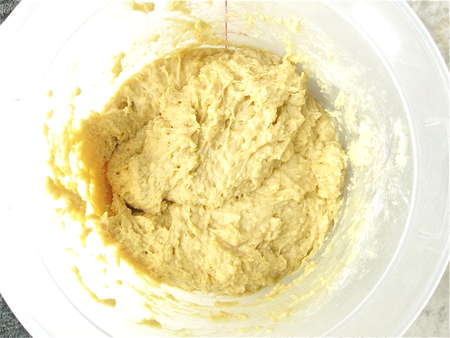
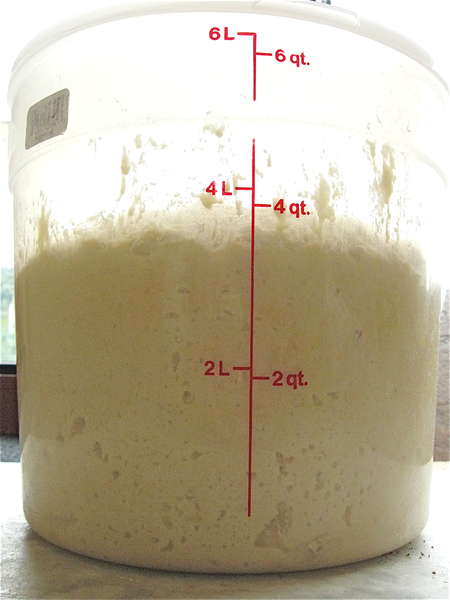
Put the lid on the bucket, and let the dough rise for 2 hours at room temperature. Here it is at the start of the rise...
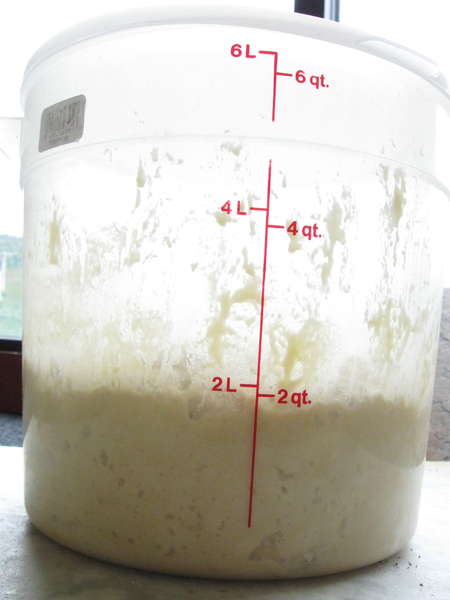
...and here it is at the end. Now it goes into the fridge overnight. It can live in the fridge for up to 3 days or so; longer than that, it's best to freeze it.
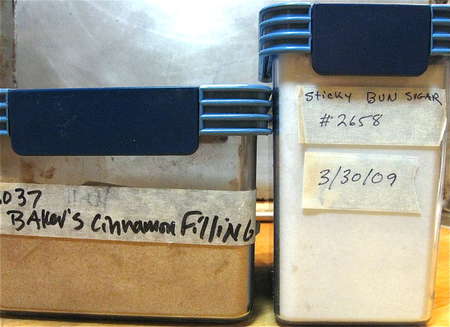
Now, for two of our favorite sticky bun ingredients: baker's cinnamon filling, and sticky bun sugar.
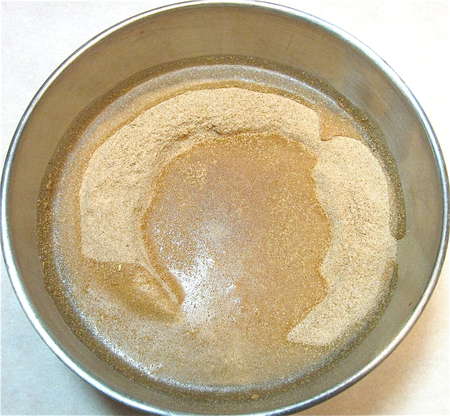
Add water to the cinnamon filling...
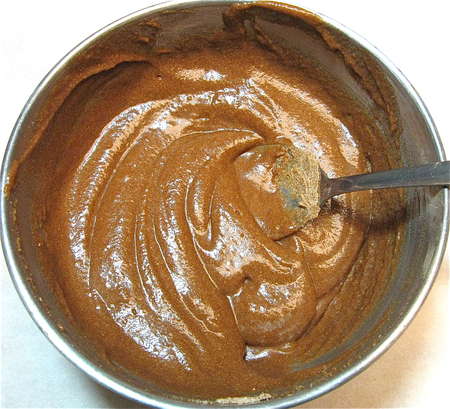
...and stir to make a smooth, spreadable paste. Boy, is this tasty; and you just saw how easy it is. Set it aside while you make the topping.
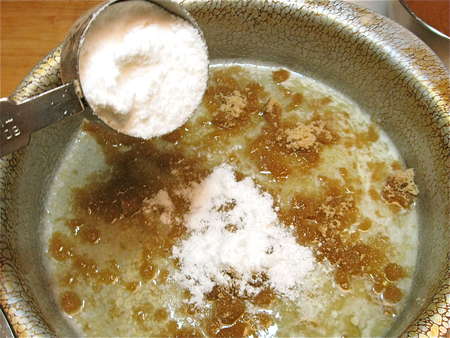
Drizzle melted butter, honey or syrup, and brown sugar in a 9" round cake pan. Be sure to spray the pan with non-stick vegetable oil spray first. Sprinkle sticky bun sugar atop the rest of the ingredients; this is what gives sticky buns their ooey-gooey stickiness.
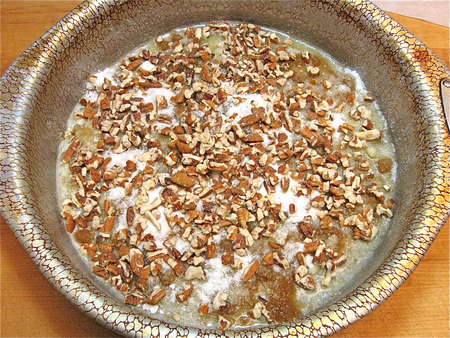
Add pecans or walnuts, halves or chopped. Set the pan aside while you make the buns.
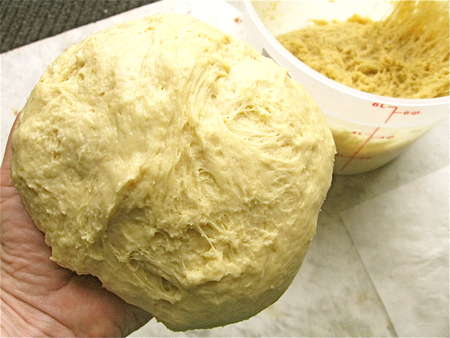
Take the dough out of the fridge; see how much it's grown overnight?
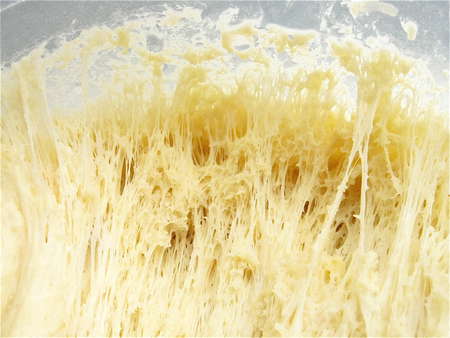
Look how the gluten has developed—all on its own. Fermentation over time develops gluten just like kneading does. So no-knead breads substitute time for kneading. I'll take that trade any day!
Ready to bake sticky buns? Begin by sprinkling some flour atop the sticky dough in the bucket.
Grab 1/3 of the dough in the bucket; this will be a scant 22 ounces, if you have a scale.
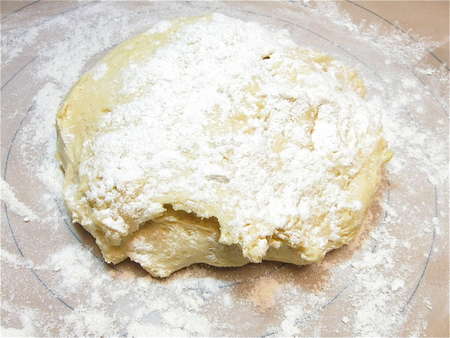
Place the dough on a well-floured work surface; a silicone mat works well here. Sprinkle more flour on top.
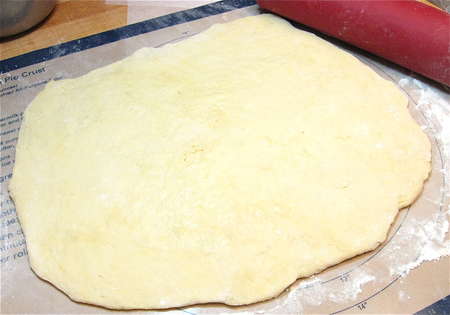
Quickly roll the dough into a rough 15" x 10" rectangle. You want to work quickly, because the colder the dough, the easier it is to work with.
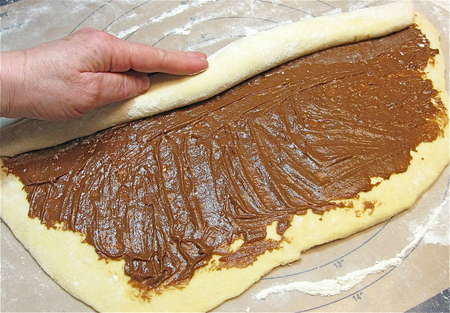
Spread the filling on the dough, and roll it up starting with a long (15") side. Don't be over-zealous and roll it super-tight; if you do, the centers of the buns will pop up as they bake. Be firm, but gentle.
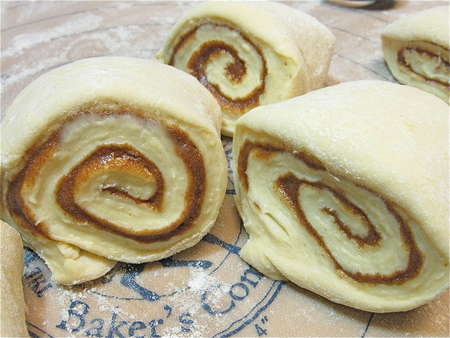
Cut the log into eight 2" slices; a pair of scissors works well here.
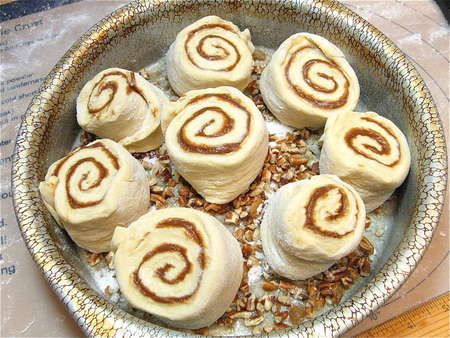
Place the slices in the prepared pan.
Wet your fingers, and flatten gently.
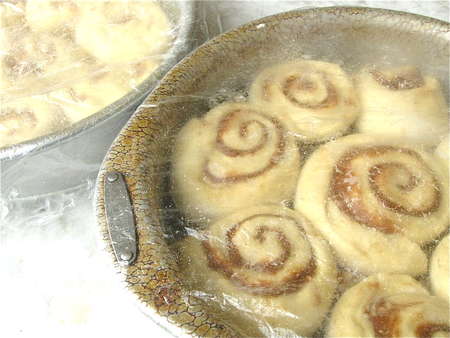
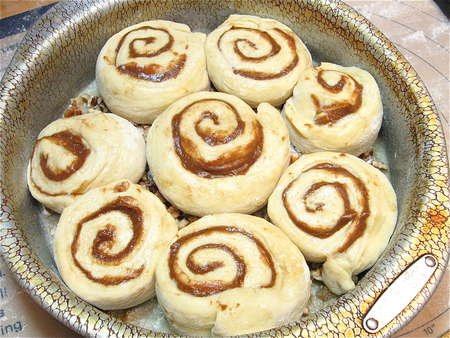
Cover with plastic wrap or a plastic shower cap, and let rise...
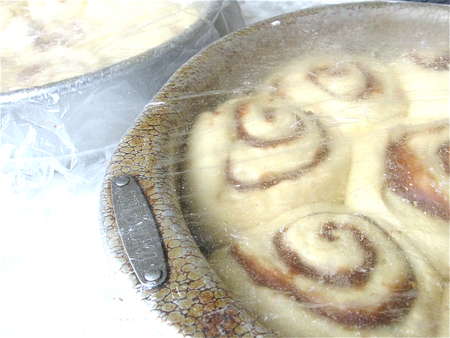
...till noticeably puffy.
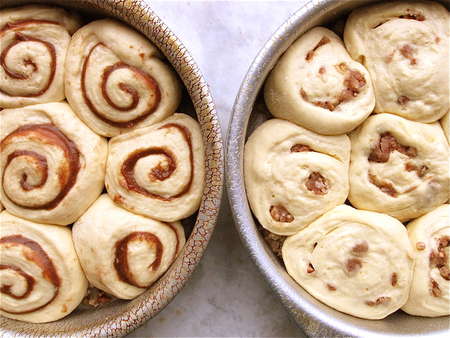
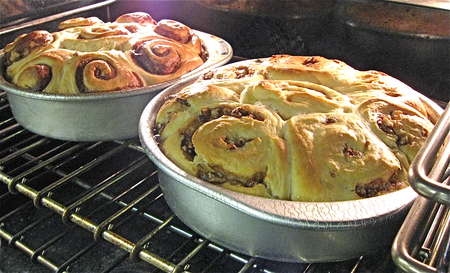
I used two 22-ounce pieces of dough to make two pans of buns side by side here, testing different fillings. The filling on the right is a caramel-nut filling you'll find in the Five Minutes a Day recipe.
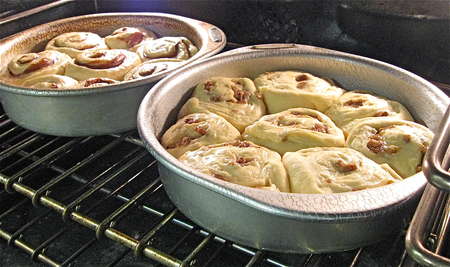
Bake the buns in a preheated 350°F oven.
In about 45 minutes, they'll be golden brown...
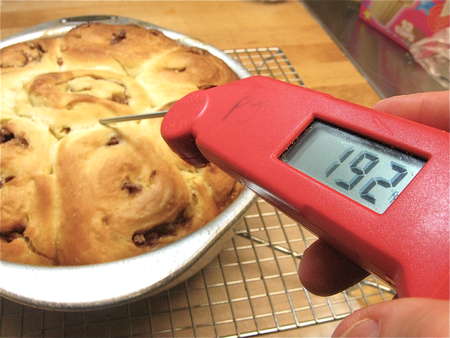
...and their interior temperature will register somewhere around 190°F.
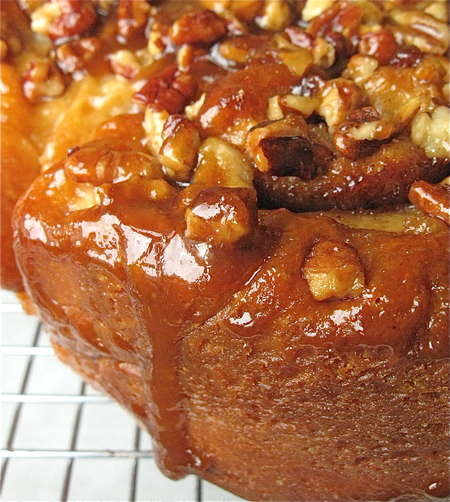
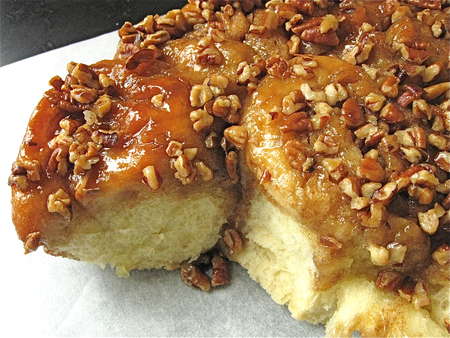
Turn the buns out of the pan onto a rack. Ahhh.... Scrape any leftover topping out of the pan onto the buns.
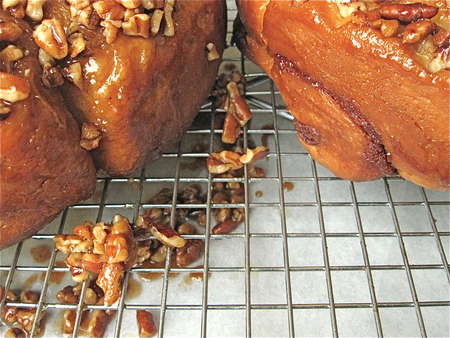
Here's another experiment I did. No sticky bun sugar on the left; see how the nuts slid off the buns? The sticky bun sugar keeps things "stuck" till the buns have cooled.
WOW. Trust me: anyone can make these. That means YOU.
Still skeptical? Take a look at Sticky Buns: The Video, now showing on a computer near you. Like, the computer you're looking at right now. Like—right here:
Read, rate, and review (please!) our recipe for Ridiculously Easy No-Knead Sticky Buns.
