No-Knead Bread
The crunchiest-crackliest-chewiest-lightest-EASIEST bread you'll ever bake.


What do you need to make no-knead bread?
Water.
Salt.
That's all it takes to make the crackly-crusted, chewy, light-textured, DELICIOUS bread pictured above.
Just stir up a bucket of dough, and stick it in the fridge. That's right, stir; no need to knead.
Want some bread? Grab a handful of chilled dough, plop it onto a piece of parchment. Let it rise. Bake it to golden perfection.
All with this easy recipe for No-Knead Crusty White Bread.
Which we print here courtesy of Jeff Hertzberg and Zoë François, authors of the runaway best-seller Artisan Bread in Five Minutes a Day.
Let's get stirring!
Combine the following in a large mixing bowl, or food-safe plastic bucket (at least 6 quarts):
3 cups (680g) lukewarm water
7 1/2 cups (907g) King Arthur Unbleached All-Purpose Flour*
1 tablespoon salt
1 1/2 tablespoons instant yeast
*If you don't have a scale, the amount of flour you use depends on how you measure flour. If you measure it the way we do here at King Arthur – the method all of our recipes are written for – you'll use 7 1/2 cups.
If you measure via the “dip and sweep” method – that is, you dip your cup into the flour canister, tapping the cup to kinda tamp it down, then sweeping off the excess – use 6 1/2 cups.
Why? Because flour you dip out of the canister can weigh about 25% more than flour you measure by the King Arthur “sprinkle and sweep” method. So by volume, you use less of it to achieve the target weight of 907g.
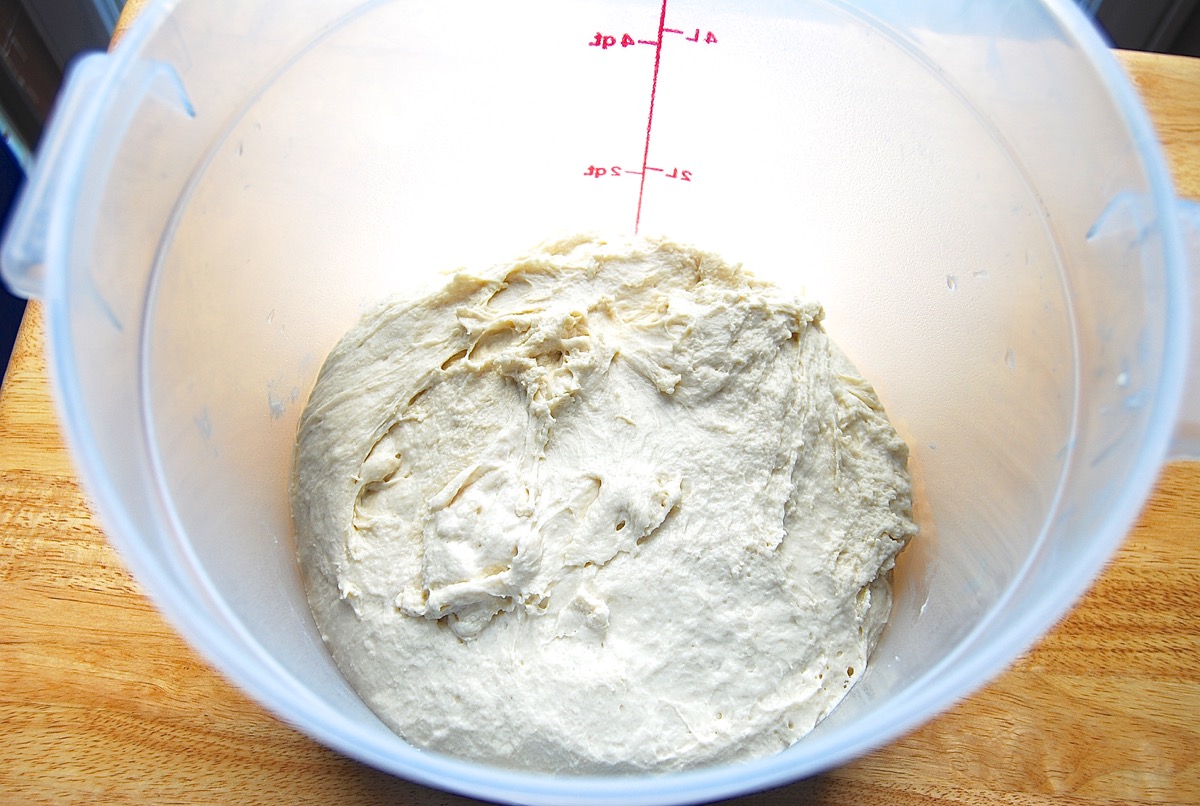
Mix and stir everything together to make a very sticky, rough dough. If you have a stand mixer, beat at medium speed with the beater blade for 30 to 60 seconds.
If you don't have a mixer, just stir-stir-stir with a big spoon or dough whisk till everything is combined.
Next, you're going to let the dough rise. If you've made the dough in a plastic bucket, you're all set – just let it stay there, covering the bucket with a lid or plastic wrap; a shower cap actually works well here.
If you've made the dough in a bowl that's not at least 6-quart capacity, transfer it to a large bowl; it's going to rise a lot. There's no need to grease the bowl, though you can if you like; it makes it a bit easier to get the dough out when it's time to bake bread.
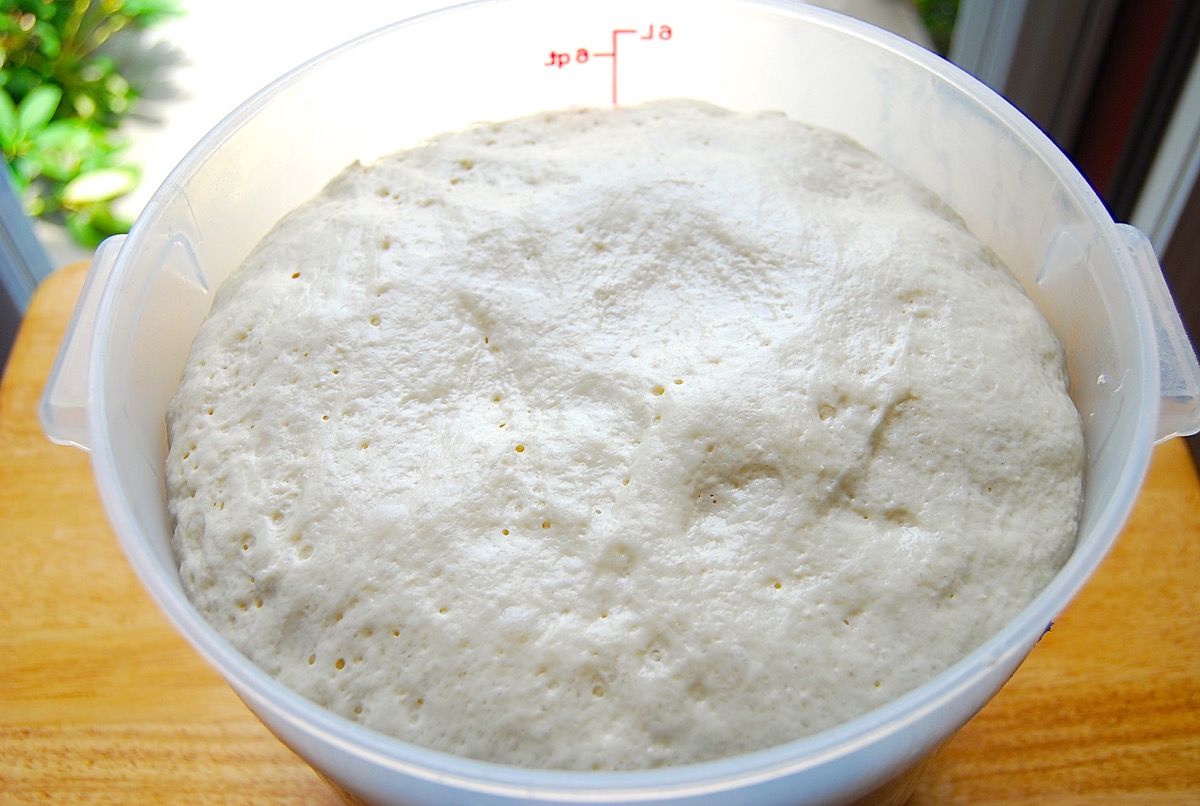
Cover the bowl or bucket, and let the dough rise at room temperature for 2 hours. It'll rise quite vigorously.
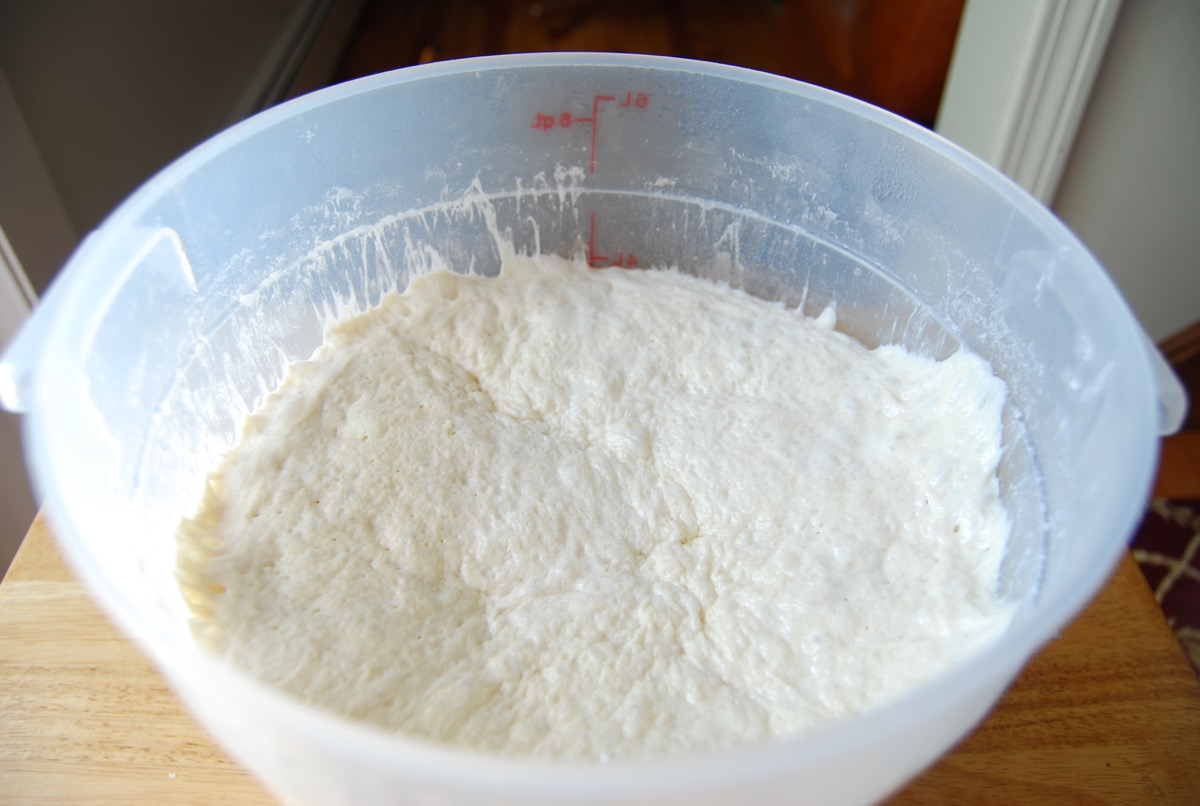
Refrigerate the dough for at least 2 hours, or for up to about 7 days. (If you're pressed for time, you can skip the initial room-temperature rise, and stick it right into the fridge).
Over the course of the first day or so in the fridge, it'll rise, then fall. That's OK; that's what it's supposed to do. The longer you keep the dough chilled, the tangier it'll get; if you chill it for 7 days, it will taste like sourdough.
When you're ready to bake, take the dough out of the refrigerator.

Sprinkle the top of the dough with flour; this will make it easier to grab a hunk.
Grease your hands, and pull off about 1/4 to 1/3 of the dough — a 14-ounce to 19-ounce piece, if you have a scale. It'll be about the size of a softball, or a large grapefruit.
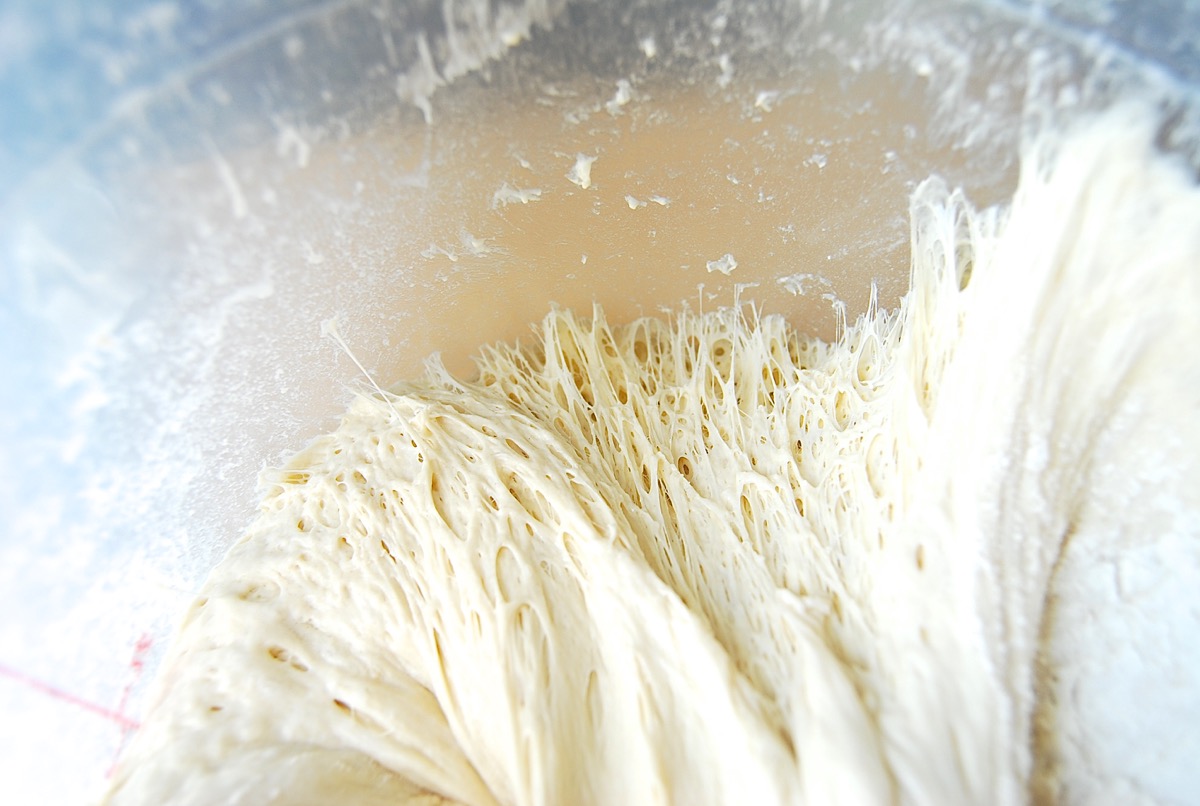
Will you look at that gluten?! Gluten, a combination of liquid-activated proteins in flour, is the stretchy matrix that makes it possible for yeast bread to rise.
Plop the sticky dough onto a floured work surface, and round it into a ball, or a longer log. Don't fuss around trying to make it perfect; just do the best you can.
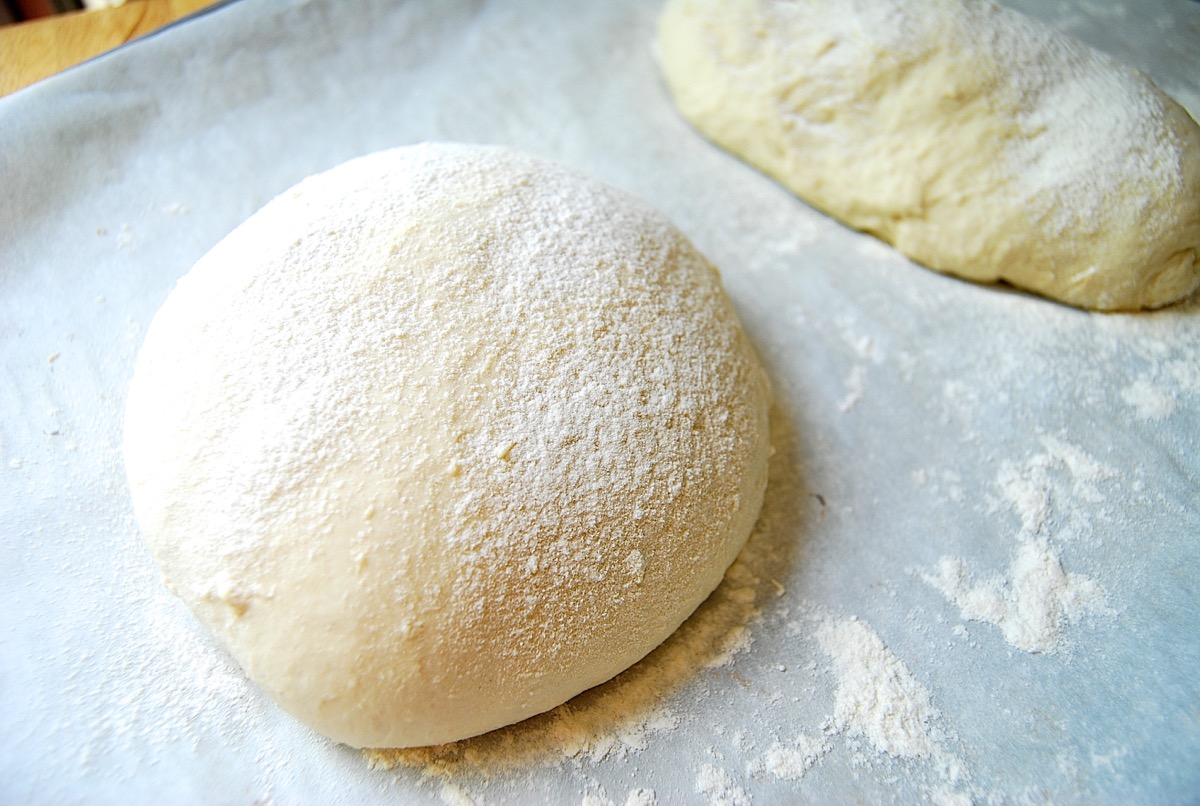
Place the dough on a piece of parchment (if you're going to bake on a hot pizza stone); or onto a lightly greased or parchment-lined baking sheet. Sift a light coating of flour over the top; this will help keep the dough moist as it rests before baking.
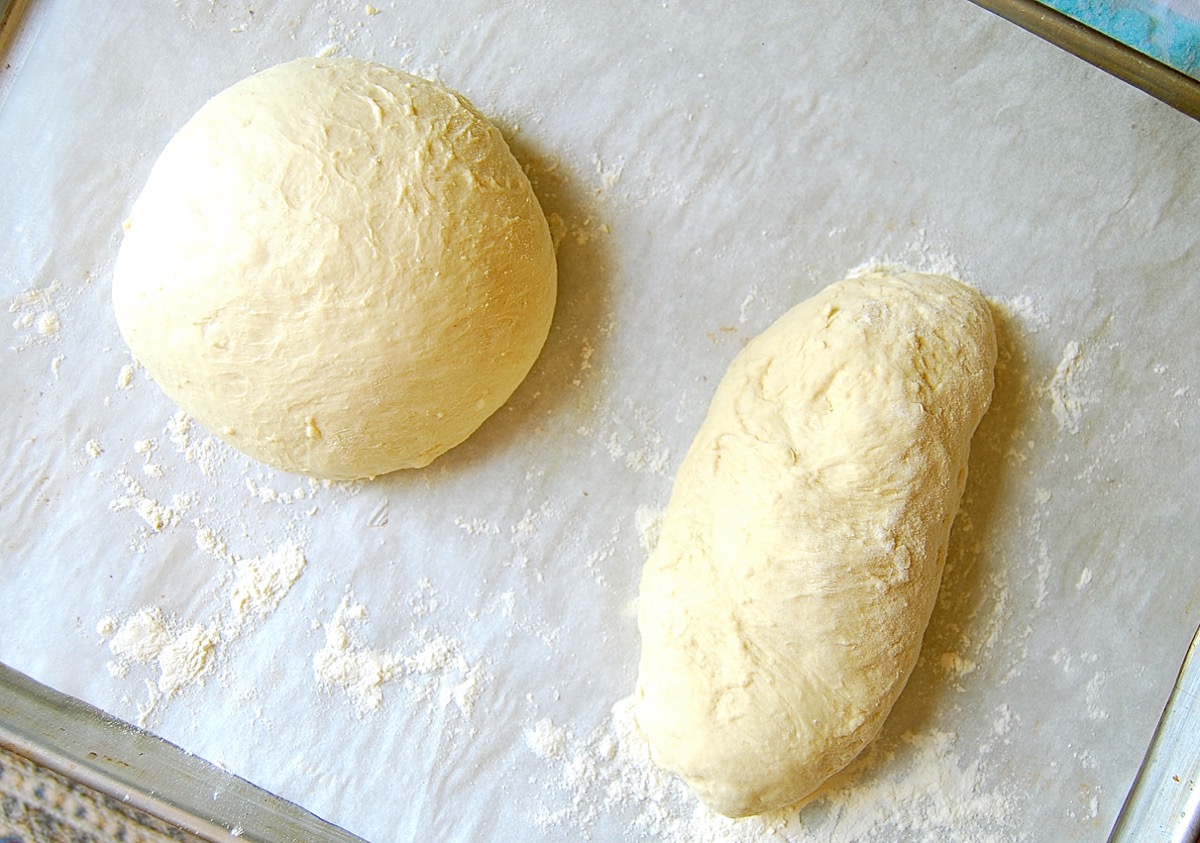
You don't have to make a ball. Make a longer, baguette-type loaf, if you like.
Let the dough rise for about 45 to 60 minutes. It won't appear to rise upwards that much; rather, it'll seem to settle and expand.
Preheat your oven (and pizza stone, if you're using one) to 450°F while the dough rests. Place a shallow pan on the lowest oven rack, with another rack right above it. Have 1 cup of hot water ready to go.
When you're ready to bake, dust the loaves with flour. Then take a sharp knife and slash the bread 2 or 3 times, making a cut about 1/2” deep.
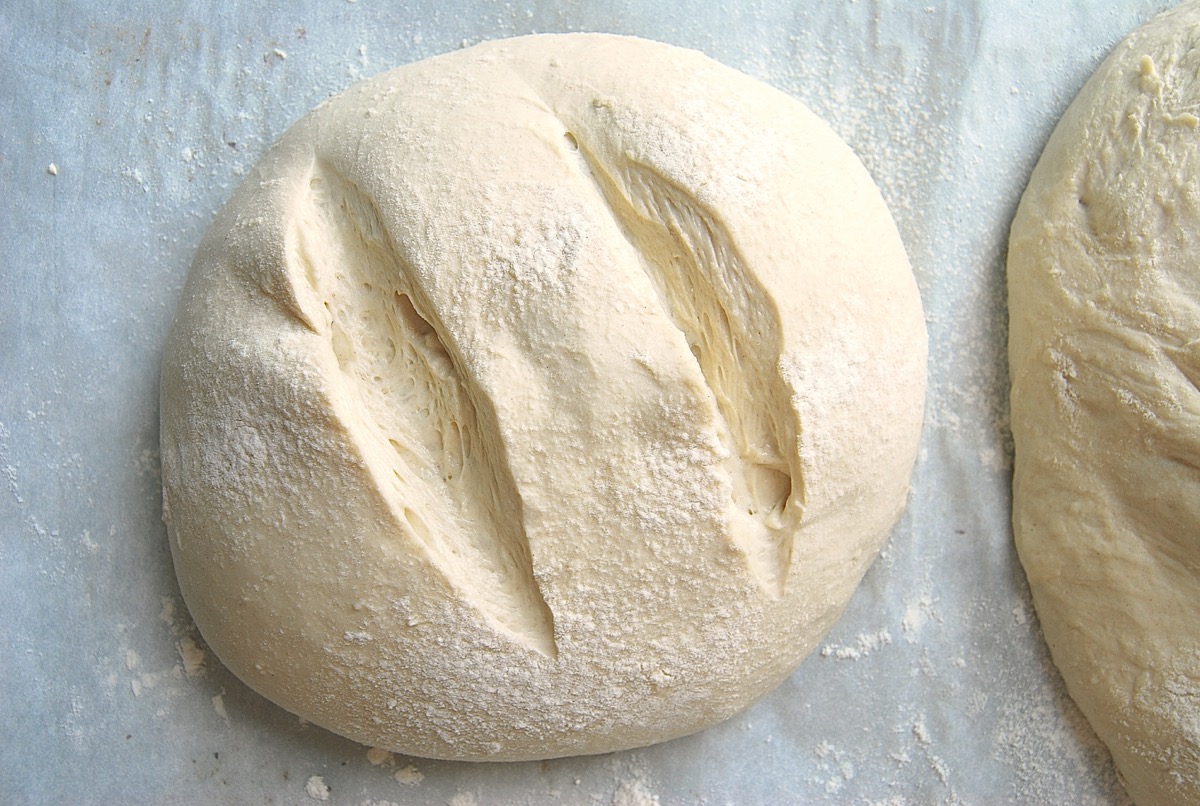
The bread may deflate a bit. That's OK, it'll pick right up in the hot oven.
Place the bread directly on the pizza stone (complete with parchment), or place the pan on the rack above the lower rack.
No baking stone? No worries. While a stone does give a slightly chewier bottom crust, a baking sheet gives just as much pop.
Carefully pour the 1 cup hot water into the shallow pan on the lowest oven rack. It'll bubble and steam; close the oven door quickly.
So what's with the steam? It settles on the bread's crust, making it soft and flexible enough to rise as high as possible during those first few crucial minutes of baking.
Bake the bread for 25 to 35 minutes, until it's a deep, golden brown. Remove it from the oven, and place it on a rack to cool.
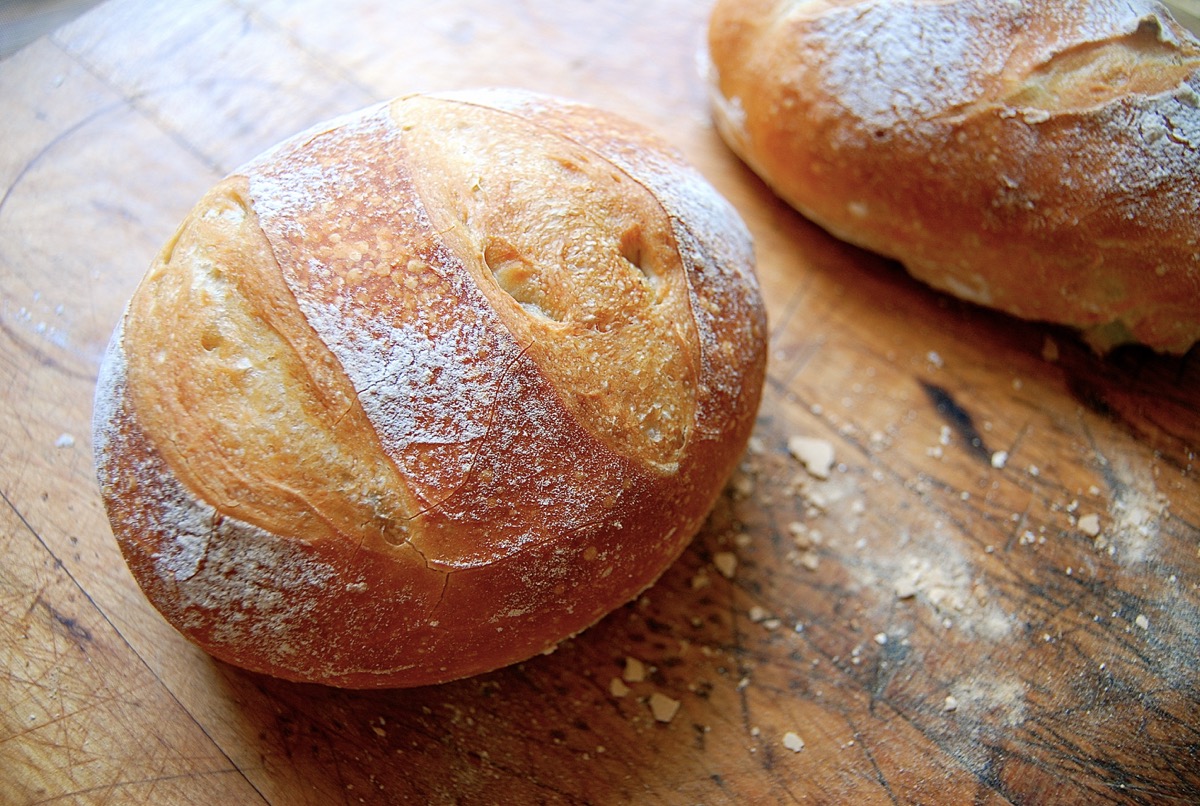
This loaf is pretty, but I'd call it a bit under-baked; it should really be darker, to ensure the interior is the optimum consistency.

I'd say this interior is pretty optimum, wouldn't you?
Now, how about making bread made from dough that's been in the fridge for 9 days. WHOOPS! Will it still work?
You betcha! My nine-day-old made a great loaf – perhaps my best yet. It was unbelievably chewy/crusty, and full of those big, irregular holes I'd been seeking earlier.
When it was fully baked, I left it on the stone, turned off the oven, and cracked the door open a few inches with a folded potholder. Cooling it in the oven made its crust wonderfully crunchy/crackly.
Well, here we are at the bottom line. And what do we all conclude, bakers?
Even if this is your very first encounter with yeast, you can make wonderful, artisan-style bread.
All it takes is this:
King Arthur Flour.
Water.
SAF yeast.
Salt.
And your new favorite recipe: No-Knead Crusty White Bread.
Read, rate, and review (please!) No-Knead Crusty White Bread.
For great no-knead recipes using whole grains and healthy ingredients, check out Jeff Hertzberg and Zoë François' Healthy Bread in Five Minutes a Day.
And, if you're someone who likes to "bake metric" - Jeff and Zoë's original best-seller, Artisan Bread in Five Minutes a Day, is now available in a British version, featuring metric measurements. Look for it at Amazon.co.uk.
