Why you should make pie crust in a stand mixer
Stand-mixer pie crust is quick, easy — and every bit as good as handmade.


“The way grandma used to do it” is a nice salute to baking tradition. But it shouldn’t guide how we bake in the 21st century. Today there’s a modern alternative to beating buttercream with a wooden spoon, whipping up meringue with a wire whisk, hand-kneading bits of cold butter into brioche — and making pie crust.
It’s called a stand mixer.
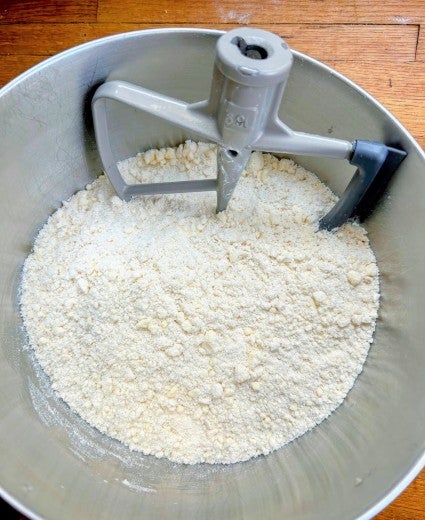
I bought my first stand mixer (with Green Stamps!) over 40 years ago, and quickly discovered it’s just as good for making pie crust as it is for any other baking task (see how it’s done). My stand mixer pie crust is flaky, tender, and delicious, the equal of any handmade crust. And nearly as important as the final result is the process: It’s quicker, more convenient, and perhaps even more effective to make pie crust in my stand mixer than by hand.
And I’m not alone when it comes to enjoying the benefits of a stand mixer: Pastry chef Nicole Rucker uses her mixer to make a wonderfully flaky vegan pie dough.
Here’s why you’ll want to give stand mixer pie crust a try:
The pastry stays cooler. You may have heard that people with cold hands make the best pastry. While that’s probably more fiction than fact, there’s a germ of truth there: You want to keep the butter in your pastry as cold as possible while you combine it with the flour. Why? Because it’s the small-to-tiny chunks of intact butter in the dough that translate into pockets of steam as the crust bakes, yielding flakiness.
Lots of hands-on dough work will warm up pastry more quickly than the cool metal beater and metal or glass bowl of your stand mixer — even given the slight amount of heat-producing friction the mixer creates as it works.
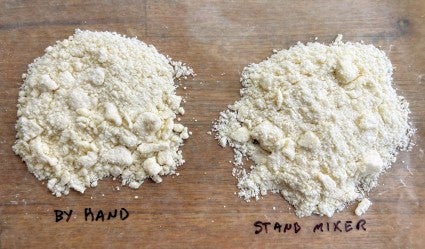
You’ll get consistent results. Our hands are great at many (many!) things, but consistency isn’t always one of them. As a pie baker, you might create one crust with every little chunk of butter perfectly flattened and absolutely evenly distributed in the flour. The next time you make crust: not so much.
But your stand mixer? Slap on the beater and set it to speed 2 and it’s going to perform exactly the same as it did yesterday or last week or last year. Its job is to mix things quickly, thoroughly, and in a consistent manner — all of which make pie crust better.
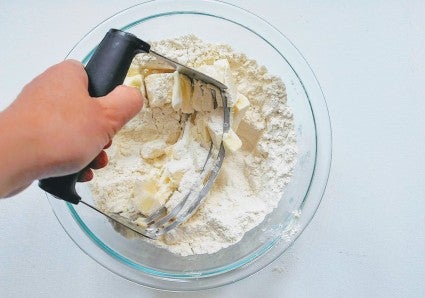
Big batches are a breeze. It’s Thanksgiving. You’re making two apple pies, a pumpkin, and a pecan, so you need a triple-double: three double pie crust recipes. That means either making three batches of pie dough in a row, or a giant batch that requires working a pound of ice-cold butter into the flour with your fingers or a pastry cutter. Instead of all that — relax, and let the mixer work its magic.
You’ll save time. Even if you’re really good and fast with your hands or a pastry tool, it still takes time to work the fat into the flour. If you use a stand mixer you can multitask: While the mixer is combining the flour and shortening (if your recipe calls for shortening), cut the butter into pats. While the mixer is working in the butter, go prep your ice water. You’ll always be one step ahead when you use a stand mixer.
Cleanup is easier. If you use the fraisage (smear) method, or even if you simply dump the almost-done pastry onto a work surface to give it a few final kneads, you’re left with a countertop or silicone mat to clean. A stand mixer, meanwhile, completes the entire task in its own bowl, reducing cleanup.
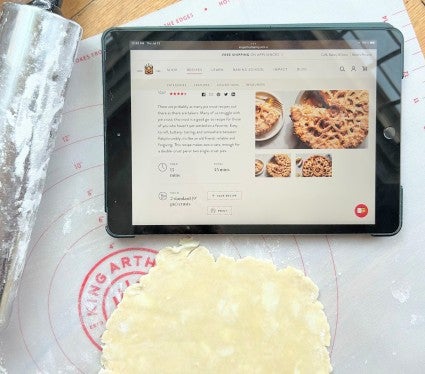
No sticky fingers. If you’re reading a recipe off your phone or tablet and you need to tap or swipe the screen, dough-covered fingers are a constant obstacle. It’s easy to keep your hands clean when you let your stand mixer do the work.
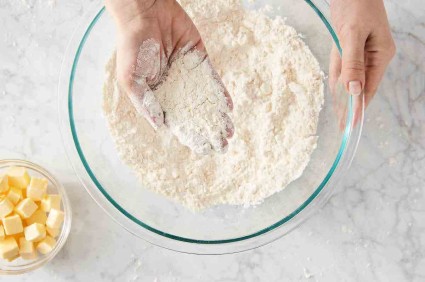
Some of us don’t have the dexterity and energy required to make pie crust by hand. As an older boomer, I don’t have the physical stamina I once had and have to ration my energy. Also, my hands don’t work like they used to. Making pie crust by hand — mixing flour and shortening until sandy, laboriously “working” cold butter into the mixture with my fingers or a pastry cutter — is more difficult than it used to be.
And we realize it’s not just pie crust that can be difficult. Physical issues can be discouraging, but hopefully won’t stop you from baking altogether! For more useful information, see Baking with chronic fatigue, and Tips for baking with arthritis and other hand-related chronic pain.
Can you use an electric hand mixer if you don’t have a stand mixer? Absolutely. It’s not as convenient and the process is a bit slower, but it’ll work just fine. Be sure to move it up and down and around the bowl as you beat, in order to reach as much of the flour/fat mixture as possible.
Yes, there are reasons you may still want to make pie crust by hand, instead of using a mixer. But I hope you now see that using a mixer isn’t “giving in;” it's simply using a handy tool to make flaky, tender pie crust — which thankfully makes homemade pie accessible to all of us.
Do you still feel daunted by the pie crust process? Try our easiest crust recipe yet: Melted Butter Pie Crust, requiring simply a bowl, fork, and a few minutes of your time: no stand mixer, no working in cold butter, no rolling out — no problem!
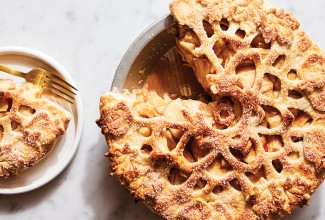
Cover photo by Rick Holbrook; food styling by Kaitlin Wayne.