The easiest way to upgrade cake is with a soak. Here's our guide.
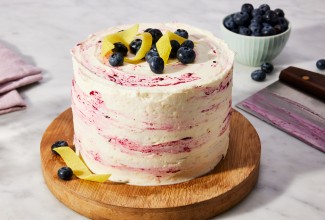
A little liquid can take your cakes a long way.


Not to sound like an infomercial, but what if there was a way to make your cakes more flavorful and moist with the addition of one simple ingredient and about 30 extra seconds?
There is! And it won’t even cost you $19.99 plus shipping and handling.
Cake soaks are a beloved pastry chef trick that elevate your cakes in so many ways. For many bakers, a cake is incomplete without one. To master the cake soak and maximize it in your baking, read on.
A cake soak is liquid that is brushed directly onto each cake layer after baking but before frosting and filling. The liquid “soaks” into the cake, adding more moisture to prevent the cake from drying out and infusing additional flavor and/or sweetness.
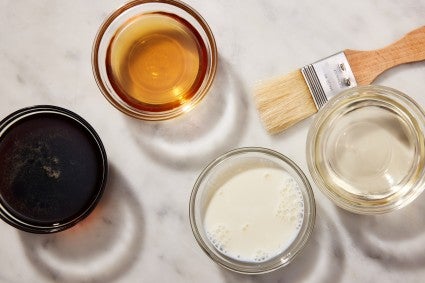
Cake soaks can span a variety of liquids. One common choice is simple syrup, a mixture of equal parts (by volume) granulated sugar and water that’s heated until the sugar dissolves. Simple syrups are a handy choice because they can easily be infused with a variety of flavors to complement the profile of your cake. Add espresso powder, spices, florals, citrus juice, rose water, vanilla extract, and much more.
You could also use other liquids, like milk (add a heavy splash of vanilla extract for more flavor), coconut milk, or liquors/liqueurs like rum or amaro. As Christina Tosi, a cake soak evangelist, writes in All About Cake, a cake soak can really be “any liquid that tells the ‘flavor story’” of your cake.
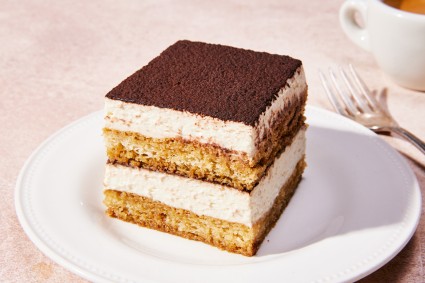
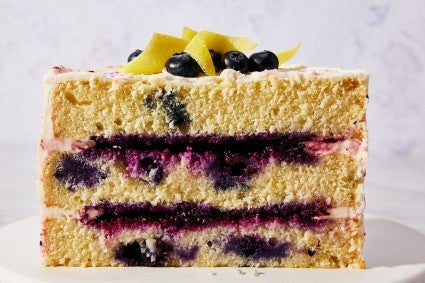
Cake soaks can be used with just about any type of cake, but they’re particularly good for sponge cakes — which are literally called “sponges” because they readily absorb liquids. See our Tiramisu, which pairs thin layers of sponge cake with a boozy espresso soak. Options like chiffon cake or genoise are good choices here.
A cake that’s already very moist and dense — like a pound cake — won’t really benefit from a soak, as it will be hard for the liquid to fully penetrate, and the cake already has a lot of moisture without it. On the opposite end of that spectrum, a super light and delicate cake, like angel food cake, can become soggy when brushed with liquid, so skip the soak.
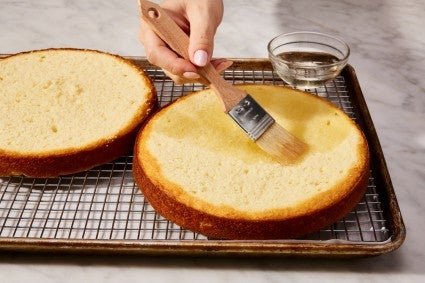
To add a soak to your cake, use a pastry brush to apply a thin layer of liquid to the top of your cake. You don’t want to add so much liquid that it’s pooling on top of the cake; instead, brush on a thin layer, wait 5 to 10 minutes or so for the liquid to soak into the cake, then brush on more, if desired. Some bakers poke holes in their cakes to allow the liquid to penetrate deeper, but this isn’t necessary.
It’s hard to over-soak a cake unless you’re really pouring on the liquid, but try not to overdo it. If you get aggressive with the amount of liquid you’re adding, you can cause the cake to become soggy and disintegrate.
Treat your cake like a salad: “Cake soaks should have a balance of tart, sweet, and savory notes — just like vinaigrette for your favorite salad,” advises pastry chef Natasha Pickowicz in her cookbook More Than Cake. “Try adding champagne or balsamic vinegar to the soak, a spoonful of jam, or a grind of black pepper.”
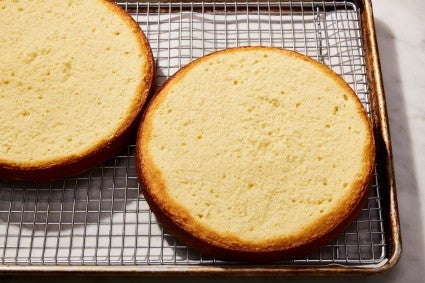
Turn things upside down: To ensure the soak is able to fully penetrate the cake, turn the layer upside down. The open crumb on the bottom-side of the cake enables the liquid to more evenly and thoroughly soak into the cake.
Ditch the top layer: Alternately, you can borrow a trick from our Recipe Tester Lydia Fournier: Use your fingers or a nylon spreader to peel off the dark surface crust from the top side of the cake. This not only exposes the crumb of the cake for better absorption, but also prevents a gummy layer from forming. (You can also use a serrated knife or cake leveler to cut off a thin layer at the top of the cake.)
No pastry brush? No problem: If you don’t have a pastry brush, you can apply a cake soak by lightly drizzling it over the surface of the cake with a spoon, then using the back of the spoon to gently spread the liquid in an even layer across the surface of the cake. Some bakers also like to use a squeeze bottle to drizzle on their soak in a thin, even layer.
Cover photo by Rick Holbrook; food styling by Kaitlin Wayne.