-
Weigh your flour; or measure it by gently spooning it into a cup, then sweeping off any excess.
-
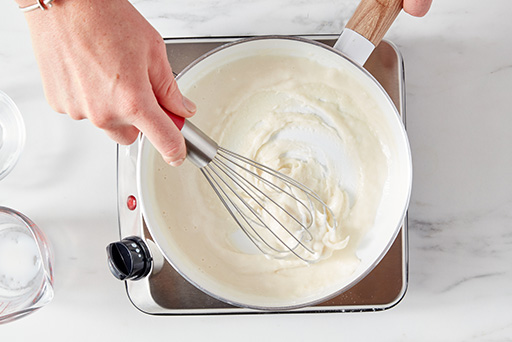
To make the tangzhong: Combine all of the ingredients in a small saucepan, and whisk until no lumps remain.
-
Place the saucepan over low heat, and cook the mixture, whisking constantly, until thick and the whisk leaves lines on the bottom of the pan, about 3 to 5 minutes.
-
Transfer the tangzhong to a small mixing bowl or measuring cup and let it cool to room temperature.
-
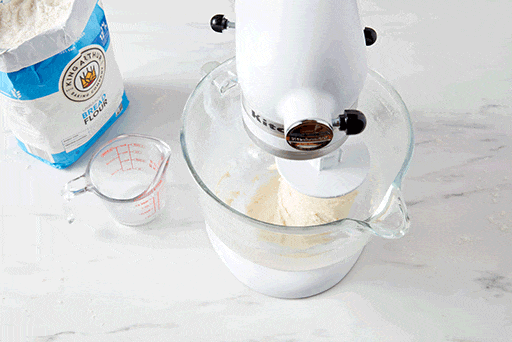
To make the dough: Combine the tangzhong with the remaining dough ingredients, then mix and knead — by hand, mixer, or bread machine — until a smooth, elastic dough forms.
-
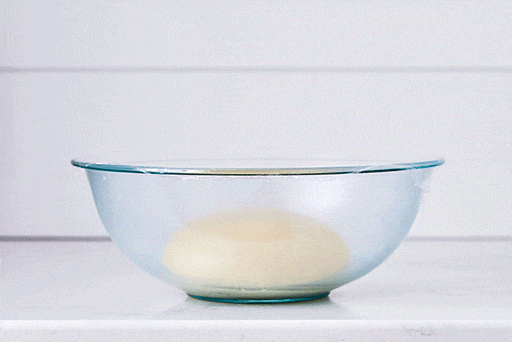
Shape the dough into a ball, and let it rest in a lightly greased covered bowl for 60 to 90 minutes, until puffy but not necessarily doubled in bulk.
-
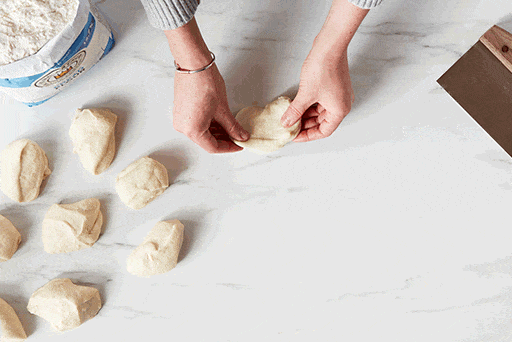
Gently deflate the dough, divide it into 8 equal pieces (for large rolls) or 10 equal pieces (for medium-sized rolls), and shape each piece into a ball.
-
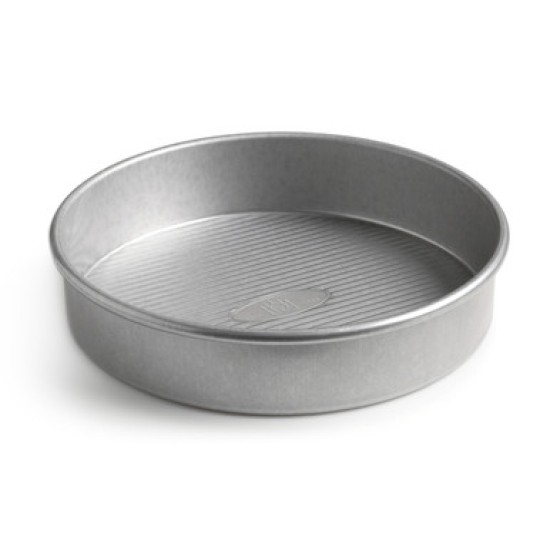
Place the rolls into a lightly greased 8" or 9" round cake pan. Cover the pan, and let the rolls rest for 40 to 50 minutes, until puffy.
-
Preheat the oven to 350°F. Brush the rolls with milk or egg wash (1 large egg beaten with 1 tablespoon cold water), and bake for 25 to 30 minutes, until golden brown on top; a digital thermometer inserted into the center of the middle roll should read at least 190°F.
-
Remove the rolls from the oven. Allow them to cool in the pan for 10 minutes, then transfer them to a rack to cool completely.